Introduction: Why Retrofit with Air Source Heat Pumps?
As the world transitions toward cleaner energy and sustainable living, homeowners with older properties face a unique challenge: how to upgrade legacy heating and cooling systems without major structural overhauls. Air source heat pumps (ASHPs) have emerged as a leading solution, offering efficient, low-carbon heating and cooling—even in climates where traditional systems are energy hogs. But while ASHPs are common in new green builds, retrofitting them into existing, often drafty or poorly insulated homes requires careful planning, the right equipment, and an understanding of both technical and practical hurdles. This guide walks you through every step of retrofitting an older home with air source heat pumps, from initial assessment to final commissioning. Whether your goal is to reduce utility bills, shrink your carbon footprint, or modernize your comfort year-round, this comprehensive resource will help you achieve a successful, future-proof upgrade.
Understanding Air Source Heat Pumps: Basics and Benefits
What Is an Air Source Heat Pump?
An air source heat pump is an electrically powered appliance that extracts heat from the outside air—even in cold weather—and uses it to heat (or cool) your home. In heating mode, it works like an air conditioner in reverse; in cooling mode, it operates like a standard AC. Modern ASHPs can achieve impressive efficiencies, sometimes delivering three units of heat for every unit of electricity consumed.
Why Are ASHPs Ideal for Retrofits?
- Minimal Infrastructure Changes: Unlike ground source heat pumps, ASHPs don’t require extensive digging or drilling.
- Flexibility: Can be paired with existing ductwork, radiators, or used as ductless mini-splits.
- Reduced Carbon Footprint: When powered by renewable electricity, ASHPs can effectively decarbonize home heating and cooling.
- Year-Round Comfort: Provides both heating and cooling from a single system.
- Incentives: Many regions offer rebates and tax credits for ASHP retrofits.
Step 1: Assessing Your Home’s Suitability
Evaluating Insulation and Airtightness
Older homes are often poorly insulated and drafty. Because ASHPs produce lower temperature heat compared to gas or oil boilers, it’s crucial to minimize heat loss. Start with a thorough assessment:
- Check Attic and Wall Insulation: Upgrade to modern standards if possible.
- Seal Drafts: Use weatherstripping, caulking, or spray foam around windows, doors, and penetrations.
- Consider Window Upgrades: Double or triple glazing can significantly reduce heat loss.
Electrical System Readiness
ASHPs require a dedicated electrical circuit and, in some cases, a panel upgrade. Consult a licensed electrician to evaluate:
- Main panel capacity (look for at least a few spare slots and sufficient amperage)
- Wiring condition and code compliance
Existing Distribution System
Determine how you’ll distribute heated or cooled air:
- Existing Ductwork: Inspect for leaks and compatibility with ASHP airflow requirements.
- Radiators: Low-temperature radiators or underfloor heating may be needed for optimal efficiency.
- Ductless Options: Mini-splits are ideal where ductwork is missing or impractical.
Step 2: Choosing the Right Heat Pump System
Types of Air Source Heat Pumps
- Air-to-Air: Delivers heat or cooling via air (ducted or ductless systems).
- Air-to-Water: Heats water for use in radiators, underfloor heating, or domestic hot water tanks.
For most North American retrofits, air-to-air systems (mini-splits or ducted) are the simplest. Air-to-water is gaining traction in regions with existing hydronic systems.
Sizing the System
Proper sizing is critical for comfort and efficiency. Undersized systems struggle in extreme temperatures; oversized systems short-cycle, reducing lifespan and efficiency. Work with a qualified installer to perform a Manual J heat load calculation, considering:
- Climate zone
- Home size and orientation
- Insulation levels
- Window area and type
- Air leakage rates
Cold Climate Considerations
If you live in an area with winter temperatures regularly below -5°C (23°F), opt for a “cold climate” ASHP model. These feature advanced compressors and refrigerants designed to maintain output and efficiency in freezing conditions.
Step 3: Budgeting and Cost Breakdown
Typical Costs Involved
- Equipment: $3,000–$8,000 (per outdoor unit; multi-zone indoor units add to cost)
- Installation Labor: $2,000–$6,000
- Electrical Upgrades: $1,000–$3,000 (if needed)
- Ductwork Modifications: $1,000–$4,000 (if needed)
- Optional Insulation/Window Upgrades: Varies widely
Prices vary by region, home size, and system complexity.
Available Rebates and Incentives
- Federal, state/provincial, and utility rebates can offset 10–50% of project costs.
- Look for programs promoting electrification or energy efficiency.
- Some programs require installation by certified contractors—verify eligibility before proceeding.
Step 4: Selecting a Qualified Installer
Questions to Ask Potential Contractors
- Are you licensed and insured for ASHP installation?
- Do you have experience retrofitting older homes?
- What brands/models do you recommend and why?
- Will you perform a Manual J calculation?
- Can you provide references from similar projects?
- How do you handle permitting and code compliance?
Red Flags to Avoid
- Contractors who skip load calculations and rely on “rules of thumb”
- Unwillingness to discuss ductwork, insulation, or electrical upgrades
- No clear warranty on parts and labor
Step 5: Preparing the Home for Installation
Upgrading Insulation and Sealing Air Leaks
Address insulation and air sealing before installation. Focus on attic, walls, basement, and major draft sources. This maximizes comfort and system efficiency.
Clearing Space for Outdoor Units
- Choose a location with good airflow and at least 12 inches clearance on all sides.
- Elevate the unit above expected snow levels (in cold climates).
- Keep away from bedroom windows to reduce noise impact.
- Avoid areas with falling icicles, heavy leaf debris, or flooding risk.
Preparing Indoor Spaces
- Identify suitable locations for wall-mounted heads or ductwork.
- Plan for condensate drainage from indoor units.
- Ensure accessibility for future maintenance.
Step 6: Installation Process Overview
What to Expect During Installation
- Outdoor unit mounting (on a pad, wall bracket, or roof stand)
- Drilling for refrigerant line sets and wiring between indoor/outdoor units
- Indoor unit installation (wall, floor, or ceiling-mounted, or ducted)
- Connecting to electrical panel (may require short power outages)
- System vacuuming, refrigerant charging, and commissioning
- Testing system operation in both heating and cooling modes
Permitting and Inspections
Most jurisdictions require permits for ASHP retrofits. Typical inspections include:
- Electrical safety check
- Refrigerant line integrity
- General code compliance
Work with your installer to ensure all paperwork is filed and inspections scheduled.
Step 7: Optimizing System Performance Post-Installation
System Settings
- Set thermostats to use the heat pump as the primary heating source.
- Use programmable or smart thermostats for optimal scheduling.
- Adjust fan speeds for comfort and efficiency.
Routine Maintenance
- Clean or replace filters monthly during heavy use seasons.
- Clear debris from around outdoor units.
- Check condensate drains and clean as needed.
- Schedule annual professional inspections.
Troubleshooting Common Issues
- Reduced Output in Cold Snaps: Supplement with electric resistance heat or wood stove if needed.
- Unusual Noises: Inspect for loose panels or debris in fan blades.
- Frost Buildup: Ensure defrost cycles are functioning; clear snow and ice from around the unit.
Step 8: Measuring Your Retrofit’s Impact
Tracking Energy Savings
Compare utility bills before and after installation, adjusting for weather variations. Many smart ASHPs provide built-in energy monitoring for real-time insights.
Carbon Footprint Reduction
Estimate emissions reductions using online calculators or data from your utility provider—especially impactful if you also invest in renewable electricity or a green power plan.
Step 9: Future-Proofing and Additional Upgrades
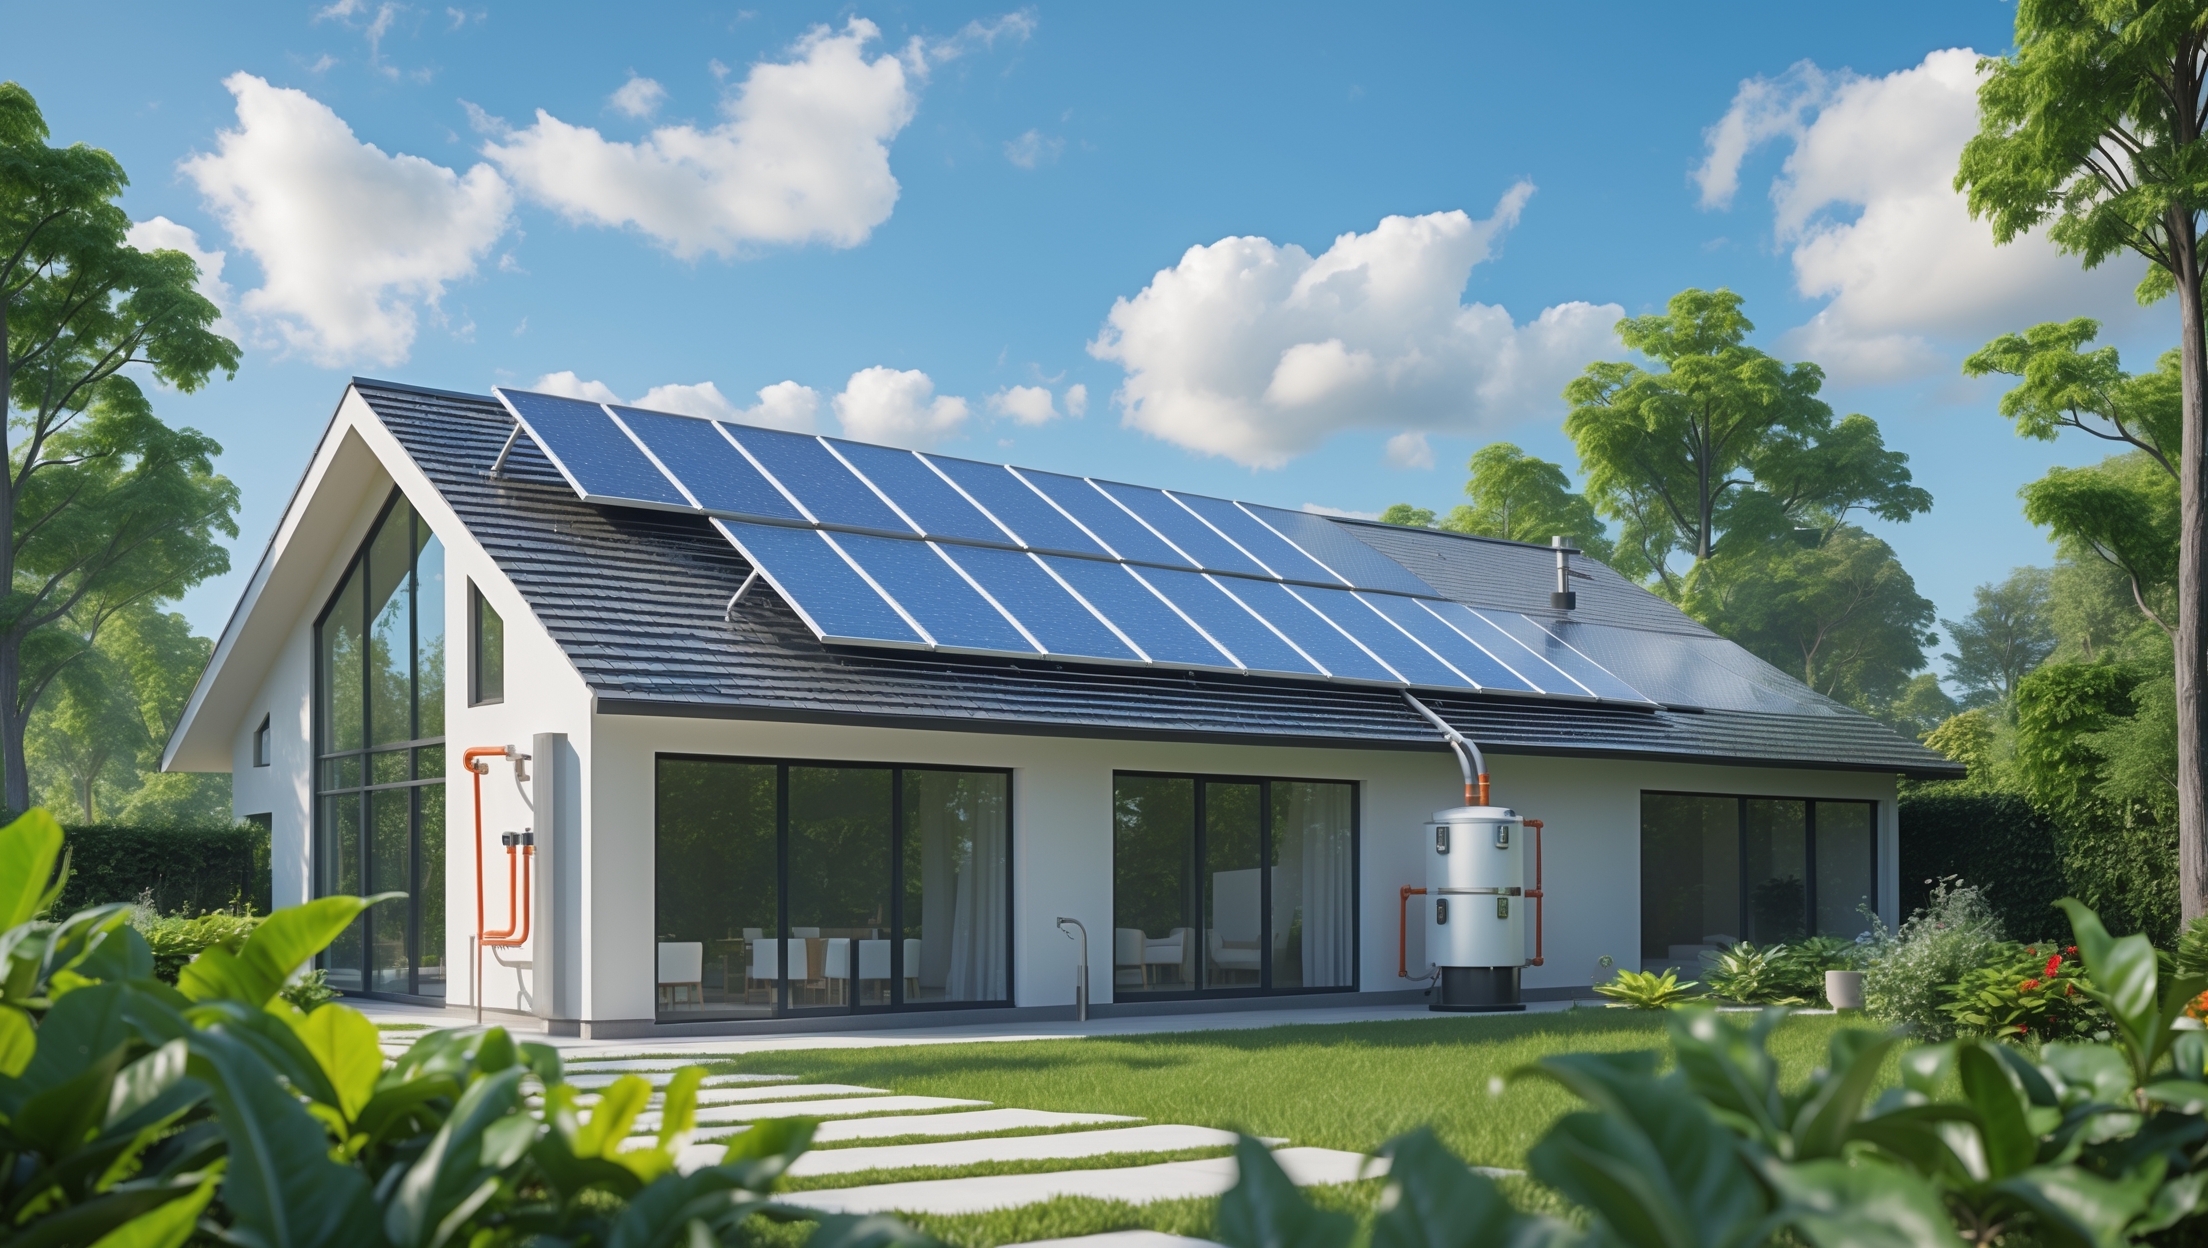
Integrating with Solar PV or Battery Storage
Pairing ASHPs with solar panels and home batteries can make your heating and cooling truly sustainable. Discuss compatibility with your installer and consider future electrical needs when upgrading your panel.
Smart Home Integration
Modern ASHPs can integrate with home automation platforms for remote control, scheduling, and optimization based on occupancy or real-time utility rates.
Conclusion: A Sustainable Transformation That Pays Off
Retrofitting an older home with air source heat pumps is one of the most impactful steps you can take toward sustainable living and lower energy bills. While the process requires careful planning—especially to address insulation, electrical readiness, and system sizing—the rewards are substantial. You’ll enjoy quieter, steady comfort, lower carbon emissions, and often, significant financial incentives. Plus, your investment will add value to your property, enhance indoor air quality, and future-proof your home as fossil fuel heating is phased out. By following this expert step-by-step guide, you can avoid the pitfalls that cause many retrofits to underperform and maximize both your comfort and your environmental impact. Whether you’re a DIY enthusiast or working with a contractor, upgrading to air source heat pumps is a smart, forward-looking move that delivers for both you and the planet—for decades to come.