
Introduction: Why Safety Is Crucial for DIY Solar-Powered Water Pump Installations
Solar-powered water pumps are transforming the way homeowners and small-scale farmers access and manage water. From irrigating gardens and supplying livestock to maintaining decorative ponds and off-grid cabins, these systems offer sustainable, cost-effective solutions that harness the sun’s energy. As appealing as DIY installation may be—saving on labor costs and fostering hands-on learning—it comes with significant safety responsibilities. Mishandling electrical wiring, improper mounting, or neglecting water protection measures can lead to costly damages, personal injury, or even fire hazards. This comprehensive safety checklist is designed for anyone embarking on a solar-powered water pump project, whether for a backyard koi pond, garden irrigation, or remote homestead water supply. It covers every critical aspect, from pre-installation site assessment to ongoing maintenance safety. By following this guide, you’ll not only protect your investment but also ensure your system’s efficiency and longevity, all while keeping yourself and your property safe. Let’s dive into the essential safety steps every DIY enthusiast must take when installing a solar water pump system.
1. Pre-Installation Site Assessment
1.1 Evaluate the Installation Location
- Sunlight Exposure: Ensure the site receives at least 6 hours of direct sunlight daily. Use a solar pathfinder or similar tool to check for seasonal shading from trees, buildings, or structures that could impact panel output.
- Flood Risk: Avoid areas prone to flooding, standing water, or heavy runoff to prevent electrical hazards and water damage to components.
- Accessibility: Choose a location that allows safe, convenient access for installation and future maintenance. Steep banks, unstable ground, or dense vegetation can increase accident risk.
1.2 Assess Ground Stability and Support
- Mounting Surface: For ground-mounted panels and pump enclosures, ensure the soil is firm and level. Soft, sandy, or muddy soil may require concrete footings or ground anchors to prevent shifting.
- Wind Exposure: In open, windy areas, plan for reinforced mounts and secure fasteners to prevent panels from tipping or being dislodged.
2. Electrical Safety Measures
2.1 Use Appropriate Wiring and Connectors
- Wire Gauge: Select wire gauges that match the system’s voltage and current to prevent overheating. Consult the National Electrical Code (NEC) or local standards—typically, 10 AWG or thicker for most small systems.
- Outdoor-Rated Materials: Use UV-resistant, waterproof cables and connectors rated for outdoor solar applications. Avoid indoor extension cords or generic wires.
2.2 Install Proper Overcurrent Protection
- Fuses and Circuit Breakers: Always install DC-rated fuses or breakers between the solar array and charge controller, and between the controller and pump. This protects against shorts, overloads, and accidental reverse polarity.
- Labeling: Clearly label all fuse and breaker locations for quick identification during emergencies or troubleshooting.
2.3 Grounding and Bonding
- System Grounding: Properly ground all metallic parts of the solar array, pump housing, and electrical enclosures using ground rods and copper wire. This reduces shock and lightning risk.
- Bonding Conductors: Connect all exposed metal parts to a common ground point to avoid voltage differences and potential shock hazards.
2.4 Weatherproofing Connections
- Junction Boxes: Use NEMA 4X or IP65-rated waterproof enclosures for all splices and terminations.
- Sealing Glands: Install cable glands and grommets to prevent water ingress where cables enter boxes or pump housings.
- Silicone Sealant: Apply non-corrosive silicone sealant around all penetrations to keep moisture out.
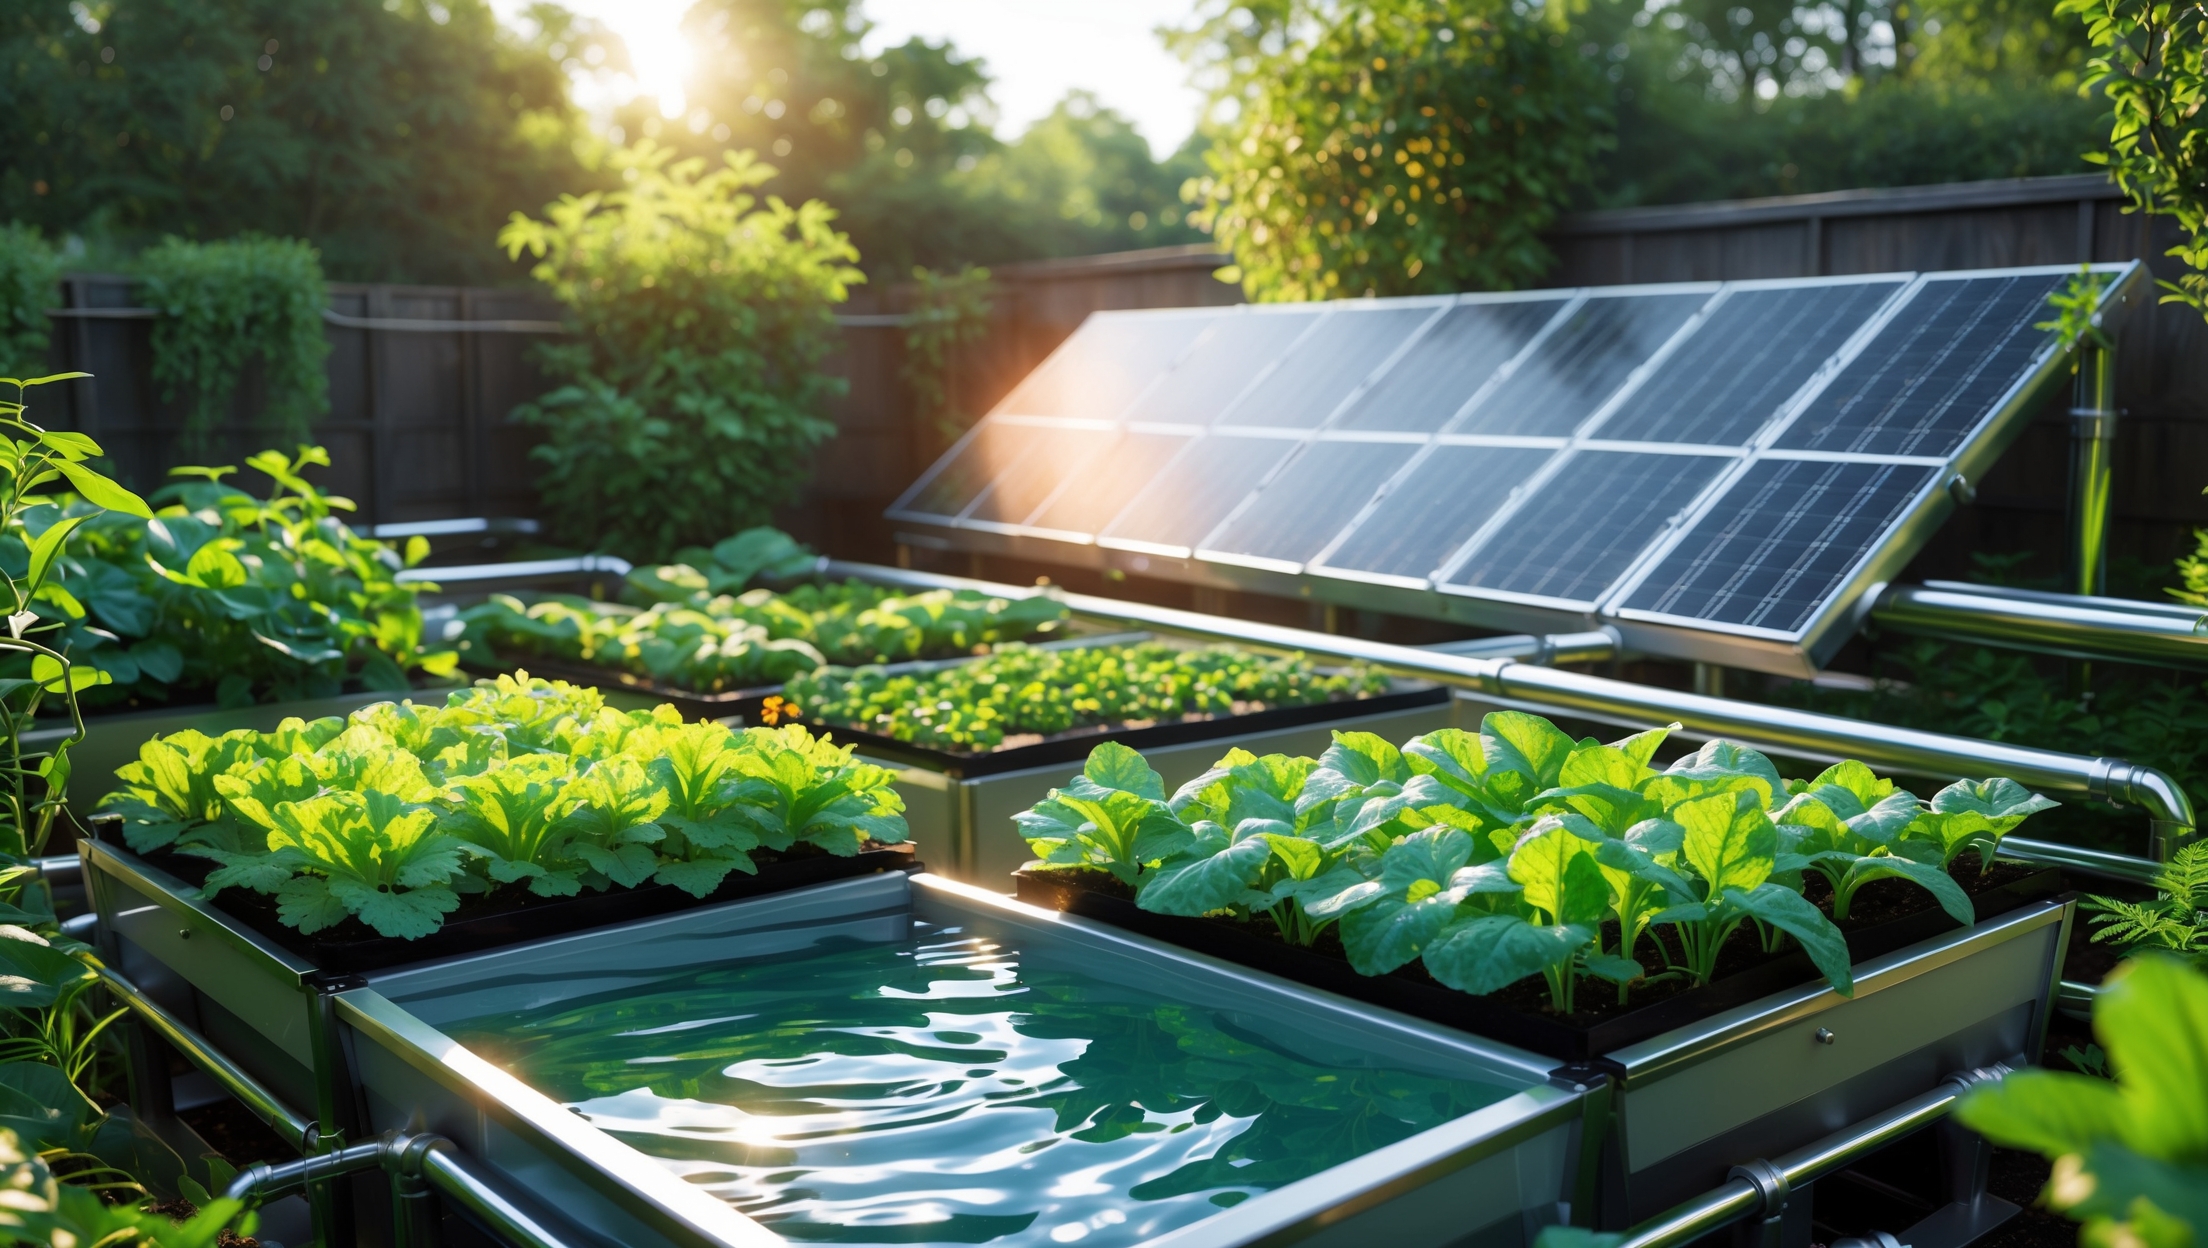
3. Pump and Plumbing Safety
3.1 Secure Pump Placement
- Stable Mounting: Anchor the pump to a solid, level base above the highest anticipated water level. Floating or loosely placed pumps can tip, draw debris, or become submerged and damaged.
- Splash and Moisture Barriers: Position splash guards or barriers to prevent water spray from reaching electrical connections or solar panels.
3.2 Use Safe and Suitable Piping
- Pressure Ratings: Select hoses and pipes rated for the pump’s maximum pressure and temperature. Low-pressure garden hose can burst if used on high-output pumps.
- Non-Toxic Materials: For potable water, use food-grade tubing and avoid PVC with questionable additives.
- Flexible Couplings: Use flexible couplings or unions near the pump to absorb vibration and simplify maintenance.
3.3 Protect Against Freezing and Overheating
- Freeze Protection: In cold climates, insulate pipes and consider automatic drain-back valves or heat tape to prevent freezing and bursts.
- Overheating Prevention: Avoid placing black pipes in direct sun where water can overheat and damage the pump or affect water quality.
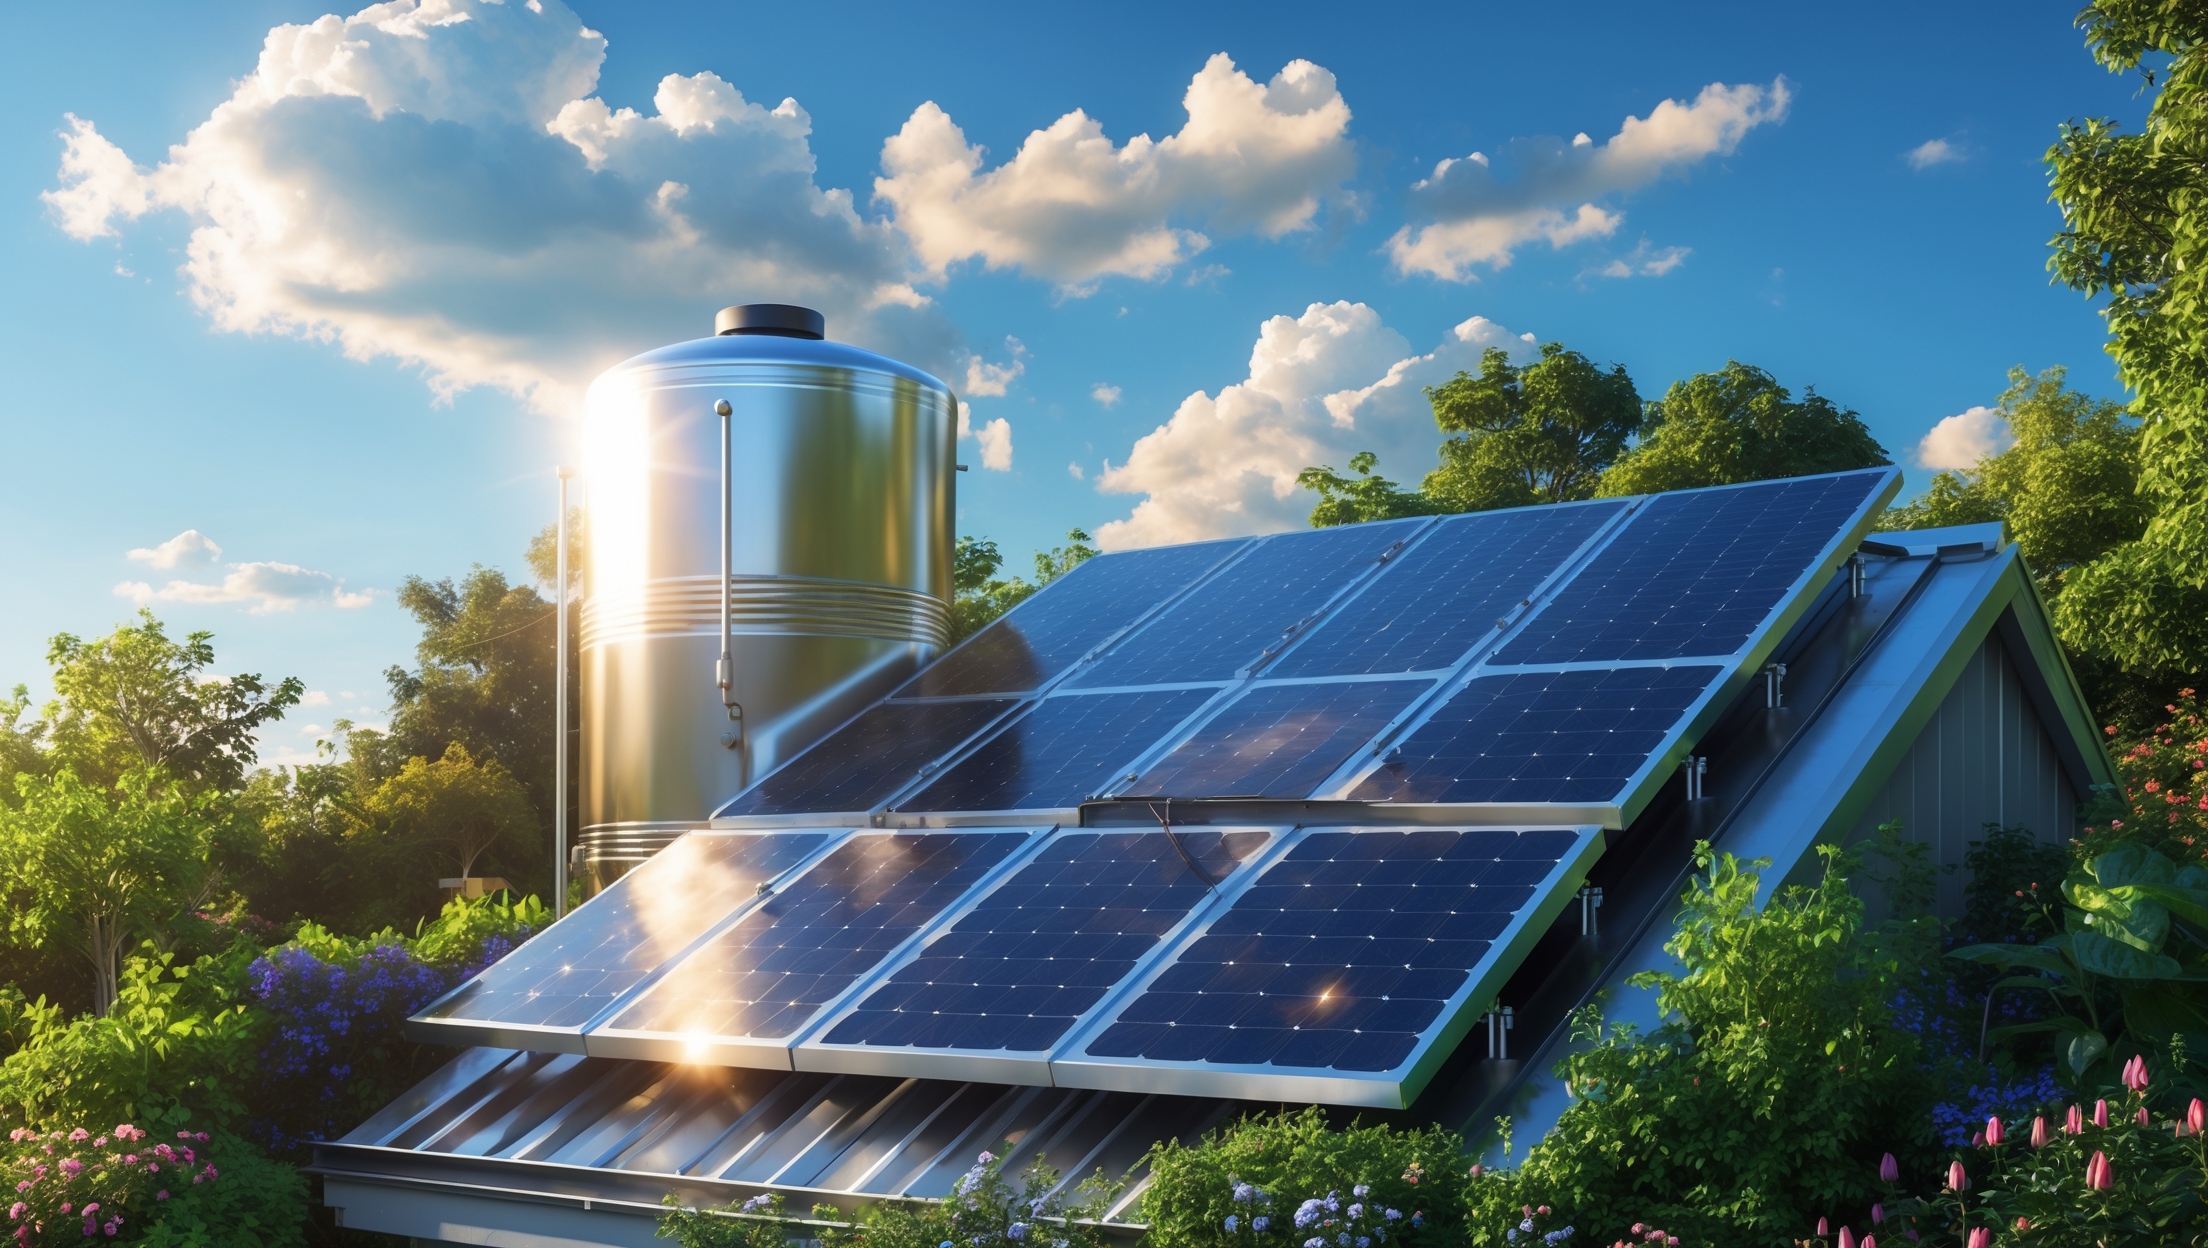
4. Solar Panel Mounting Safety
4.1 Structural Integrity
- Rated Mounts: Use solar panel racking systems or mounts designed for your panel size and wind zone. Avoid makeshift mounts that can fail in storms.
- Secure Fastening: Double-check all bolts, clamps, and brackets. Use lock washers or thread-locking compound to prevent loosening.
4.2 Tilt and Orientation Safety
- Safe Ladder Use: When installing panels on a shed or small roof, use a stable ladder with non-slip feet. Always work with a spotter if possible.
- Fall Protection: For elevated installations, use a safety harness and anchor point. Never reach or lean excessively off ladders or platforms.
4.3 Lightning and Surge Protection
- Surge Arrestors: Install DC surge protectors at the combiner box and between the solar array and charge controller to protect against lightning-induced voltage spikes.
- Panel Grounding: Ensure panels are grounded per manufacturer and local code requirements.
5. Battery Storage Safety (If Applicable)
5.1 Safe Battery Selection and Placement
- Proper Battery Type: For small solar pump systems, sealed AGM or lithium batteries are safer and require less ventilation than flooded lead-acid types.
- Ventilation: If using lead-acid batteries, install in a well-ventilated, weatherproof enclosure away from living spaces to prevent buildup of explosive hydrogen gas.
- Physical Protection: Secure batteries against tipping, accidental impact, and animal interference.
5.2 Electrical Protections
- Battery Fusing: Place a fuse or breaker as close as possible to the positive battery terminal to protect against short circuits.
- Proper Polarity: Always double-check connections for correct polarity before energizing the system to prevent battery or controller damage.
5.3 Preventing Chemical Hazards
- Spill Containment: Place batteries in a tray or secondary containment to capture any leaks or spills.
- Personal Protection: Wear gloves and eye protection when handling batteries, especially when connecting or disconnecting terminals.
6. Personal Protective Equipment (PPE) and Safe Work Practices
6.1 Essential PPE for Solar Pump Installation
- Insulated Gloves: Protect hands from electrical shock during wiring and connections.
- Safety Glasses: Guard eyes from accidental arc flashes, debris, or splashing water.
- Closed-Toe Shoes: Prevent foot injuries from dropped tools, sharp objects, or electrical hazards.
6.2 Safe Handling of Tools and Materials
- Insulated Tools: Use tools with insulated handles for all electrical work.
- Dry Work Environment: Avoid working in wet conditions. If necessary, use ground-fault circuit interrupters (GFCIs) on power tools.
- Lockout/Tagout: When making adjustments or repairs, disconnect solar panels from the controller and tag them to prevent accidental energizing.
6.3 Lifting and Ergonomics
- Team Lifting: Solar panels and some pumps can be heavy or awkward. Lift with a partner and use proper technique to avoid strains.
- Tool Storage: Keep tools organized and clear of walkways to avoid trips and falls.
7. System Testing and Commissioning Safety
7.1 Initial Power-Up Checks
- Voltage Verification: Use a multimeter to check voltage at each stage (panels, controller, pump) before final connections. Confirm all readings match system specifications.
- Water Flow Testing: Monitor for leaks, unusual noises, or vibrations on initial pump startup. Shut down immediately if any abnormality is detected.
7.2 Emergency Shutdown Procedures
- Accessible Disconnects: Install clearly labeled DC disconnect switches for both the solar array and the pump circuit, within easy reach for rapid shutdown in emergencies.
- Emergency Plan: Inform all household members or coworkers of shutdown procedures and locations of disconnects.
8. Ongoing Maintenance and Safety
8.1 Regular Inspection Schedule
- Monthly Visual Checks: Inspect all wiring, panel mounts, and pump housings for damage, corrosion, or signs of animal activity.
- Seasonal Cleanings: Clean solar panels with non-abrasive cloth and water to maximize performance. Clear debris from around the pump intake.
8.2 Safe Maintenance Practices
- De-Energize Before Service: Always disconnect power sources before performing any maintenance or repairs, even for quick checks.
- Documentation: Keep a detailed maintenance log, noting dates, findings, and corrective actions. This aids troubleshooting and warranty claims.
8.3 Wildlife and Pest Safety
- Rodent Protection: Use conduit or armored cable to prevent animals from chewing wires.
- Insect Barriers: Install fine mesh screens over pump intakes and vent openings to block insects or debris.
9. Local Codes, Permits, and Utility Notification
9.1 Understand Local Requirements
- Permit Research: Check with your city or county building department for any required permits or inspections. Some areas regulate even small solar or water installations.
- Electrical Codes: Adhere to NEC or local code requirements for wiring, grounding, and overcurrent protection.
9.2 Notify Utilities if Necessary
- Grid-Tied Systems: If your solar pump system connects to the grid, notify your utility and follow their interconnection requirements.
- Water Rights: In some states, extracting water from wells or streams may require notification or permits. Check local regulations.
Conclusion: Protect Your Investment and the Planet—Safely
DIY solar-powered water pump installations can deliver reliable, sustainable water management for your property, reduce your environmental footprint, and save on utility costs. But the journey from sunny idea to fully functioning system must be paved with safety at every step. Skipping key precautions—whether in wiring, mounting, plumbing, or maintenance—not only puts your equipment at risk, but can also endanger you, your family, and your property. By following this safety checklist, you’ll set yourself up for long-term success: your panels will last longer, your pump will run reliably, and you’ll minimize troubleshooting headaches. More importantly, embracing safe installation practices models responsible stewardship for your community and paves the way for broader adoption of green technologies. Before you flip the switch on your new solar pump, double-check every item on this list. Invest the extra time in protective measures, and you’ll enjoy years of worry-free, sustainable water solutions—confident that you’ve done your part for both your home and the planet. Happy pumping, and stay safe!

After the initial setup, how often should the system be checked to ensure ongoing safety, especially in regions prone to sudden weather changes or seasonal flooding?
It’s best to inspect your solar-powered water pump system at least once a month, especially if you live in areas with unpredictable weather or seasonal flooding. After any severe storm or flooding event, do a thorough check for damage, loose wiring, and debris around the system. Regular checks help you spot issues early and maintain safe, reliable operation.
For the pre-installation site assessment, how do you recommend evaluating ground stability if my soil is really sandy and shifts after heavy rain? Are there specific mounting techniques or products that work best in those conditions?
For sandy, shifting soil, it’s important to use wider or helical ground anchors rather than standard stakes, as they offer better grip and stability. Compacting the soil as much as possible before installation also helps. You might consider concrete footings or ground plates beneath the mounts to distribute weight and prevent sinking. Always reassess after heavy rains to ensure the mounts remain secure.
Can you elaborate on what specific types of water protection measures should be taken to safeguard electrical connections during and after the installation of a solar-powered water pump, especially in areas with occasional heavy rain or high humidity?
To safeguard electrical connections, use waterproof junction boxes and ensure all cable glands are tightly sealed. Apply silicone sealant around entries, and use heat-shrink tubing on wire splices for added protection. Elevate connections above ground level to avoid water pooling, and check that all enclosures meet at least an IP65 rating. After installation, regularly inspect seals and replace any worn gaskets or cracked housings to maintain ongoing water resistance.
Can you clarify what ongoing maintenance safety steps are most critical for ensuring long-term efficiency of a solar-powered water pump, especially in areas with lots of vegetation or changing sunlight conditions throughout the year?
To maintain long-term efficiency, regularly clear vegetation around both the solar panels and the pump to prevent shading and blockages. Inspect and clean the solar panels to ensure they receive maximum sunlight, especially as seasons change. Check wiring for wear or animal damage, and confirm all electrical connections remain secure and dry. Also, periodically test pump operation and water flow, making sure filters and intakes are free from debris.