Introduction: Why a Seasonal Checklist Matters for Solar-Powered Water Filtration
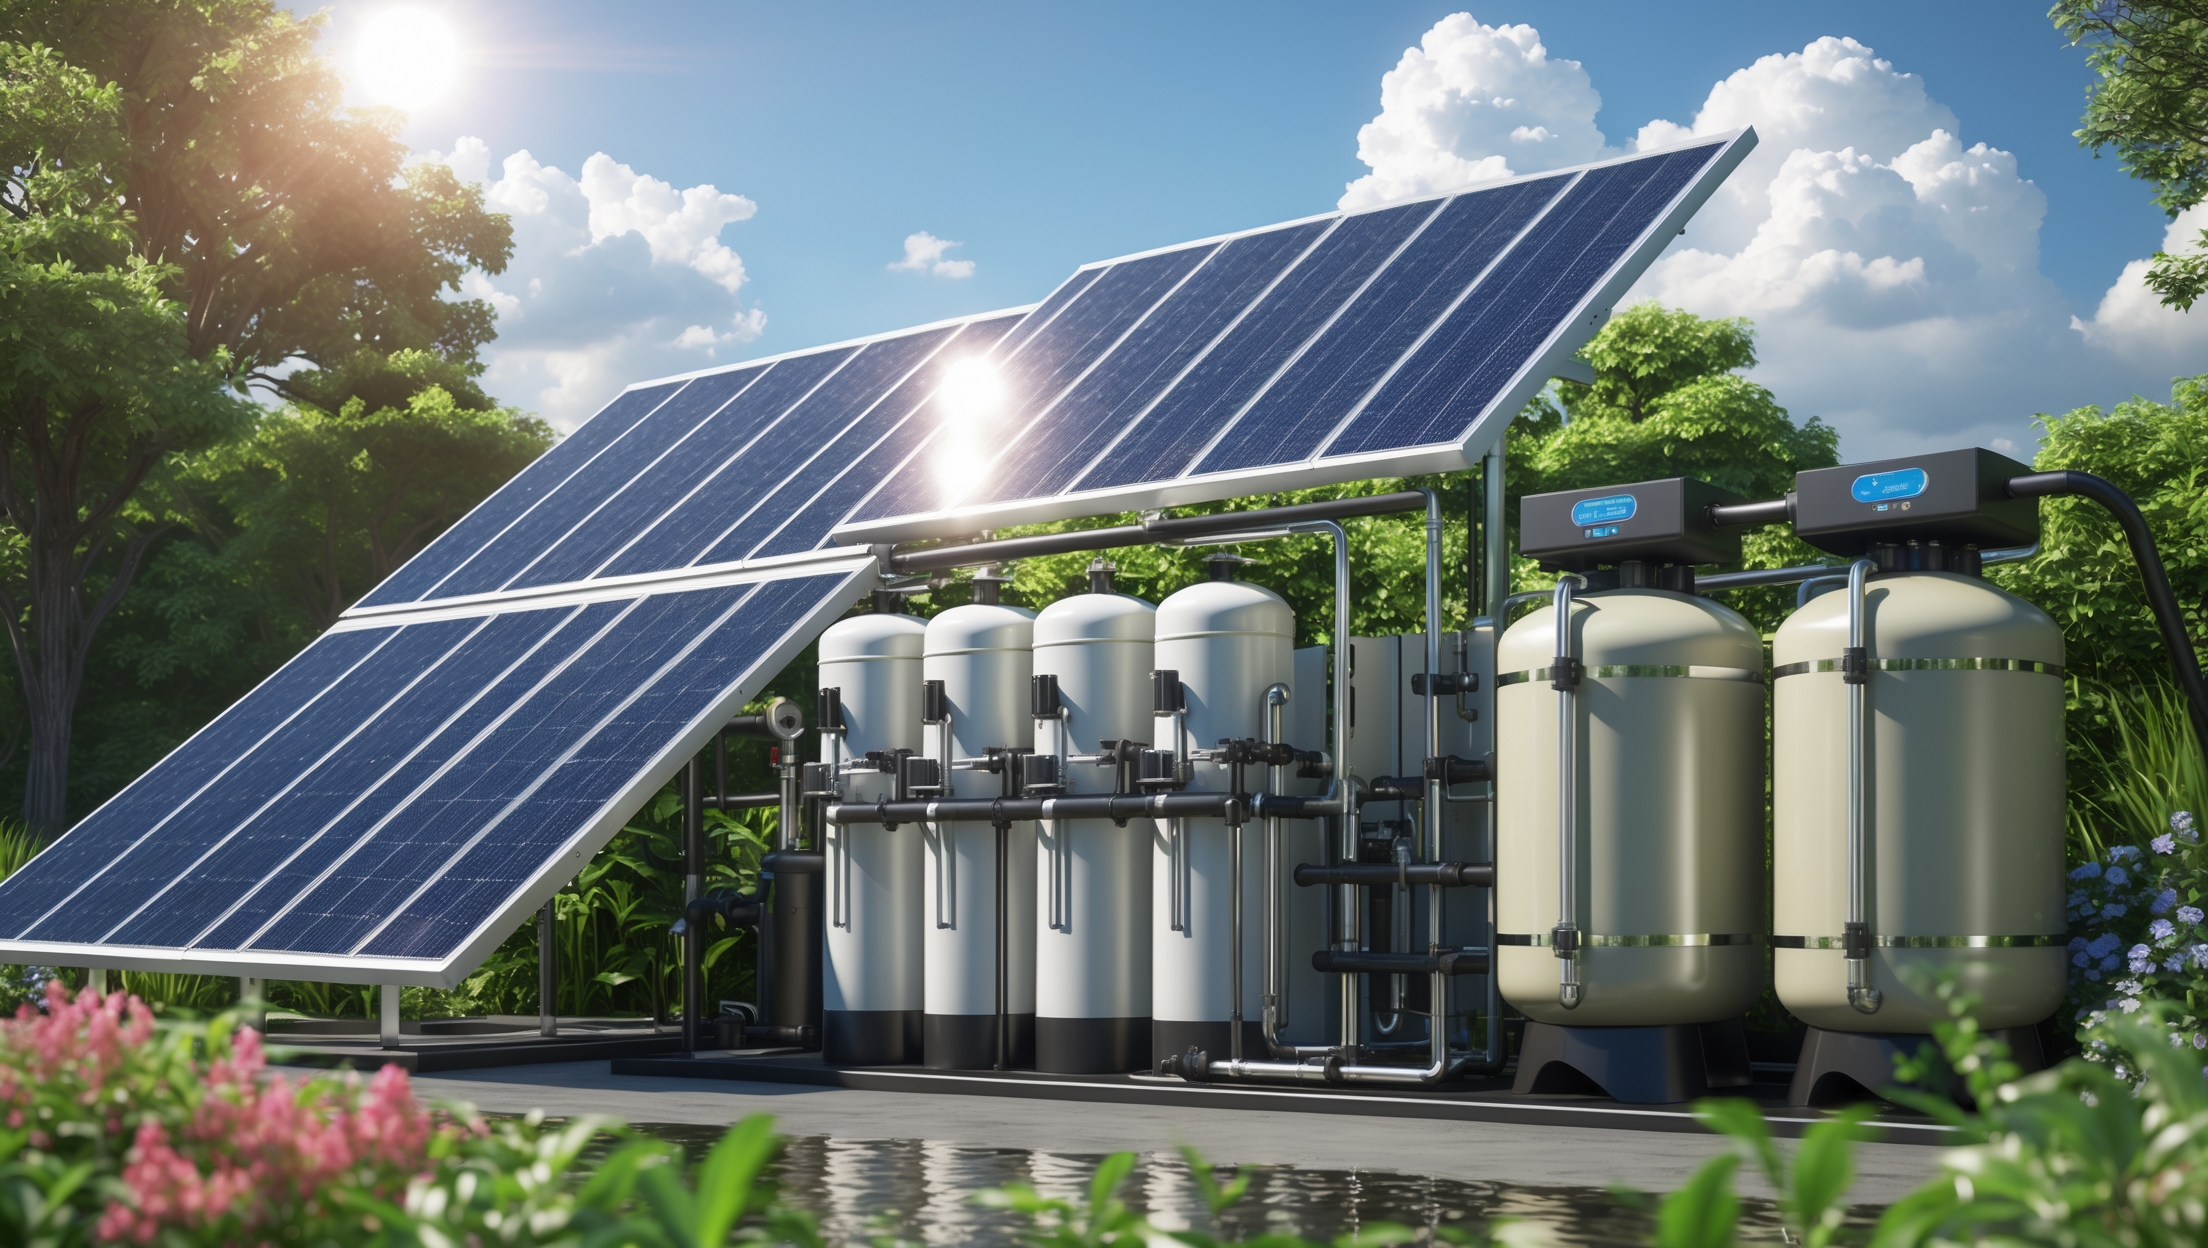
Solar-powered water filtration systems are gaining traction among sustainability-minded homeowners who want energy independence and clean, reliable water. While the initial setup is a major step, ongoing maintenance is what ensures your investment delivers safe water, high efficiency, and long-term reliability. However, many homeowners underestimate how seasonal changes—temperature swings, rainfall, debris, and sunlight variability—directly impact both the solar and filtration components. Without a tailored, seasonally adjusted checklist, you risk reduced water quality, unexpected breakdowns, and costly repairs.
This in-depth seasonal checklist will help you proactively maintain your solar-powered water filtration system, whether you rely on it for drinking water, irrigation, or off-grid living. We’ll break down essential tasks for spring, summer, fall, and winter, discuss the reasoning behind each, and provide expert tips for optimum performance. By following this checklist, you’ll maximize your system’s efficiency, safeguard water quality, and extend the lifespan of your equipment—all while reducing your environmental footprint.
Spring: System Reawakening After Winter Dormancy
1. Full System Inspection
- Visual check for winter damage: Inspect solar panels, mounting hardware, cabling, water storage tanks, and all filtration components for cracks, corrosion, or weather-induced wear.
- Panel integrity: Look for loose connections, broken glass, or mounting shifts caused by ice or wind.
- Filtration housing: Check for leaks, frost cracks, and verify all O-rings and seals remain watertight.
2. Cleaning and Clearing
- Solar panels: Gently clean panels with soft brushes and water to remove pollen, dust, and bird droppings for maximum sunlight absorption.
- Filter pre-screens: Remove leaves, twigs, and debris from intake screens and gutters.
- Water storage tanks: Clean tank interiors (if accessible) and flush stagnant water if the system was shut down over winter.
3. Restoring and Testing Flow
- Valve check: Open and close all manual and automated valves to ensure smooth operation and no sticking from prolonged inactivity.
- Flow rate testing: Measure water flow rate at entry and exit points to confirm normal operation; note any significant drops which could indicate blockages.
4. Filter and Media Replacement
- Filter cartridges: Replace sediment, activated carbon, or specialty filter cartridges per manufacturer’s schedule, or if water quality tests fall short.
- UV lamp: Test and replace UV disinfection bulbs if necessary (typically every 9-12 months).
5. Battery and Electrical System Check
- Battery inspection: Check for corrosion at terminals, ensure tight connections, and test charge/discharge cycles.
- Wiring & Controller: Inspect wiring for rodent damage, check the charge controller settings, and update firmware if applicable.
Summer: Peak Demand and Sun Exposure
1. Maximizing Solar Efficiency
- Panel cleaning: Increase cleaning frequency to bi-weekly if dust or pollen levels are high.
- Shade management: Trim nearby trees or shrubs to prevent new summer growth from shading panels.
- Panel tilt adjustment: If your system allows, adjust tilt for optimal summer solar angle to capture maximum sunlight.
2. Performance Monitoring
- Water output logs: Track daily output and compare with previous months. Sudden drops may indicate filter clogging or pump issues.
- Temperature checks: Monitor system components for overheating, especially batteries and pumps, which can degrade under high temperatures.
3. Filtration System Upkeep
- Biofilm inspection: Warm weather accelerates biofilm growth in tanks and pipes. Inspect and flush regularly to prevent buildup.
- Chlorine or UV system: Ensure adequate disinfection, as higher temperatures can promote microbial growth. Test water quality weekly.
4. Leak Detection
- Joint checks: Expansion and contraction from heat can loosen fittings. Check all joints and seals for drips or wet spots.
- Pressure gauge readings: Monitor for unexplained drops, which can signal hidden leaks or pump inefficiency.
5. Battery and Pump Care
- Ventilation: Ensure battery and pump enclosures are well-ventilated to prevent heat buildup.
- Water level: For flooded lead-acid batteries, top up distilled water as needed.
Fall: Preparing for Decreasing Sunlight and Colder Weather
1. Pre-Winter System Assessment
- Panel cleaning: Remove autumn leaves and debris from panels and gutters.
- Panel angle adjustment: If possible, steepen panel tilt to capture lower-angle winter sun and shed snow more effectively.
- Insulation check: Inspect and add insulation to pipes, tanks, and filters vulnerable to freezing.
2. Filtration and Storage Readiness
- Filter replacement: Replace or clean filters to prepare for reduced maintenance access in winter.
- Tank covers: Secure or install covers to keep out falling leaves and deter rodents seeking warmth.
3. Drainage and Freeze Protection
- Drain low points: For systems in freezing climates, drain water from exposed pipes and components not rated for sub-zero temperatures.
- Heat tape installation: Consider adding electric heat tape to critical pipes if freezing is a risk.
4. Battery and Electrical Maintenance
- Charge state: Fully charge batteries before first frost; cold weather reduces battery capacity.
- Enclosure checks: Ensure all electrical and battery enclosures are weatherproof and rodent-proof.
Winter: Safeguarding Against the Elements
1. Ongoing System Monitoring
- Snow removal: Gently clear snow from panels after storms to restore output. Use a soft brush or roof rake; avoid sharp tools.
- Ice dam checks: Inspect around panels and mounting points for ice buildup that can dislodge hardware.
2. Water Quality Assurance
- Water sampling: Test filtered water monthly for contaminants, as colder temperatures can mask taste or odor issues.
- Disinfection verification: Confirm UV lamps or chemical dosing systems are working properly; cold water can reduce effectiveness of some systems.
3. System Protection and Emergency Preparedness
- Backup water storage: Keep an emergency reserve in case of solar or filtration system downtime during prolonged storms.
- Insulation maintenance: Check insulation for shifting or rodent damage and repair as necessary.
4. Battery and Electrical System Oversight
- Voltage monitoring: Cold weather can cause voltage drops; monitor battery charge closely and reduce electrical loads if necessary.
- Controller logs: Review charge controller data for irregularities that may signal failing components.
General Year-Round Best Practices
1. Record-Keeping and Scheduling
- Maintenance logs: Keep detailed records of inspections, filter changes, water tests, and repairs for troubleshooting and warranty claims.
- Calendar reminders: Set digital alerts for seasonal and monthly tasks to avoid missed maintenance.
2. Water Quality Monitoring
- Test kits: Use home water test kits or periodic lab testing to check for bacteria, minerals, and chemical contaminants.
- Monitoring devices: Consider installing connected sensors for real-time pH, turbidity, and flow data.
3. Professional Inspection
- Annual checkup: Schedule a professional system inspection annually to catch issues beyond DIY scope, such as advanced electrical diagnostics or pressure testing.
Troubleshooting: Seasonal Red Flags and Quick Fixes
Spring & Fall
- Low flow after startup: Check for airlocks in the system. Bleed air from pipes and prime pumps as needed.
- Strange odors: Flush storage tanks and replace carbon filters if water smells musty after dormancy.
Summer
- Sudden water quality drop: Check for biofilm in filters and tanks. Increase cleaning frequency and verify UV or chemical disinfection.
- Overheating: Shade battery enclosures and ensure adequate airflow to pumps.
Winter
- Frozen pipes: Thaw pipes gently with warm towels or heaters; never use open flames. Install or repair insulation and heat tape.
- No power from panels: Clear snow, inspect for ice-damaged wiring, and monitor system diagnostics for faults.
Conclusion: Long-Term Success Through Seasonal Diligence
Solar-powered water filtration systems are a cornerstone of sustainable, resilient living. But like any complex technology, their performance and longevity hinge on attentive, proactive care—especially as the seasons change. By following this comprehensive checklist, you’re not just protecting your investment but also ensuring a reliable supply of clean water and reducing your household’s environmental impact year after year.
Routine seasonal maintenance does more than prevent breakdowns: it optimizes energy capture, preserves water quality, and helps you catch small issues before they snowball into expensive repairs. Diligent checks of solar panels, batteries, filters, and plumbing—tailored for spring’s renewal, summer’s peak, fall’s preparation, and winter’s challenges—form a robust defense against the unpredictable forces of nature.
Remember, sustainability isn’t a set-and-forget endeavor. It’s a commitment to stewardship that pays dividends in savings, peace of mind, and the satisfaction of knowing your home is part of the solution for a cleaner, greener future. Stay consistent with your seasonal checklist, leverage new monitoring technologies where possible, and don’t hesitate to call in professionals for complex issues. With care and attention, your solar-powered water filtration system will deliver safe, sustainable water for many years to come.


For the spring inspection, you mention checking O-rings and seals for leaks and frost cracks. Can you recommend any particular brands or materials for replacement parts that hold up best through harsh Midwest winters?
For Midwest winters, look for O-rings made from EPDM (ethylene propylene diene monomer) or silicone rubber, as both materials stay flexible and resist cracking in cold temperatures. Brands like Parker and Danco are reputable and widely available at hardware stores. Just be sure to match the size and thickness to your system’s specifications for a proper seal.
For families trying to stick to a budget, are there any essential tasks on the spring checklist we can’t skip, and which ones might be safe to do less often without risking water quality?
For families on a budget, it’s most important to prioritize inspecting and cleaning the solar panels, checking and replacing water filters if needed, and making sure the pump and storage tanks are clear of debris each spring. These steps have the biggest impact on system performance and water quality. Tasks like cosmetic cleaning of housing or checking backup batteries can generally be done less often without much risk.
I noticed you recommend cleaning the inside of water storage tanks in the spring after winter dormancy. Do you have any tips on how to do this safely if my tank is hard to access, or should I hire a professional for that part?
If your water storage tank is difficult to access or has tight spaces, it’s generally safer to hire a professional, especially to avoid the risks of confined spaces and ensure a thorough clean. If you do attempt it yourself, make sure the tank is fully drained, use non-toxic cleaners, and wear appropriate protective gear. However, for hard-to-reach or large tanks, professional services are recommended for both safety and effectiveness.
Can you recommend any particular cleaning tools or products that are safe for solar panels, since I’m worried about accidentally scratching the surface while trying to get rid of pollen and bird droppings after winter?
For cleaning solar panels safely, use a soft microfiber cloth or a non-abrasive sponge to avoid scratches. A gentle hose rinse works well for loosening pollen and debris. For tougher spots like bird droppings, a bucket of lukewarm water mixed with a few drops of mild dish soap is safe. Avoid abrasive pads, harsh chemicals, or high-pressure washers, as these can damage the panel surface.