
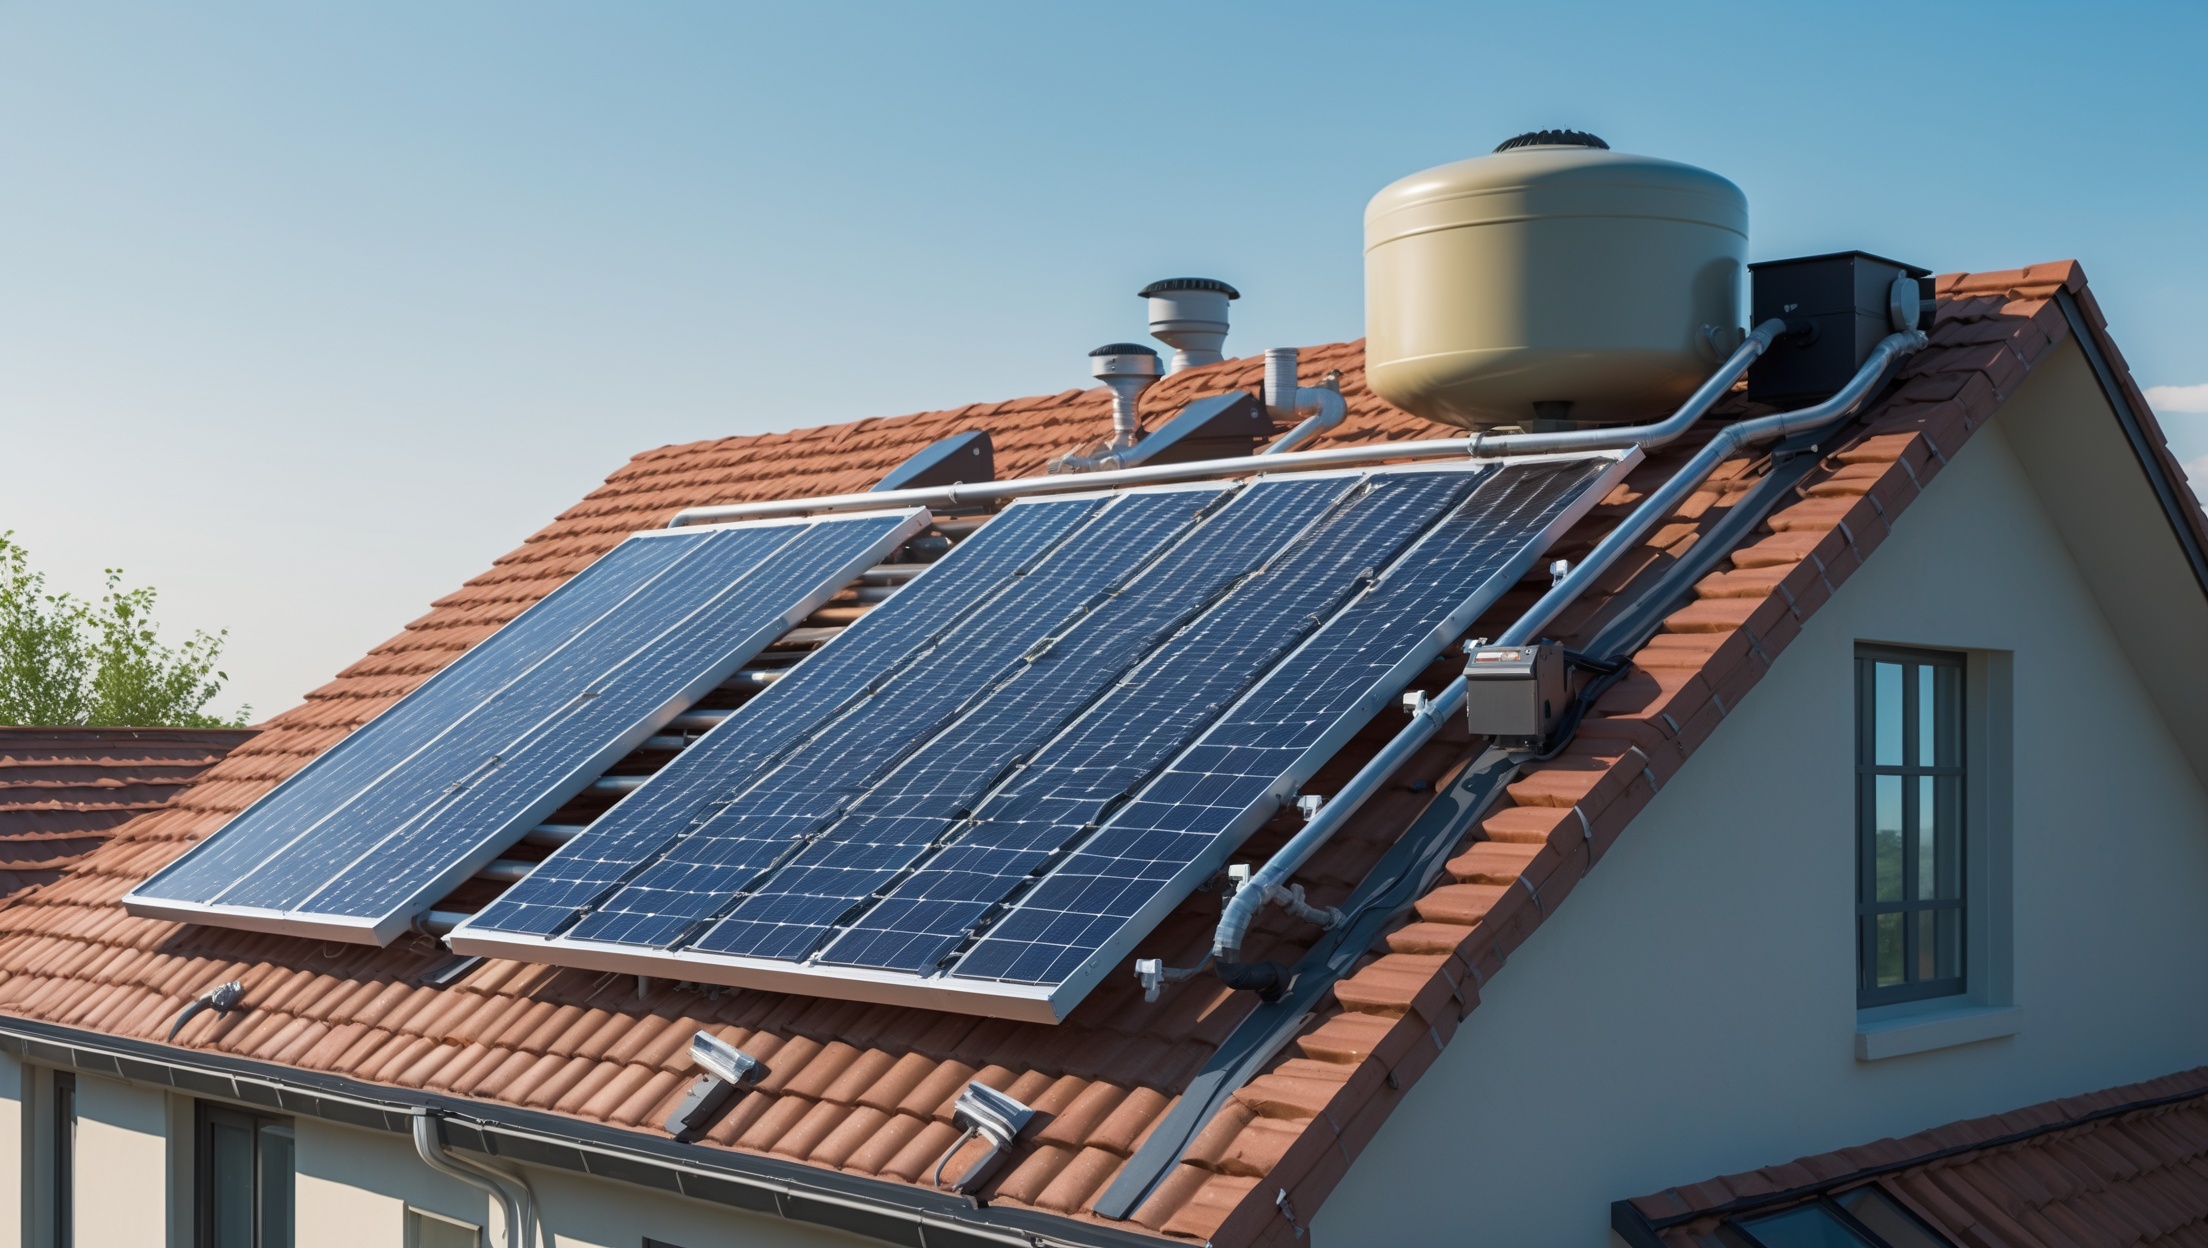
Introduction: Harnessing the Sun for Sustainable Hot Water
Heating water accounts for a significant portion of residential energy use, often leading to high utility bills and increased carbon emissions. As the demand for sustainable living grows, more homeowners are exploring solar-powered water heaters as a reliable, eco-friendly solution. By utilizing the sun’s abundant energy, these systems offer year-round efficiency, reduce reliance on fossil fuels, and deliver substantial long-term savings. However, the process of selecting, installing, and maintaining a solar water heater involves specific steps and considerations. This comprehensive tutorial is designed to walk you through each phase, from initial planning and choosing components to hands-on installation, troubleshooting, and ongoing care. Whether you’re a sustainability enthusiast or a practical homeowner seeking energy independence, this guide will provide you with the knowledge and confidence needed to successfully install a solar-powered water heater tailored to your home’s needs.
Understanding Solar Water Heater Systems
Types of Solar Water Heaters
Solar water heaters are not one-size-fits-all. Choosing the right type for your climate, household size, and budget is crucial.
- Active Systems: Use pumps or controllers to circulate water or heat-transfer fluid. Best for climates with occasional freezing.
- Passive Systems: Rely on natural convection to circulate water. Simpler and less expensive but less efficient in cold climates.
Within these categories, the two most common collector types are:
- Flat Plate Collectors: Durable and efficient for most climates. Consist of insulated, weatherproof boxes with a dark absorber plate.
- Evacuated Tube Collectors: Superior performance in cold or cloudy climates. Feature rows of glass tubes with vacuum insulation, minimizing heat loss.
Key Components Overview
- Solar Collectors: Capture solar energy and transfer it to water or a heat-transfer fluid.
- Storage Tank: Holds heated water for household use.
- Pump (Active systems): Circulates fluid between the collector and tank.
- Controller (Active systems): Optimizes system operation.
- Piping & Insulation: Connects components and reduces heat loss.
- Backup Heater: Ensures hot water during low-sun periods.
Planning and Sizing Your Solar Water Heater
Assessing Your Hot Water Needs
Begin by estimating your household’s daily hot water consumption. The average person uses 20–30 gallons per day for showers, washing, and cleaning. Multiply the number of occupants by 25 gallons for a ballpark figure. For example, a family of four typically uses about 100 gallons daily.
Evaluating Your Site
- Roof Orientation and Angle: South-facing roofs (in the Northern Hemisphere) are optimal. Ideal tilt equals your latitude ±15°.
- Shading: Ensure minimal shading from trees, chimneys, or neighboring structures, especially between 9 a.m. and 3 p.m.
- Structural Integrity: Confirm your roof can support the weight of collectors and mounting hardware.
- Space for Storage Tank: Plan for an indoor or outdoor location near existing water lines.
System Sizing Rules of Thumb
- Collector Area: Plan for 1.5–2.0 square feet of collector per person (for warm climates). Increase to 2.0–3.0 sq. ft. per person in cooler regions.
- Storage Tank Volume: Match gallons to daily use, e.g., 80–120 gallon tank for four people.
Choosing the Right System and Components
Selecting Collector Type and System Design
For most homes, a closed-loop active system with flat plate collectors balances efficiency, cost, and freeze protection. However, if you live in a cold climate, consider evacuated tube collectors or a drainback system to prevent freezing.
Picking a Storage Tank
Choose a tank with high insulation (R-16 or higher) to minimize standby heat loss. Some systems use a dedicated solar tank, while others retrofit existing electric or gas tanks as backups.
Essential Accessories and Additional Equipment
- Heat Exchanger: Required for closed-loop systems to transfer heat from the collector fluid to potable water.
- Pumps: Ensure the pump is rated for continuous operation and suitable for your system’s pressure and temperature.
- Controllers: Differential temperature controllers improve efficiency and prevent overheating or freezing.
- Mixing Valve: Prevents scalding by regulating water temperature at the tap.
- Pressure Relief Valve: Essential for safety to release excess pressure.
- Insulation: Use closed-cell foam or fiberglass pipe insulation rated for outdoor use.
Tools and Materials Checklist
- Power drill/driver
- Pipe wrenches and tubing cutters
- Adjustable wrench and screwdrivers
- Level and measuring tape
- Roof anchors and flashing
- Pipe insulation and weatherproofing tape
- Soldering kit (for copper pipes)
- Safety gear (gloves, eye protection, roof harness)
Step-by-Step Installation Process
1. Preparing the Site and Components
- Clear the installation area of debris and check for obstacles.
- Lay out all tools and components for easy access.
- Review the system schematic and manufacturer instructions.
- Shut off main water and power supply before beginning work.
2. Installing the Solar Collectors
- Mark mounting points on the roof based on collector dimensions and rafter layout.
- Drill pilot holes and attach roof anchors, ensuring they are securely fastened to structural members.
- Install flashing around anchors to prevent leaks.
- Mount collector frames, ensuring proper tilt and orientation for maximum sun exposure.
- Secure collectors to frames. Double-check alignment and stability.
3. Routing and Insulating Piping
- Plan the shortest, most direct route from collectors to storage tank.
- Install copper or PEX piping as specified. Use unions or flexible connectors to allow for expansion and contraction.
- Insulate all exterior and attic piping with weatherproof insulation to minimize heat loss and prevent freezing.
- Seal all roof penetrations with appropriate flashing and roofing sealant.
4. Setting Up the Storage Tank
- Place the tank on a stable, level surface near existing plumbing and electrical connections.
- Install a mixing valve and pressure relief valve on the tank’s hot water outlet.
- Connect cold water inlet and hot water outlet lines to the tank.
- For closed-loop systems, install the heat exchanger and connect to the collector loop.
5. Installing the Pump and Controller (Active Systems)
- Mount the circulation pump in the return line from the collector to the tank. Follow the manufacturer’s flow direction arrow.
- Install the controller in a protected indoor location. Connect temperature sensors to the collector and storage tank as directed.
- Wire the pump and controller to a dedicated circuit. Use waterproof electrical boxes for all outdoor connections.
6. Connecting the Backup Heater
- If using an existing electric or gas tank, connect its cold water inlet to the solar storage tank’s outlet.
- Ensure the backup heater is properly wired and plumbed, with clear labeling for future maintenance.
7. Filling and Testing the System
- Check all connections for leaks and tighten as needed.
- Fill the collector loop with non-toxic heat-transfer fluid (propylene glycol) for closed-loop systems, or potable water for open-loop systems.
- Bleed air from the lines using system vents.
- Restore water and power supply. Monitor the pump and controller for correct operation.
- Check pressure relief valves and mixing valve operation.
Troubleshooting and Fine-Tuning
Common Installation Issues
- Leaks: Inspect all joints, unions, and tank fittings. Tighten or re-solder as necessary.
- Poor Collector Performance: Verify orientation, tilt, and shading. Clean glass surfaces regularly.
- Pump Not Circulating: Check power supply, controller settings, and for airlocks in the lines.
- Overheating: Ensure the controller is shutting off the pump when the tank is at maximum safe temperature. Consider adding a heat dump loop if needed.
System Optimization Tips
- Track temperature differentials between collector and tank. Aim for a 10–20°F increase on sunny days.
- Schedule periodic checks during the first month of operation to catch minor issues early.
- Label all valves and controls for easy identification during maintenance and emergencies.
Maintenance Best Practices
Routine Tasks
- Inspect collectors monthly for dirt, debris, or snow. Clean with a soft brush and mild detergent if necessary.
- Check pipe insulation for damage or UV degradation twice per year.
- Flush the storage tank annually to remove sediment buildup.
- Test pressure relief valves every six months.
- Monitor heat-transfer fluid levels (for closed-loop systems) and top up or replace every 3–5 years.
Seasonal Considerations
- In cold climates, verify antifreeze concentration before winter.
- After storms or high winds, check mounting hardware and collector alignment.
- In high pollen or dust areas, increase collector cleaning frequency during spring and fall.
Safety Considerations and Compliance
Working Safely on Roofs
- Always use a fall arrest harness and secure ladders.
- Never work alone—have a spotter or assistant on the ground.
- Check weather forecasts and avoid working in wet or windy conditions.
Plumbing and Electrical Codes
- Follow local codes for plumbing connections, pressure relief, and backflow prevention.
- Ensure all electrical wiring is installed by a licensed electrician if you lack experience.
- Obtain required permits and schedule inspections as needed.
Cost Estimates and Budgeting
Typical Cost Breakdown
- Solar Collectors: $1,000–$3,000
- Storage Tank: $800–$2,000
- Pumps, Controllers, Valves: $400–$1,200
- Piping and Insulation: $300–$700
- Mounting Hardware: $300–$800
- Installation Labor (if not DIY): $2,000–$4,000
Total Typical DIY Cost: $2,500–$6,000
Professional Installation: $5,000–$10,000
Long-Term Savings and Incentives
- Solar water heaters can reduce water heating bills by 50–80%.
- Federal, state, and utility incentives may offset installation costs by up to 30% or more.
- Payback periods typically range from 3–7 years depending on local energy rates and sun exposure.
Conclusion: Empowering Your Home with Solar Hot Water
Transitioning to a solar-powered water heater is one of the most impactful steps you can take toward sustainable living, offering immediate and long-term benefits for your household and the planet. By following this step-by-step guide, you’ve learned how to plan, select, and install the right solar water heating system for your needs, while ensuring efficiency, safety, and code compliance. The process, while detailed, is entirely achievable for dedicated DIYers and can be streamlined by professional installers if you prefer extra peace of mind. Remember that proper sizing, careful installation, and regular maintenance are key to maximizing your system’s performance and extending its lifespan. As you enjoy consistent hot water powered by the sun, you’ll not only cut energy costs but also contribute to a cleaner, greener future. Stay curious, keep learning, and share your solar journey to inspire others in your community to embrace renewable solutions for everyday living.