

Introduction: Achieving Year-Round Efficiency with Solar Pool Heating
Solar pool heating systems have revolutionized backyard comfort, offering an energy-efficient way to extend your swimming season without the high utility costs of traditional heaters. But to reap the full benefits—warm water, lower bills, and sustainable relaxation—your solar pool heating system requires targeted care throughout the year. The unique demands of each season can impact system performance, water quality, and energy efficiency. This detailed checklist is designed for homeowners who want practical, expert guidance on optimizing their home solar pool heating system for every season. Whether you’re a new solar pool owner or seeking to refine your maintenance strategy, this guide walks you through step-by-step actions and troubleshooting tips to keep your system running at peak performance all year long.
Understanding Your Solar Pool Heating System
Key Components and How They Work
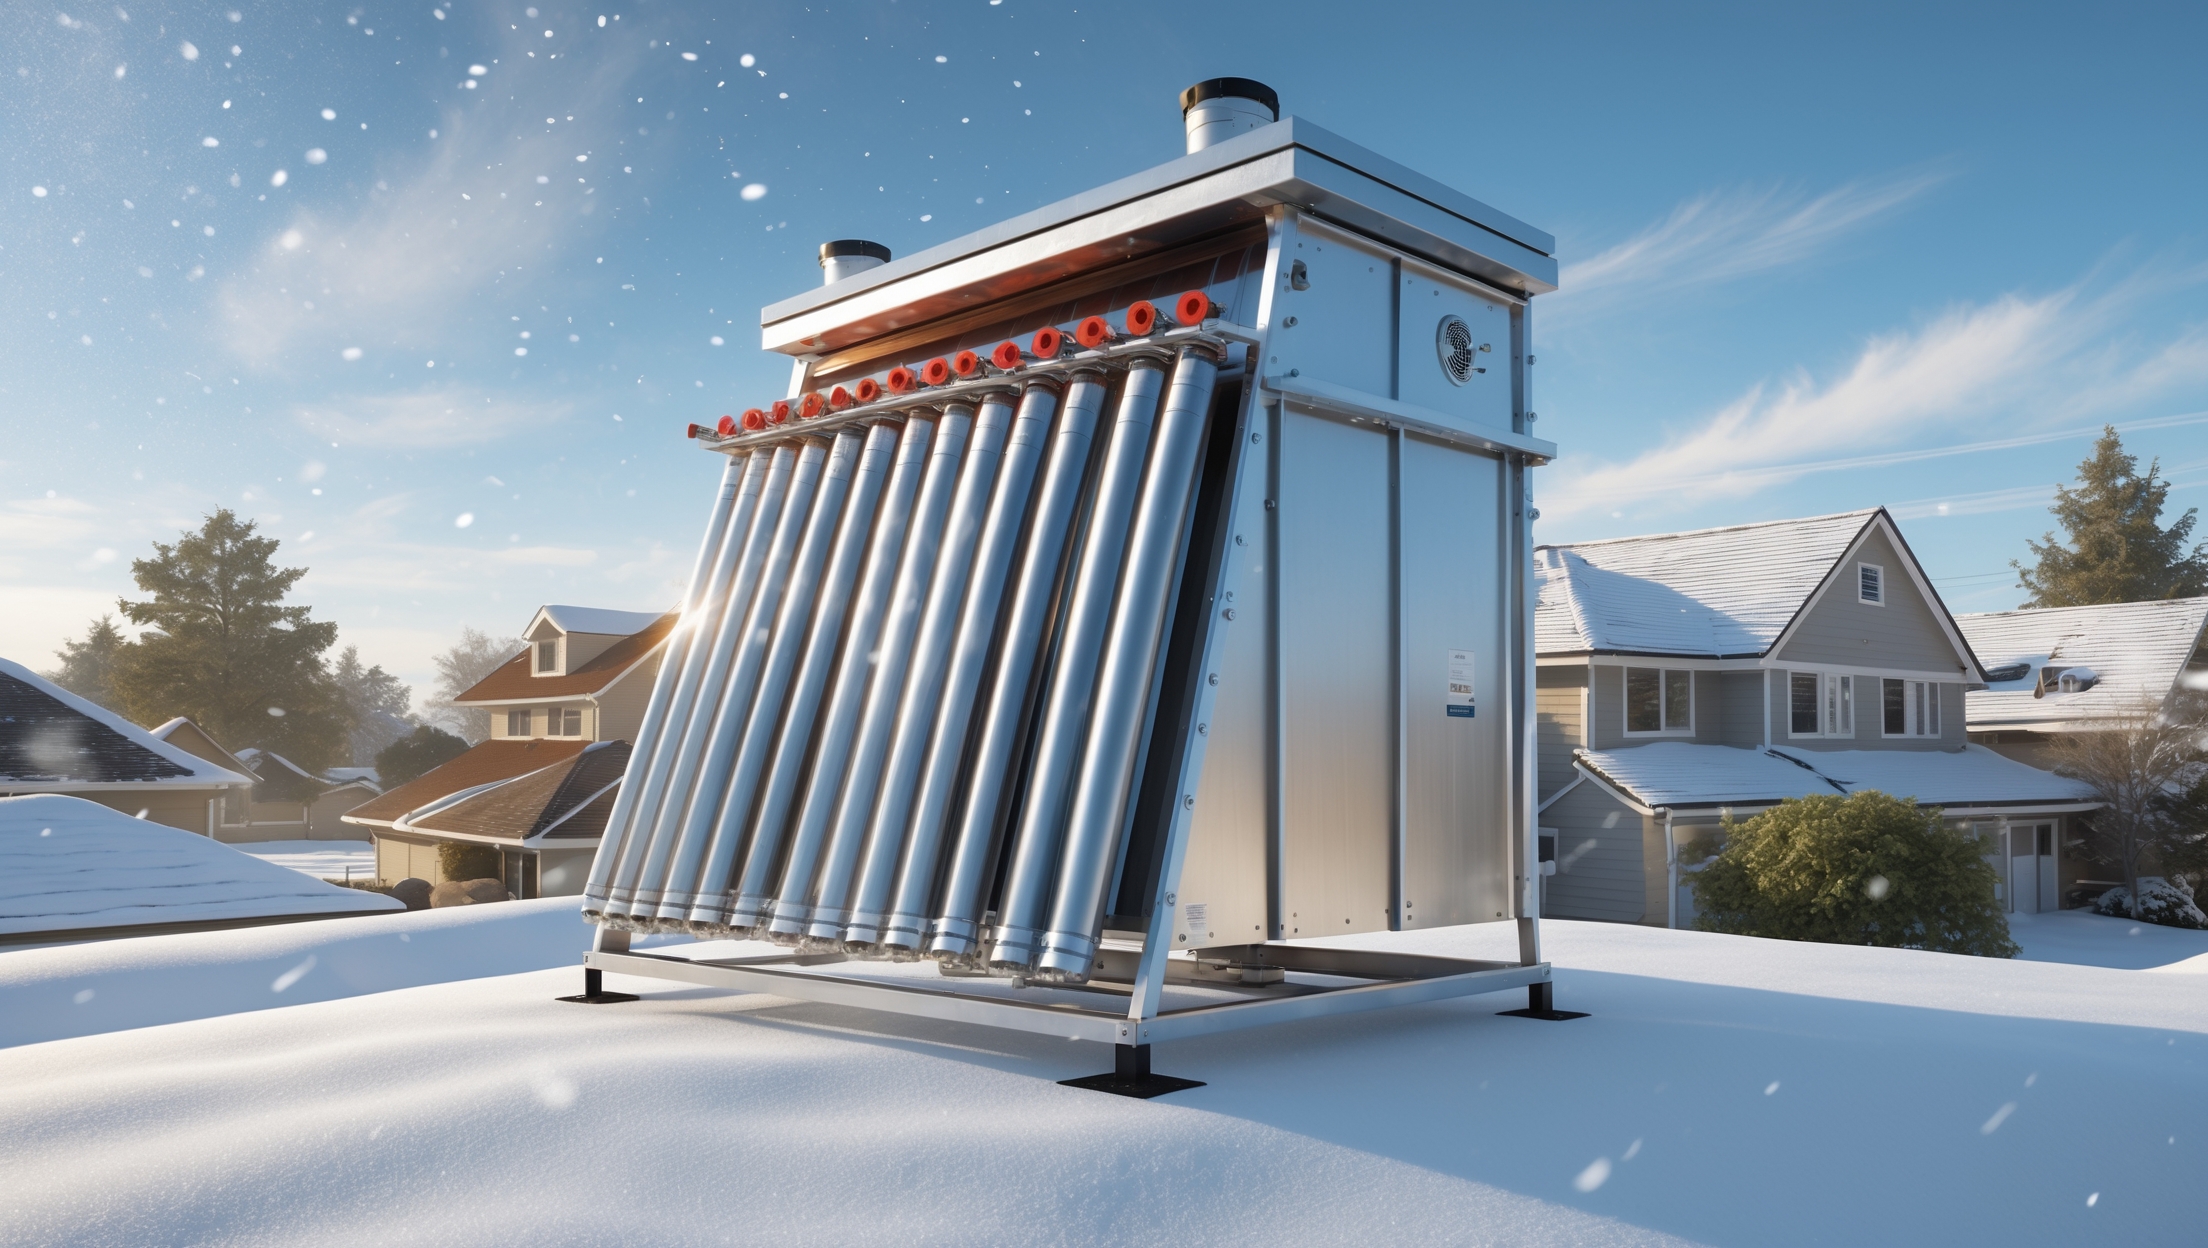
A typical home solar pool heating setup includes solar collectors (roof or ground-mounted panels), a pump, flow control valves, a filter, and a controller or temperature sensors. Pool water is pumped through the filter and then through the solar collectors, where it is heated by the sun before returning to the pool. Understanding each component’s function is crucial for effective maintenance and troubleshooting.
- Solar Collectors: Absorb and transfer solar energy to pool water.
- Pump: Circulates water through the system.
- Flow Control Valves: Direct water through collectors or bypass as needed.
- Controller/Temperature Sensors: Automatically turn the system on/off based on temperature settings.
- Filter: Protects collectors from debris and maintains water clarity.
Knowing the location and function of each component makes it easier to follow the seasonal checklist and address minor issues before they escalate.
Spring: System Startup and Inspection
1. Visual Inspection
- Check for Debris and Obstructions: Remove leaves, twigs, or animal nests from around collectors and plumbing.
- Inspect Panels for Damage: Look for cracks, broken seals, or discoloration indicating UV or frost damage.
- Examine Plumbing: Ensure pipes and connections are secure, with no signs of leakage or corrosion.
2. System Flush and Leak Test
- Flush Collectors: Clear any stagnant water or debris accumulated over winter. Use low-pressure water to avoid damaging panels.
- Check for Leaks: Pressurize the system gradually and inspect all joints and valves for drips or seepage.
3. Controller Calibration and Sensor Check
- Test Temperature Sensors: Compare readings with a handheld thermometer to ensure accuracy.
- Update Controller Settings: Set desired pool temperature and verify automatic operation triggers.
4. Filter and Pump Maintenance
- Backwash or Replace Filter: Ensure efficient water flow and debris removal.
- Lubricate Pump O-Rings: Prevent leaks and reduce wear.
- Test Pump Operation: Listen for unusual noises that may indicate bearing issues or air leaks.
Summer: Maximizing Efficiency and Comfort
1. Optimize Collector Performance
- Clean Panel Surfaces: Wash panels monthly with soft water and non-abrasive cloths to maximize sunlight absorption. Avoid harsh chemicals.
- Monitor for Shading: Trim overhanging branches or relocate objects casting shadows on panels.
2. Fine-Tune System Settings
- Adjust Flow Rates: Higher flow can slightly lower panel output temperature but heats more water, which is ideal during peak summer.
- Use Automated Timers: Run the system during optimal sunlight hours (mid-morning to mid-afternoon) for maximum efficiency.
3. Pool Cover Best Practices
- Use a Solar Pool Cover: Retain heat overnight and reduce evaporation. Remove during the day to maximize solar gain if water gets too warm.
4. Water Chemistry Management
- Test Weekly: Warm water can accelerate algae and bacteria growth. Maintain ideal pH (7.4–7.6) and sanitizer levels.
- Shock When Needed: Super-chlorinate after heavy use or storms.
Fall: Preparing for Cooler Weather and Reduced Sunlight
1. Assess Collector Angle and Orientation
- Adjust Adjustable Mounts: If your collectors are on adjustable racks, tilt them more steeply to maximize autumn sun exposure.
2. Inspect and Clean Collector Surfaces
- Remove Early Leaf Fall: Clear leaves and debris more frequently as trees shed.
- Check for Stains or Mold: Clean panels with mild detergent if needed to prevent loss of efficiency.
3. System Usage Adjustments
- Extend System Run Times: With less solar energy available, running the system longer can help maintain comfortable water temperatures.
- Monitor Water Temperature: As nights cool, use the solar cover more consistently to trap heat.
4. Prepare for Possible Shutdown
- Plan for Winterization: Review system shutdown procedures in anticipation of freezing conditions.
Winter: Protecting Your Investment
1. System Shutdown and Drainage
- Drain Collectors and Plumbing: Prevent freeze damage by fully draining water from all exposed components. Use manufacturer-recommended methods for your system type.
- Open All Valves: Allow trapped water to escape and prevent pressure buildup.
2. Panel and Component Protection
- Cover Exposed Collectors: Use UV-resistant tarps or covers if recommended by the manufacturer, especially for ground-mounted systems vulnerable to snow or ice buildup.
- Remove Debris After Storms: After wind or snow, clear branches or ice that could damage panels.
3. Preventing Rodent and Pest Damage
- Inspect for Nesting: Check under and around panels for signs of rodents or birds. Install mesh barriers if necessary.
4. Controller and Sensor Care
- Disconnect or Cover Sensors: Prevent moisture ingress or ice damage during the off-season.
Troubleshooting Common Solar Pool Heating Issues
1. Insufficient Water Heating
- Check for Airlocks: Listen for gurgling sounds or test for reduced water flow—bleed air from the system at high points.
- Inspect for Shading: New growth or debris may be blocking sunlight to collectors.
- Verify Controller Settings: Ensure the system is programmed to operate during sunny periods.
2. Leaks or Water Loss
- Inspect All Fittings: Tighten loose connections and replace worn gaskets or o-rings.
- Examine Panels: Small cracks or splits may require patching or panel replacement.
3. System Not Turning On
- Test Sensors: Replace faulty temperature sensors.
- Check Power Supply: Ensure the controller is plugged in and breakers are on.
Energy-Saving Tips for Solar Pool Heating
- Upgrade to Automated Controllers: Smart controllers optimize run times and can integrate with weather data for efficiency.
- Use Variable Speed Pumps: These reduce energy consumption and can be programmed to match solar heating cycles.
- Install Windbreaks: Shrubs or fences reduce heat loss from pool surface evaporation.
- Insulate Exposed Plumbing: Minimize heat loss in pipes running between the pool and collectors.
Annual Professional Inspection: When to Call in the Experts
While most seasonal maintenance can be handled by a diligent homeowner, scheduling a professional inspection every 1-2 years is wise. A certified solar pool technician can conduct flow tests, inspect internal panel condition, check controller firmware, and recommend upgrades that improve efficiency or extend system lifespan. This is especially important for older systems or if you notice persistent issues such as chronic leaks, controller malfunctions, or significant drops in heating performance.
Conclusion: The Rewards of Proactive Solar Pool Heating Maintenance
Maintaining a home solar pool heating system isn’t just about ensuring warm, comfortable swims—it’s an investment in sustainability, energy savings, and long-term property value. By following this comprehensive seasonal checklist, you’ll prevent costly repairs, maximize system efficiency, and enjoy a reliably heated pool across the seasons. From spring startups and summer optimizations to fall preparations and winter protections, each step is designed to keep your solar pool heating system performing at its best. Regular attention to cleaning, inspection, and system adjustments ensures that you’re making the most of the sun’s energy while minimizing your carbon footprint and utility costs.
Embracing a seasonal maintenance routine also empowers you to catch potential problems early, adapt to changing weather patterns, and extend the life of your solar investment. Whether you’re aiming for year-round swimming or simply want to stretch your pool season, proactive care pays dividends in comfort, cost savings, and peace of mind. By integrating these expert tips into your annual home care schedule, your solar pool heating system will deliver clean, green warmth for many years to come.
When inspecting the solar collectors for debris and obstructions in spring, are there any specific signs of damage or wear I should watch out for that could affect the system’s efficiency?
When checking your solar collectors, look for signs like cracks in the panels, loose or broken mounting brackets, and leaks around pipe connections. Also watch for discoloration, warping, or cloudiness on the collector surface, as these can impact sunlight absorption. Addressing these issues early helps maintain your system’s efficiency and prolongs its lifespan.
Can you give a rough idea of how long the initial spring startup and inspection usually takes for someone doing it themselves? I want to make sure I have enough time to follow all the recommended steps.
For a typical do-it-yourself spring startup and inspection of a solar pool heating system, you should set aside about 2 to 3 hours. This covers cleaning the panels, checking plumbing connections, inspecting for leaks, testing sensors and valves, and ensuring your system is fully operational. If it’s your first time or if you encounter any issues, you might want to allow for a bit of extra time.