
Introduction: The Path to Sustainable EV Charging
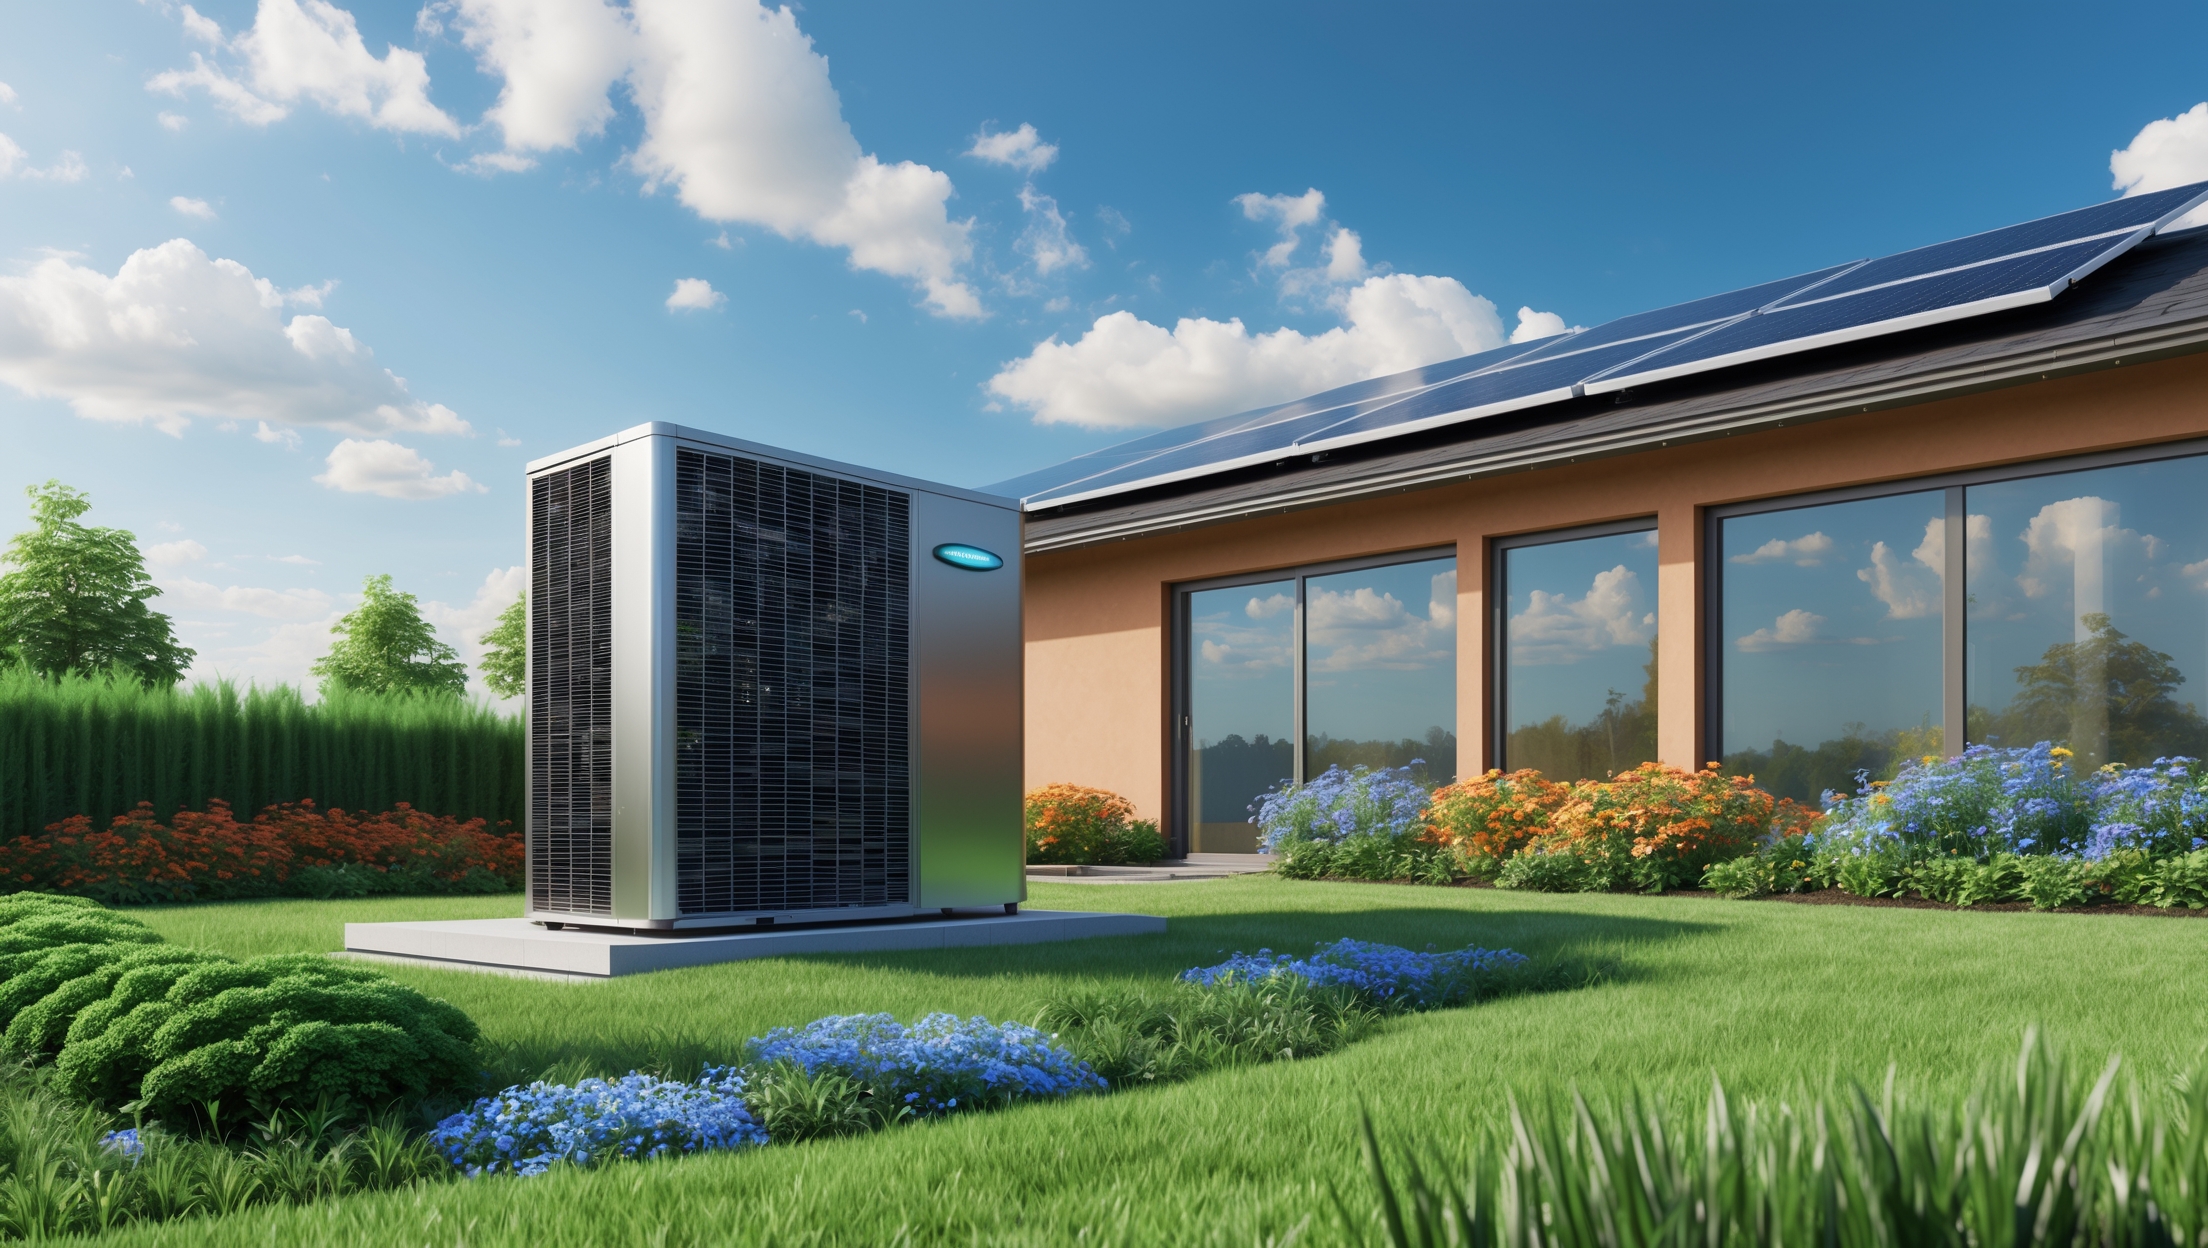
Electric vehicles (EVs) are rapidly becoming a cornerstone of sustainable transportation. However, charging your EV from the conventional electricity grid may not be as green as you’d hope—especially if your regional power mix still relies heavily on fossil fuels. Enter the solar-powered EV charging station: a solution that empowers homeowners to fuel their vehicles with sunshine, reduce long-term energy costs, and further shrink their carbon footprint. But what does it actually take, financially and logistically, to set up a solar-powered EV charging station at home?
This comprehensive guide breaks down the real-world costs and budgeting essentials for a DIY solar EV charging setup. We’ll detail every component, from solar panels and inverters to wiring and permitting. You’ll also learn how to assess your charging needs, avoid common budgeting pitfalls, and plan for both up-front and ongoing expenses. Whether you’re a homeowner committed to green living or a tech enthusiast eager to electrify your commute sustainably, this article will equip you with the clarity and confidence to move forward.
Assessing Your Solar Charging Needs
1. Calculate Your EV’s Charging Requirements
Begin by estimating your daily and weekly charging needs. This depends on your vehicle’s battery capacity (kWh), your typical daily mileage, and your charging habits (overnight, partial, or full charges). For example, if your EV uses 30 kWh to travel 120 miles, and you drive 30 miles daily, you’ll need roughly 7.5 kWh per day for charging (accounting for some charging losses).
- Battery Size: Check your EV’s documentation for total capacity.
- Daily Usage: Multiply your average miles per day by your vehicle’s kWh/mile efficiency.
- Charging Frequency: Decide if you’ll charge fully every night or top up as needed.
2. Determine Solar System Sizing
To size your solar system, factor in your region’s average sunlight hours per day, typically 4-6 hours for most of the U.S. Divide your daily charging requirement by the average effective sunlight hours to estimate necessary solar array output. For example, 7.5 kWh/day divided by 5 hours = 1.5 kW system (rounded up for losses and cloudy days, 2 kW is safer).
- Solar Panel Output: Panels are rated by their peak wattage (e.g., 330W each).
- Energy Losses: Account for 15–20% system loss (inverter, wiring, shading).
Major Components and Their Costs
1. Solar Panels
Solar panels are the heart of your system. For a 2 kW array, you’ll likely need 6-8 panels (assuming 330–350W each). Costs vary by brand, efficiency, and warranty.
- Cost Range: $0.80–$1.30/watt (2024 pricing)
- Total Estimate: $1,600–$2,600 for 2 kW
2. Inverter
An inverter converts the DC electricity from your panels to AC for your home and charger. Options include string inverters and microinverters; string inverters are more cost-effective for small systems.
- Cost Range: $500–$1,200 for a 2–3 kW string inverter
3. EV Charging Station (Level 2)
Level 2 chargers (240V) are standard for home use and offer significantly faster charging than Level 1. Choose a reputable, UL-listed model compatible with your vehicle.
- Cost Range: $400–$900 (hardware only)
- Features: Smart charging, WiFi, scheduling, app integration
4. Mounting Hardware and Wiring
Roof or ground mounting racks, conduit, breakers, junction boxes, and wiring add up. Quality materials ensure safety and longevity.
- Mounting Hardware: $300–$800
- Wiring, Conduit, Misc. Electrical: $250–$600
5. Permitting and Inspection Fees
Most municipalities require permits for solar installations and electrical work. Fees depend on your location and system size.
- Permit Fees: $100–$500
- Inspection Fees: Sometimes included, sometimes separate
6. Optional: Battery Storage
If you want to charge your EV overnight or during grid outages, a battery bank may be necessary. This is optional but increases independence and complexity.
- Cost Range: $7,000–$12,000 for 10–13 kWh lithium battery (e.g., Tesla Powerwall)
- Not required if you only charge when the sun is shining.
7. Installation Labor (If Not DIY)
Self-installation saves money but requires electrical and roofing skills. If hiring professionals, labor costs typically run 30–40% of hardware costs.
- Labor Estimate: $2,000–$4,000 for a small system
Sample Budget Breakdown: 2 kW DIY Solar EV Charging Station
| Component | Low Estimate | High Estimate |
|---|---|---|
| Solar Panels (2 kW) | $1,600 | $2,600 |
| Inverter (2–3 kW) | $500 | $1,200 |
| EV Charger (Level 2) | $400 | $900 |
| Mounting & Wiring | $550 | $1,400 |
| Permits & Inspection | $100 | $500 |
| Subtotal (DIY, no battery) | $3,150 | $6,600 |
| Optional: Battery Storage | $7,000 | $12,000 |
| Optional: Professional Labor | $2,000 | $4,000 |
Total DIY system (no battery, self-installed): $3,150–$6,600
Total with battery and labor: $12,150–$22,600
Hidden and Ongoing Costs
1. Maintenance
Solar panels are low-maintenance but should be checked and cleaned annually. Inverters may need replacement every 10–15 years ($500–$1,200). Charging stations generally last 8–10 years.
2. Insurance
Check if your homeowner’s insurance covers solar installations and EV chargers. Some insurers require an add-on, potentially $25–$100/year extra.
3. Utility Interconnection Fees
If you plan to grid-tie your system (sell excess power back), utilities may charge a one-time interconnection fee ($100–$500).
4. Monitoring Systems
Basic inverter monitoring is often included, but advanced app-based monitoring may cost $100–$300 extra.
How to Optimize Your Budget
1. Apply for Incentives and Tax Credits
Federal tax credits (30% of solar system costs, as of 2024) can reduce your out-of-pocket expenses dramatically. Many states, utilities, and municipalities offer additional rebates or incentives.
- Research: Use the DSIRE database for updated local incentives.
- Stack Credits: Many incentives can be combined.
2. Buy in Bulk or Group Purchase
Some solar suppliers and community programs offer discounts for bulk purchases or group installations. Check local sustainability groups or online forums.
3. Prioritize Quality Over Cheapest Price
Higher-quality panels and equipment may have higher up-front costs but offer better warranties, efficiency, and lifespan—saving money over time.
4. Phase Your Project
If budget is tight, consider installing just the solar array or the EV charger first, then add the other component later. Ensure your designs allow for future expansion.
Common Budgeting Pitfalls to Avoid
- Underestimating System Size: Failing to account for real-world losses leads to underpowered systems. Add a 20% sizing buffer.
- Ignoring Permitting Costs: Always check local regulations and fees before purchasing equipment.
- Overlooking Installation Complexity: Some roofs or sites require custom mounts or trenching, adding cost.
- Assuming All Work Is DIY-Friendly: Electrical work often requires a licensed electrician by law.
- Forgetting About Grid Upgrades: Older homes may need electrical panel upgrades ($1,000–$3,000 extra).
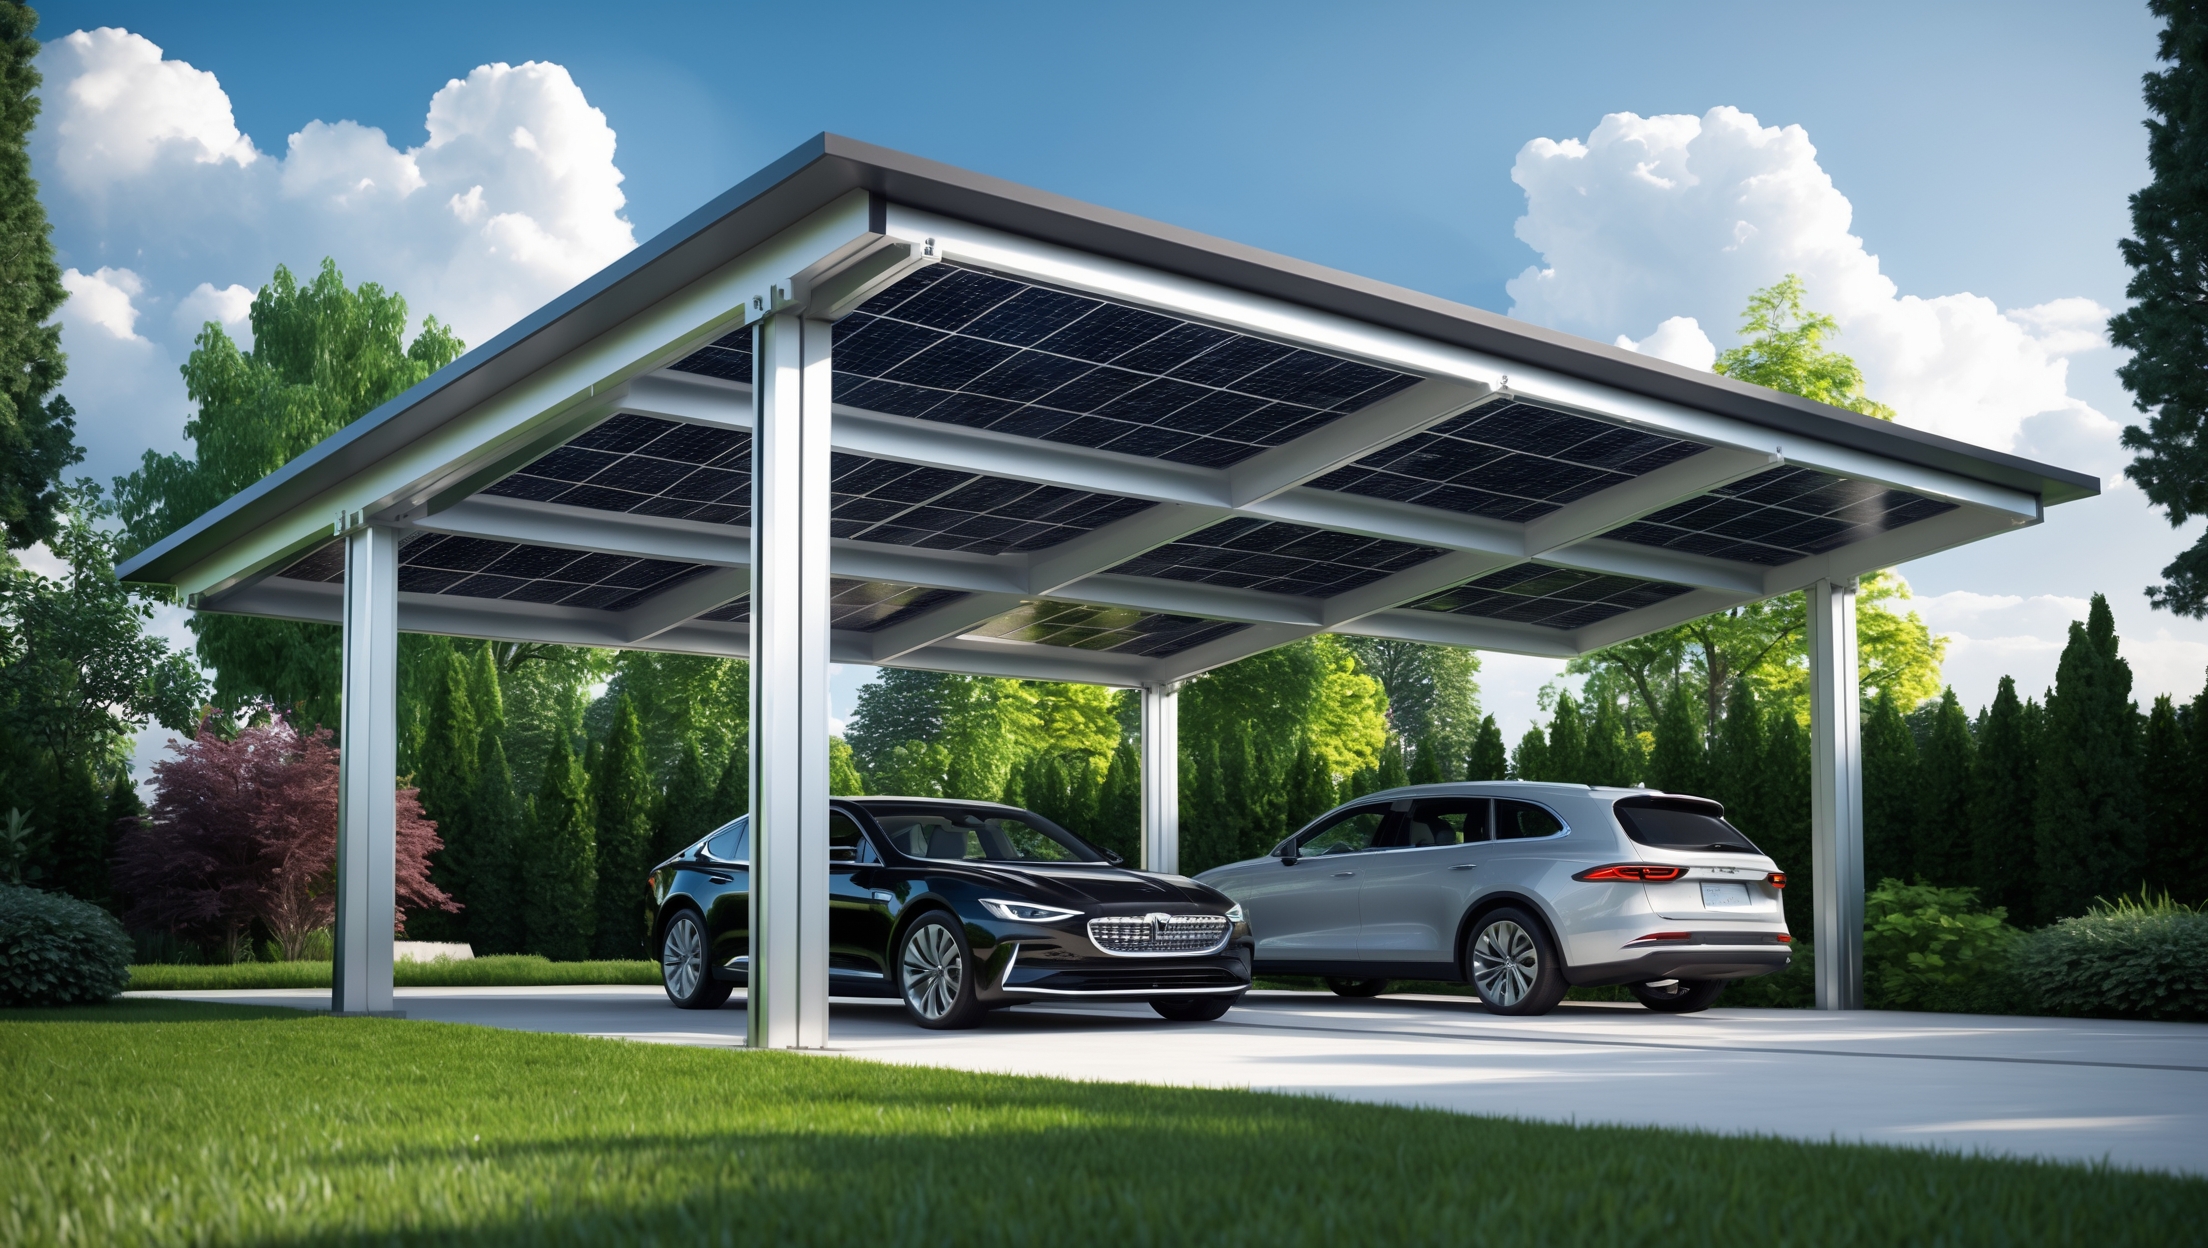
Case Study: Real-World Budget for a Suburban Home
Let’s look at a real-world example. Jane, a homeowner in California, drives 25 miles a day and owns a Nissan Leaf. She decides to install a 2.5 kW solar array on her garage roof and a 7.2 kW Level 2 charger.
- Solar Panels: $2,200
- Inverter: $850
- Charger: $600
- Mounting & Wiring: $900
- Permits & Fees: $350
- Professional Labor: $2,500
- Tax Credit (30%): -$2,040
- Total Out-of-Pocket: $5,360
Jane’s system now delivers roughly 9–10 kWh daily, meeting her EV needs year-round, and her monthly electricity bills have dropped substantially.
DIY vs. Professional Installation: Making the Right Choice
DIY Pros:
- Save significantly on labor costs
- Full control over component selection
- Personal satisfaction and learning
DIY Cons:
- Requires advanced electrical and construction skills
- May void warranties or incentives without licensed installer
- More time-consuming and risk of code violations
Professional Pros:
- Work is code-compliant and often warrantied
- Faster installation, handled permits
- Eligible for full incentives
Professional Cons:
- Higher up-front cost
- Less flexibility on component brands
Budgeting Checklist for Your Solar EV Charging Project
- Assess EV charging needs (kWh/day)
- Calculate solar array size
- Price out all major components (panels, inverter, charger)
- Get accurate permit and inspection fee quotes
- Decide on DIY vs. professional installation
- Check insurance and utility interconnection requirements
- Research and apply for incentives
- Build in a 10–20% contingency for surprises
Conclusion: Driving Toward a Greener, More Affordable Future
Setting up a solar-powered EV charging station at home is a tangible step toward true energy independence and environmental stewardship. While the up-front costs can seem daunting, careful planning, informed budgeting, and leveraging available incentives can make this project attainable for many homeowners. By knowing what to expect—both in terms of dollars and decision points—you can avoid costly surprises and maximize your long-term savings.
Remember that every installation is unique. Your actual costs will depend on your energy needs, site conditions, local regulations, and whether you opt for DIY or professional help. Take the time to research components, secure accurate quotes, and consult with experienced installers or local authorities as needed. The investment pays dividends not just in utility bill reductions, but in reduced emissions and increased property value. Plus, there’s a unique satisfaction in knowing that every mile you drive is powered by the sun.
If you’re ready to electrify your commute sustainably, start by crunching the numbers, assembling your team (or tools), and envisioning the cleaner, greener future you’ll help create—one charge at a time.
Once the system is installed, what kind of ongoing maintenance should I expect to budget for, especially regarding things like inverter replacement or cleaning the solar panels?
After installation, the main maintenance tasks involve periodically cleaning the solar panels to keep them efficient—usually once or twice a year, unless you live in a dusty area. Inverters typically need replacing every 10 to 15 years, so you should budget for that long-term. Also, check electrical connections and inspect for wear annually. Overall, maintenance costs are relatively low, but planning for inverter replacement and occasional professional inspections is wise.
When you mention planning for both up-front and ongoing expenses, could you clarify what typical ongoing costs I should expect after the initial installation of a home solar EV charging setup? For example, should I budget for inverter replacements or extra maintenance over time?
After the initial setup of your home solar EV charging station, typical ongoing costs include occasional inverter maintenance or eventual replacement every 10–15 years, cleaning solar panels (which you can do yourself or hire out), and possible electrical inspections. Most solar panels require minimal upkeep, but you may want to budget for minor repairs or system monitoring fees if your installer offers them. Battery storage, if you add it, could also introduce extra maintenance or replacement costs over time.
If I want to set up a solar EV charging station but can’t install panels on my roof, are there alternative mounting options that still make sense cost-wise? Is ground-mounting a lot more expensive or complicated for a homeowner to do themselves?
If roof installation isn’t possible, ground-mounting is a solid alternative for home solar panels. It can cost a bit more due to extra hardware and possibly site preparation, but it’s well within reach for many DIYers. You’ll need to ensure a clear, sunny spot and may need to dig holes for supports. The overall process is manageable if you’re comfortable with some basic construction work.
Once I have calculated my daily EV charging needs and figured out the system size, how do I estimate the total installation time from start to finish for a DIY setup, including all the steps mentioned like sourcing components and getting permits?
After sizing your system, installation time can vary based on your experience, permit approval speed, and how quickly you source components. Typically, sourcing all parts may take 1–2 weeks if suppliers have everything in stock. Permitting can add 1–4 weeks, depending on your local authority. The physical installation (mounting panels, wiring, connecting the charger) generally takes 2–4 days for a hands-on DIYer. Overall, the full timeline ranges from about 3 to 6 weeks from planning to completion.
I noticed the article talks about charging losses. Are there specific components or installation practices that help minimize those losses when setting up a DIY solar charging setup?
Yes, several components and practices help reduce charging losses in a DIY solar EV charging setup. Use high-quality, appropriately sized cables to minimize resistance and energy loss. Choose an efficient inverter and charge controller, ideally with a high conversion efficiency rating. Properly grounding and securely connecting all components also reduces losses. Keeping cable runs short and avoiding unnecessary connections further improves efficiency.
When sizing the solar system, how do weather variations or seasonal changes in sunlight hours affect the reliability of charging? Is there a recommended buffer to add when estimating daily kWh needs to avoid running short during cloudy weeks?
Weather and seasonal changes can significantly affect the amount of solar energy your system generates. To maintain reliable EV charging, it’s wise to add a buffer—typically 20–30% extra capacity—to your estimated daily kWh needs. This helps compensate for cloudy days and shorter sunlight hours in winter, ensuring you have enough energy for consistent charging throughout the year.