
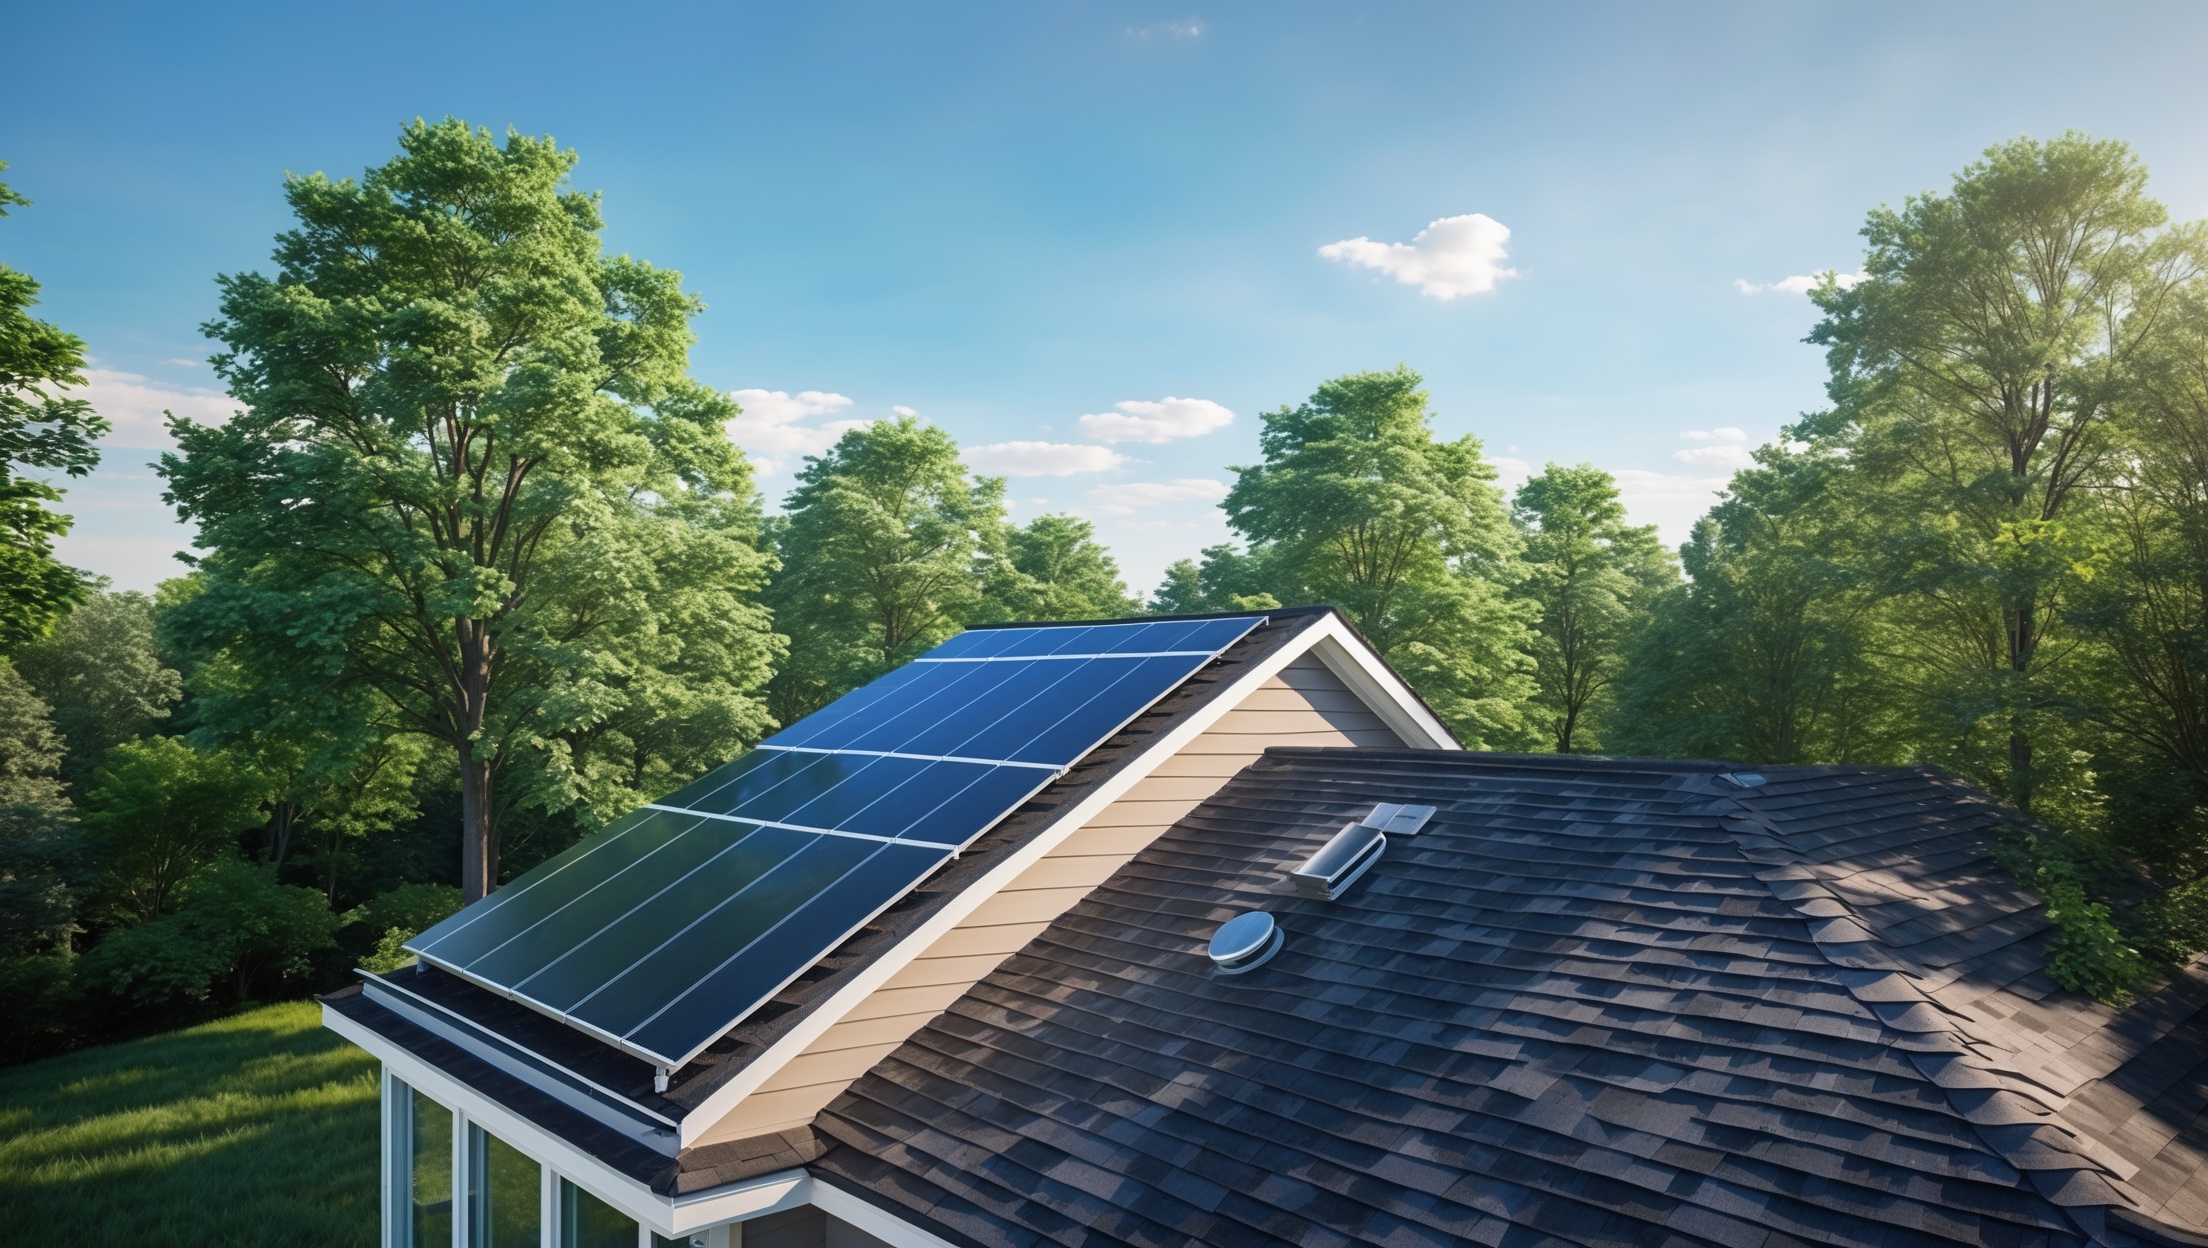
Introduction: Why Safety Matters for Solar Attic Fan Installation
Installing a solar attic fan is a smart move for homeowners striving to improve energy efficiency and indoor comfort while lowering their carbon footprint. These fans harness sunlight to ventilate hot attic air, reducing cooling costs and prolonging roof life. However, like any rooftop electrical project, improper installation can pose significant safety risks—ranging from electrical hazards and roof leaks to personal injury. Overlooking even a single safety precaution can negate the environmental and financial benefits of your investment. This comprehensive safety checklist is designed for both DIYers and those working with professionals, detailing every step needed to ensure your solar attic fan installation is secure, code-compliant, and built to last. Whether you’re tackling the project yourself or overseeing contractors, following these guidelines will help you avoid common pitfalls, protect your home, and maximize the performance of your new green technology.
Pre-Installation Safety Preparation
1. Assess Roof Condition
Before any tools come out, inspect your roof for existing damage, leaks, or structural weaknesses. A compromised roof can lead to hazardous working conditions and further damage post-installation.
- Look for missing, cracked, or curling shingles.
- Check for signs of water intrusion or mold in the attic.
- Ensure the roof structure is strong enough to support the fan unit.
2. Gather Proper Safety Gear
Personal protective equipment (PPE) is essential for any rooftop work. Never skip these items:
- Non-slip roofing shoes or boots
- Work gloves
- Safety glasses
- Hard hat (especially if working under overhangs or with helpers)
- Fall protection harness and secure anchor point
- Sturdy, well-positioned extension ladder (meeting OSHA requirements)
3. Review Local Building Codes and Permits
Consult your local building authority to determine whether a permit is required. Many municipalities have specific codes for roof penetrations, electrical wiring, and solar equipment.
- Obtain necessary permits before starting work.
- Check HOA restrictions if applicable.
- Verify if a licensed electrician is required for electrical connections.
4. Read Manufacturer Instructions Thoroughly
Each solar attic fan model has unique installation and safety guidelines. Read the manufacturer’s manual cover to cover before beginning. Pay special attention to:
- Roof cutout dimensions and placement
- Mounting hardware requirements
- Electrical connection procedures
Day-of-Installation Safety Checklist
1. Weather Conditions
Never install a solar attic fan in wet, icy, or excessively windy conditions. Moisture and wind increase the risk of slips and falls, while humidity can affect roof sealing materials.
- Check the weather forecast and postpone for unsafe conditions.
- Work during daylight hours for optimal visibility.
2. Ladder Setup and Usage
Improper ladder use is a leading cause of DIY injuries. Ensure your ladder is:
- On a flat, stable surface
- Secured at the base (use ladder stabilizers if necessary)
- Extended three feet above the roofline for safe access
- Checked for any damage or wear before use
3. Electrical Safety Precautions
Solar attic fans are generally low-voltage, but mishandling any electrical component can be dangerous.
- Disconnect any existing attic electrical circuits before starting work.
- Use insulated tools when handling wires or terminals.
- If wiring to the home’s electrical system, shut off power at the breaker and verify with a voltage tester.
- Do not install or connect the solar panel until all wiring is complete to avoid accidental energizing.
4. Roof Penetration and Sealing
Cutting a hole in your roof must be done with care to prevent leaks and maintain structural integrity.
- Mark the location carefully, double-checking attic clearance and rafter positions.
- Use the recommended saw for your roof type (reciprocating saw for wood, hole saw for shingles).
- Wear a dust mask to prevent inhalation of roofing particles.
- Apply high-quality roofing sealant around all penetrations.
- Install flashing as directed to divert water away from the opening.
5. Safe Handling and Placement of Solar Panel
The solar panel must be installed securely to avoid wind damage or panel detachment.
- Position the panel for maximum sun exposure, away from shaded areas.
- Use manufacturer-supplied mounting brackets and bolts.
- Do not overtighten, which can crack panel frames.
- Check for any sharp edges that could damage wiring insulation.
Post-Installation Safety Checks
1. Inspect All Electrical Connections
Before activating your solar attic fan, re-inspect all wiring to ensure:
- No exposed copper or frayed insulation
- All wire nuts and connections are tight and secure
- Conduit and cable clamps are used where required
- Proper grounding (per manufacturer and code requirements)
2. Water Tightness Test
To prevent leaks, perform a water tightness test before leaving the site:
- Use a garden hose to simulate rain around the new installation (avoid spraying directly at the opening).
- Check inside the attic for any signs of moisture or drips.
- Reapply sealant if needed.
3. Secure All Components
Double-check that all mounting hardware, vent covers, and solar panel brackets are tight and flush with the roof.
- Shake each component gently to ensure nothing is loose.
- Verify that no fasteners are missing or protruding.
4. Clean Up Debris
Remove all tools, nails, and packaging from the roof and attic. Loose debris can become a hazard in high winds or during future roof work.
- Inspect gutters for fallen debris.
- Dispose of old roofing materials responsibly.
Special Considerations for DIY Installers
1. Know Your Limits
If you are uncomfortable with heights, electrical work, or roof penetrations, hire a licensed professional. Saving money is not worth risking your safety.
2. Have a Helper
Never work alone on a rooftop. Have a helper on hand to steady ladders, pass tools, and call for help in case of emergency.
3. Emergency Preparedness
- Keep a fully charged cell phone within reach.
- Know the location of the nearest hospital or urgent care center.
- Have a basic first-aid kit available onsite.
Safety for Professional Installers: What to Expect and Request
Even when hiring professionals, homeowners should verify that the crew follows strict safety protocols:
- Request proof of liability insurance and workers’ compensation coverage.
- Confirm that all installers use PPE and fall protection.
- Ask for documentation of relevant licenses and permits.
- Ensure the installer provides a post-installation inspection and warranty.
Maintenance Safety Tips
Solar attic fans require minimal maintenance, but periodic inspections are essential for long-term safety and performance.
- Inspect the fan and solar panel annually for debris, damage, or loose wires.
- Clean the solar panel surface with a soft brush and mild soap—never use abrasive materials.
- Check attic for signs of leaks after severe weather events.
- Never attempt repairs during wet or windy conditions.
Conclusion: Protecting Your Sustainable Investment
Embracing green technologies like solar attic fans delivers multiple benefits—reduced energy costs, a smaller carbon footprint, and improved home comfort. Yet, these gains can only be realized through careful, safety-focused installation and ongoing vigilance. By following this comprehensive checklist, you not only safeguard yourself and your property during the upgrade, but also help ensure the longevity and optimal performance of your new technology. Remember, every step—no matter how minor—contributes to a safer, smarter, and more sustainable home. Whether you’re a seasoned DIYer or a first-time green tech adopter, prioritizing safety empowers you to enjoy the full rewards of your sustainable living journey. Don’t hesitate to consult professionals for complex tasks, and always keep safety at the forefront. Your home, your health, and the planet will thank you for making this critical investment in secure, responsible, and future-proofed sustainable living.


Could you clarify what kind of fall protection harness and anchor setup is best suited for a typical residential roof when installing a solar attic fan? I want to make sure I get equipment that’s both safe and easy for a DIYer to use.
For a typical residential roof, a full-body fall protection harness paired with a temporary roof anchor is recommended. Look for a harness with adjustable straps for comfort and secure fit, and ensure it meets OSHA or ANSI safety standards. A reusable roof anchor is usually easy to install with lag bolts and is ideal for DIY projects. Always double-check that your lanyard or lifeline is compatible with your chosen anchor and harness.