Introduction: Harnessing Solar Power for Sustainable Aquaponics
Combining the power of the sun with the efficiency of aquaponics, a solar-powered aquaponics system offers a sustainable solution for producing fresh food and clean energy at home. This innovative approach integrates solar energy to run pumps, aerators, and monitoring equipment, making the entire system low-impact and off-grid ready. Building your own DIY solar-powered aquaponics setup is not only environmentally friendly but also an engaging way to become more self-sufficient, reduce utility bills, and enjoy organic produce year-round. However, success depends on choosing the right tools and equipment—both for the aquaponics and the solar components. In this comprehensive guide, we’ll break down everything you need, from solar panels to plumbing fittings, fish tanks to grow beds, and monitoring tools to essential hand tools. You’ll learn how to select, source, and use each item, plus discover tips for sizing your solar array, optimizing efficiency, and troubleshooting common challenges. Let’s dive into the practical details that will empower you to build a robust, reliable, and productive solar-powered aquaponics system from scratch.
Understanding Solar-Powered Aquaponics: The Basics
What Is Aquaponics?
Aquaponics is a closed-loop food production system that combines aquaculture (raising fish) and hydroponics (growing plants without soil). Fish waste provides nutrients for the plants, while the plants clean the water for the fish. This symbiotic relationship minimizes waste and water use compared to traditional gardening and farming methods.
Why Add Solar Power?
Key aquaponics components—such as water pumps, aerators, and monitoring devices—require electricity. By integrating solar power, you can run these systems sustainably, reduce grid reliance, and ensure operation even in remote or off-grid locations. Solar-powered aquaponics is ideal for eco-conscious homeowners, homesteaders, and educational projects.
Planning Your System: Assessing Site and Sizing Needs
Location Assessment
- Sun Exposure: Select a site with at least 6-8 hours of direct sunlight daily for optimal solar panel performance.
- Space: Ensure adequate room for fish tanks, grow beds, solar panels, and maintenance paths.
- Water Access: Reliable water source for initial setup and periodic top-ups.
- Protection: Consider windbreaks, shade for fish tanks, and wildlife/pest barriers.
System Sizing
- Fish Tank Size: Common home systems range from 100 to 500 gallons.
- Grow Bed Area: Aim for a fish-to-plant ratio of about 1:1 by volume.
- Solar Array: Calculate total daily watt-hours needed for pumps, aerators, and controls. Add 25-30% as a buffer for cloudy days and system losses.
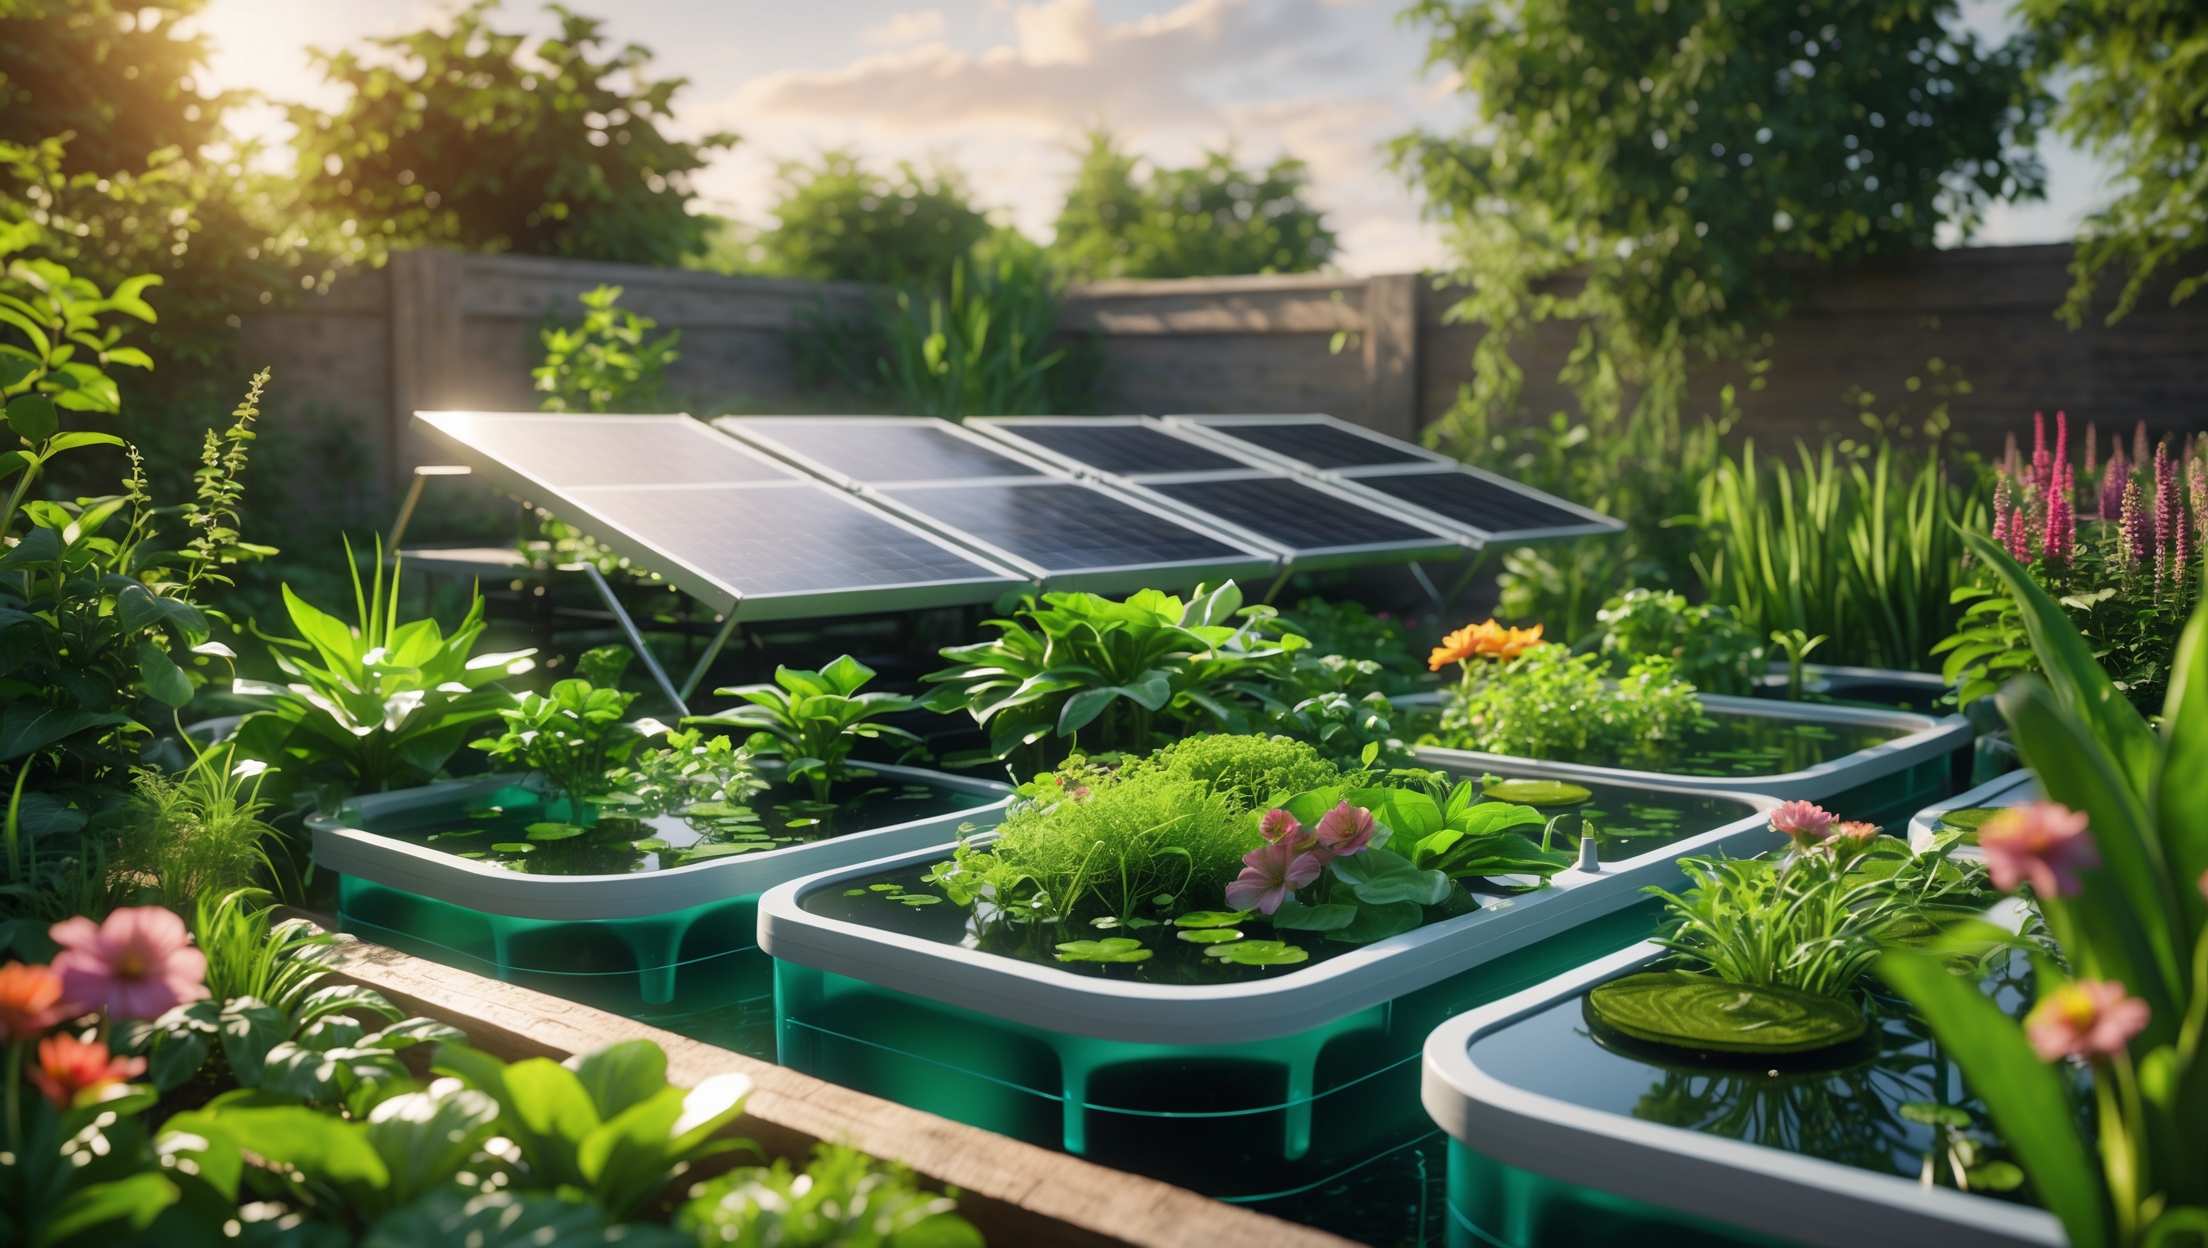
Core Tools & Equipment: Aquaponics Components
Fish Tank
- Material: Food-grade plastic, fiberglass, or repurposed IBC totes.
- Volume: 100–500 gallons for backyard systems.
- Features: Drainage outlet, easy cleaning access, UV resistance.
Grow Beds
- Media Beds: Use inert media like expanded clay pebbles or river gravel.
- Raft Systems: Floating polystyrene rafts for leafy greens.
- Troughs: Food-grade plastic, wood lined with pond liner, or repurposed barrels.
Plumbing and Fittings
- PVC pipe (schedule 40 or 80), 1/2” to 2” diameter depending on flow needs.
- Unions, elbows, tees, ball valves for flow control.
- Bulkhead fittings for tank/grow bed connections.
- Flexible tubing for aeration and irrigation lines.
- Pipe cement and Teflon tape for leak-free joints.
Water Pumps
- Type: Submersible DC water pump compatible with solar power.
- Flow Rate: Should circulate the entire tank volume once per hour.
- Features: Low energy draw, reliable, replaceable impeller.
Aerators and Oxygenation
- 12V or 24V DC air pump (solar compatible) with air stones or diffusers.
- Silicone tubing for air delivery.
- Check valves to prevent water backflow.
Filtration
- Mechanical filter (swirl filter or radial flow filter) for solids removal.
- Biofilter media (plastic bio-balls, moving bed media) to house nitrifying bacteria.
Monitoring and Control Equipment
- pH meter and test kit.
- Ammonia, nitrite, and nitrate test kits.
- Thermometer (waterproof digital preferred).
- Water level sensor (optional).
Grow Lights (Optional)
- 12V or 24V DC LED grow lights for supplemental lighting in winter or indoor systems.
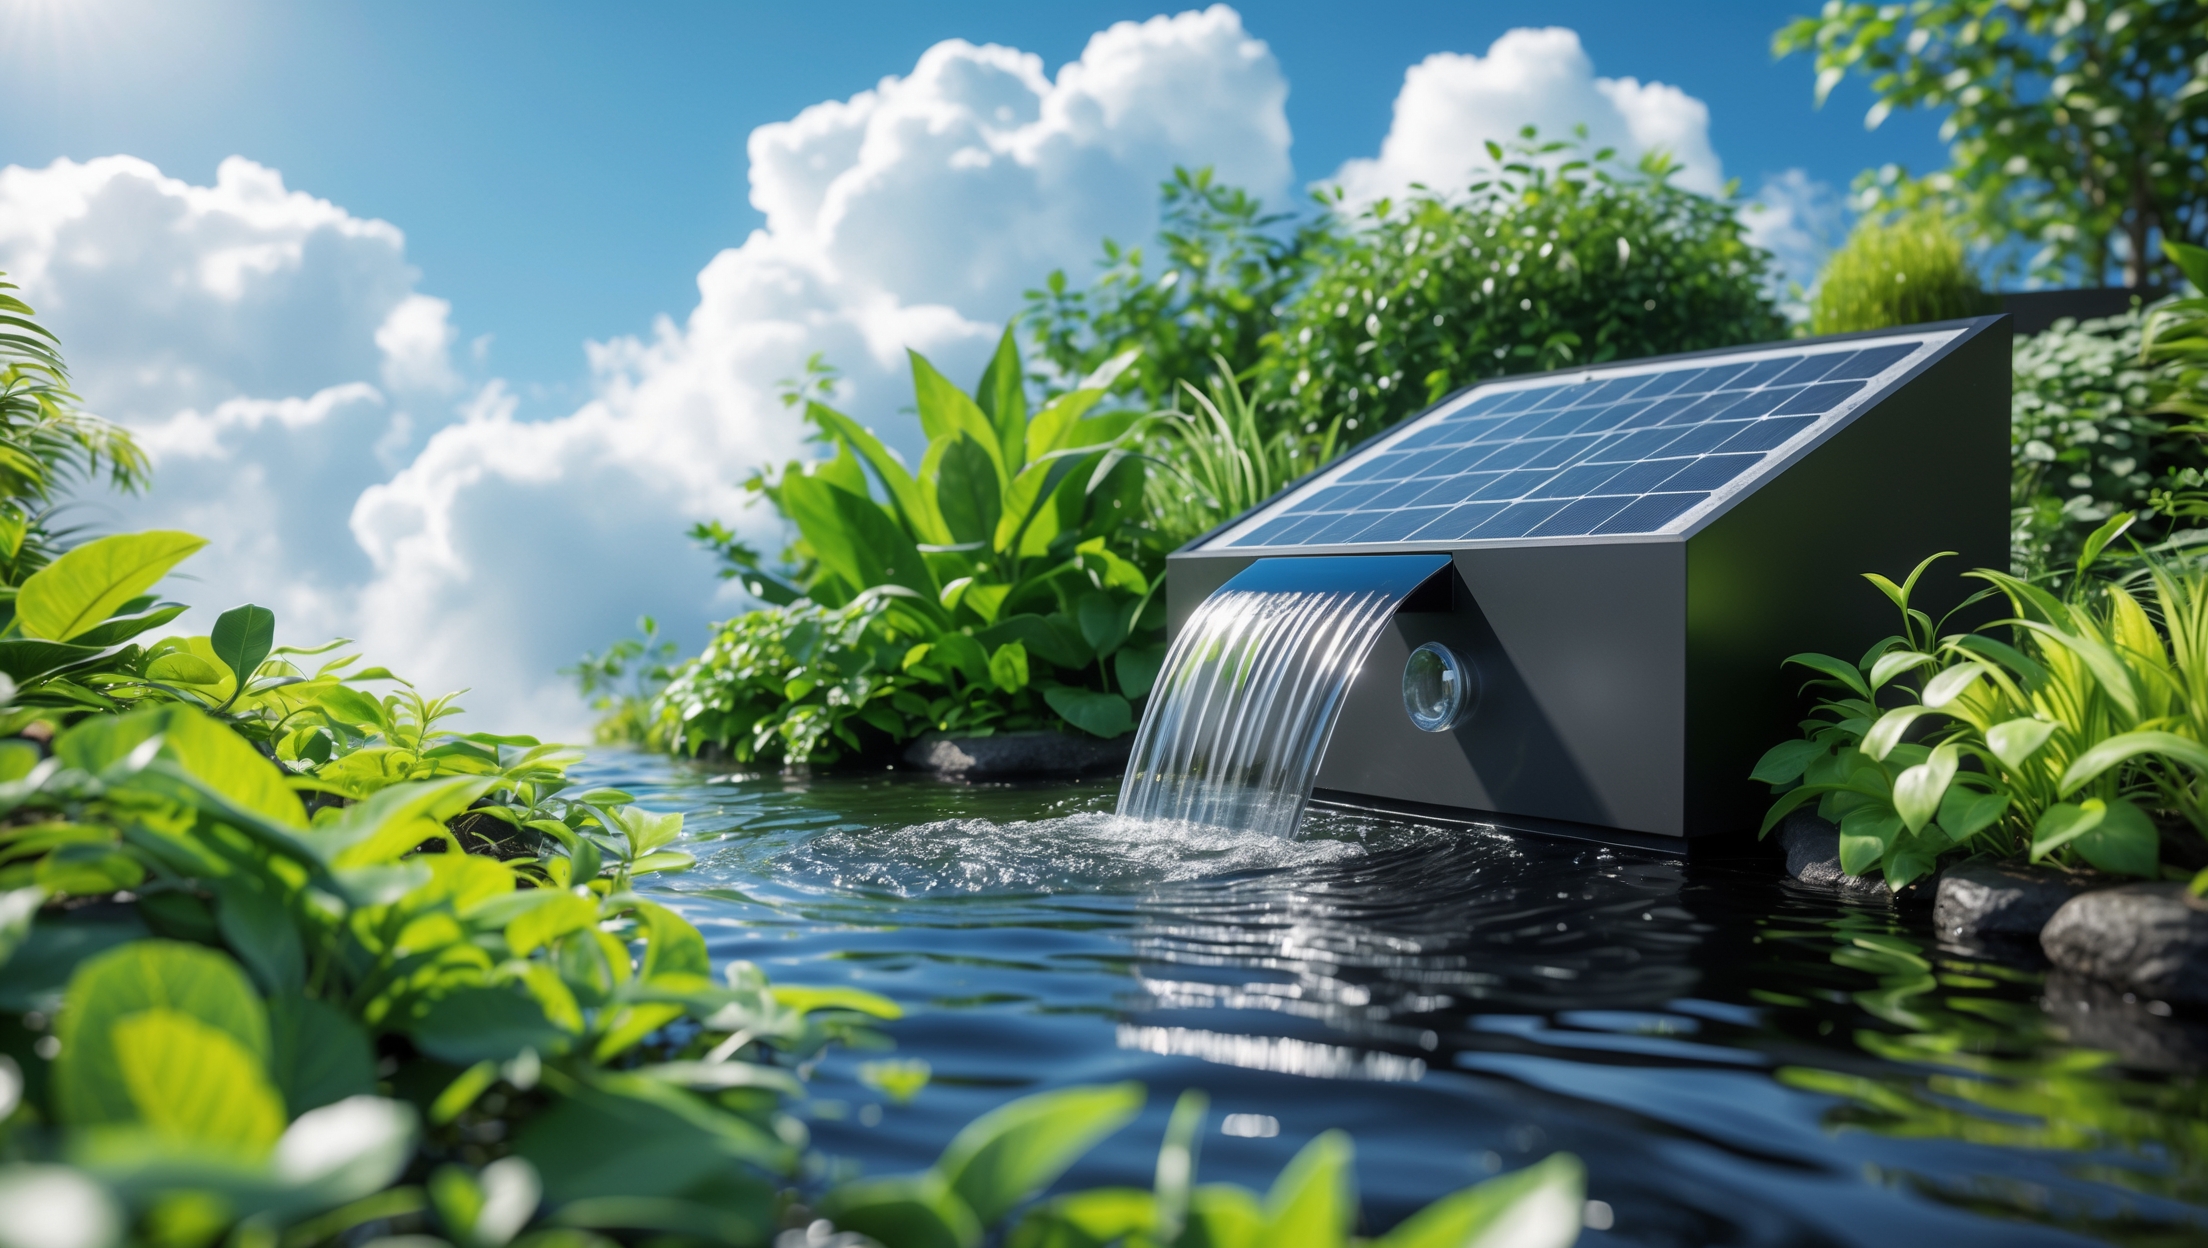
Solar Power System: Essential Tools & Equipment
Solar Panels
- Type: Monocrystalline or polycrystalline, rated for outdoor use.
- Wattage: Sufficient to run all electrical loads plus a buffer. For a small system, 200–400W is typical.
- Mounting: Adjustable racking for optimal sun angle, roof-mounted or ground-mounted frames.
Charge Controller
- MPPT (Maximum Power Point Tracking) controller for efficiency.
- Appropriate voltage/current rating for your solar array and battery bank.
Battery Bank
- Deep-cycle AGM, gel, or lithium batteries (12V or 24V based on system design).
- Sufficient amp-hour capacity for 1–3 days of autonomous operation.
- Weather-protected battery enclosure.
DC Distribution and Inverter
- DC breaker/fuse panel for safety.
- Low-voltage disconnects to prevent battery damage.
- Pure sine wave inverter (if any AC loads are used).
Wiring and Connectors
- UV-resistant, appropriately gauged DC wiring (10AWG or heavier for most systems).
- MC4 connectors for solar panels.
- Ring terminals, crimp tools, and cable ties for tidy installations.
Hand Tools and Assembly Equipment
- Drill and step bits (for making holes in tanks and beds).
- Hole saws (sized for bulkhead fittings).
- PVC pipe cutter or saw.
- Adjustable wrenches and pliers.
- Wire strippers and crimpers for electrical connections.
- Screwdrivers and nut drivers.
- Level and measuring tape.
- Utility knife.
- Multimeter (for solar and electrical troubleshooting).
- Personal safety gear (gloves, goggles, knee pads).
Step-by-Step Tool and Equipment Selection Process
1. Calculate Your Electrical Load
List every electrical device: pump, aerator, lights, monitoring devices. Note the wattage and expected run times. Multiply for daily watt-hour total.
2. Size Your Solar Array and Battery Bank
Divide daily watt-hours by average peak sun hours (typically 4-6 for most US locations) to determine panel wattage needed. Battery storage should cover at least 24–48 hours of operation.
3. Match Pump and Aerator to System Needs
Choose DC pumps and air pumps with flow rates suited to your tank size. Check compatibility with your solar voltage (12V or 24V).
4. Select Tanks, Grow Beds, and Filtration
Source food-safe tanks and beds. For DIY, IBC totes and barrels are cost-effective. Ensure easy access for cleaning and harvesting.
5. Gather Plumbing and Electrical Components
Buy extra fittings and connectors to accommodate unexpected changes during assembly. Use only outdoor-rated, UV-resistant components.
6. Choose Monitoring Tools
Invest in reliable test kits and meters. Automated monitoring (with WiFi or Bluetooth) is optional but helpful for remote alerts.
7. Assemble Hand Tools
Check that you have all necessary tools before starting. Purchase or borrow specialized items like hole saws if needed.
Cost-Saving Tips and Sourcing Equipment Sustainably
- Repurpose Materials: IBC totes, barrels, and used solar panels can be sourced from local classifieds or recycling centers.
- Buy in Bulk: Purchase plumbing and media in bulk to reduce per-unit costs.
- Secondhand Tools: Quality hand tools can often be found used at significant discounts.
- Community Exchanges: Local gardening or maker groups may have surplus equipment to trade or share.
- Choose Durable Over Cheap: Invest in reliable pumps and solar components to avoid frequent replacements and downtime.
Assembly Tips: Using Your Tools for Efficient Construction
- Pre-drill and test-fit all holes in tanks and grow beds before final assembly.
- Use a level to ensure even grow beds for uniform water flow.
- Label all electrical connections and keep a wiring diagram for easy troubleshooting.
- Secure all solar wiring and plumbing lines to prevent damage from wind, animals, or UV exposure.
- Install a shutoff valve and unions in plumbing for easy maintenance and repairs.
Maintenance Tools and Spare Parts
- Spare pump impellers and air stones.
- Extra fuses/breakers for the solar system.
- Replacement tubing and connectors.
- Pipe cleaner and brush for plumbing maintenance.
- Test kit refills and calibration solutions for meters.
Safety Considerations: Essential Tools and Practices
- Always wear gloves and goggles when handling tools or chemicals.
- Use GFCI (ground-fault circuit interrupter) protection on electrical outlets near water.
- Double-check all solar connections are properly insulated and fused.
- Keep a first aid kit and fire extinguisher accessible in your work area.
- Follow manufacturer instructions for all pumps, batteries, and charge controllers.
Troubleshooting and Upgrading: Tools for System Optimization
- Multimeter for checking voltage, current, and continuity.
- Infrared thermometer for monitoring battery and pump temperatures.
- WiFi camera or smart sensors for remote system checks.
- Modular plumbing and electrical connectors for easy system expansion.
- Notebook or digital log for recording system performance and maintenance history.
Conclusion: Empowering Sustainable Food and Energy Production at Home
Building a DIY solar-powered aquaponics system is a rewarding way to integrate sustainable food production and clean energy into your daily life. With careful planning, the right tools, and quality equipment, you can create a highly efficient, resilient system that provides fresh vegetables and fish with minimal environmental impact. This guide has covered the core components—from fish tanks and grow beds to solar panels and charge controllers—as well as the hand tools and safety equipment needed for a successful build. By investing in durable materials, repurposing where possible, and following best practices for assembly and maintenance, you’ll reduce costs and ensure long-term reliability. Remember, every system is unique—adapt your equipment choices to your space, climate, and dietary needs. Don’t hesitate to reach out to local makers, gardening clubs, or online forums for advice and support. With your new knowledge, you’re ready to take the first steps toward a more sustainable, self-sufficient lifestyle. Harness the sun, nurture your plants and fish, and enjoy the satisfaction of producing your own food and energy—one harvest at a time.


I’m trying to keep costs low for my first solar-powered aquaponics build. Are there any tips for sourcing affordable fish tanks and grow beds that still work well for a DIY project like this?
For affordable fish tanks and grow beds, consider repurposing food-grade containers like IBC totes, barrels, or large storage bins, which can often be found secondhand through local classifieds, farm supply stores, or recycling centers. Just be sure they’re thoroughly cleaned and haven’t stored harmful chemicals. Sometimes nurseries and restaurants sell used containers at a low price. This approach helps keep costs down while ensuring safety and durability for your aquaponics system.
Could you elaborate on how to accurately size the solar array for a home aquaponics setup? I’m concerned about underestimating or overestimating the panel capacity needed to run pumps, aerators, and monitors consistently, especially during cloudy days.
To size your solar array accurately, first calculate the total daily energy usage of all your equipment in watt-hours. Add up each device’s wattage multiplied by its daily run time. Factor in system inefficiencies (about 20%) and consider local average sunlight hours, especially in winter. To ensure reliability on cloudy days, add extra capacity or include battery storage that covers at least 2-3 days of use. This approach helps prevent both under- and overestimating your solar needs.
I’m curious about the ongoing maintenance required for both the solar panels and the aquaponics system itself. Are there common issues with either part that I should plan for, particularly in areas with variable sunlight?
For solar panels, you’ll need to keep them clean and check for debris or shading that could reduce efficiency, especially in areas with variable sunlight. Inspect wiring and connections regularly. With the aquaponics system, monitor water quality, fish health, and plant growth, and clean filters and pumps as needed. Watch out for algae buildup and fluctuating water temperatures. Planning for backup power or extra battery storage can help maintain system stability during cloudy periods.