Introduction: Why Build a DIY Home Hydrogen Generator?
As the world pivots toward cleaner, renewable sources of energy, hydrogen is gaining traction as a versatile and sustainable solution for home energy storage. Unlike fossil fuels, hydrogen can be produced from water using renewable electricity and emits only water vapor when used in fuel cells. This makes it particularly attractive for homeowners seeking to reduce their carbon footprint, improve energy resilience, and join the green technology movement. However, setting up a home hydrogen generator is not as simple as plugging in an appliance. It requires thoughtful planning, the right set of tools, high-quality equipment, and strict adherence to safety standards. This guide will walk you through the essential tools and equipment needed to set up a small-scale, DIY home hydrogen generator for clean energy storage, offering practical tips to ensure both efficiency and safety. Whether you’re motivated by energy independence, environmental stewardship, or cutting-edge tech, this comprehensive walkthrough is designed to demystify the process and help you get started safely and successfully.
Understanding Home Hydrogen Generation: The Basics
How Does a Hydrogen Generator Work?
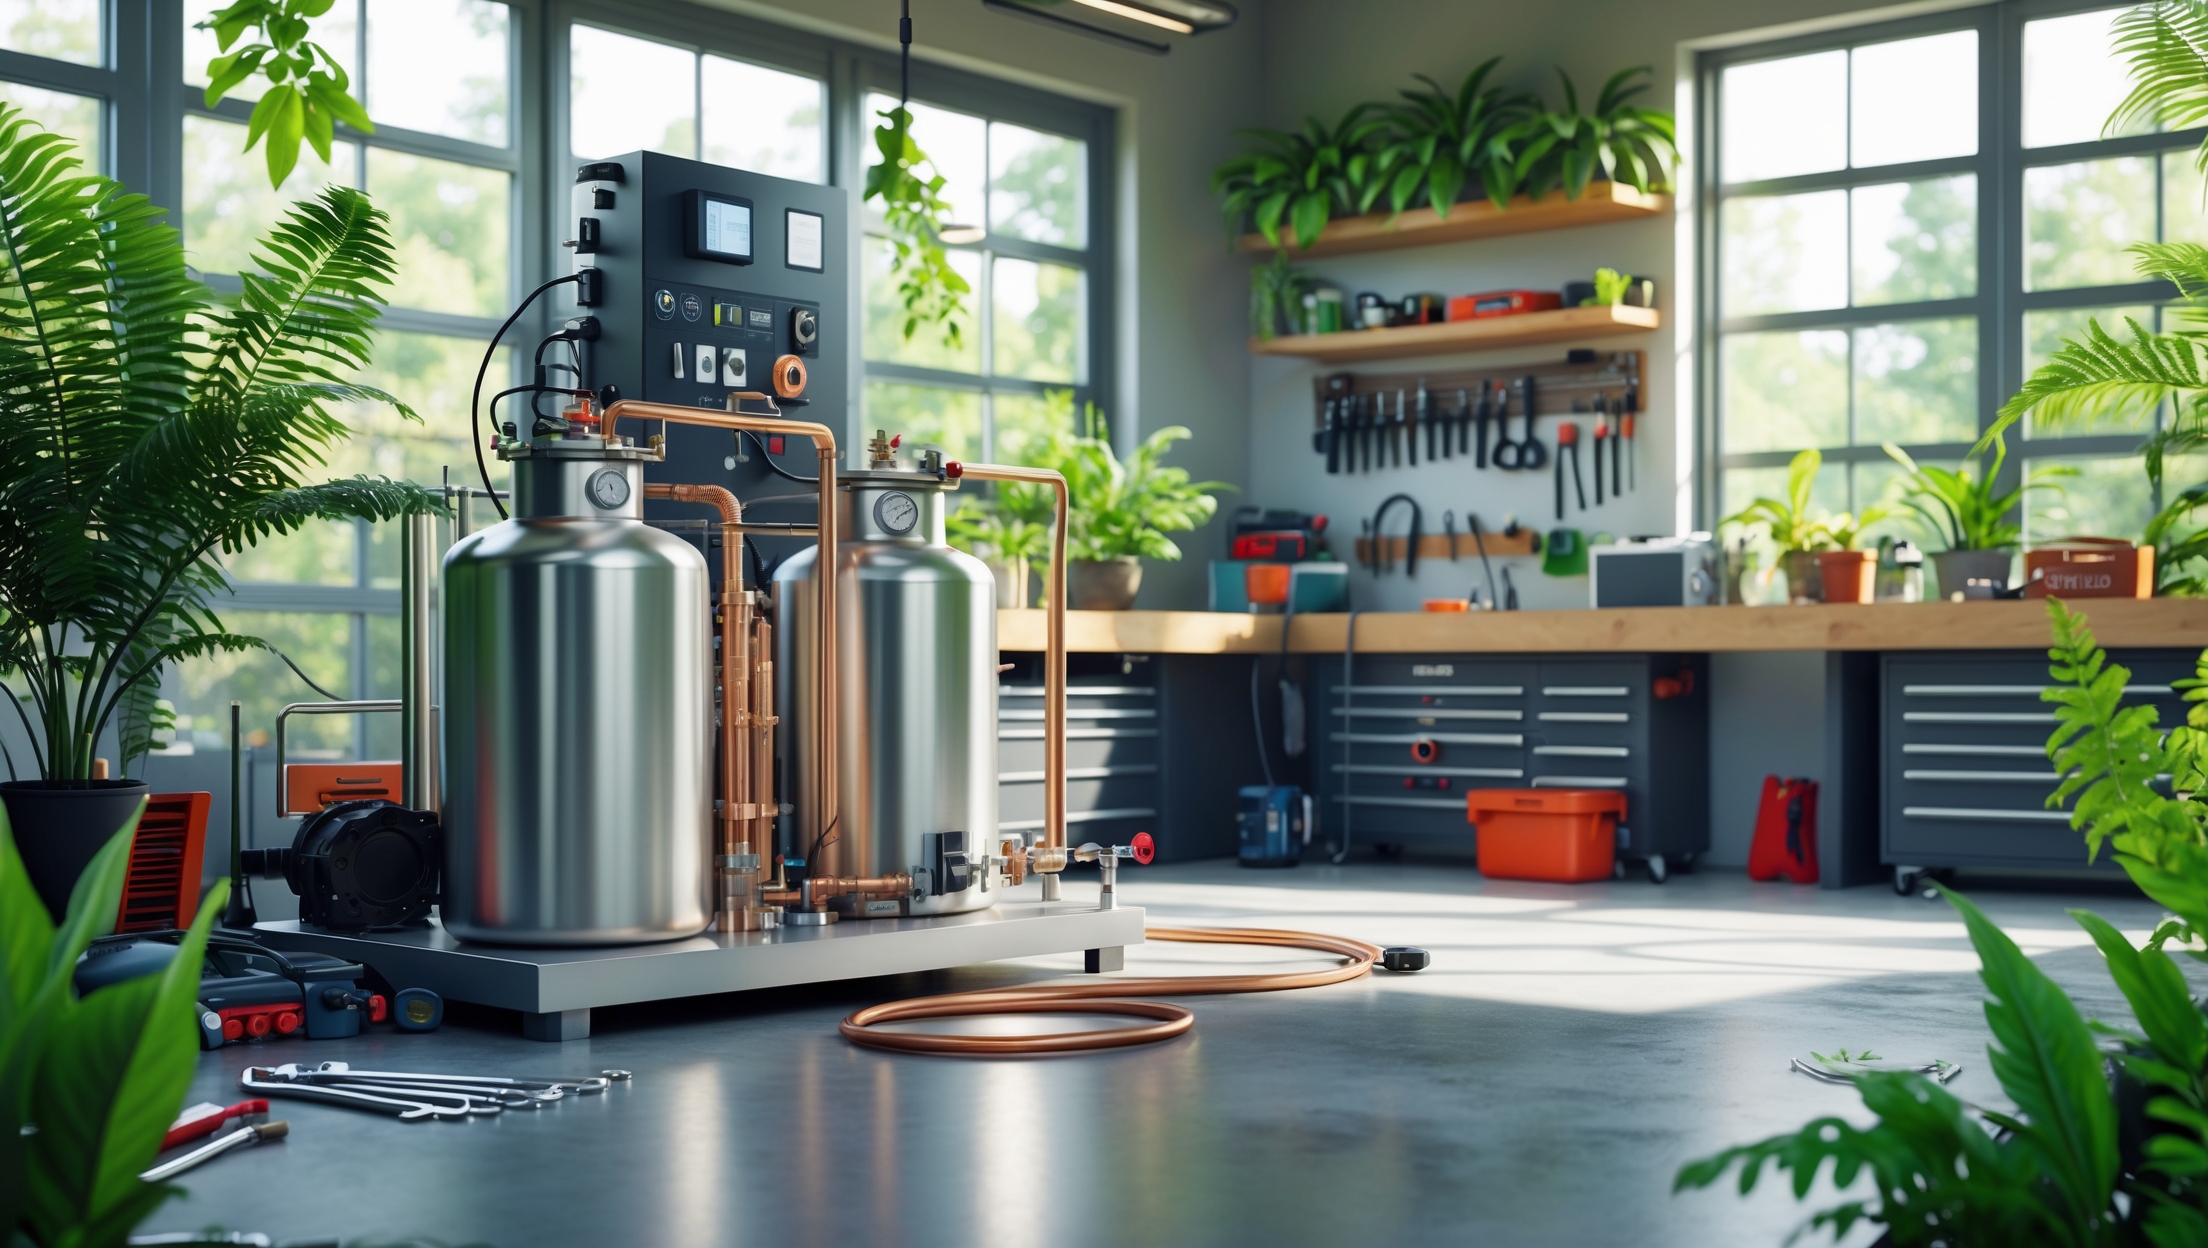
At its core, a home hydrogen generator splits water (H2O) into hydrogen and oxygen using electricity—a process called electrolysis. The generated hydrogen can then be stored and used later in a fuel cell to produce electricity, power fuel-cell vehicles, or provide backup power. The system typically includes an electrolyzer, water supply, power source, gas storage tanks, and safety components.
Why Hydrogen for Home Energy Storage?
- On-demand energy: Hydrogen can be stored for long periods and used when solar or wind power isn’t available.
- Zero emissions at point of use: When used in a fuel cell, the only byproduct is water.
- Grid independence: Reduces reliance on the electric grid and fossil fuels.
Essential Tools for DIY Home Hydrogen Projects
Before purchasing major equipment, assemble the right tools to ensure precise assembly and ongoing maintenance of your hydrogen system. The following tools are necessary for a safe and professional-quality installation.
Hand Tools
- Adjustable Wrenches: For tightening or loosening various tubing and fittings.
- Pipe Cutters: Essential for cutting stainless steel or copper tubing cleanly.
- Screwdrivers (Flathead and Phillips): For assembling enclosures and terminals.
- Torque Wrench: To apply correct torque on critical gas fittings, reducing leak risks.
- Crimping Tool: For securing electrical connections safely and reliably.
- Wire Strippers: For preparing electrical wiring with precision.
Power Tools
- Cordless Drill/Driver: For mounting brackets, enclosures, and drilling holes in metal or plastic.
- Rotary Tool (Dremel): Useful for fine adjustments, deburring, or cutting small components.
Testing and Safety Tools
- Multimeter: To test voltage, current, and continuity for safe electrical setup.
- Gas Leak Detector: Specialized for hydrogen, as it is colorless, odorless, and highly flammable.
- Pressure Gauge: For monitoring hydrogen storage tank pressures during operation.
- pH Meter: Useful if you plan to use an electrolyte solution other than pure water.
Personal Protective Equipment (PPE)
- Safety Glasses: Protects eyes from accidental splashes or debris.
- Chemical-Resistant Gloves: For handling electrolyte solutions and cleaning agents.
- Fire Extinguisher (Class B/C): For electrical or flammable gas fires.
- Respirator Mask: Recommended if working in unventilated areas.
Core Equipment for a Home Hydrogen Generator
With your toolkit ready, it’s time to focus on the primary components that make up a home hydrogen generator system. Each piece of equipment plays a vital role in efficiency, safety, and long-term viability.
1. Electrolyzer
The electrolyzer is the heart of your system. It uses electrical current to split water into hydrogen and oxygen.
- Types: Alkaline, Proton Exchange Membrane (PEM), and Solid Oxide. For most DIYers, alkaline or PEM units are most practical.
- Considerations: Capacity (liters/hour), voltage requirements, material quality (preferably stainless steel or titanium), and ease of maintenance.
2. Water Supply System
High-purity water is necessary to prevent scale buildup and ensure efficient electrolysis.
- Distilled Water Source: Use distilled or deionized water. A home distiller may be helpful if you don’t have easy access to distilled water.
- Water Pump: Needed if your system is not gravity-fed.
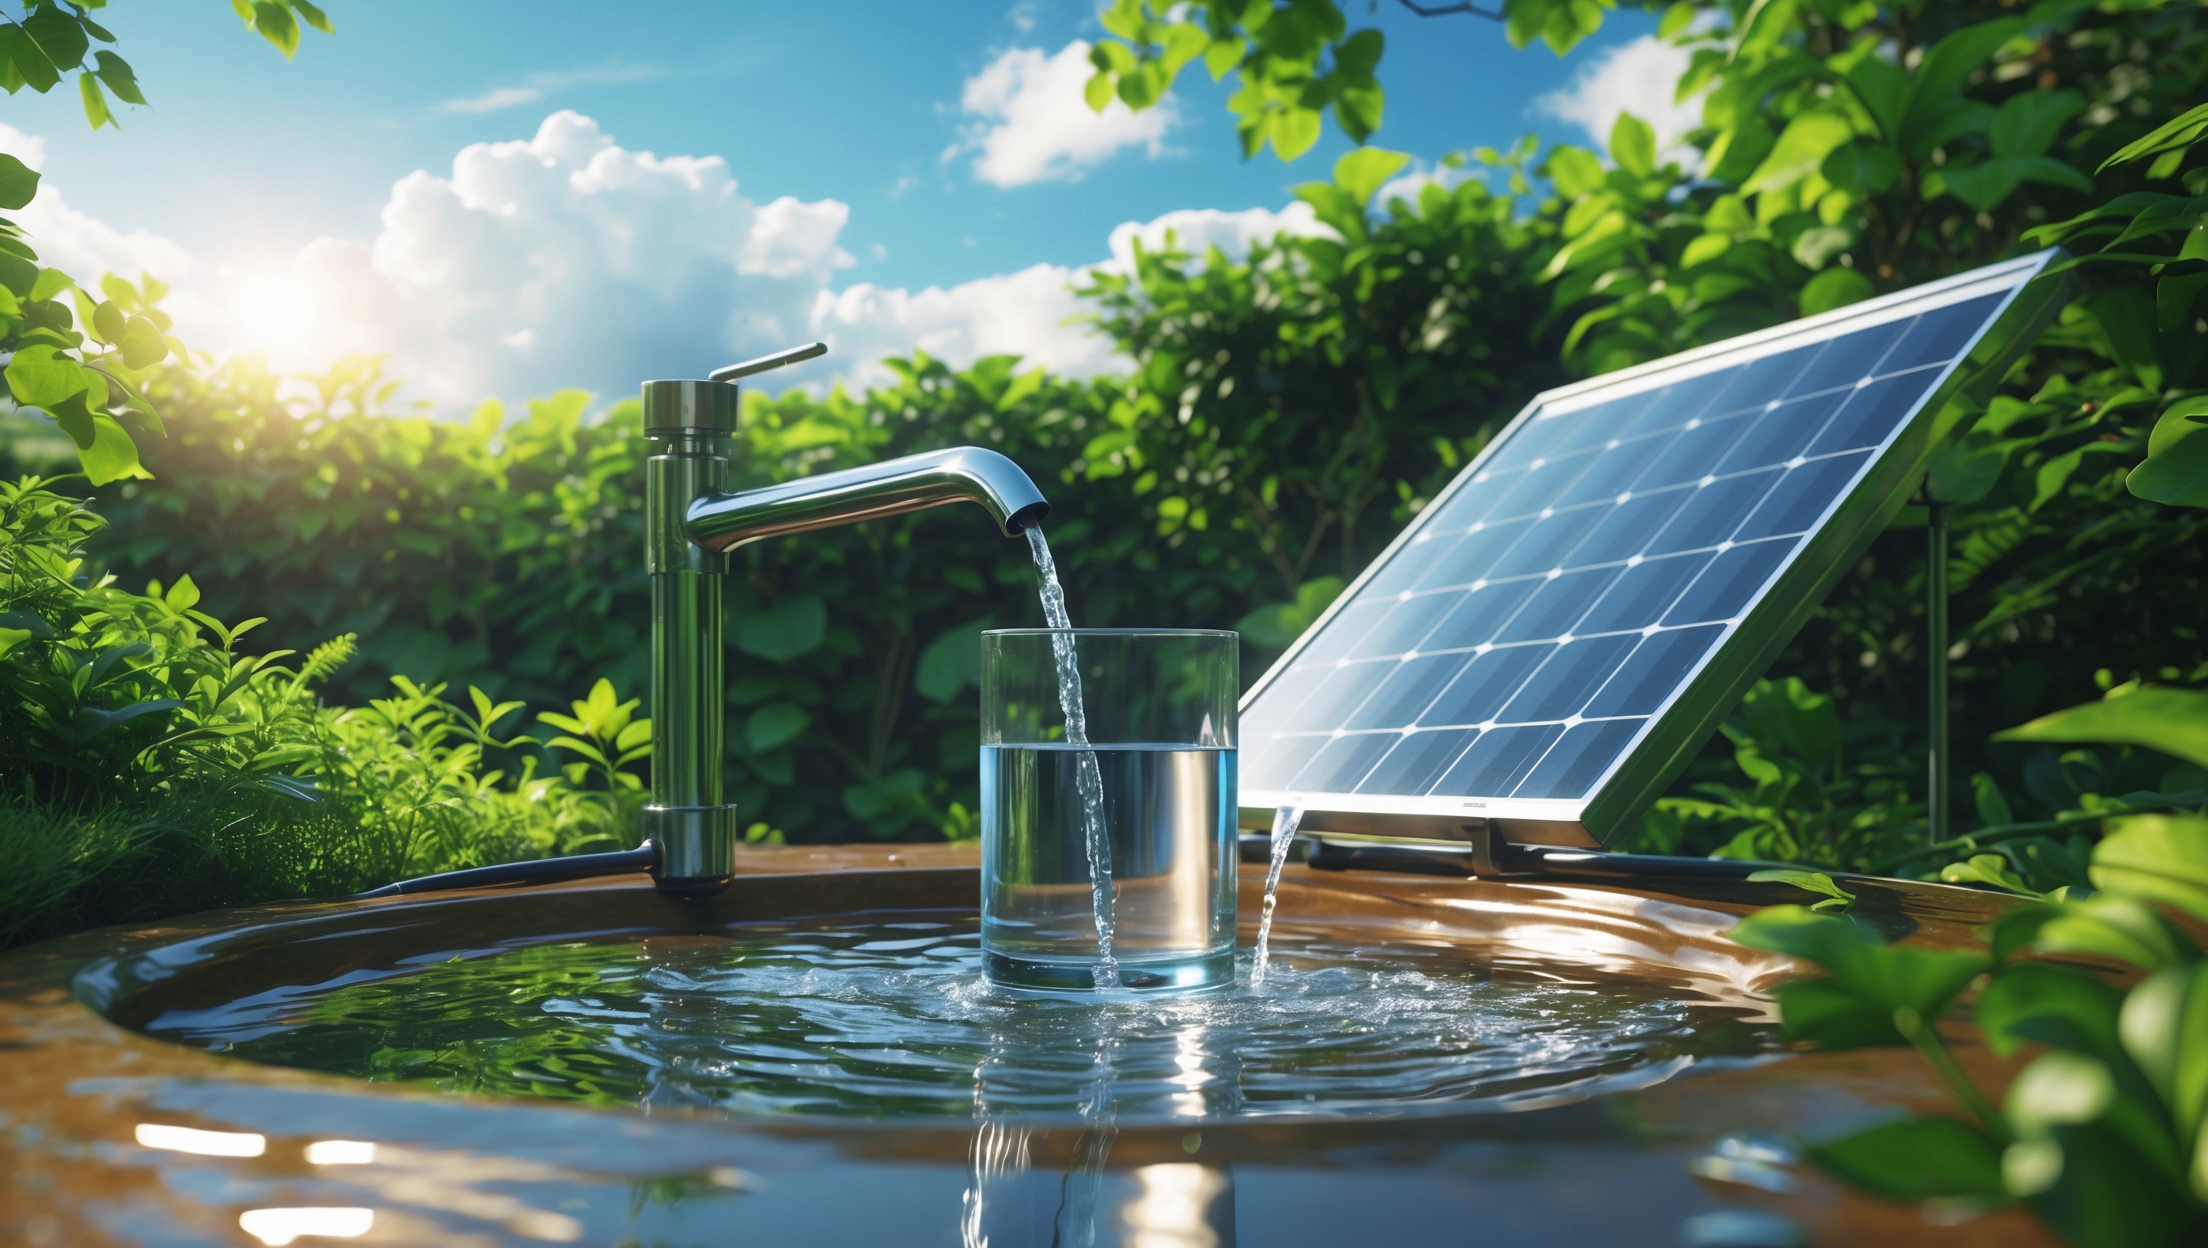
3. Power Supply
- DC Power Supply: Must match the voltage/current needs of your electrolyzer. Look for high-efficiency, regulated units.
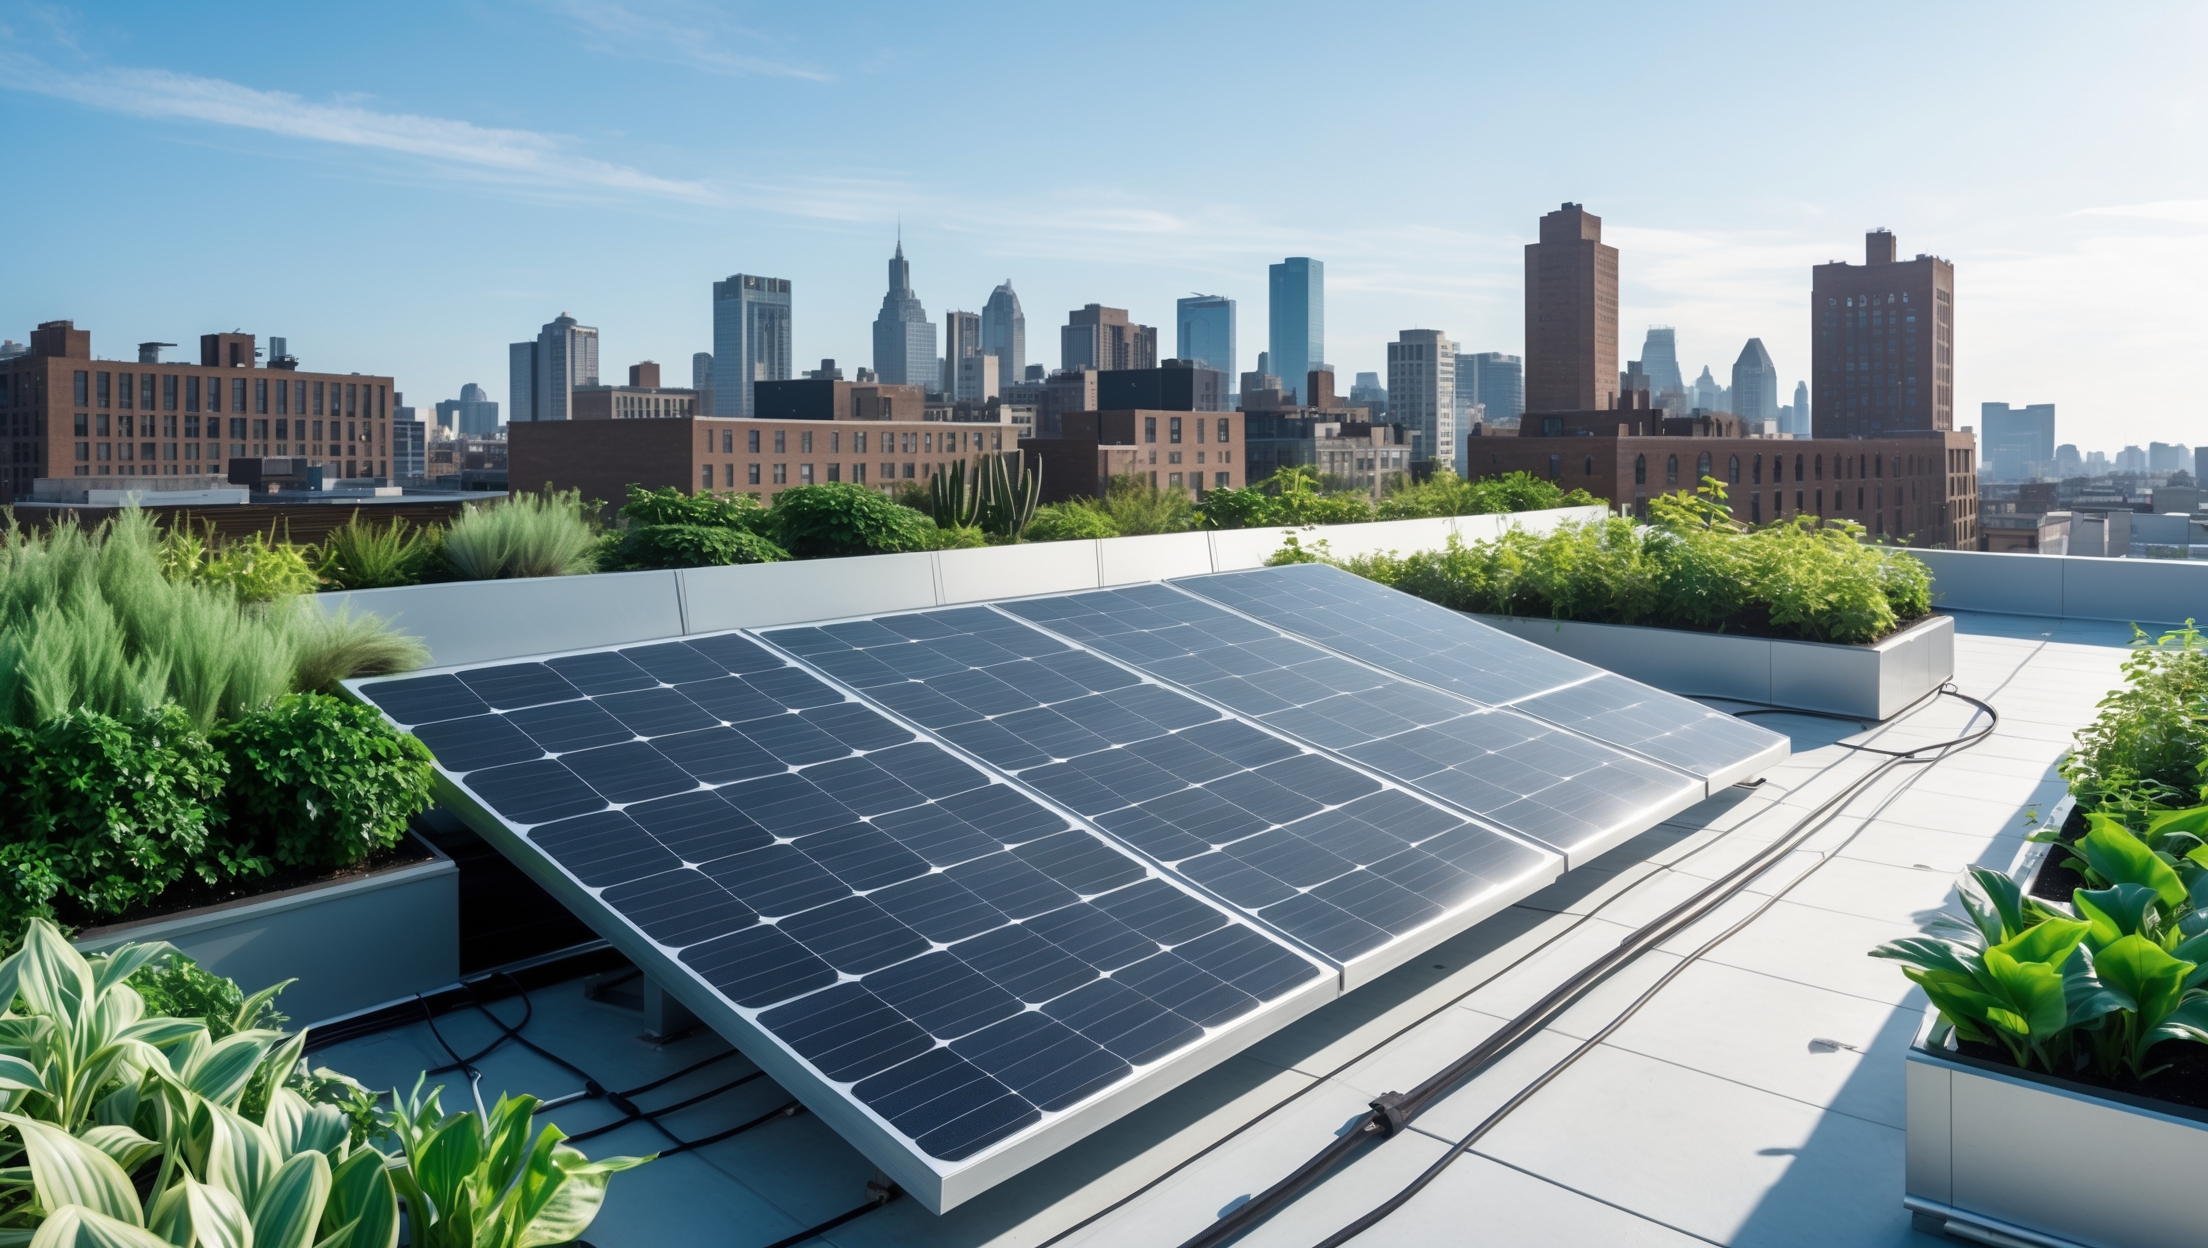
- Renewable Integration: If you want to use solar or wind power, select an inverter or charge controller compatible with your electrolyzer.
4. Gas Storage Tanks
Hydrogen must be stored safely under pressure. Never use makeshift containers.
- Certified Hydrogen Storage Tanks: Look for tanks rated for hydrogen use (typically Type I or Type II composite cylinders).
- Pressure Relief Valves: Protects against over-pressurization and potential hazards.
5. Gas Management and Delivery System
- Stainless Steel Tubing: Resistant to hydrogen embrittlement and corrosion.
- High-Pressure Fittings: Only use fittings certified for hydrogen service.
- Check Valves & Flash Arrestors: Prevent dangerous gas backflow or ignition.
- Regulators: To control hydrogen output pressure for end-use (fuel cells, appliances, etc.).
6. Electrical Control and Safety Systems
- Emergency Shutoff Switch: Instantly cuts power to the system if needed.
- Overcurrent Protection: Circuit breakers or automotive-style fuses to prevent electrical fires.
- Ventilation Fans: Hydrogen is lighter than air and disperses quickly, but enclosed spaces need active ventilation.
7. Monitoring and Automation (Optional but Recommended)
- Hydrogen Gas Sensors: Detect leaks and alert you via alarms or smart systems.
- Remote Monitoring Module: Allows you to track system performance through Wi-Fi or Bluetooth.
Step-by-Step Setup: Assembling a DIY Home Hydrogen Generator
Step 1: Planning and Site Selection
- Choose a well-ventilated, secure location away from ignition sources.
- Check local codes regarding hydrogen storage and generation—some areas require permits for larger systems.
- Map out distances between the generator, storage tanks, and any appliances or fuel cells.
Step 2: Prepare the Workspace
- Clear clutter and ensure all tools and PPE are accessible.
- Install smoke and hydrogen gas detectors.
- Set up proper lighting and ventilation.
Step 3: Install the Electrolyzer
- Secure the electrolyzer on a non-combustible, stable surface.
- Connect distilled water inlet using food-grade tubing or stainless steel pipe.
- Wire the electrolyzer to your DC power supply according to manufacturer guidelines, using the correct gauge wire and fuses.
Step 4: Set Up Water Supply
- Install the water reservoir and pump (if used) above the electrolyzer for gravity feed or next to it if using a pump.
- Test water flow and check for leaks before proceeding.
Step 5: Connect Gas Storage System
- Install certified hydrogen tanks at a safe distance from electrical components.
- Use stainless steel tubing and certified high-pressure fittings for all connections.
- Add pressure relief valves and check valves as per safety requirements.
- Test all connections with a hydrogen-specific leak detector before storing any gas.
Step 6: Electrical Controls and Safety Integration
- Install an emergency shutoff switch in an easily accessible location.
- Connect overcurrent protection devices to the power supply circuit.
- Set up ventilation fans to exhaust any leaked hydrogen safely outdoors.
Step 7: Initial Testing and Commissioning
- Run a dry test (without water or power) to check mechanical and electrical connections.
- Power up the system, monitor for leaks, and verify all safety alarms are functional.
- Begin electrolysis with a small batch, gradually increasing to rated capacity while closely monitoring pressure, temperature, and gas purity.
Maintenance Best Practices for Home Hydrogen Systems
Routine Inspections
- Check all tubing, fittings, and tanks for signs of wear, corrosion, or leaks monthly.
- Verify the operation of gas detectors and safety shutoff systems weekly.
- Inspect and clean electrolyzer plates every 3–6 months to prevent scaling and maintain efficiency.
Water Quality Management
- Use only distilled or deionized water; impurities can cause system fouling or reduce hydrogen purity.
- Replace water filters or flush the system as recommended by the manufacturer.
Electrical System Checks
- Test all wiring and connections for corrosion or loose terminals.
- Replace fuses or reset circuit breakers as needed.
Gas Storage and Handling
- Never exceed the rated pressure of your hydrogen storage tanks.
- Store tanks upright and secured, away from direct sunlight and heat sources.
- Schedule professional tank inspections every few years, as per tank certification requirements.
Safety Checklist: DIY Hydrogen Generator
- Always wear PPE (safety glasses, gloves) when operating or maintaining the system.
- Ensure robust ventilation in the generator room/area at all times.
- Install hydrogen-specific gas detectors and alarms, even for small systems.
- Keep a Class B/C fire extinguisher within arm’s reach.
- Never attempt repairs on pressurized tanks—depressurize and vent the system first.
- Label all components with clear, weather-resistant tags for emergency responders.
- Maintain a logbook of maintenance, inspections, and any incidents.
Cost Breakdown: What to Budget For
- Electrolyzer: $300–$2,000 (varies by size/capacity)
- Hydrogen Storage Tank: $400–$1,500 each (certified, new tanks)
- Power Supply/Inverter: $200–$800 (depending on integration with renewables)
- Safety Equipment (Detectors, Extinguishers, Fittings): $300–$700
- Plumbing/Electrical Materials: $200–$500
- Tools (if not already owned): $150–$500
- Optional Monitoring/Automation: $100–$400
Expect a total outlay of $1,500–$6,000 for a modest home system, excluding professional labor (if used). This is a significant investment, but it can pay off over time through energy savings, grid independence, and the satisfaction of using cutting-edge green technology.
Conclusion: Is a DIY Hydrogen Generator Right for You?
Building a DIY home hydrogen generator is an ambitious project that sits at the intersection of sustainable living and future energy innovation. With the right tools, high-quality equipment, and a commitment to safety, it’s possible to create a system that not only reduces your environmental impact but also serves as a valuable learning experience. Hydrogen offers unique advantages for energy storage, especially when paired with renewable electricity sources, and can help bridge the gap when solar or wind energy isn’t available. However, hydrogen is not without its challenges: it’s highly flammable, requires careful handling, and demands rigorous maintenance to ensure safe operation. Be prepared for a steep learning curve, ongoing responsibility, and upfront costs. But for those who are passionate about sustainability and hands-on technology, the rewards—energy independence, reduced emissions, and a deeper understanding of green engineering—can make it all worthwhile.
Remember, always prioritize safety and compliance with local regulations. Start with a small-scale system, refine your setup, and consider consulting with professionals or local experts as needed. The journey to a cleaner, more resilient home energy system is complex, but with the right tools and knowledge, it’s entirely within reach. Explore, experiment, and join the growing community of sustainable energy pioneers shaping the future from their own garages and workshops.

Can you explain more about the types of electrolyzers recommended for a home setup? I saw the article mentions quality equipment, but I’m not sure if there are affordable models that still meet safety standards.
Absolutely, for a home hydrogen generator, there are a few common types of electrolyzers: PEM (Proton Exchange Membrane) and alkaline electrolyzers. PEM models are compact and efficient, but usually pricier. Alkaline electrolyzers tend to be more affordable and are often used in DIY setups, though they require careful handling of caustic solutions. Whichever type you choose, ensure it comes from a reputable manufacturer with clear safety certifications and instructions to maintain safe operation at home.
What kind of maintenance or ongoing safety checks does a system like this typically require? I want to make sure I am not missing anything that could compromise efficiency or safety after the initial installation.
Routine maintenance for a home hydrogen generator includes regularly inspecting all tubing and fittings for leaks, checking electrical connections for corrosion, and cleaning electrodes to prevent buildup that could reduce efficiency. It’s also important to monitor ventilation and gas sensors to ensure safe operation. Replace any worn seals or damaged parts promptly and always follow manufacturer guidelines for system checks, especially before each use. Scheduling a comprehensive inspection every few months can help maintain both safety and efficiency.
If the primary use is backup power during outages, how should I size the hydrogen storage and generator system for a typical household? Any tips for estimating usage versus storage capacity to stay energy independent?
To size your hydrogen storage and generator system for backup power, start by estimating your household’s daily energy needs during an outage—look at your key appliances and add up their wattage for the hours you’d use them. Multiply your daily usage by the number of days you want coverage. Hydrogen storage should match this total energy requirement, considering your generator’s efficiency (often 40–60%). Oversizing slightly can give you a safety margin. Tracking past utility bills or using an energy monitor helps refine your estimate.
If I’m limited on budget, are there particular tools or parts where it’s okay to compromise a bit, and others that should never be skimped on for safety reasons when building a small-scale hydrogen generator?
When building a small-scale hydrogen generator, you should never cut corners on components like pressure vessels, seals, and electrical connections—these are crucial for safety and preventing leaks or fires. It’s okay to save on non-critical items like basic hand tools or non-pressurized tubing, but always invest in high-quality parts where gas is stored or generated under pressure.