Introduction: Why Choose Solar-Powered Outdoor Lighting?
Sustainable living is about making conscious choices that benefit both the environment and your lifestyle. One often-overlooked aspect of this is outdoor lighting. Conventional outdoor lighting systems can be significant energy consumers, raising electricity bills and contributing to your home’s carbon footprint. Fortunately, solar-powered outdoor lighting has emerged as a practical, cost-effective, and eco-friendly alternative. Whether you want to illuminate a garden path, accentuate landscaping, or enhance security, solar lighting can be tailored to your needs. This comprehensive guide walks you step-by-step through designing and installing a DIY solar-powered outdoor lighting system. You’ll learn what tools and materials are required, how to plan your layout for maximum efficiency, proper installation techniques, and the best practices for maintenance and troubleshooting. We’ll also explore budgeting, safety considerations, and common pitfalls to avoid. By the end, you’ll be equipped to light up your outdoor spaces sustainably—saving money and reducing your environmental impact.
Understanding Solar Outdoor Lighting: The Basics
How Solar Lighting Works
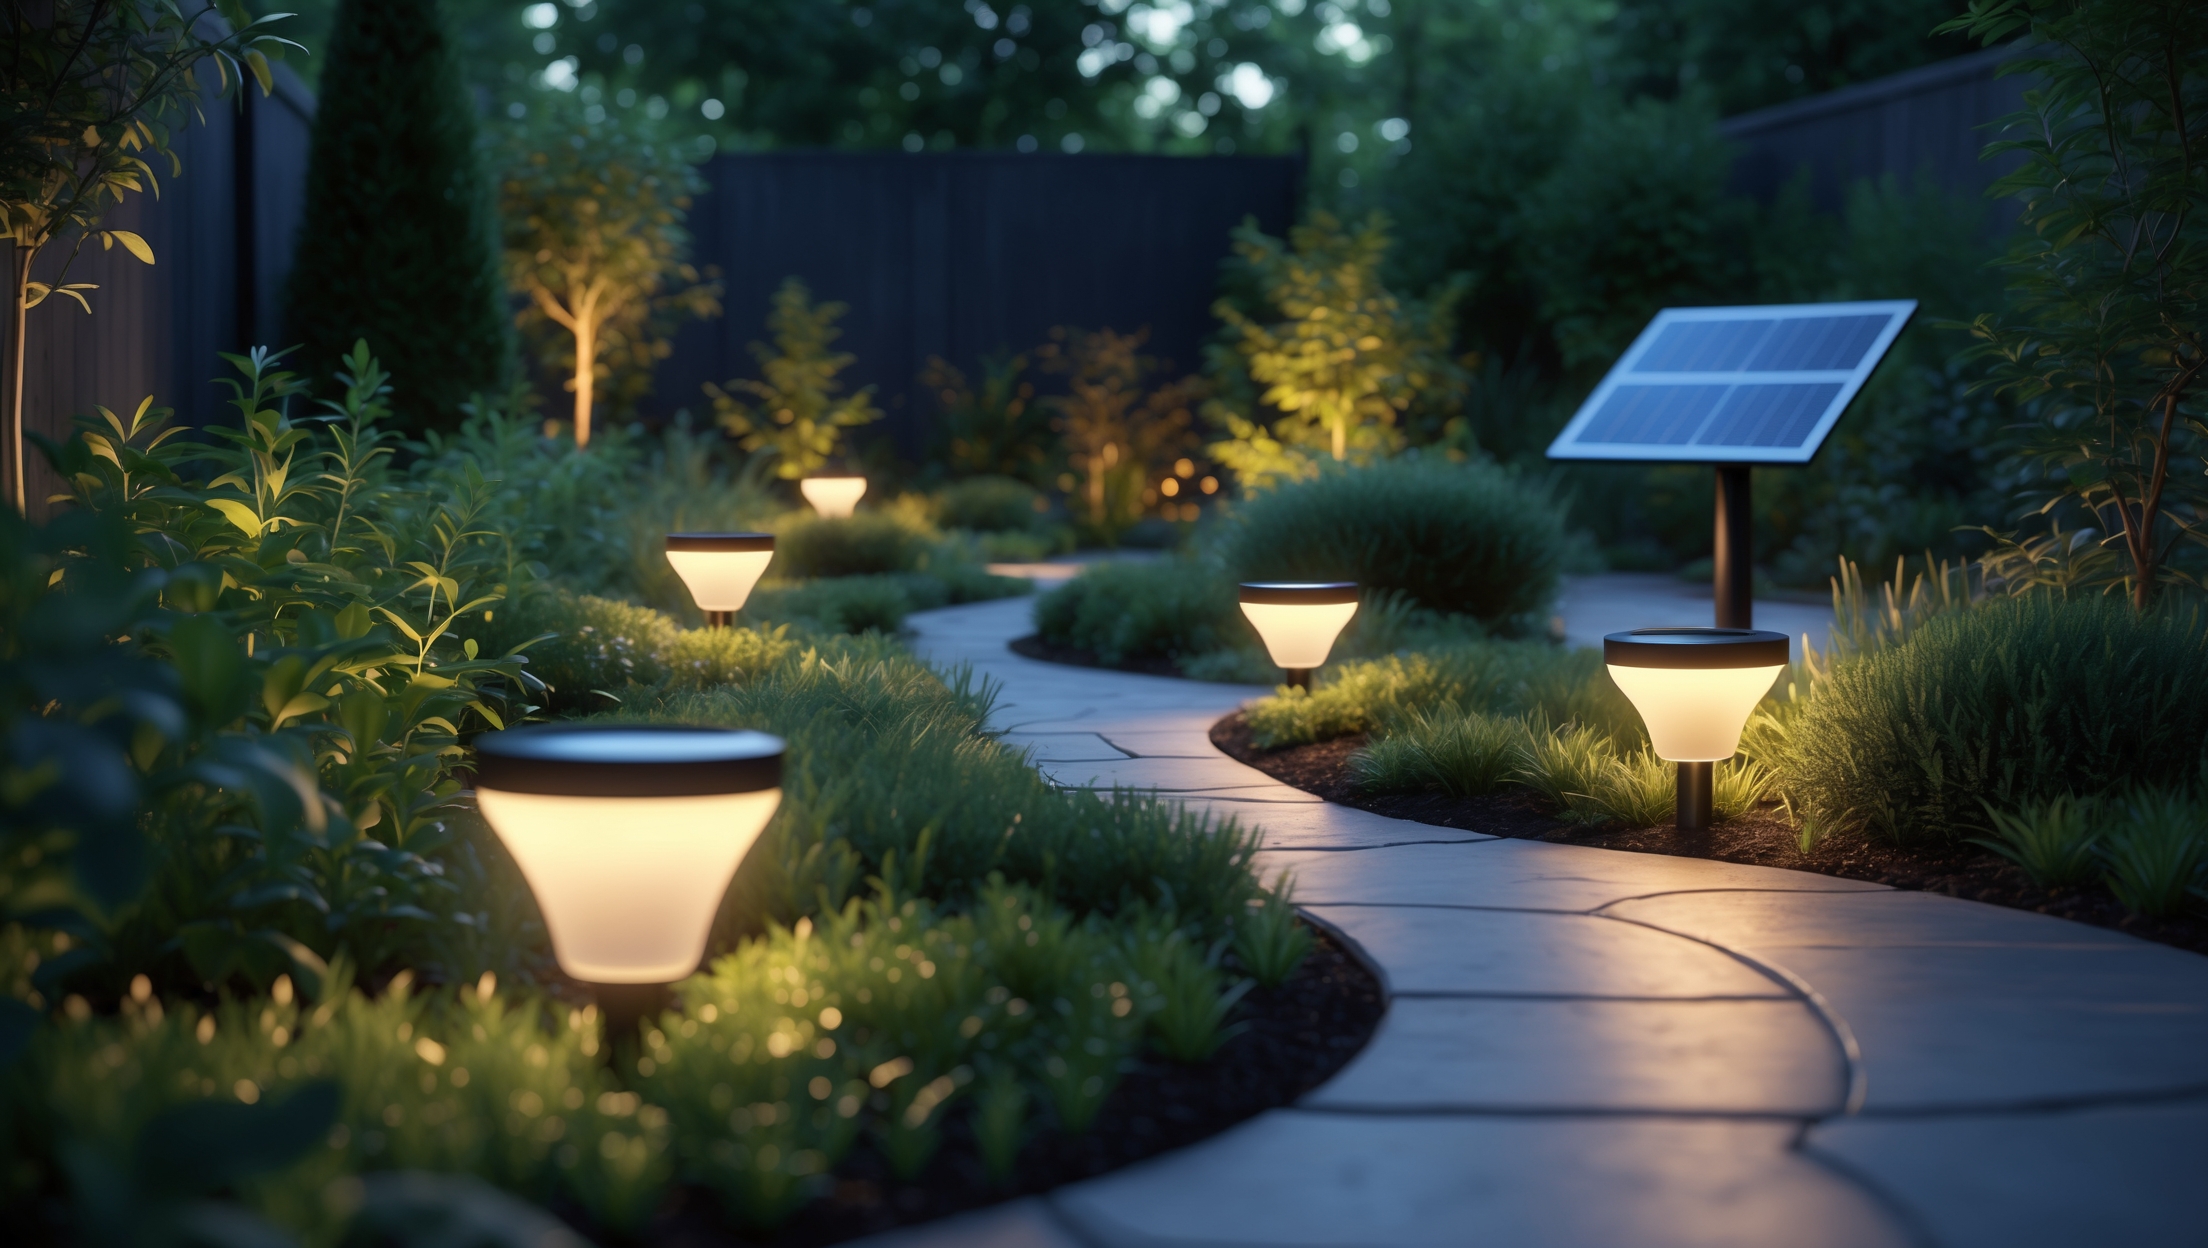
Solar outdoor lights use photovoltaic (PV) panels to capture sunlight and convert it into electricity during the day. This energy is stored in rechargeable batteries and used to power LED lights at night. Most units feature automatic sensors that turn the lights on at dusk and off at dawn for maximum convenience and energy efficiency.
Types of Solar Outdoor Lighting
- Pathway Lights: Small, low-profile fixtures ideal for walkways and garden edges.
- Spotlights: Brighter, focused lights for accenting trees, sculptures, or architectural features.
- Floodlights: High-lumen units for security and large-area illumination.
- String Lights: Decorative, flexible lighting for patios, fences, or pergolas.
- Wall-Mounted Lights: Fixtures attached to exterior walls for entrances and steps.
Planning Your Solar Lighting Layout
Assessing Your Outdoor Space
Begin by walking around your yard at night to identify areas that need illumination. Consider both aesthetics and safety: pathways, stairs, entry points, dark corners, and landscape features are prime candidates. Note any obstructions (trees, structures) that could block sunlight during the day, as these will affect solar panel efficiency.
Mapping Sunlight Exposure
Solar lights require direct sunlight for 6–8 hours daily for optimal performance. Use a solar pathfinder tool or smartphone apps to map sunlight patterns and determine the best locations for each light. Avoid placing fixtures near dense foliage or in the perpetual shade of buildings.
Creating a Lighting Plan
- Draw a scaled map of your yard.
- Mark the locations of desired lights and note sunlight availability for each.
- Identify the types and quantities of lights needed for each area.
- Consider wiring runs if using a centralized solar panel (for multiple lights).
Budgeting and Cost Breakdown
Initial Investment
- Individual Solar Lights: $15–$60 per unit depending on brightness and quality.
- Multi-Light Kits with Central Panel: $100–$300 per kit.
- Additional Materials: Mounting stakes, brackets, wiring (if needed), weatherproof connectors, and optional timers.
- Tools: Most installations require basic hand tools, which you may already own.
Long-Term Savings
Solar outdoor lighting eliminates ongoing electricity costs and requires minimal maintenance, resulting in significant savings over time compared to traditional wired lighting.
Sample Budget for a Typical Home Garden
- 8 Pathway Lights: $200
- 2 Spotlights: $80
- 2 Wall-Mounted Lights: $50
- Additional Materials: $50
- Total Estimated Cost: $380
Tools and Materials Checklist
- Solar outdoor light fixtures (as per your plan)
- Rechargeable batteries (if not included)
- Weatherproof wire connectors (for multi-light systems)
- Mounting hardware (stakes, brackets, screws)
- Measuring tape
- Shovel or trowel (for ground installations)
- Drill and screwdriver (for wall-mounted lights)
- Level (for even installation)
- Solar pathfinder or sunlight mapping app
- Personal protective equipment: gloves, safety glasses
Step-by-Step Installation Guide
Step 1: Unpack and Test Your Lights
Before installation, unpack all fixtures and test them in direct sunlight for at least a day. This ensures batteries are functional and the lights operate as expected.
Step 2: Prepare the Installation Sites
- Use your map to mark the precise locations for each fixture.
- Clear the area of debris, rocks, or thick grass.
- Ensure the ground is level for stake-mounted units.
Step 3: Install Ground-Mounted Solar Lights
- Assemble the light according to manufacturer instructions.
- Push or gently hammer the stake into the ground at your marked spot. Do not force it into hard soil—pre-dig with a trowel if needed.
- Adjust the solar panel angle (if adjustable) to maximize sun exposure. Panels should face true south in the Northern Hemisphere or true north in the Southern Hemisphere.
Step 4: Install Wall-Mounted or Fence Lights
- Mark and drill pilot holes for mounting screws.
- Secure the bracket or fixture to the wall or fence.
- Ensure the solar panel is unobstructed and angled correctly.
Step 5: Setup for Multi-Light Systems with Central Solar Panel
- Mount the central solar panel in the sunniest available location, ideally on a south-facing wall or roof edge.
- Run weatherproof cables to each light fixture, using cable clips or burying shallow trenches as needed.
- Connect lights using weatherproof connectors; test each connection before finalizing installation.
Step 6: Final Adjustments and Testing
- Wait until nightfall to verify placement, brightness, and coverage.
- Adjust the angle, height, or location as needed for optimal effect.
Safety Considerations
General Safety Tips
- Always wear gloves and safety glasses when using tools or digging.
- Avoid wiring or installation during wet conditions to reduce slip and electrical hazards.
- Ensure all connections in multi-light systems are fully weatherproofed.
- Keep solar panels clear of sharp debris during installation to prevent scratches.
Electrical Safety
Although solar lights operate at low voltage, short-circuiting can damage batteries or LEDs. Double-check polarity and never force connections. For larger installations, consider using fuses or surge protectors as recommended by the manufacturer.
Maintenance Best Practices
Routine Cleaning
- Wipe solar panels with a damp cloth every 1–2 months to remove dust, pollen, and bird droppings.
- Check for accumulated leaves or snow in autumn and winter.
Battery Care
- Replace rechargeable batteries every 1–3 years, depending on manufacturer recommendations and observed performance.
- Use only compatible battery types to avoid damage.
Inspecting for Damage
- Check fixtures for cracks or water ingress after storms.
- Ensure mounting hardware remains secure and rust-free.
- Trim back any overhanging branches that may shade panels or drop debris.
Troubleshooting Common Issues
- Light Not Turning On: Check battery, clean panel, verify sensor alignment.
- Dim Output: Clean panel, replace battery, ensure no new obstructions.
- Corrosion: Replace affected connectors and apply dielectric grease.
Common Mistakes to Avoid
- Placing lights where they receive insufficient daily sunlight.
- Overcrowding lights, leading to uneven illumination or glare.
- Neglecting regular cleaning and battery replacement.
- Using incompatible replacement parts.
- Ignoring waterproofing for connections in multi-light systems.
Future-Proofing Your Solar Lighting
Choosing Expandable Systems
Select lighting systems that allow for easy addition of more fixtures or integration with smart home controls. Some models now offer Wi-Fi or Bluetooth connectivity for scheduling and remote operation via smartphone apps.
Considering Upgrades
- Upgrade to higher-capacity batteries for longer run times.
- Replace older LED bulbs with more efficient or color-adjustable variants.
- Install motion sensors for security areas to reduce unnecessary light and save battery life.
Environmental Impact and Recycling
Solar outdoor lighting drastically reduces grid electricity usage. However, be mindful of end-of-life disposal: recycle batteries at designated facilities and check local e-waste guidelines for responsible disposal of old fixtures and panels. Many manufacturers participate in recycling programs—look for take-back options when upgrading your system.
Conclusion: Illuminating Your Home Sustainably
Embracing solar-powered outdoor lighting is a tangible step toward a more sustainable and energy-efficient lifestyle. By harnessing the sun’s energy, you reduce your carbon footprint, cut utility bills, and add lasting value and beauty to your home. With careful planning, proper installation, and routine maintenance, a DIY solar lighting system can provide years of reliable service, adapting as your needs and technologies evolve.
The process may seem intricate at first, but each step—from mapping sun exposure to installing and maintaining your lights—empowers you to take control of your outdoor environment with minimal ongoing cost. Avoiding common mistakes and following best practices ensures your investment pays off in performance and longevity. As solar technology continues to advance, opportunities for smarter, more efficient lighting will only grow, allowing you to expand and enhance your setup over time. Whether you’re lighting a simple path or creating a stunning nighttime landscape, your effort supports a greener future—one light at a time.
Start small, learn as you go, and enjoy the twin rewards of illuminated nights and a lighter environmental footprint. Your sustainable sanctuary is only a few DIY steps away!

For someone living in a region with frequent cloudy days, how can I make sure my solar-powered outdoor lights still get enough energy to work at night? Do you recommend specific types of panels or battery sizes to maximize efficiency in less sunny climates?
For areas with frequent cloudy days, choose high-efficiency monocrystalline solar panels, as they perform better in low-light conditions. Pair them with larger capacity batteries—lithium batteries are a good option—so they can store extra energy during sunnier periods. Also, consider installing your panels where they get the most daylight, and reduce the lighting duration or brightness to conserve stored energy during stretches of overcast weather.