Introduction: Why Preparation Matters for a Solar Air Heater Upgrade
Solar air heaters are gaining traction as an eco-friendly, cost-effective way to reduce reliance on fossil fuels and lower heating bills. These systems use solar energy to warm indoor air, making them an attractive upgrade for homeowners seeking to embrace sustainable living. However, to maximize the benefits of a solar air heater—whether you’re installing a new system or upgrading an existing one—proper preparation is essential. Environmental conditions, home readiness, and routine maintenance all play a pivotal role in how efficiently your solar air heater will perform throughout the year. This detailed seasonal checklist will guide you through every step of preparing your home for a solar air heater upgrade, from assessing your current insulation to scheduling professional inspections and ensuring optimal integration with your existing HVAC system. Whether you’re a DIY enthusiast or working with professionals, following these best practices will help you avoid common pitfalls and ensure your investment pays off in comfort and energy savings for years to come.
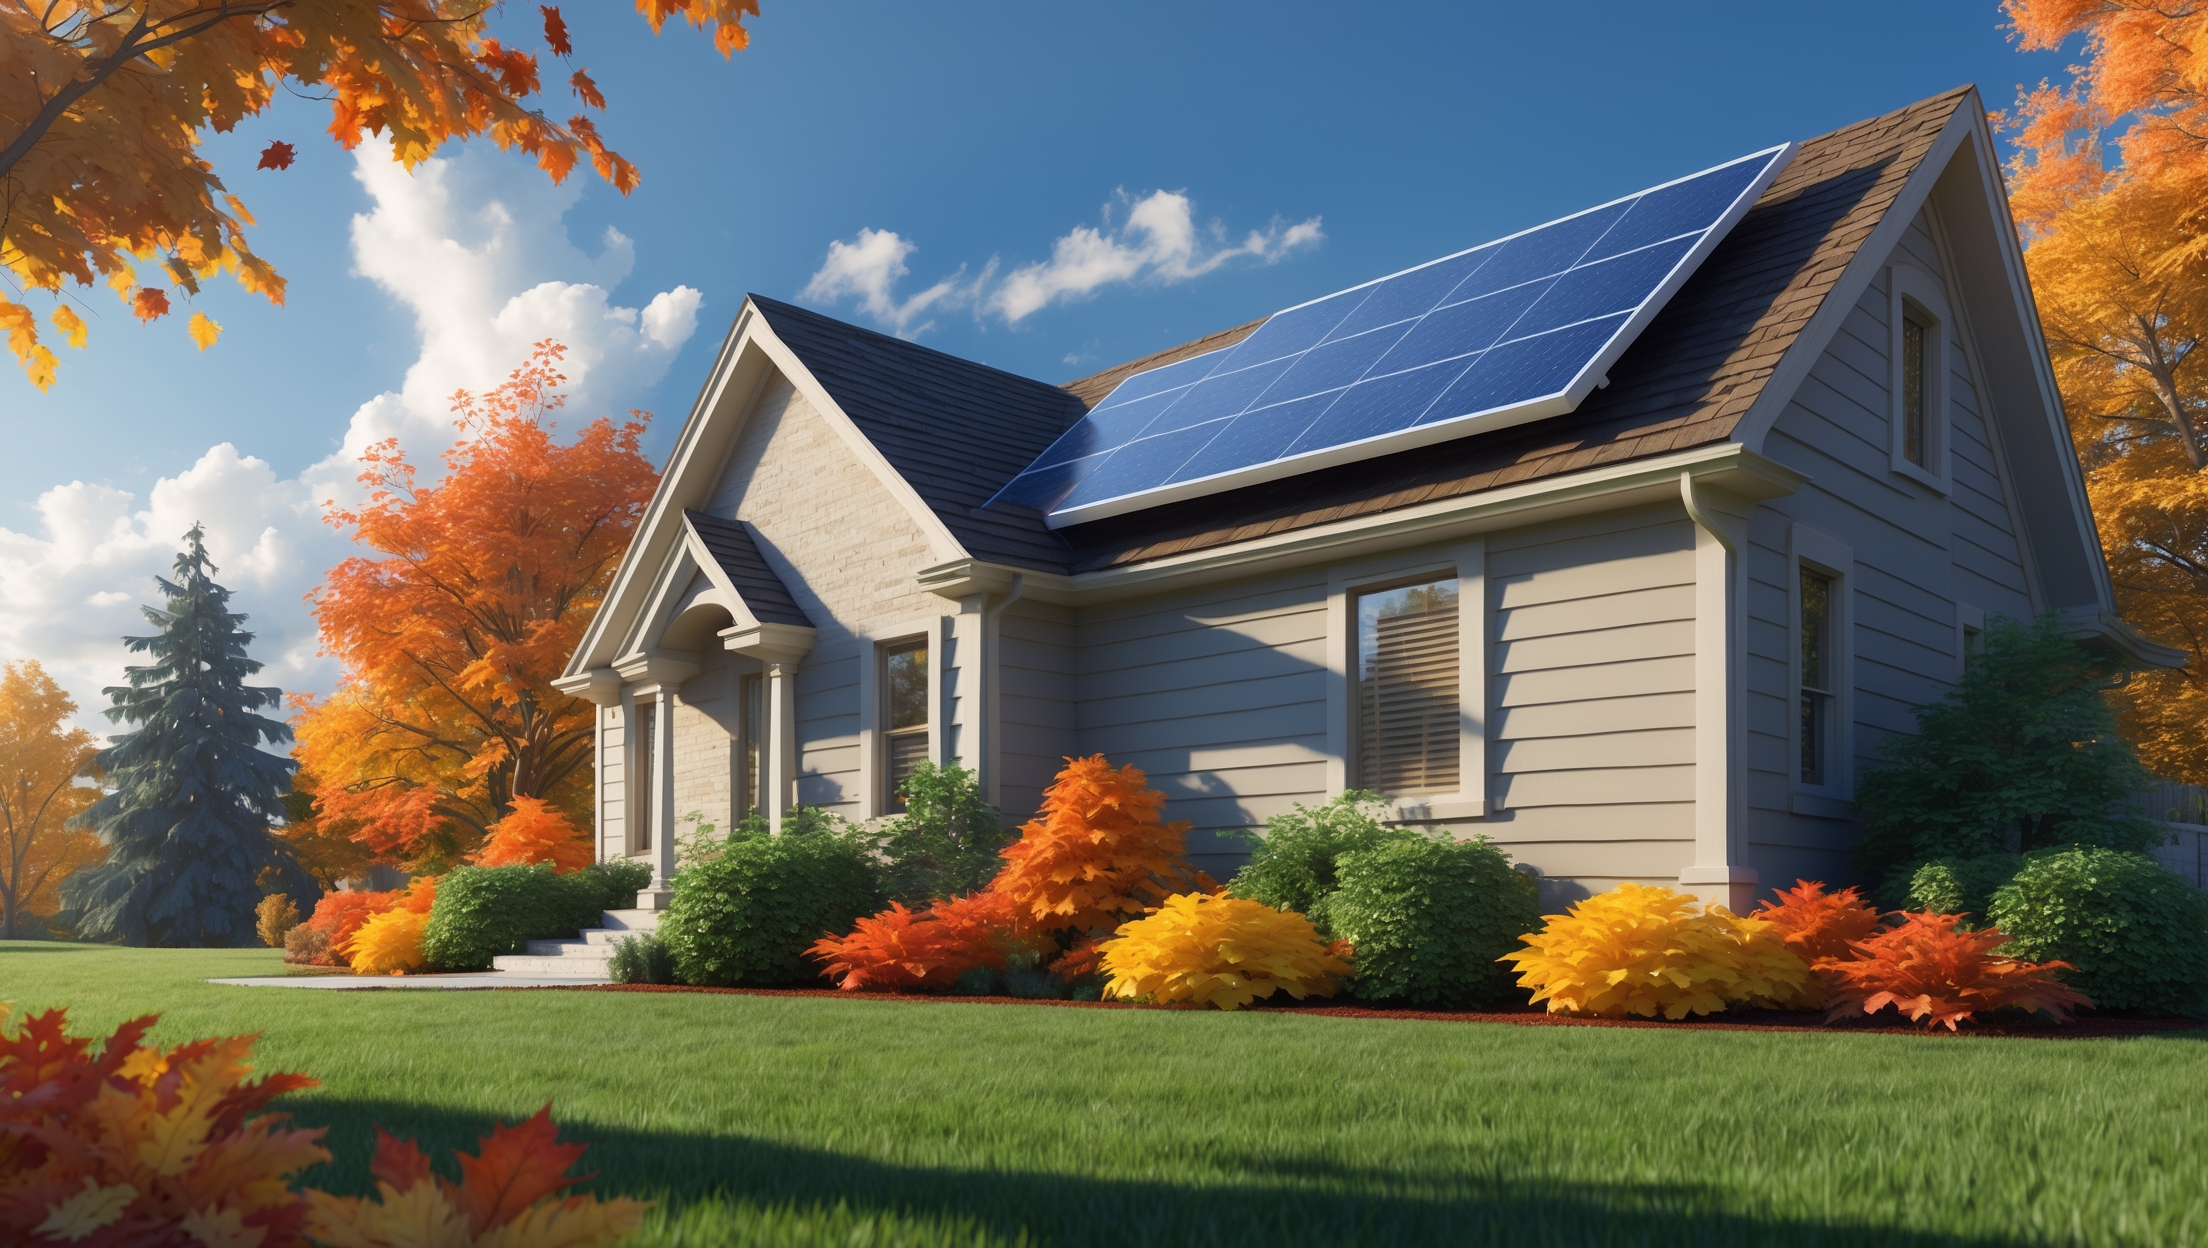
Spring: Laying the Groundwork for Installation
1. Inspect and Upgrade Insulation
Before installing a solar air heater, evaluate your home’s insulation. Poor insulation can undermine the efficiency of even the best solar heating system.
- Attic and Wall Insulation: Check for gaps, compression, or moisture damage. Upgrade to eco-friendly materials like cellulose or recycled denim for improved performance.
- Windows and Doors: Inspect seals and caulking. Replace weatherstripping to minimize air leaks.
2. Assess Sun Exposure and Siting
A solar air heater requires maximum sunlight. Identify the optimal south-facing wall or roof area with minimal shade from trees, chimneys, or neighboring buildings.
- Shade Analysis: Use a solar pathfinder tool or smartphone apps to analyze sun patterns throughout the day and year.
- Obstruction Removal: Schedule pruning of overgrown branches or consider relocating outdoor features that may cast shadows.
3. Plan Electrical and Ductwork Integrations
Early spring is the perfect time to plan how your solar air heater will interface with existing home systems.
- Electrical Needs: Map out wiring for fans or controls if your system requires them. Consult a licensed electrician for safety and code compliance.
- Ductwork Assessment: Inspect existing ducts for leaks, blockages, or insulation gaps. Plan for any necessary upgrades.
4. Research Local Permits and Incentives
Check with your municipality for any permits required for solar air heater installation. Investigate local, state, and federal incentives such as tax credits or rebates to offset costs.
Summer: Preparing for Installation and System Selection
1. Choose the Right Solar Air Heater
Evaluate system types based on your climate, heating needs, and budget:
- Passive vs. Active Systems: Passive heaters use convection, requiring fewer moving parts, while active systems employ fans for greater control and efficiency.
- Size and Capacity: Calculate the required BTU output based on room volume and insulation R-value. Oversizing can lead to inefficiencies.
- Quality and Certification: Look for systems certified by the Solar Rating & Certification Corporation (SRCC) or similar bodies for proven performance.
2. Prepare Installation Site
Ensure the installation area is clear, structurally sound, and accessible for mounting panels and running ductwork.
- Wall/Roof Readiness: Repair any damage or rot to mounting surfaces. Apply weatherproof paint as needed.
- Ventilation Planning: Plot intake and outlet vent locations. Mark wall penetrations carefully to avoid wiring or plumbing.
- Safety First: Review safety protocols for working at heights or with power tools. Gather appropriate PPE (gloves, goggles, harnesses).
3. Schedule Professional Consultations
Book appointments with certified solar installers, electricians, or HVAC professionals for site assessments and system integration advice.
- Get Multiple Quotes: Compare installation estimates, warranty coverage, and post-installation support.
- Check References: Review past projects and customer feedback for quality assurance.
4. Order Components and Tools
Gather all required system components, mounting hardware, sealants, and tools. Double-check compatibility and quality to prevent delays.
Autumn: Installation and Initial Testing
1. Install the Solar Air Heater System
With cooler temperatures and reduced summer demand, autumn is an ideal time for installation.
- Panel Mounting: Secure panels according to manufacturer specs. Ensure a tight weather seal at all wall or roof penetrations.
- Ductwork and Vents: Install insulated ducts and vents. Use fire-rated caulking to seal openings.
- Electrical Connections: Complete wiring for fans, thermostats, or control units, following all code requirements.
2. System Calibration and Testing
Test the system for proper airflow, temperature rise, and responsiveness to sunlight.
- Airflow Balancing: Adjust baffles and dampers to optimize distribution.
- Thermostatic Controls: Verify that controls trigger system operation only when solar gain is adequate.
- Leak Checks: Inspect all duct and panel connections for air leaks or condensation issues.
3. Integrate with Existing Heating
Coordinate system operation with your primary heating source. Set thermostats to prioritize solar heat while maintaining comfort.
4. Document System Details
Record installation dates, component serial numbers, and maintenance schedules. Store manuals and warranty information in an accessible location.
Winter: Monitoring, Maintenance, and Optimization
1. Regular System Monitoring
Keep a close eye on system performance during peak heating months.
- Temperature Tracking: Use indoor and panel-mounted thermometers to monitor heat output and diagnose issues quickly.
- Fan and Control Checks: Listen for unusual noises or inconsistent fan operation. Replace worn parts promptly.
2. Snow and Ice Management
Solar panels can lose efficiency if covered by snow or ice. Safely remove accumulations with a soft-bristled brush or extendable snow rake. Avoid scratching glass surfaces.
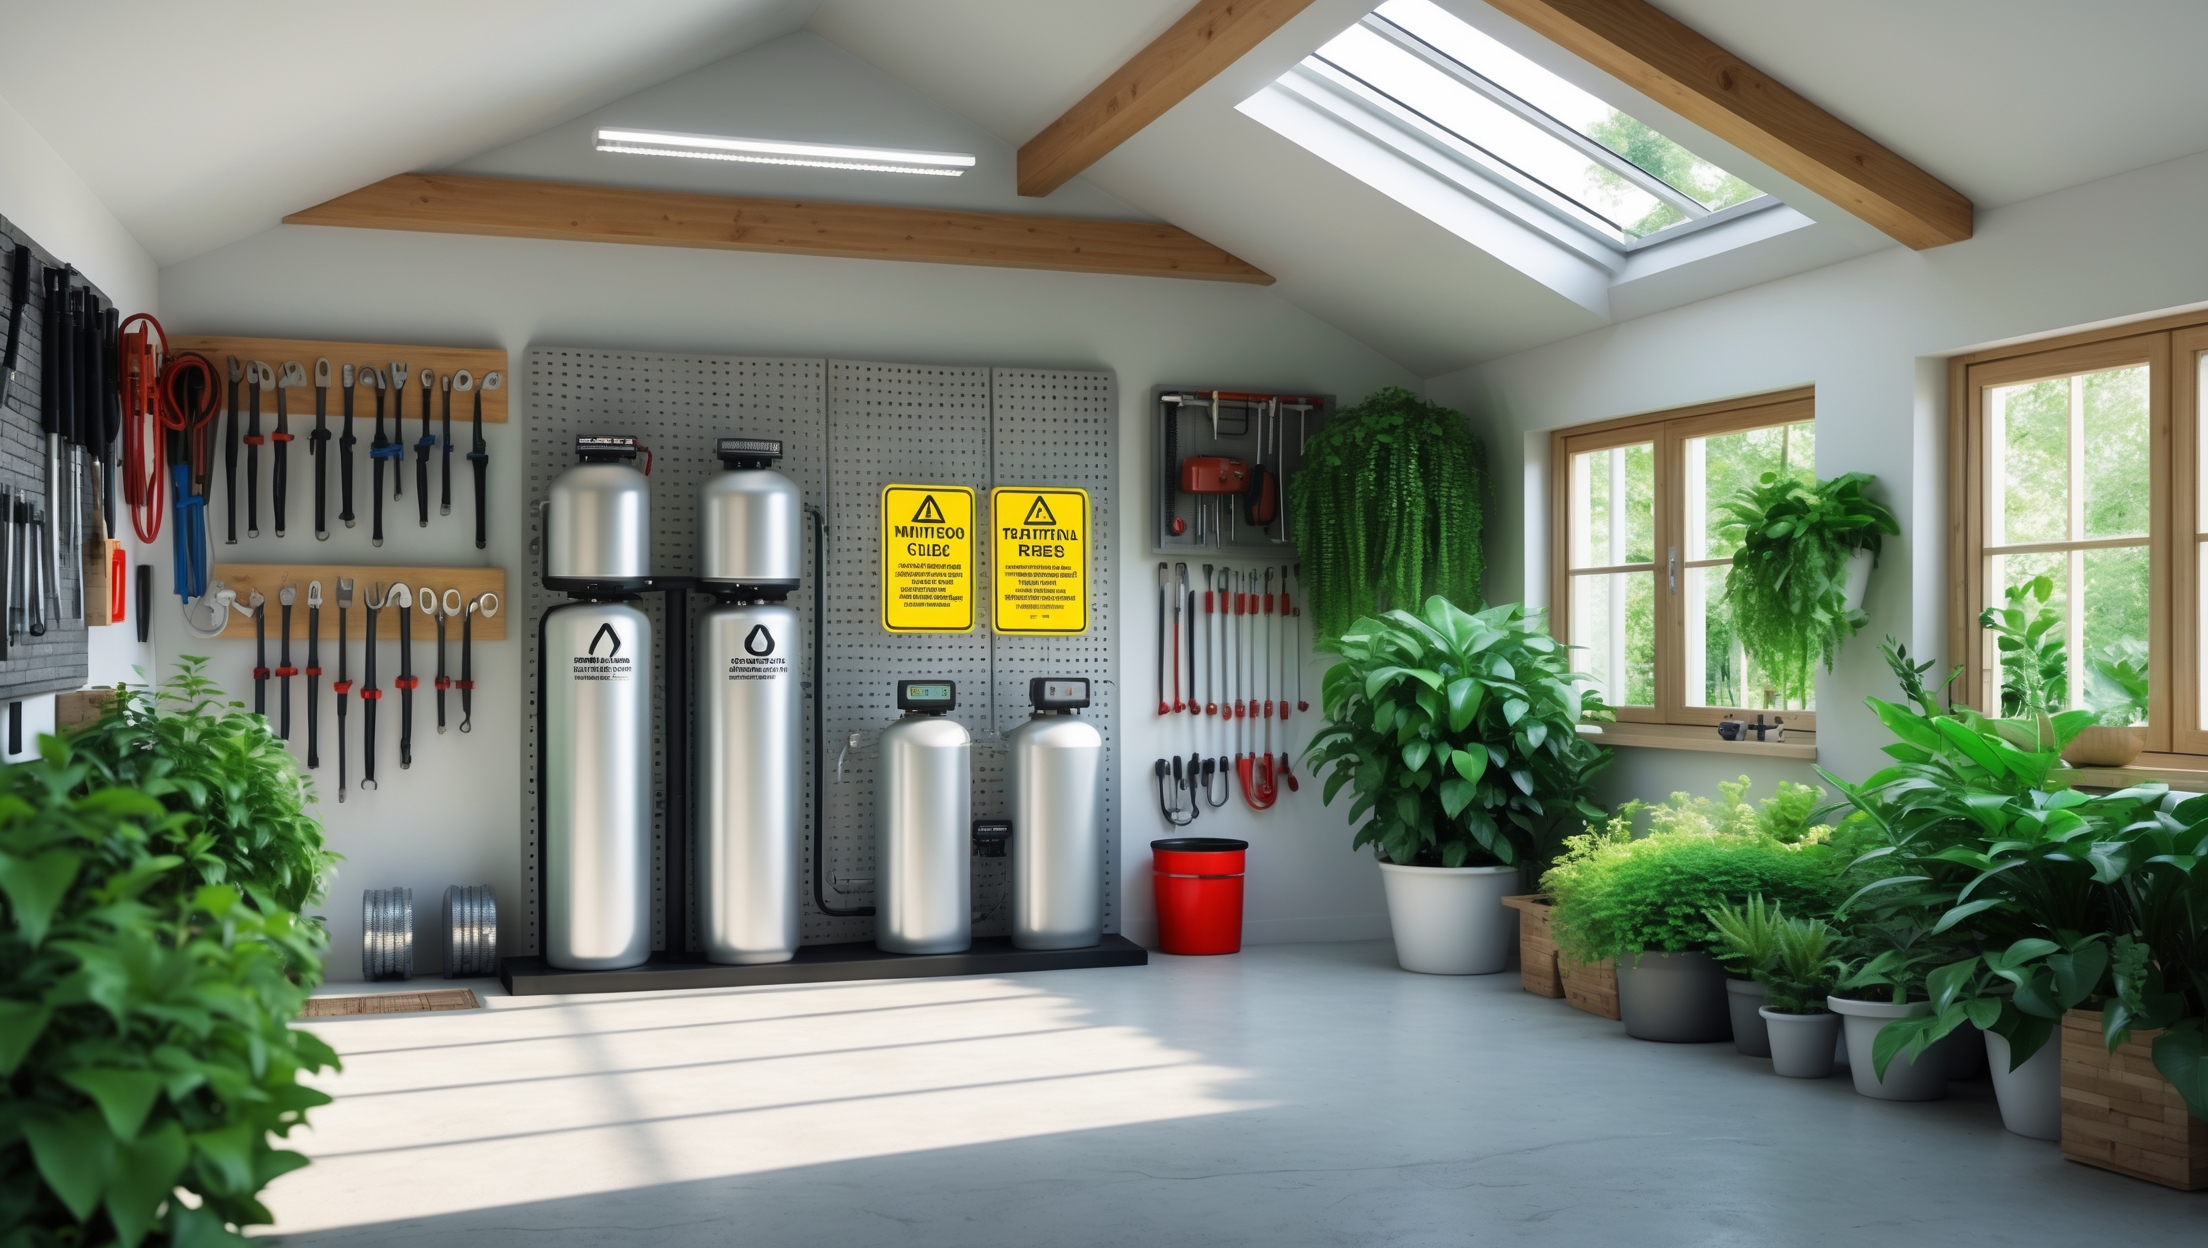
3. Duct and Vent Maintenance
Inspect ducts and vents for blockages caused by dust, debris, or pests. Clean or replace filters as needed to maintain airflow and indoor air quality.
4. Addressing Condensation and Moisture
Look for signs of condensation inside ducts or on panel glazing. Improve insulation or add vapor barriers if moisture issues arise.
Year-Round Best Practices
1. Maintain Clear Sun Exposure
Regularly trim trees and shrubs that could cast shade on your solar air heater panels. Monitor seasonal changes in sun angle and adjust landscaping as needed.
2. Update Maintenance Records
Log inspections, cleaning, and repairs to track system performance and identify recurring issues early.
3. Periodic Professional Inspections
Schedule annual checkups with a qualified technician to inspect electrical, mechanical, and structural components. This helps maintain warranty coverage and ensures long-term reliability.
4. Stay Informed on Technology Upgrades
Keep up with advancements in solar air heating technology. Newer models or add-on controls can further boost efficiency and comfort.
Common Issues and Troubleshooting Tips
1. Insufficient Heat Output
- Check for panel obstructions, dirty glazing, or airflow restrictions in ducts.
- Test thermostat settings and sensor placement.
- Review insulation effectiveness in heated spaces.
2. Noisy Operation
- Inspect fans and ductwork for loose mounts or debris.
- Lubricate moving parts as recommended by the manufacturer.
3. Moisture Accumulation
- Improve insulation on ducts and around panel penetrations.
- Check for blocked vents or failing vapor barriers.
Conclusion: Maximize Comfort and Savings with Smart Preparation
Upgrading to a solar air heater is a forward-thinking investment that pays dividends in energy savings, comfort, and environmental impact. The secret to unlocking the full potential of this technology lies in diligent, seasonal preparation and ongoing maintenance. By following this comprehensive checklist—assessing insulation, optimizing sun exposure, planning for seamless integration, and staying vigilant with upkeep—you set the stage for years of efficient, trouble-free operation. Remember, the performance of your solar air heater is directly linked to the condition of your home and your commitment to proactive care. Don’t overlook the value of professional guidance, up-to-date knowledge, and thorough documentation as you transition to a greener, more resilient heating solution. With each season, your sustainable system will not only lower your carbon footprint but also provide the comfort and reliability needed to weather any climate. Start your preparation today, and enjoy the rewards of a smarter, cleaner home tomorrow.


I’m planning to upgrade my home’s insulation before installing a solar air heater like the article suggests. Is there a big difference in performance between cellulose and recycled denim insulation for this kind of project?
Both cellulose and recycled denim insulation are effective, eco-friendly options for improving your home’s energy efficiency before adding a solar air heater. Cellulose generally offers slightly higher R-values and is known for good air sealing, while recycled denim is praised for its safe handling and soundproofing qualities. Either can work well, but cellulose might provide a bit better thermal performance, which could help your solar air heater run more efficiently.
Can you recommend budget-friendly tools or resources for doing a sun exposure analysis on my own? I’m interested in figuring out the right spot for the heater without having to hire a professional.
You can use free apps like Sun Surveyor Lite or Sun Seeker on your smartphone to track sun patterns and identify the sunniest spots around your home. Alternatively, a simple magnetic compass and a notebook can help you record sunlight hours in different areas throughout the day. This hands-on approach is both low-cost and effective for planning your solar air heater placement.
How much time should I budget in the spring for prepping insulation, assessing sun exposure, and handling any weatherstripping repairs before the actual solar air heater installation can start?
You should plan for about 1 to 2 full days in the spring to handle these tasks: half a day for inspecting and upgrading insulation, another half day for checking sun exposure around your installation site, and up to a day for weatherstripping repairs if needed. This timeline allows you to work carefully and address any issues before the solar air heater installation begins.
You mention scheduling professional inspections as part of the preparation. What specific qualifications or certifications should I look for in a contractor to ensure they understand both solar heating and HVAC integration?
Look for contractors who are certified by the North American Board of Certified Energy Practitioners (NABCEP), as this shows expertise in solar systems. They should also hold HVAC certifications, such as NATE (North American Technician Excellence) or equivalent state licensing. Ask if they have experience with integrating solar air heaters specifically, since combining solar and HVAC systems requires specialized knowledge.
I’m planning to do most of this DIY, but I’m not sure when it’s really necessary to call in a professional for inspections or HVAC integration. Is there a specific step in the checklist where I should hold off and get expert help?
You can handle much of the preparation yourself, such as cleaning, sealing drafts, and mounting the solar air heater. However, when it comes to integrating the unit with your existing HVAC system or modifying electrical wiring, it’s best to call a professional. These steps may require permits and expertise to ensure safety and efficiency. Inspections are also important after installation to verify everything is up to code.
After assessing sun exposure and siting using the tools you mention, what should I do if my ideal south-facing wall gets some partial shade during winter afternoons? Are there workarounds, or will that noticeably impact heating efficiency?
Partial shade on your south-facing wall in winter afternoons can reduce your solar air heater’s efficiency, but it doesn’t necessarily mean you can’t benefit from an upgrade. If the shade is brief or not too dense, your system may still provide worthwhile heating. Workarounds include trimming back trees or obstructions if possible, selecting a more shade-tolerant or high-efficiency collector, or slightly adjusting the installation angle to maximize sunlight during peak hours. Evaluating overall sun exposure through the day will help you decide if installation is still worthwhile.
Are there any common problems people run into when trying to integrate a solar air heater with their existing HVAC setup, and what steps can I take early on to avoid those issues?
Some common problems include improper sizing, compatibility issues with thermostats, and air flow conflicts between the solar air heater and your HVAC system. To avoid these, consult a qualified HVAC professional early, verify your system’s compatibility, and make sure dampers and controls can manage air flow from both sources. Planning electrical connections and thermostat integration in advance will also help prevent headaches later on.