
Introduction: Harnessing Wind Power for Sustainable Irrigation
As the impacts of climate change intensify and freshwater resources face mounting pressure, sustainable irrigation has become a high priority for gardeners, homesteaders, and small-scale farmers. One innovative solution to this challenge is the personal wind-powered water pump—a system that taps into the clean, renewable energy of the wind to move water for crops, landscaping, or livestock. Unlike traditional electric or gas-driven pumps, wind-powered water pumps operate off-grid, reduce carbon footprints, and lower ongoing operational costs. However, many interested homeowners are unsure where to start, what tools are required, and how to ensure a reliable setup. This comprehensive guide will walk you through every step of selecting, sourcing, and using the right tools and equipment for installing a wind-powered water pump. Whether you’re aiming to irrigate a backyard vegetable garden or provide water to a remote livestock trough, you’ll discover everything you need to begin your journey toward sustainable, self-reliant irrigation.
Understanding How Wind-Powered Water Pumps Work
Basic Principles
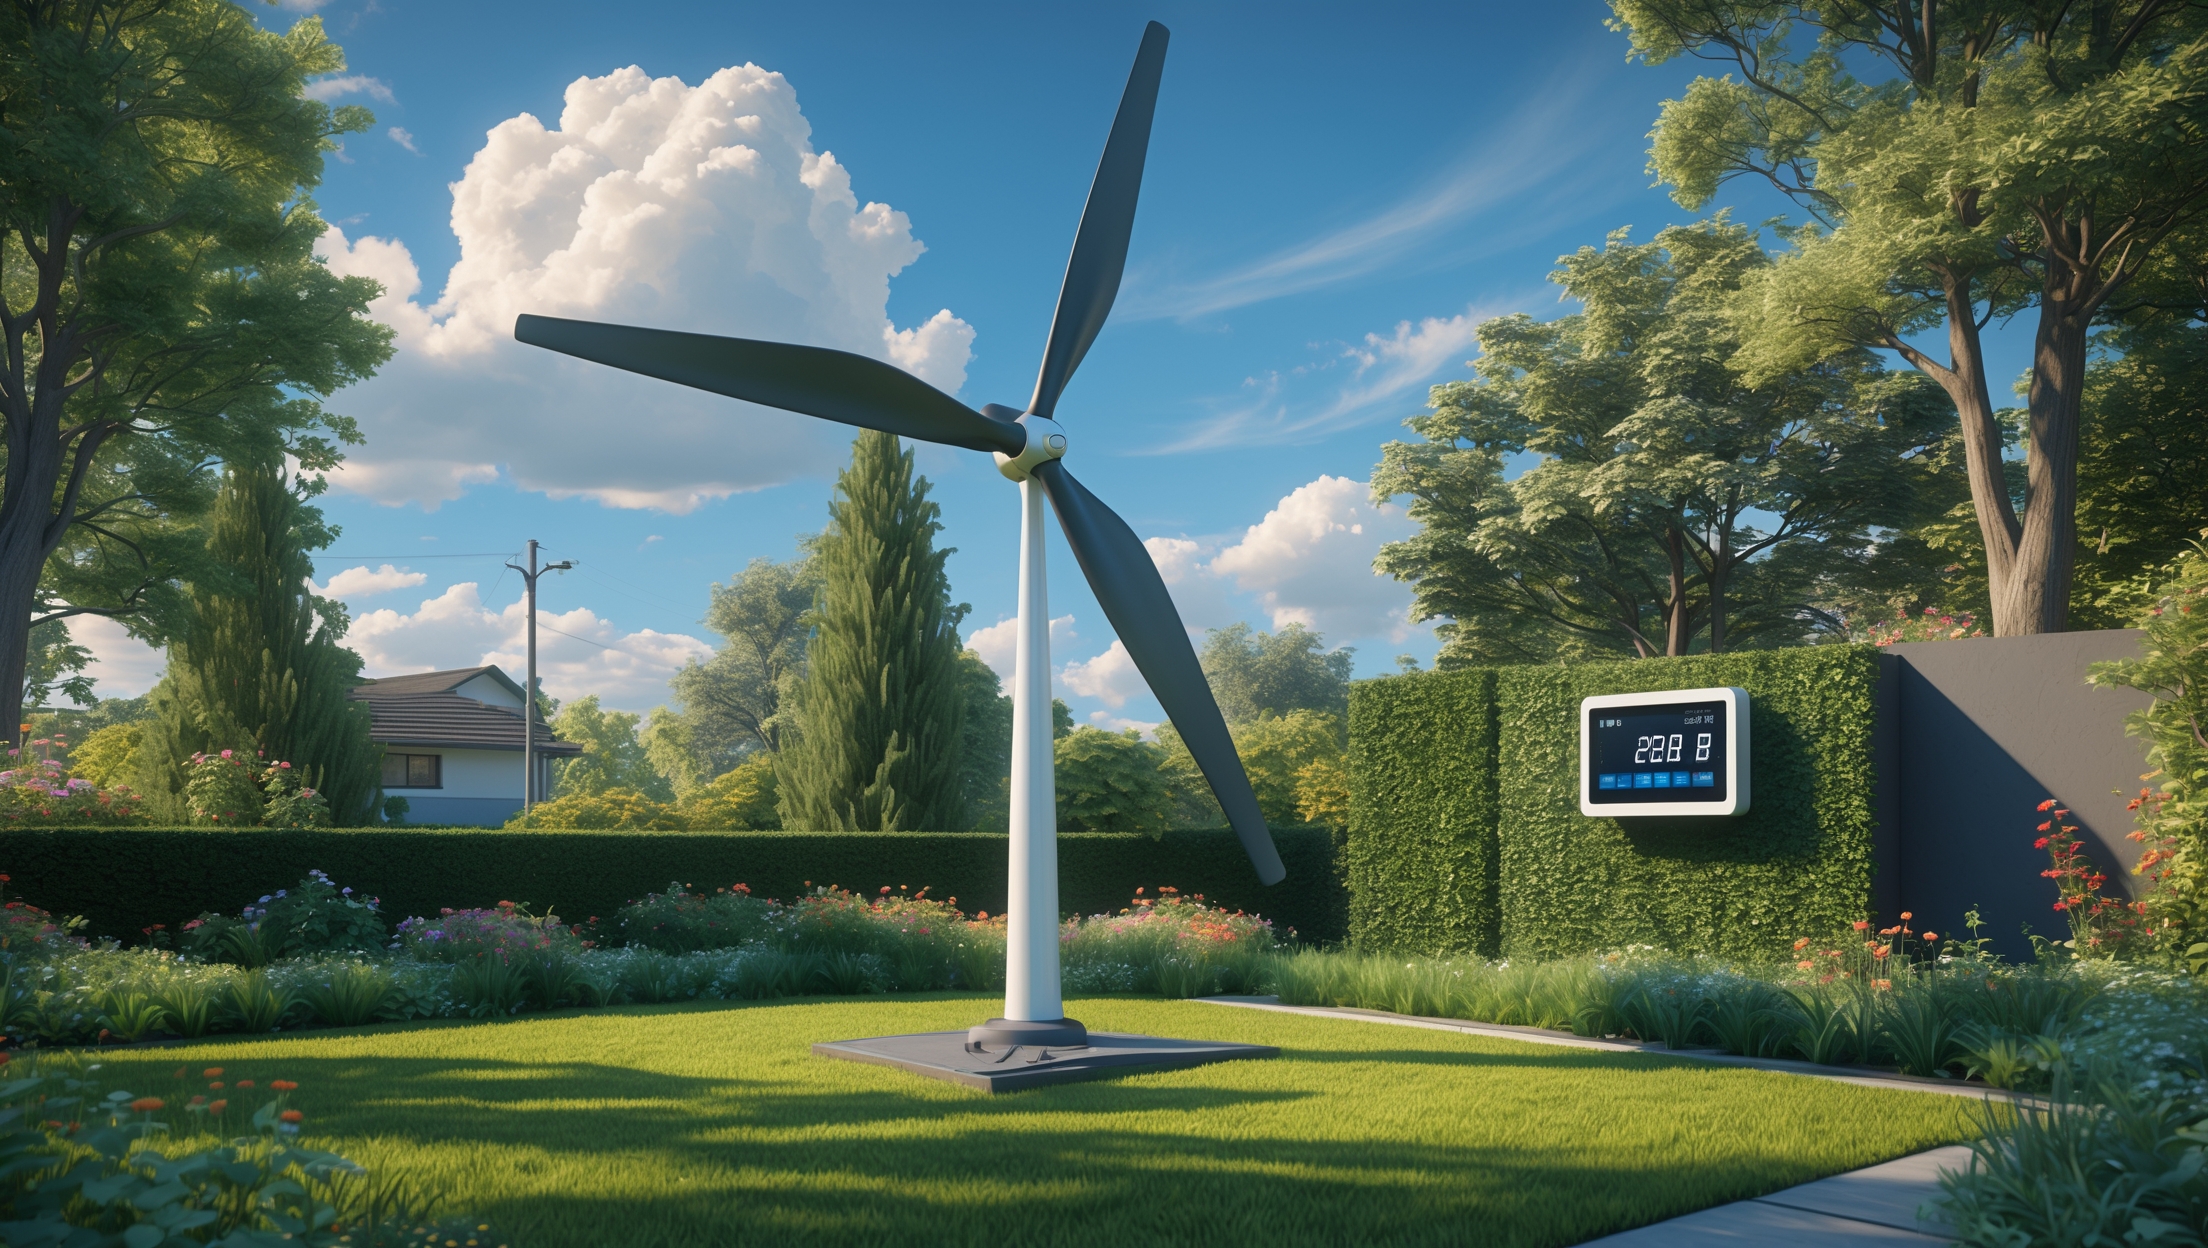
Wind-powered water pumps convert the kinetic energy of moving air into mechanical energy that drives a pump. The most common design for personal or small-scale setups is the mechanical windmill with a reciprocating piston pump. When the wind turns the blades, it spins a rotor connected to a crankshaft and rod, which moves the pump and lifts water from a well, river, or pond.
Types of Wind Water Pumps
- Mechanical Windmills: Classic design with multi-bladed rotors, ideal for low-to-moderate wind and moderate lift heights.
- Modern Wind Turbine Pumps: Use rotary turbines coupled to electric pumps—more complex but effective for higher water volumes.
This guide focuses on mechanical windmills, as they are robust, low-maintenance, and practical for most DIY and homestead applications.
Essential Tools and Equipment Checklist
Core Components
- Windmill Kit: Includes rotor blades, tower structure, crank mechanism, and mounting hardware.
- Piston Pump: Sized according to well depth and required water flow; brass or stainless steel preferred for longevity.
- Drop Pipe: Galvanized steel or PVC pipe to connect pump to water source; must match pump outlet size.
- Foot Valve: Prevents water from draining back into the source when the pump is idle.
- Water Storage Tank (optional): Stores pumped water for use during calm periods.
Installation Tools
- Adjustable Wrenches (2): For tightening tower bolts and pipe connections.
- Socket Set: Sizes to match windmill and pump hardware.
- PVC Pipe Cutter or Hacksaw: For sizing drop pipe sections.
- Pipe Wrench: For assembling threaded pipe joints.
- Torque Wrench: Ensures critical components are tightened to manufacturer specs, preventing future loosening or breakage.
- Level and Measuring Tape: For accurate tower placement and vertical alignment.
- Post Hole Digger or Auger: To dig foundation holes for tower legs.
- Shovel and Wheelbarrow: For mixing and placing concrete.
- Concrete Mix: Standard ready-mix bags to secure tower base.
- Rope and Pulley (optional): For hoisting heavy components during assembly.
- Safety Gear: Gloves, safety glasses, steel-toed boots, and a hard hat.
Specialized Tools (As Needed)
- Pipe Threader: If you need to cut and thread your own steel pipes.
- Power Drill with Masonry Bits: For anchoring the tower to concrete pads.
- Multimeter: Only for hybrid setups with electric monitoring or pump assist.
Step-by-Step Equipment Sourcing Guide
Choosing the Right Windmill Kit
Quality windmill kits are available from specialized suppliers and agricultural stores. Look for:
- Rotor Diameter: At least 6-8 feet for moderate water demand (100-500 gallons/day).
- Sturdy Tower: Galvanized steel, minimum height 20-30 feet for sufficient wind exposure.
- Manufacturer Support: Access to replacement parts and comprehensive instructions.
Reputable brands include Aermotor, American West Windmill, and Dempster.
Selecting the Pump
- Match pump capacity to both your windmill’s torque and your water needs (e.g., 2-inch diameter pump for moderate irrigation).
- Choose corrosion-resistant materials for longevity.
Pipes, Valves, and Storage
- Use schedule 40 PVC for drop pipes in non-freezing climates; galvanized steel for greater strength or frost zones.
- Foot valves should be brass or stainless steel for reliability.
- Storage tanks should be UV-resistant and sized for at least one to two days of irrigation demand.
Where to Source Tools
- Basic hand tools: Hardware stores or online retailers.
- Specialized windmill tools: Order from windmill manufacturers or farm supply catalogs.
- Concrete and masonry tools: Local building supply store.
Planning Your Installation: Site Assessment and Preparation
Wind Resource Assessment
Before investing in equipment, evaluate your site’s wind resource. Use a handheld anemometer or access local wind maps (such as the U.S. Department of Energy’s WINDExchange database). Look for:
- Average annual wind speed of at least 8-10 mph at proposed tower height.
- Minimal obstructions (trees, buildings) within 200 feet or 10 times the tower height.
Water Source Selection
- Test water quality and depth if using a well.
- Measure the vertical lift (distance from water source to ground) and horizontal run (distance to tank or irrigation point).
Tower Placement
Mark out the tower location, ensuring it is:
- Uphill from the water source for gravity feed (if possible).
- On stable, well-drained ground.
- Accessible for future maintenance.
Installation Process: Using Your Tools Effectively
1. Preparing the Foundation
- Dig post holes at specified intervals for tower legs using a post hole digger or auger (typically 3-4 feet deep).
- Mix and pour concrete into holes, insert tower mounts, and allow to cure for at least 48 hours.
2. Assembling the Tower
- Lay out tower sections and hardware.
- Use wrenches and a torque wrench to assemble and tighten bolts per manufacturer specifications.
- With rope and pulley or a helper, raise the tower into position and secure it to the foundation.
3. Mounting the Windmill Head and Rotor
- Hoist the windmill head onto the tower using a pulley system or mechanical lift.
- Secure in place with bolts and check for smooth rotation.
- Attach rotor blades according to manufacturer instructions, ensuring all fasteners are tight.
4. Installing the Pump and Drop Pipe
- Join lengths of drop pipe using a pipe wrench or PVC cement.
- Attach the foot valve to the bottom section.
- Lower the assembly into the water source, guiding it gently to avoid damage.
- Connect the pump to the windmill mechanism with the supplied rod or linkage.
5. Connecting to Storage or Irrigation
- Run a discharge pipe from the pump outlet to your storage tank or directly to irrigation lines.
- Use a level to ensure proper gradient for gravity-fed flow, if applicable.
Tips for Choosing High-Quality Tools and Materials
- Opt for stainless steel or high-grade galvanized fittings to prevent rust and leaks.
- Invest in a quality torque wrench—proper tightening prevents accidents and reduces long-term maintenance.
- Buy extra pipe fittings and fasteners to accommodate unexpected issues during installation.
- Use UV-stabilized PVC for any exposed piping.
- Check tool reviews and buy from reputable brands to avoid failures during critical steps.
Troubleshooting and Maintenance Tools
Common Issues
- Low Water Output: Check for air leaks, clogged foot valve, or loose pump rods. Use pliers and a pipe wrench for repairs.
- Noisy Operation: Lubricate moving parts with a non-toxic, water-safe lubricant. Use adjustable wrenches to tighten any rattling hardware.
- Windmill Not Spinning: Inspect rotor for obstructions. Use a socket set to remove debris and check bearings.
Recommended Maintenance Tools
- Grease gun for lubricating bearings and moving parts.
- Inspection mirror and flashlight for hard-to-see connections.
- Replacement washers, gaskets, and basic hardware.
- Weatherproof tool box for organizing your dedicated windmill tools on-site.
Safety Considerations for Installation and Operation
- Always wear safety gear when working with heavy equipment or at heights.
- Never attempt installation in high winds.
- Secure ladders and never work alone when lifting or assembling the tower and rotor.
- Mark the area around the windmill as a no-go zone for children and animals.
- Inspect all rigging and tools for wear before use.
Cost-Saving Tips and Sourcing Sustainable Materials
- Check local farm auctions or classified ads for used windmill towers and pumps.
- Repurpose surplus steel pipe from construction or irrigation projects.
- Seek group discounts or cooperative purchases with neighbors interested in similar projects.
- Where possible, choose recycled PVC or reclaimed metal for non-critical components.
Conclusion: Empowering Sustainable Irrigation with the Right Tools
Setting up your own wind-powered water pump is a rewarding project that pays dividends in environmental stewardship, energy savings, and increased self-reliance. With the right tools and a solid understanding of the installation process, even those new to renewable energy systems can achieve reliable, off-grid irrigation for gardens, orchards, or livestock. While the initial investment in quality tools and components may be significant, the long-term benefits—both financial and ecological—are substantial. By following this detailed guide, you’ll not only avoid common pitfalls but also ensure that your system operates efficiently for years to come.
Remember, every sustainable system begins with careful planning, precise execution, and ongoing attention to maintenance. Don’t cut corners on safety or material quality, and consider the long-term impacts of your equipment choices. As you gain experience, you’ll discover opportunities to optimize your setup, reduce water waste, and even inspire neighbors to embark on their own green technology journeys. Your wind-powered water pump is more than just a tool—it’s a statement of commitment to a resilient, sustainable future. Happy building, and may the wind always be at your back!


What is the estimated total cost range for setting up a basic mechanical windmill pump system for a small vegetable garden, including tools and equipment? Are there any budget-friendly brands or secondhand options you would recommend for beginners?
For a small vegetable garden, setting up a basic mechanical windmill pump system typically costs between $800 and $2,000. This includes the windmill, pump, piping, and essential installation tools. Budget-conscious beginners often look for brands like Aermotor or Koenders, which offer reliable entry-level kits. Checking local classifieds, farm auctions, or online marketplaces is a great way to find quality secondhand windmill systems and tools at a lower price.
I noticed you mention that mechanical windmills are ideal for low-to-moderate wind and moderate lift heights. How can I determine if the wind conditions on my property are actually suitable for this kind of setup before investing in equipment?
To check if your property is suitable for a mechanical windmill, you can use a simple wind meter (anemometer) to record average wind speeds over several weeks. Focus on the location where you plan to install the windmill. Most mechanical windmills work best with average wind speeds of 8 to 15 mph. If your area regularly falls within or above this range, your site is likely a good fit for wind-powered pumping.
The article mentions lifting water from a well or pond, but would these wind-powered systems also work for rainwater collection barrels, or is there a different approach you’d recommend for that situation?
Wind-powered water pumps can move water from rainwater collection barrels, but they’re often more complex than needed for that purpose. For barrels, gravity-fed systems or simple hand pumps usually work well and are much easier to set up. If you want to distribute rainwater around your garden, consider using a hose connected to the bottom of the barrel and elevating the barrel to increase water pressure.