Introduction: Why Safety Matters When Installing a Home Solar Air Heater Panel
Adopting green technologies like home solar air heater panels is a fantastic step toward sustainable living and energy independence. These systems can reduce your reliance on fossil fuels, lower your heating bills, and shrink your home’s carbon footprint. However, installing a solar air heater panel is more than a weekend DIY project. It involves working at heights, handling electrical components, integrating with your existing HVAC system, and ensuring the setup is safe and compliant with local codes. Ignoring safety protocols can result in injury, property damage, or a poorly functioning system that fails to deliver the promised energy savings.
This comprehensive checklist is designed for homeowners and eco-enthusiasts who want to install a solar air heater panel safely and efficiently. With practical, step-by-step guidance, you’ll learn how to prepare your site, manage tools, handle electrical work, protect your roof, and perform post-installation checks. By following these protocols, you can enjoy clean, renewable heat with peace of mind.
Pre-Installation Safety Planning
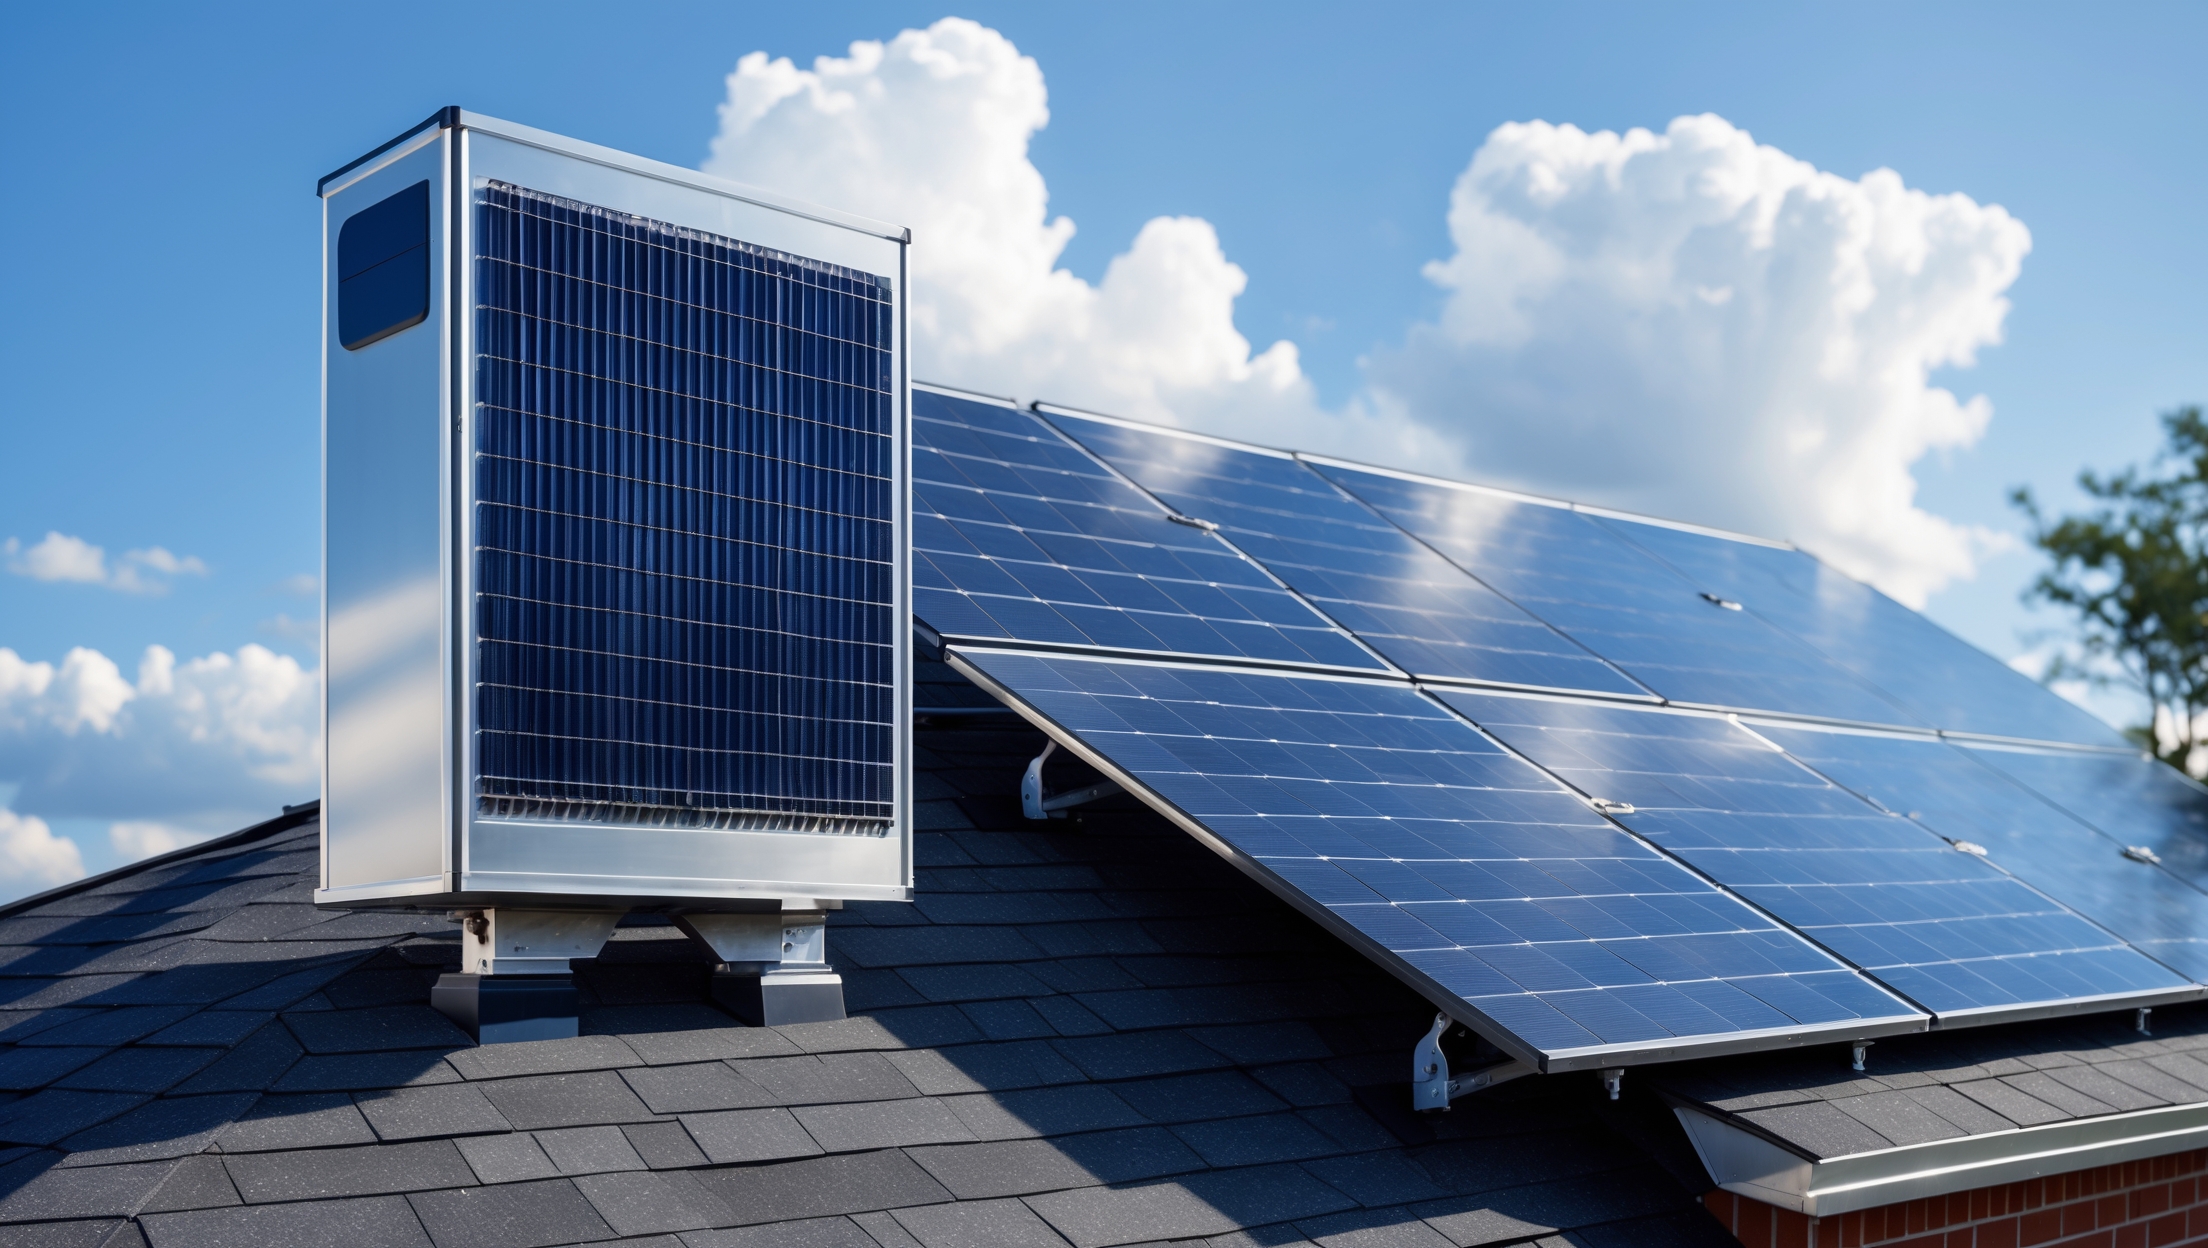
1. Assess Site Suitability and Access
- Structural Integrity: Ensure your roof or wall can support the weight of the solar air heater panel. Inspect for damage, rot, or loose tiles/shingles.
- Sunlight Exposure: Confirm the installation site receives unobstructed sunlight during the heating season. Avoid shaded areas from trees, chimneys, or neighboring structures.
- Safe Access: Plan for safe ladder placement or scaffolding. Avoid working on steep slopes or slippery surfaces.
2. Gather and Inspect Tools and Equipment
- Ladders and Scaffolding: Use only stable, rated ladders. If using scaffolding, ensure it’s properly assembled and level.
- Personal Protective Equipment (PPE): Wear non-slip footwear, gloves, hard hat, safety goggles, and a fall arrest harness if working on high or steep roofs.
- Electrical Tools: Use tools with intact insulation and test them before use. Have a voltage tester handy.
- First Aid: Keep a first aid kit within reach and know how to use it.
3. Review Local Codes and Manufacturer Guidelines
- Permits: Check if a permit is required for solar air heater installation in your area and obtain it before work begins.
- Fire Codes: Ensure panel placement complies with fire regulations, especially around chimneys or vents.
- Manufacturer Instructions: Review the installation manual thoroughly. Keep it accessible during the project.
Safety Checklist: During Installation
1. Roof Work Safety
- Weather Conditions: Only work in dry, calm weather. Avoid installation during rain, snow, or high winds.
- Fall Protection: Attach your harness to an anchor rated for at least 5,000 lbs. Always maintain three points of contact on ladders.
- Clear Work Area: Remove debris, tools, and loose materials from the installation zone to prevent tripping.
- Material Handling: Lift panels with a partner using proper lifting techniques to avoid injury.
2. Safe Handling of Solar Air Heater Panels
- Glass and Edges: Wear gloves to protect against sharp edges or broken glass. Inspect panels for cracks before handling.
- Positioning: Secure panels temporarily in place while measuring and marking mounting points. Never leave panels unattended on a sloped surface.
3. Fastening and Sealing
- Drilling: Double-check measurements before drilling holes in your roof or wall. Use the correct bit size and avoid over-tightening, which can crack panels or roof materials.
- Weatherproofing: Seal all penetrations with high-quality, UV-resistant sealant to prevent leaks.
- Flashing: Install flashing around mounts to direct water away and protect your roof structure.
4. Electrical and Ductwork Safety
- Power Off: Turn off the main circuit breaker before connecting any electrical controls, fans, or thermostats.
- Wire Routing: Route wires through conduit and away from potential sources of heat or abrasion. Use cable clips to secure wiring.
- Proper Connections: Use wire nuts or crimp connectors rated for outdoor use. Double-check polarity and ground connections.
- Duct Sealing: Seal all duct connections with foil tape or mastic to prevent air leaks and maintain indoor air quality.
5. Fire and Gas Safety
- Clearances: Maintain recommended distances from vents, flues, and combustible materials as specified by the manufacturer.
- Combustion Appliances: If integrating with a forced-air or wood stove system, consult a professional to avoid backdraft risks.
Post-Installation Safety Checks
1. Structural Review
- Panel Mounts: Inspect all bolts, brackets, and fasteners for tightness. Panels should not move or rattle in wind.
- Roof Integrity: Check for signs of new leaks, loose shingles, or disturbed flashing after installation.
2. Electrical Verification
- Test Components: Use a voltage tester or multimeter to confirm proper operation of fans, thermostats, or sensors.
- Breaker Labels: Clearly label any new circuits added for your solar air heater system at the main panel.
3. Airflow and Ducting
- Check Airflow: Verify warm air is effectively reaching the intended rooms. Adjust dampers or outlets as needed.
- Filter Placement: Install filters at air intakes to prevent dust buildup inside the panel and ducts.
4. Safety Devices
- Smoke and CO Detectors: Test all smoke and carbon monoxide detectors in the house, especially if integrating with existing heating systems.
- Fire Extinguisher: Place a rated fire extinguisher near the installation site and inform household members of its location.
5. Documentation and Emergency Procedures
- Manuals: Store the installation and user manuals in a known location for future reference.
- Emergency Contacts: Note contact information for your installer (if used), local building inspector, and emergency services.
Ongoing Maintenance and Safety
1. Seasonal Inspections
- Visually inspect the panel and mounting hardware every spring and fall for signs of wear, corrosion, or animal nests.
- Clear away leaves, snow, or debris from the panel surface to maintain efficiency and prevent overheating.
2. Electrical and Ductwork Checks
- Test system controls and safety devices monthly during the heating season.
- Inspect ductwork for leaks, condensation, or insulation loss annually. Reseal or insulate as needed.
3. Cleaning and Filter Replacement
- Clean intake screens and replace or clean air filters at least twice per season to ensure optimal airflow and indoor air quality.
4. Professional Review
- Have a licensed technician inspect the system every 2-3 years for hidden issues, especially if tied into your main heating system or electrical panel.
Special Considerations for DIY Installers
1. Know Your Limits
If you’re uncomfortable working at heights, handling electrical wiring, or cutting through walls or roofs, hire a qualified professional for all or part of the installation. Safety should never be compromised for the sake of cost savings or speed.
2. Insurance and Liability
Contact your homeowner’s insurance provider before installation to discuss coverage for solar air heater panels and related modifications. Improper installation or non-compliance with codes can void your coverage or complicate claims.
Conclusion: Safe Solar Air Heater Panel Installation Means Sustainable Success
Installing a home solar air heater panel is a rewarding project that advances your commitment to sustainable living and future energy solutions. However, the benefits will only be fully realized if the installation is performed with rigorous attention to safety. By following the detailed checklist above, you can protect yourself, your family, and your property from avoidable hazards. Prioritize proper planning, use the right tools and protective equipment, and never hesitate to consult professionals when needed.
Remember, a well-installed solar air heater panel will provide years of clean, renewable heat with minimal maintenance and maximum efficiency. Proper safety practices not only prevent accidents but also ensure your system operates at peak performance, delivering the savings and comfort you expect. Take the time to document your installation, educate all household members about the system, and schedule regular inspections. With these proactive measures, your journey toward greener, more resilient home heating will be both safe and successful.


I noticed the article recommends using a fall arrest harness when working on high or steep roofs. Is this something homeowners can rent from hardware stores, or is it better to hire a professional for those situations?
Many hardware stores and equipment rental centers do offer fall arrest harnesses for rent, so homeowners can access this safety gear without buying it. However, if you’re not comfortable working at heights or using this equipment, it’s a good idea to hire a professional. Proper use of a harness requires some knowledge to ensure your safety, especially on steep or high roofs.
When you mention ensuring the installation is compliant with local codes, do most homeowners need to pull permits for this type of project, or is it usually considered minor work?
Whether you need a permit for installing a home solar air heater panel depends on your local building codes. In some areas, this kind of installation is considered minor and doesn’t require a permit, but many municipalities do require one, especially if electrical connections or structural modifications are involved. It’s always safest to check with your local building department before starting the project.
Regarding post-installation checks, do you have a recommended timeframe or checklist for ongoing safety inspections to make sure the solar air heater panel remains secure and effective, especially after storms or heavy winds?
It’s wise to inspect your solar air heater panel at least twice a year, ideally before and after the harsher seasons. After storms or heavy winds, check right away for any loose mounting brackets, damaged seals, or debris blocking airflow. Regularly clean the panel surface, confirm that all electrical connections are intact, and look for any signs of frame corrosion or cracks in the glass. Prompt attention to these points helps keep your system safe and running efficiently.
When planning for sunlight exposure and avoiding shaded areas, how do I figure out if trees or chimneys will cast shadows in the winter versus summer? Is there a simple way to map this out before starting the installation?
To determine seasonal shadows from trees or chimneys, you can use a simple method: observe the area at different times of day during both summer and winter, if possible. Alternatively, use a smartphone compass app and solar path tools to visualize the sun’s path for your location. Sketch the site, mark obstacles, and trace the sun’s arc to see where shadows fall, especially in winter when the sun is lower.
You mention using personal protective equipment like a fall arrest harness when working on steep roofs. Is this something I can rent, or would you recommend purchasing PPE for a one-time DIY installation?
You can usually rent personal protective equipment like a fall arrest harness from hardware stores or equipment rental companies, which is a practical choice for a one-time DIY project. Make sure any rented equipment fits properly and meets safety standards. If you plan to do more roof work in the future, purchasing might be worthwhile, but for just one job, renting is cost-effective and convenient.