Introduction: Why Solar-Powered Chicken Coops Are the Future of Sustainable Backyard Farming
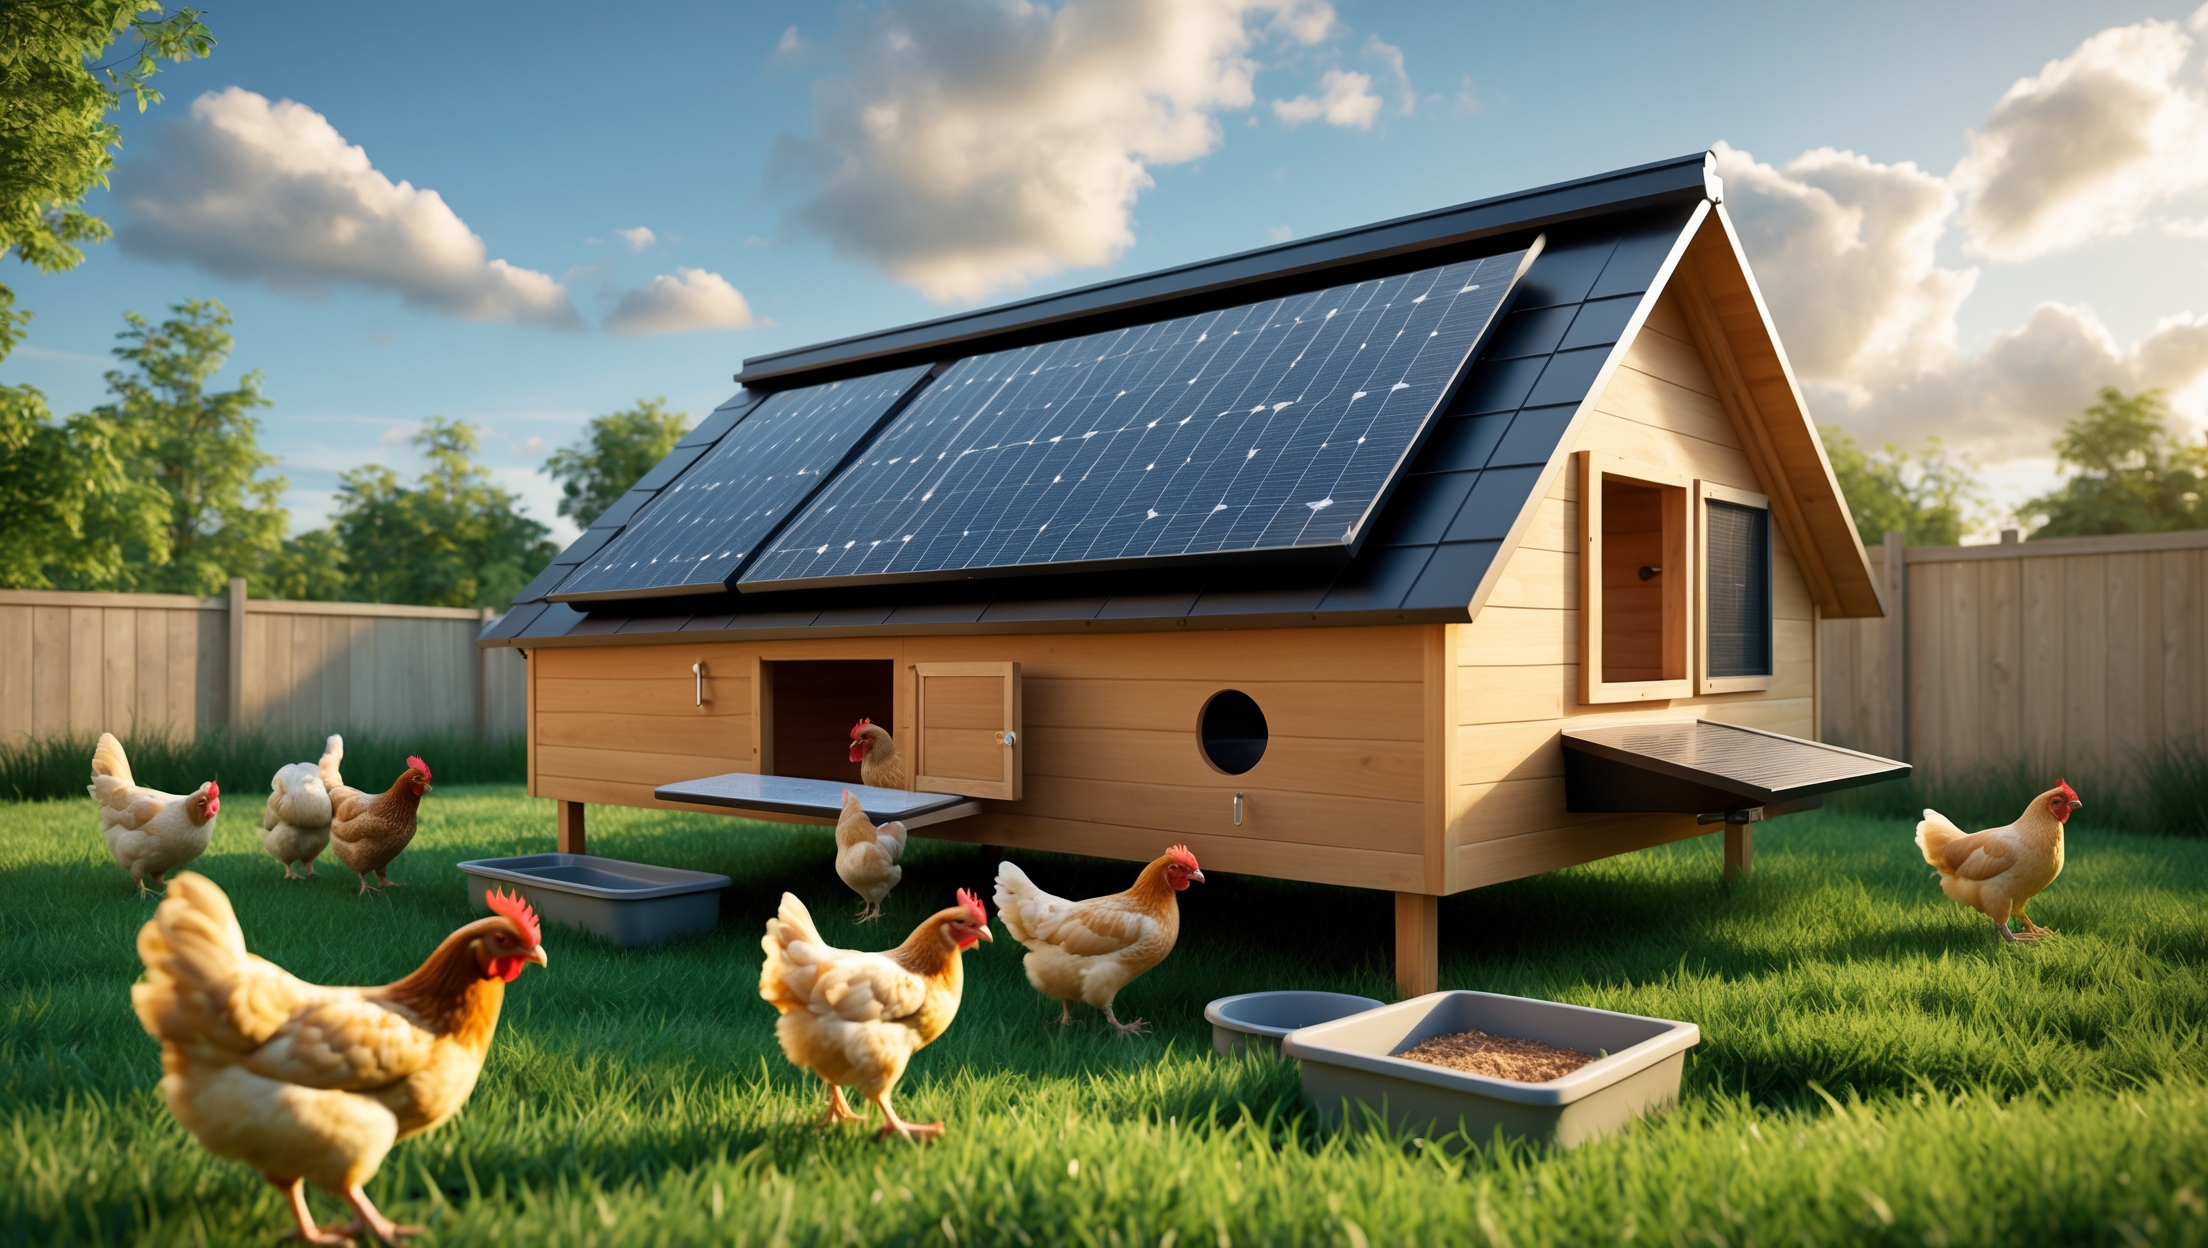
Backyard chicken keeping is enjoying a renaissance, with urban and suburban households increasingly embracing the benefits of fresh eggs, pest control, and a closer connection to nature. As sustainability becomes central to modern living, many chicken keepers are turning to solar power to run coops more efficiently and with a smaller environmental footprint. Solar-powered chicken coops can automate lighting, ventilation, heating, and even feeding systems—ensuring a healthier environment for your flock and a lighter impact on the planet.
However, the journey to a truly sustainable, solar-powered chicken coop is not without its pitfalls. Over-ambitious plans, overlooked details, and simple technical errors can lead to unreliable power, stressed hens, or even safety hazards. Whether you’re new to backyard chickens or an experienced hobbyist, understanding the most common mistakes people make during setup is crucial. This guide will walk you through these pitfalls, provide practical solutions, and help you build a reliable, green-powered haven for your feathered friends.
Understanding the Unique Needs of Chicken Coops
Why Chickens Need More Than Just Shelter
Chickens are hardy birds, but their health and productivity depend on a stable environment. Proper lighting is vital to maintain egg production, especially in winter. Good ventilation prevents respiratory illnesses and controls odor, while reliable heating keeps hens comfortable in colder climates. Automation of these systems can greatly reduce labor and stress, but only if the installed solar setup is well-designed and reliable.
The Solar Difference: Specific Power Demands
Unlike typical home solar projects, chicken coops have periodic yet critical power needs. Lighting, automatic doors, water heaters, and fans may not all run simultaneously, but they must work without fail. Sizing your solar system for these requirements—and understanding the unique challenges—will prevent many common errors.
Common Mistake #1: Underestimating Power Consumption
Why Accurate Load Calculation Matters
One of the most frequent DIY errors is underestimating how much energy your coop will need. Many keepers add up the wattages of devices like LED lights, automatic doors, and small heaters, but forget to account for how long each device runs and surges during startup (especially for motors and heaters).
- Lighting: Even efficient LED bulbs, if left on for 14-16 hours in winter, require consistent power.
- Heating: A small water heater or heated perch can draw significant energy, especially on cold nights.
- Ventilation: Fans running continuously during heat waves or humid spells can add up.
- Automation: Automatic doors and feeders may have low average use but require short bursts of high current.
Solution: Make a detailed list of all electrical devices, their wattages, and typical daily run times. Use an online solar load calculator or consult with a solar installer to ensure your system is sized for worst-case scenarios.
Common Mistake #2: Poor Solar Panel Placement and Sizing
Ignoring Seasonal Sun Angles
Solar panels must be positioned to maximize exposure to sunlight year-round. Many DIYers install panels flat on the coop roof without considering shading from trees, nearby buildings, or the low angle of the sun in winter. This can drastically reduce energy generation when you need it most.
- Shading: Even partial shade on one panel can cut total output by more than half, especially in series-wired systems.
- Angle: Adjust the tilt to match your latitude for optimal year-round performance. In snowy climates, steeper angles help snow slide off.
- Oversizing: It is usually better to slightly oversize your array to account for cloudy days, panel degradation, and system inefficiencies.
Solution: Conduct a sun-path analysis for your coop site, using free tools like PVWatts or smartphone apps. Avoid shaded spots, and consider mounting panels on a nearby shed or pole if they’ll get more sun. Always plan for at least 10-20% more capacity than your calculated daily need.
Common Mistake #3: Inadequate Battery Storage and Protection
The Importance of Reliable Nighttime Power
Chickens need lighting and heating most when the sun isn’t shining—at night or during storms. Inadequate battery storage is a leading cause of system failures, especially in winter when solar input is lowest and heating needs peak.
- Battery Sizing: Undersized batteries will leave your coop in the dark after just a few cloudy days.
- Battery Type: Not all batteries are created equal. Lead-acid batteries are affordable but require maintenance, while lithium batteries offer longer life and deeper discharge capabilities at a higher cost.
- Protection: Batteries exposed to extreme cold or heat degrade quickly. Many DIYers overlook the need for insulated, ventilated battery boxes.
Solution: Size your battery bank to deliver at least 2-3 days of reserve power. Use deep-cycle batteries designed for solar applications, and protect them from weather extremes. Include a battery monitor to track state-of-charge and prevent over-discharge.
Common Mistake #4: Neglecting Weatherproofing and Predator-Proofing of Electrical Components
Solar Electronics and the Great Outdoors
Solar charge controllers, inverters, and wiring are vulnerable to rain, dust, and curious predators like raccoons or rodents. Exposed connections can cause shorts, corrosion, or even fires. Many DIYers route cables through coop walls without proper grommets or waterproof enclosures, risking both electrical failure and animal invasions.
- Enclosures: Use outdoor-rated, weatherproof enclosures for all electronics and junction boxes.
- Wiring: Run cables through conduit, with grommets at entry points to prevent abrasion and rodent chewing.
- Elevate: Mount electronics above ground level to avoid flooding or snow accumulation.
- Predator-Proofing: Mesh or metal plates can shield vulnerable components from gnawing animals.
Solution: Invest in quality outdoor-rated hardware, and inspect your system monthly for damage or intrusion. Replace any chewed or worn cables immediately to prevent system failure or fire risk.
Common Mistake #5: Skipping System Testing and Monitoring
The Dangers of “Set and Forget”
After installation, too many DIYers simply walk away, assuming their system will run flawlessly. Without periodic testing and monitoring, small issues (like a loose connection or dying battery) can quickly become major problems—putting your flock at risk of cold, darkness, or locked doors.
- Initial Testing: Simulate worst-case loads for several days before relying on the system.
- Monitoring: Install a simple battery voltage or energy monitor to keep tabs on system health.
- Alert Systems: Consider cellular or Wi-Fi alerts for critical failures if you’re away from home often.
Solution: Make system checks part of your weekly chicken care routine. Log performance data, and set reminders for quarterly in-depth inspections.
Common Mistake #6: Overcomplicating the System
Keep It Simple for Reliability
Enthusiastic DIYers may be tempted to automate every aspect of their coop, from Wi-Fi cameras to app-controlled feeders. More components mean more points of failure, increased power draw, and a steeper learning curve.
- Essential Functions: Limit early systems to critical needs—lighting, ventilation, water heating, and door automation.
- Modularity: Design your system so upgrades can be added without a full rewire.
- Documentation: Keep a wiring diagram and component list for easy troubleshooting.
Solution: Start with a simple, robust system. Expand only after you’ve lived with it for a season and understand your flock’s needs.
Common Mistake #7: Ignoring Local Codes, Permits, and Best Practices
Legal and Safety Considerations
Solar chicken coops may seem small-scale, but local building codes, electrical permits, and zoning ordinances may still apply—especially if you plan to connect your system to household circuits or install large solar arrays. Skipping these steps can lead to fines, insurance issues, or forced removal.
- Electrical Codes: Even off-grid systems should use code-compliant wiring and protection devices.
- Permits: Some municipalities require permits for solar installations or animal structures.
- Neighbors: Check HOA rules and maintain good relations by placing panels out of sight or using fencing/plantings as screens.
Solution: Consult your local building authority before starting. Follow all safety and legal requirements—it protects your investment and ensures peace of mind.
Best Practices for a Successful Solar-Powered Chicken Coop
Planning for the Long Term
- Design for Expansion: As your flock grows, so might your energy needs. Leave room for extra panels or batteries.
- Use Quality Components: Cheap parts save money upfront but may fail in the field. Invest in quality solar panels, charge controllers, and batteries from reputable brands.
- Safety First: Include fuses, disconnects, and proper grounding in all electrical systems.
- Routine Inspections: Solar systems are low-maintenance, not no-maintenance. Regularly check for corrosion, loose wires, and animal damage.
- Backup Plan: Keep battery-powered lanterns or a small generator as an emergency backup, especially in harsh climates.
Real-World Example: Troubleshooting a Failing Winter Setup
Consider the case of a northern backyard keeper who installed a solar-powered coop in the autumn. The system worked flawlessly until December, when egg production dropped and the hens became listless. Investigation revealed the solar panels, mounted flat on the roof, were covered in snow and receiving little sunlight. The undersized battery bank quickly depleted, leaving the hens without heat or light for several nights.
The keeper upgraded to a steeper panel angle, added two more batteries, and installed a simple panel-heating cable to keep snow off. They also set up a Wi-Fi camera and voltage monitor, ensuring they could check system status remotely. The following winter, the system ran smoothly, and the flock thrived.
Conclusion: Building a Reliable, Sustainable Future for Your Flock
Embracing solar power for your chicken coop is a rewarding step towards sustainable living, combining animal welfare, resilience, and environmental responsibility. By learning from common mistakes—such as underestimating power needs, placing panels poorly, skimping on batteries, and neglecting testing—you can avoid the pitfalls that frustrate many first-time installers. Thoughtful site planning, quality components, and regular maintenance will help your system deliver reliable, green energy for years to come.
Remember, every backyard and flock is unique. Take time to assess your specific needs, climate challenges, and long-term plans. Don’t be afraid to start small and expand as your experience grows. Involving your family or neighbors in the process can also spread awareness and foster a more sustainable community.
Solar-powered chicken coops are more than just a trend—they’re a smart investment in a cleaner, more self-sufficient future. With the right approach, your hens will prosper, your eggs will be plentiful, and your conscience will rest easy knowing you’ve made a positive impact on both your backyard and the environment.


For backyard keepers on a budget, what’s the most cost-effective way to prioritize solar automation—should I focus on lighting, ventilation, or something else first, given limited funds and technical skills?
If you’re watching your budget and just starting out, it’s usually most cost-effective to automate ventilation first. Good airflow directly impacts your chickens’ health and prevents issues like heat stress. Solar-powered automatic vents or small fans are generally simple to install. Once that’s set up, you can look into adding lighting if you need to boost egg production, but ventilation should be your main priority.
I noticed you mentioned the importance of properly sizing the solar system for the coop’s unique, periodic power demands. Could you provide more guidance on calculating how much battery storage is needed to ensure devices like automatic doors and heaters still function during stretches of cloudy weather?
To work out how much battery storage you need, first add up the daily energy use (in watt-hours) for everything running on your coop, like automatic doors and heaters. Multiply that number by the number of cloudy days you want backup for—usually 2 to 3 is safe. Then, divide that total by your battery voltage (like 12V or 24V) to get the amp-hours required. It’s smart to add 20–30% extra capacity to account for battery efficiency and aging.
I’m curious about the best approach for automating feeding and watering in a solar-powered setup. Are there any reliable low-power solutions that you recommend, or should those systems be kept manual to avoid overloading the solar installation?
Automated feeders and waterers can work well in a solar-powered coop if you choose low-power models. Look for gravity-driven feeders or waterers with simple timers or solenoids, as these use minimal energy. Battery-operated devices can also help reduce the load on your solar system. Just be sure to calculate your total daily energy consumption to ensure your solar setup can handle the demand, and consider manual backups in case of cloudy days or system issues.