Introduction: The Overlooked Power of Solar-Powered Attic Ventilation
When it comes to sustainable living and future-ready homes, the spotlight often falls on solar panels, smart thermostats, and high-efficiency appliances. Yet, one of the most impactful and cost-effective green technologies for homeowners is frequently overlooked: the solar-powered attic ventilation system. These systems harness free solar energy to power attic fans, which expel hot, moist air from your attic, reducing cooling costs, extending roof life, and improving overall indoor comfort. However, like any renewable technology, performance and longevity hinge on proper maintenance. Neglecting your solar attic fan can lead to decreased efficiency, premature failure, and lost energy savings. This guide offers a comprehensive, actionable approach to maintaining residential solar-powered attic ventilation systems, ensuring your investment delivers maximum benefits for years to come.
How Solar-Powered Attic Ventilation Systems Work
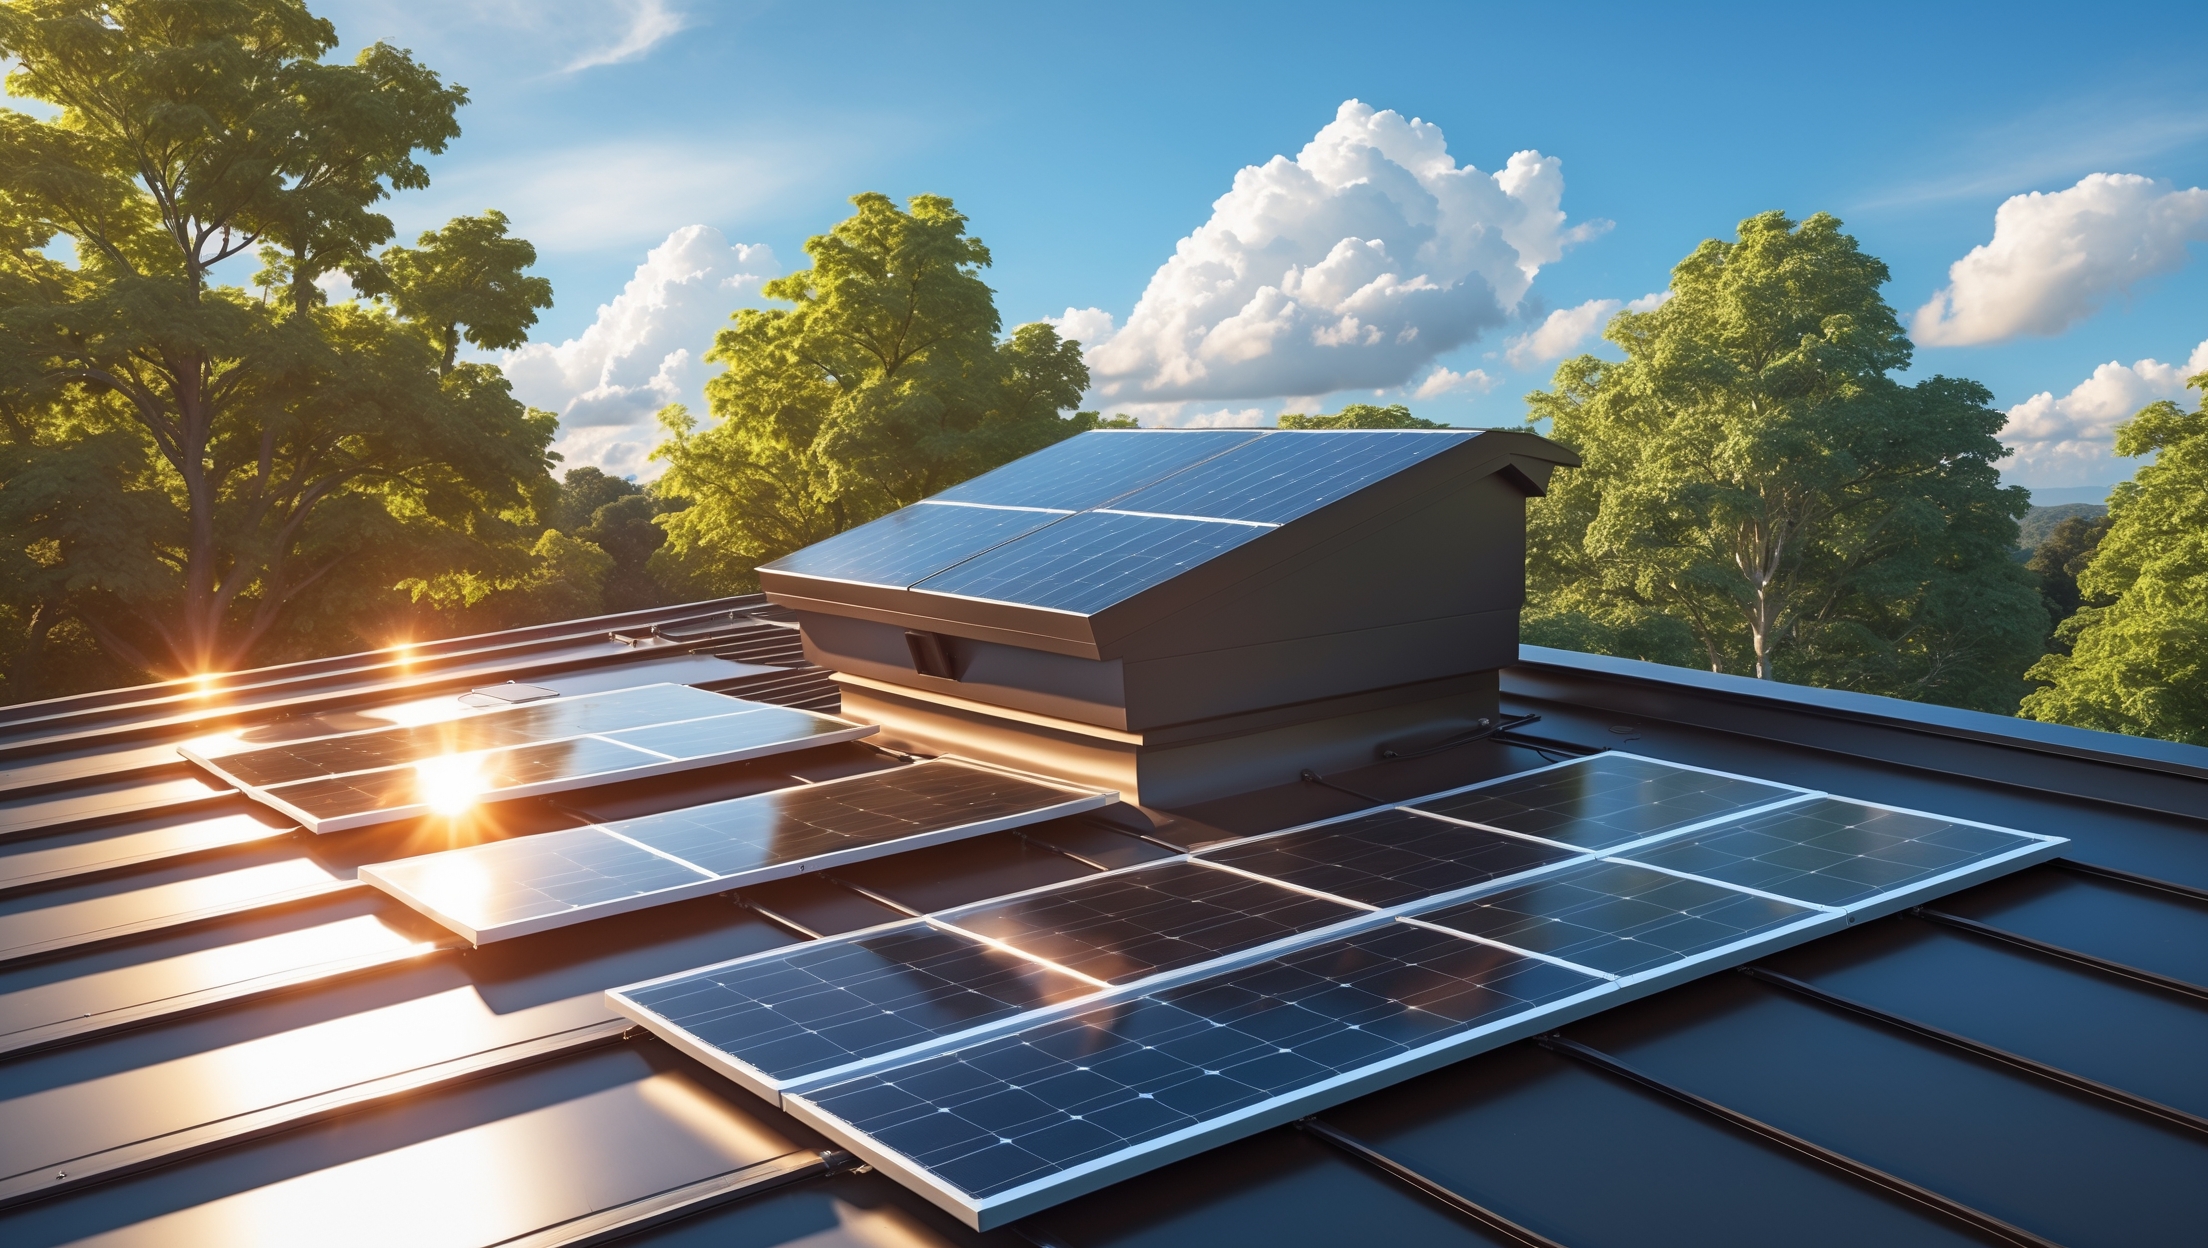
Solar-powered attic fans are designed to convert sunlight into electricity, which then drives a fan that ventilates your attic space. By removing hot air in summer and damp air year-round, these systems stabilize attic temperatures, prevent moisture buildup, and support the health of your home’s structure. Key components typically include:
- Photovoltaic (PV) panel: Mounted on the roof, captures solar energy.
- Fan/blower unit: Installed in the attic or roof, circulates air.
- Thermostat/humidistat: Automatically triggers fan operation based on preset conditions.
- Housing and flashing: Weatherproofs and integrates the system with your roof.
Understanding these components is vital, as each requires specific maintenance attention to ensure optimal performance.
Why Maintenance Matters: Risks of Neglect and Potential Benefits
- Efficiency Loss: Dusty PV panels, obstructed fan blades, or faulty sensors cut airflow and energy output.
- System Failure: Ignored wear and tear can cause motor burnout or electrical shorts.
- Home Damage: Blocked ventilation may lead to attic mold, wood rot, and shingle deterioration.
- Warranty Voids: Many manufacturers require a maintenance log to honor product warranties.
- Energy Savings: Well-maintained systems optimize cooling efficiency, often translating to 10–30% lower summer AC bills.
Consistent upkeep is essential for safety, savings, and sustainability.
Essential Maintenance Tools and Supplies
- Non-abrasive glass cleaner or mild soap solution
- Soft microfiber cloths or sponge
- Small, soft-bristled brush (for fan blades and vents)
- Phillips and flathead screwdrivers
- Adjustable wrench or nut driver set
- Voltage tester or multimeter
- Silicone-based lubricant (non-petroleum)
- Weatherproof sealant (if resealing is needed)
- Work gloves and safety goggles
- Sturdy step ladder or roof access equipment
Gathering your tools before starting will streamline the process and reduce the risk of accidental damage.
Step-by-Step Maintenance Checklist
1. Visual Inspection: First Line of Defense
- Examine the PV panel for cracks, discoloration, or loose mounting hardware.
- Check the fan housing for rust, corrosion, or signs of pest intrusion.
- Inspect roof flashing for gaps, lifted edges, or sealant failure.
- Look for debris (leaves, nests, twigs) in and around the vent intake and exhaust.
Performing this inspection seasonally—at least twice a year, ideally in spring and fall—helps catch minor issues before they escalate.
2. Cleaning the Solar Panel: Maximizing Energy Intake
- Gently brush off loose dust and debris from the panel surface.
- Spray with a mild soap solution or glass cleaner; avoid harsh chemicals.
- Wipe with a soft microfiber cloth, ensuring a streak-free finish.
- Check panel angle and orientation; reposition if tree growth or new structures cast shade.
Clean panels can restore up to 20% lost power output caused by accumulated grime.
3. Fan and Blade Maintenance
- Shut off system power (if applicable) before accessing fan components.
- Remove the fan guard and carefully clean blades with a damp cloth or soft brush.
- Inspect for bent or damaged blades and tighten any loose fasteners.
- Spin the blades by hand to check for smooth rotation and listen for unusual noises.
- Lubricate motor bearings with a silicone-based product if recommended by the manufacturer.
Well-lubricated, debris-free fans operate more quietly and efficiently.
4. Sensor and Electrical Connection Checks
- Locate thermostat or humidistat sensors; gently clean to remove dust buildup.
- Test system response by adjusting setpoints (if accessible) and observing fan operation.
- Use a voltage tester or multimeter to verify electrical continuity and confirm output from the PV panel.
- Tighten all wire connections and check for signs of corrosion or moisture intrusion.
Reliable sensor readings and tight electrical connections are crucial for safe, automatic operation.
5. Weatherproofing and Structural Integrity
- Inspect roof flashing and sealant for cracks or gaps.
- Reseal areas vulnerable to water intrusion with a compatible weatherproof sealant.
- Check mounting brackets and fasteners for rust or looseness; replace as needed.
- Look for signs of roof shingle damage or leaks around the vent installation.
Addressing weatherproofing issues promptly prevents costly water damage to your attic and home structure.
6. Pest and Obstruction Prevention
- Remove nests, webs, or insect debris from vent intakes and exhausts.
- Install or repair mesh screens to prevent entry by rodents, birds, or insects.
- Trim nearby tree branches to minimize shade and leaf accumulation.
Maintaining clear, pest-free vents supports optimal airflow and system longevity.
Seasonal Maintenance Schedule
Spring
- Full system inspection after winter weather
- Panel cleaning to remove pollen and debris
- Check for moisture damage from snow/ice
Summer
- Clear leaves, seeds, and new nests
- Monitor fan operation during heat spikes
Fall
- Remove autumn leaves and check flashing
- Prepare for winter storms by resealing and reinforcing
Winter
- Inspect after ice storms or high winds
- Ensure no snow blocks the panel or vent
Adhering to a seasonal schedule ensures year-round performance and early detection of issues.
Troubleshooting Common Issues
Fan Not Running
- Diagnosis: Check for sunlight (system only operates during daylight).
- Test electrical continuity from the solar panel to the fan motor.
- Check for tripped thermal cutoff or blown fuse (if applicable).
- Inspect and clean sensor contacts.
Unusual Noise or Vibration
- Diagnosis: Inspect for loose mounting hardware or debris in the fan blades.
- Tighten all screws/bolts and clear any obstructions.
- Lubricate bearings per manufacturer guidance.
Reduced Airflow
- Diagnosis: Clean intake/exhaust vents and inspect for collapsed ducting (if present).
- Check for blocked or disconnected fan blades.
Panel Output Seems Low
- Diagnosis: Clean the panel surface and check for shade or discoloration.
- Test panel output with a multimeter under full sun.
- Look for loose or corroded electrical connections.
If problems persist after these steps, consult the manufacturer’s support or a qualified solar technician.
Prolonging System Life: Advanced Tips
- Keep Documentation: Maintain a maintenance log with dates, performed tasks, and observed issues.
- Monitor Energy Savings: Track AC usage before and after installation to quantify benefits and detect performance drops.
- Upgrade Components: Consider replacing old thermostats with smart controllers for improved energy management.
- Schedule Professional Checkups: Have a certified technician inspect the system every 3–5 years.
Proactive care can extend your system’s life from 10 to 20 years or more, maximizing your return on investment.
Safety Considerations
- Always use a stable ladder and appropriate fall protection when accessing the roof.
- Turn off electrical connections before servicing fan components.
- Wear gloves and safety goggles to protect against sharp edges and debris.
- Do not attempt repairs beyond your skill level; consult professionals as needed.
Prioritizing safety ensures that maintenance enhances, rather than risks, your home’s well-being.
Conclusion: Protecting Your Green Investment
Solar-powered attic ventilation systems are a powerful yet simple way to boost your home’s sustainability and comfort. Their ability to harness the sun’s energy for passive cooling and moisture control can save you hundreds of dollars and prevent costly structural issues over time. However, the key to unlocking these advantages lies in diligent, informed maintenance. By following the best practices outlined in this guide—regular inspections, seasonal cleanings, careful attention to electrical and mechanical components, and prompt troubleshooting—you ensure your system performs at its peak for years to come. Don’t overlook this unsung hero of green technology; with a modest investment of time every season, you’ll enjoy a cooler, drier home, lower energy bills, and the peace of mind that comes with a well-maintained, future-ready property. Sustainable living thrives on such details: let your attic fan set the standard for the rest of your eco-friendly journey.


If someone notices their solar-powered attic fan isn’t running as much as it used to, are there any simple troubleshooting steps before calling a professional? For example, is it commonly the sensors, like the thermostat or humidistat, that need attention?
If your solar-powered attic fan isn’t running as much, start by checking if the solar panel is clean and getting full sunlight—dust, debris, or shade can reduce its output. Next, inspect the thermostat or humidistat settings to ensure they’re set correctly, as these sensors often control when the fan operates. Also, check for any loose wiring connections. If these steps don’t help, it might be time to contact a professional.
Could you clarify how often the PV panels and fan blades should be cleaned to maintain efficiency? I’m wondering what a realistic maintenance schedule would look like for someone with moderate dust and pollen in their area.
For areas with moderate dust and pollen, it’s generally recommended to clean PV panels and fan blades every 3 to 6 months. This helps maintain optimal efficiency by preventing buildup that can block sunlight or obstruct airflow. If you notice visible dirt sooner or experience reduced performance, a quick inspection and cleaning can be helpful between scheduled maintenance.
Does regular maintenance on these attic ventilation systems noticeably extend the roof’s lifespan, as mentioned in the article? I’d love to hear if there are any studies or homeowner experiences about this benefit.
Regular maintenance of solar-powered attic ventilation systems helps keep attic temperatures and humidity in check, which can reduce roof wear from heat and moisture. While the article notes this benefit, direct studies specifically linking maintenance of these systems to extended roof lifespan are limited. However, many homeowners and roofing professionals report fewer issues like shingle curling and mold when attic ventilation is well maintained, suggesting a positive impact over time.
You mention that dusty PV panels and obstructed fan blades can cut airflow and energy output. How often should homeowners check and clean these components to maintain peak efficiency, especially in areas with a lot of pollen or dust?
In areas with heavy dust or pollen, it’s best to check and clean PV panels and fan blades every one to two months. For regions with less debris, a quarterly inspection should be enough. Regular cleaning helps maintain both airflow and energy output, so consider increasing frequency during seasons with higher pollen or dust levels.
I’m curious about how often I should check the PV panel for dust or debris buildup to maintain peak efficiency. Is there a recommended inspection schedule, or does it mostly depend on local weather conditions?
Checking your PV panel every 2 to 3 months is a good general schedule for most areas, but frequency can depend on local weather and dust levels. If you live in a particularly dusty region or have lots of nearby trees, you might need to inspect and clean the panel more often. After storms or windy conditions, a quick check is also recommended to clear off any debris.