Introduction: Why Go Solar with Hydroponic Vertical Gardens?
As sustainable living continues to gain momentum, more homeowners are seeking innovative ways to combine energy-efficient technologies with food production. Hydroponic vertical gardens, powered by solar energy, represent a fusion of two green technologies that maximize space, minimize resource consumption, and make year-round, pesticide-free food a reality—right at home. Unlike traditional gardens, hydroponic systems grow plants in nutrient-rich water, eliminating the need for soil and drastically reducing water usage. When paired with solar power, these systems become truly self-sufficient, drastically lowering your carbon footprint and utility bills. Whether you’re an urban dweller with limited outdoor space or a suburbanite looking to supplement your grocery bill, a DIY solar-powered hydroponic vertical garden is a rewarding project. This guide walks you step-by-step through planning, sourcing materials, assembling, and maintaining your own system, with practical tips and honest budgeting advice to ensure your project is a sustainable success.
Planning Your Solar-Powered Hydroponic Vertical Garden
Assessing Your Space
Vertical hydroponic gardens are remarkably adaptable, but your available space will dictate the scale and shape of your installation. Consider:
- Sunlight Exposure: Choose a spot that receives at least 6 hours of direct sunlight. South-facing walls or balconies are ideal.
- Accessibility: Ensure easy access for planting, harvesting, and maintenance.
- Structural Support: Verify that walls, fences, or frames can support the weight of the garden, including water-filled containers.
- Weather Exposure: Consider protection from high winds and heavy rain.
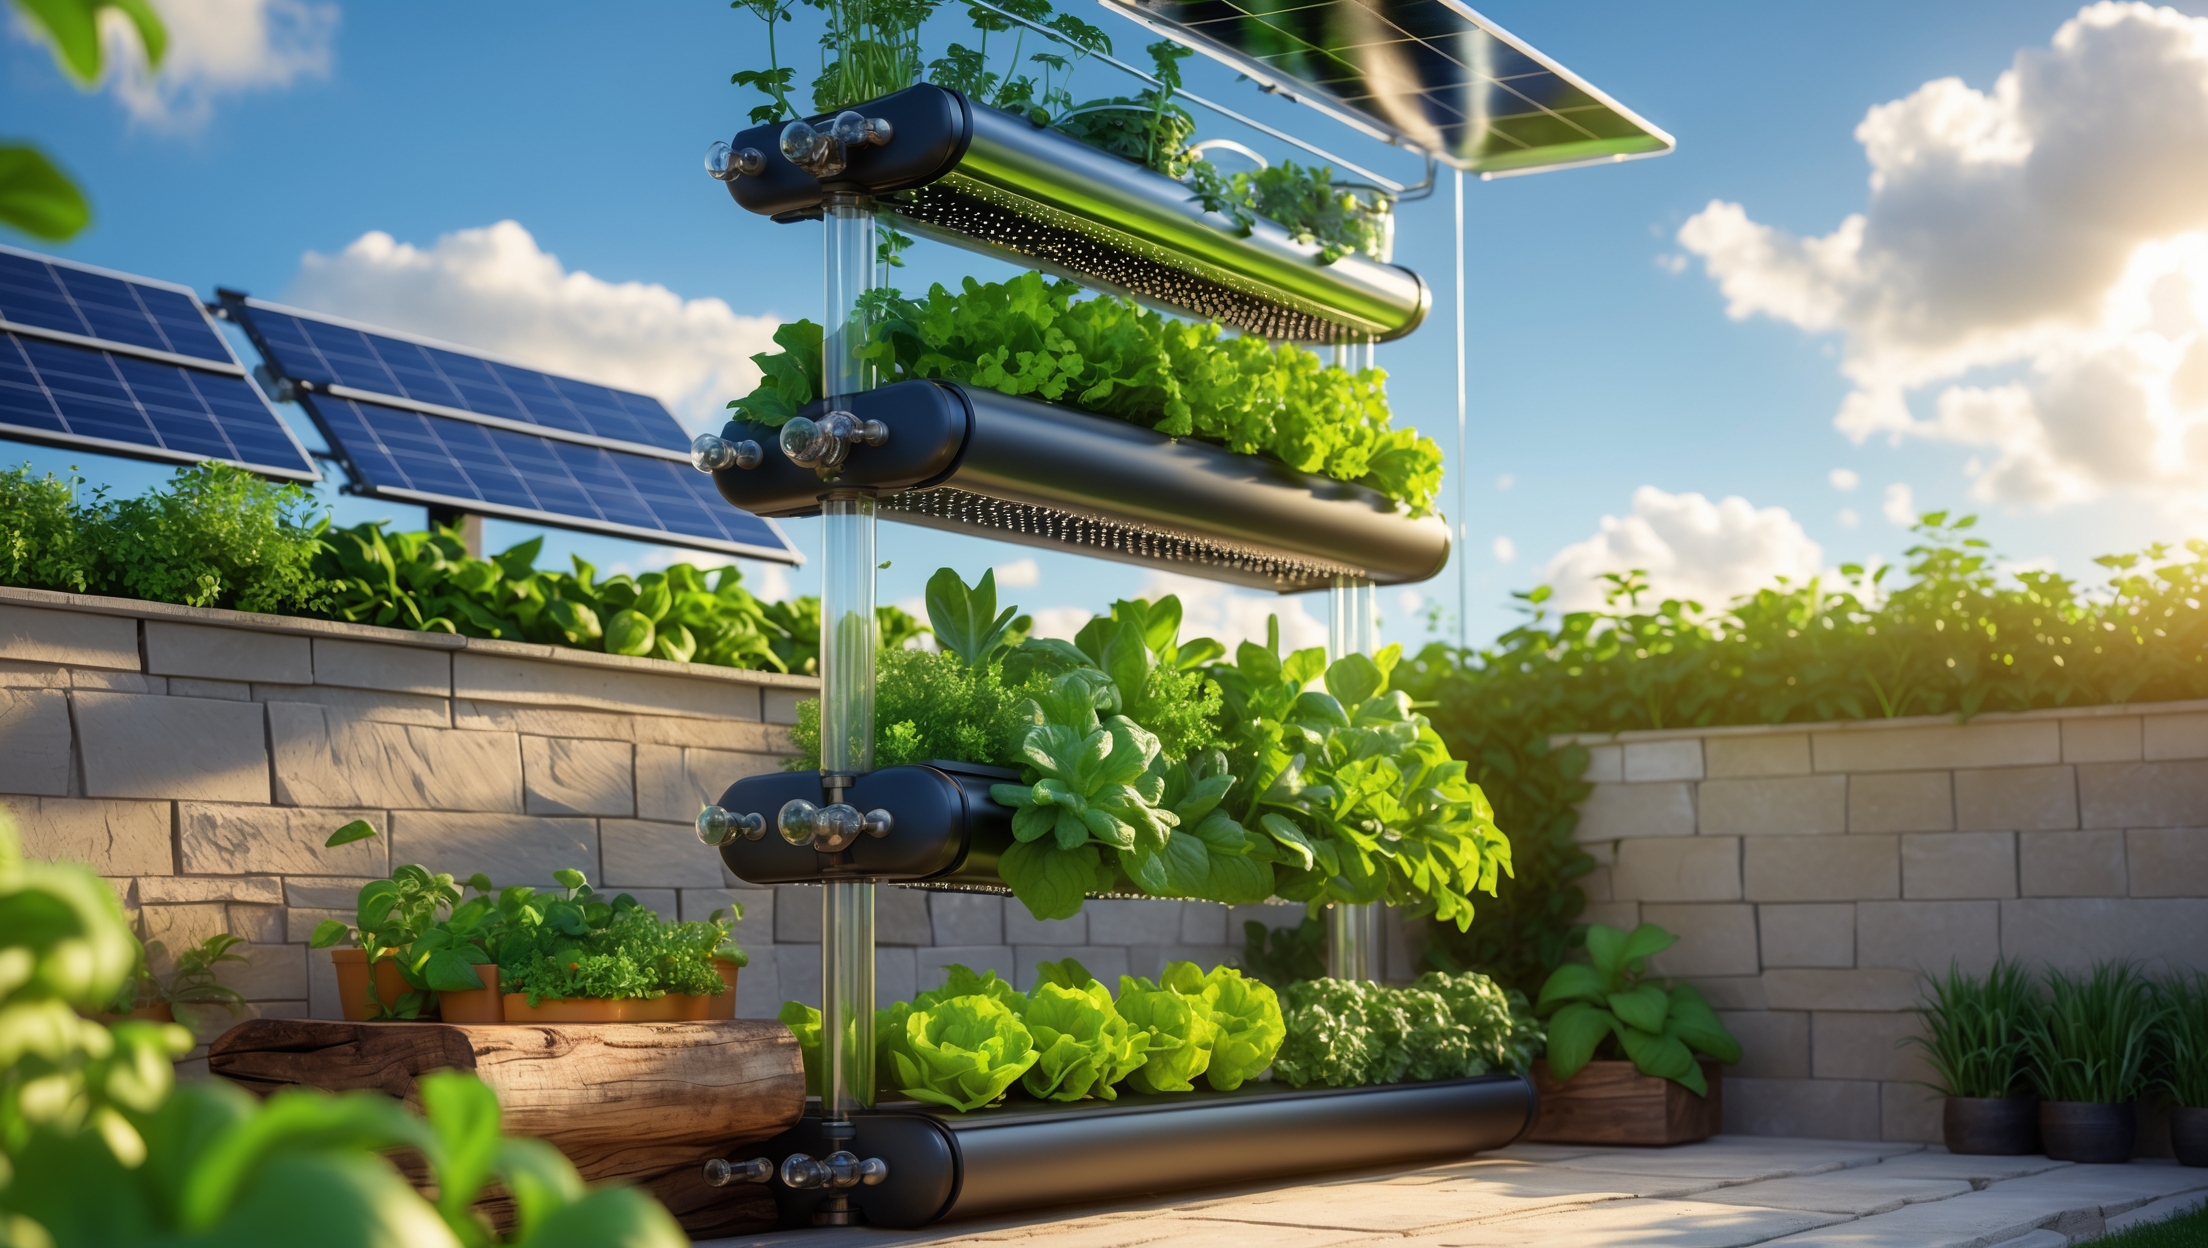
Selecting the Right Hydroponic System
For vertical setups, the most common hydroponic systems are:
- Nutrient Film Technique (NFT): A thin film of nutrient solution flows over the roots. Ideal for leafy greens and herbs.
- Drip System: Delivers nutrients directly to each plant’s root zone via tubing. Suitable for a wide range of crops.
- Tower Systems: Plants are stacked in vertical columns; water is pumped from the base and trickles down.
For beginners, a vertical drip or tower system offers the best balance of simplicity, scalability, and cost-effectiveness.
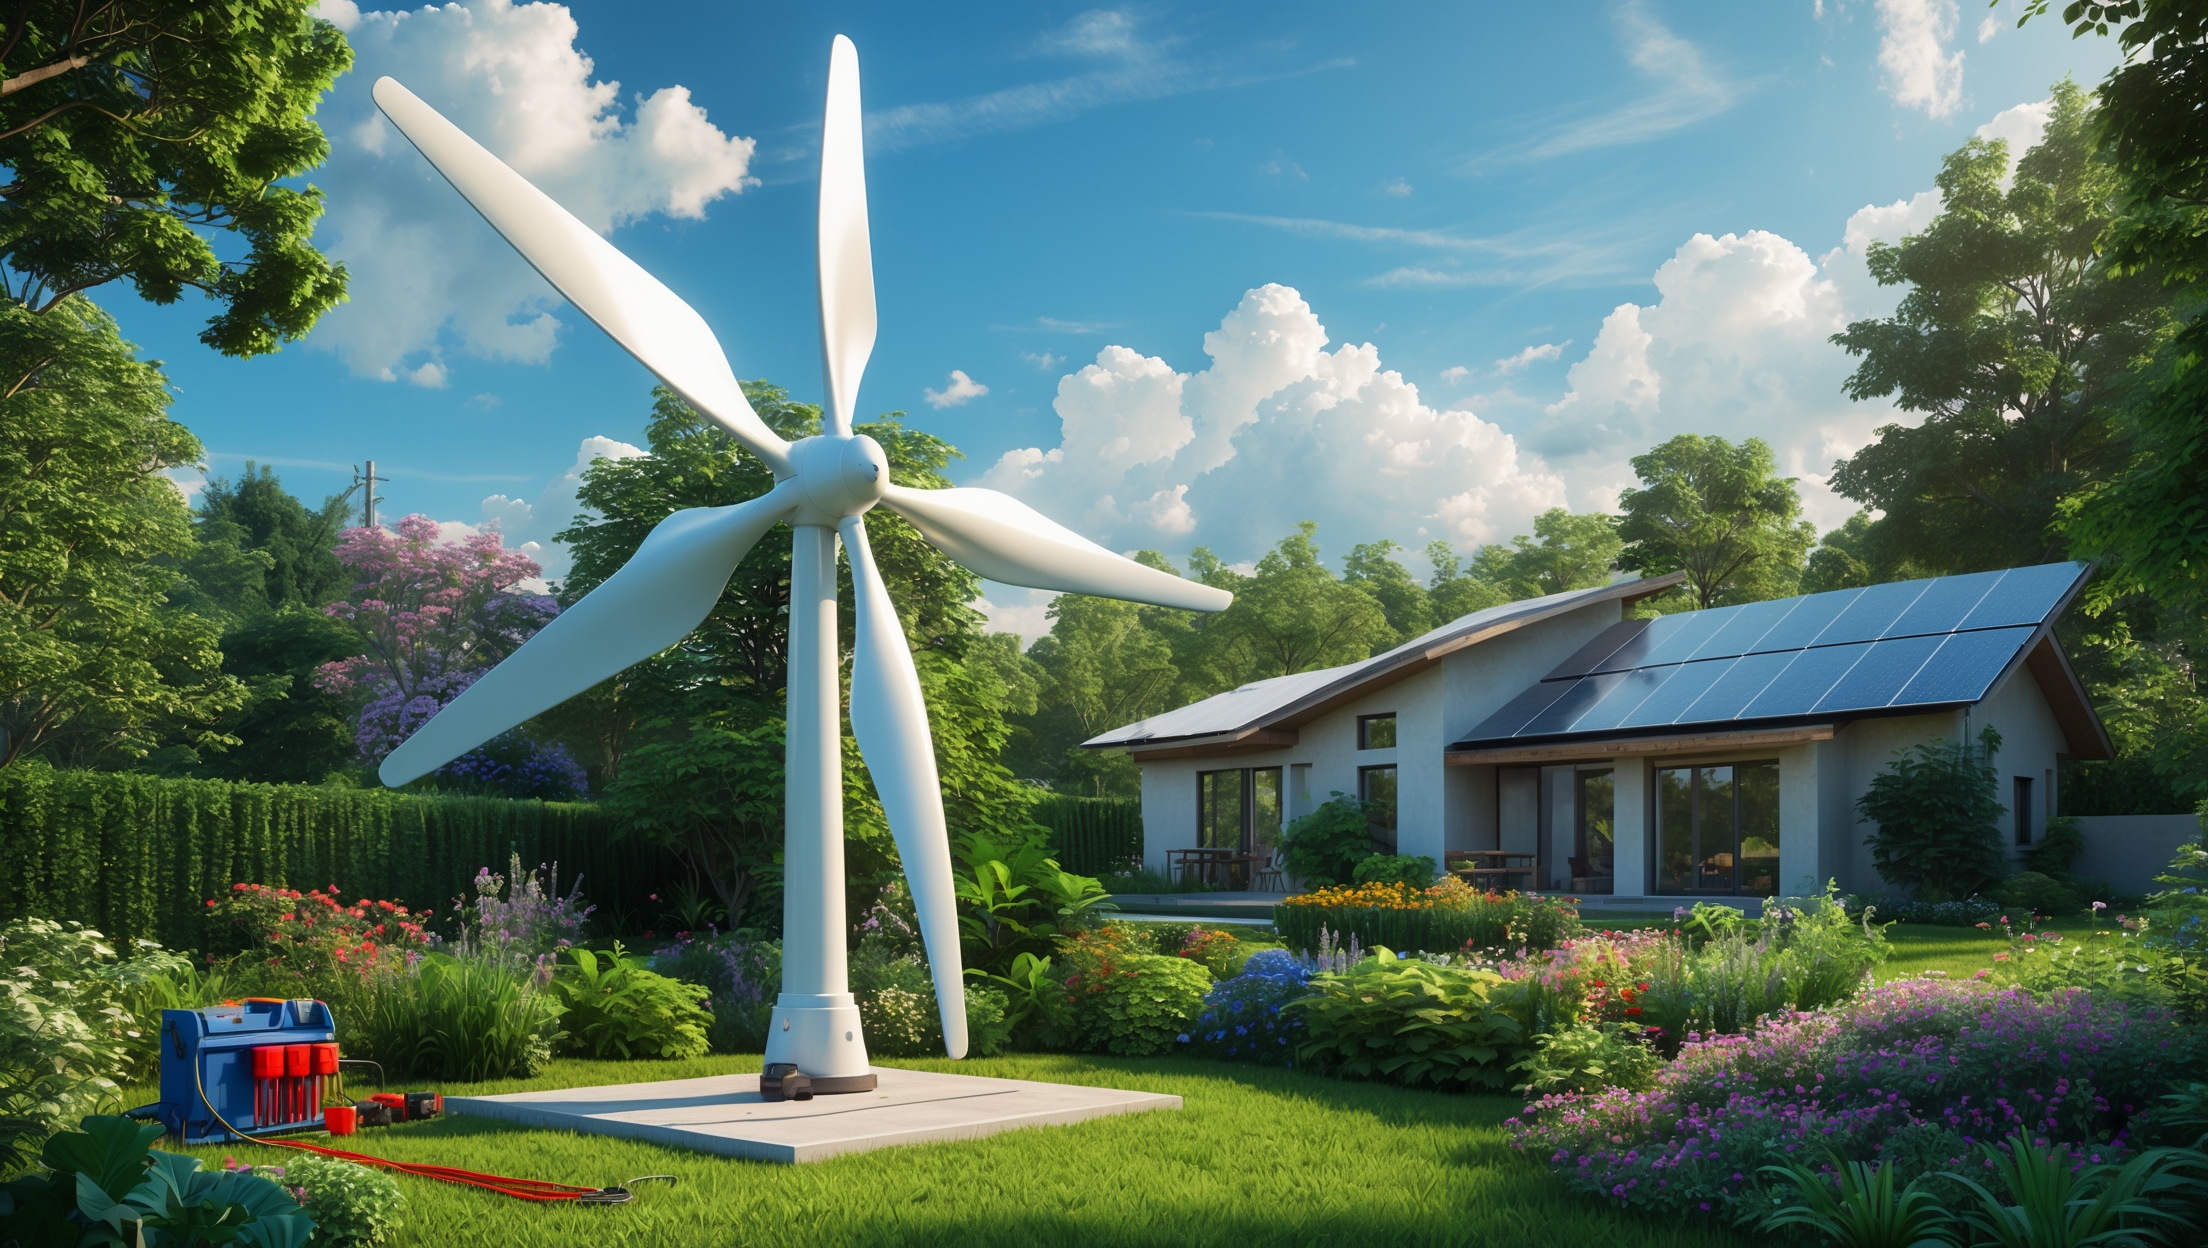
Determining Solar Power Needs
Solar panels will power your hydroponic pumps, timers, and optional grow lights. Start by calculating the total wattage required:
- Submersible water pump: 10–20W (continuous or periodic operation)
- Timer/controller: 1–3W
- Optional LED grow lights: 20–50W (if supplementing sunlight)
Add up the wattage, estimate the number of hours each component will run daily, then select a solar panel and battery system accordingly—always add a 20–30% buffer for cloudy days and system inefficiencies.
Budgeting and Sourcing Materials
Cost Breakdown
Here’s a realistic budget for a small (12–16 plant) vertical solar hydroponic system:
- PVC pipes or food-safe vertical towers: $50–$100
- Submersible water pump: $20–$40
- Solar panel (50–100W): $60–$150
- Charge controller: $20–$40
- Deep-cycle battery (12V): $75–$120
- Hydroponic nutrients: $20–$40
- Net pots, grow media (clay pebbles, rockwool): $15–$30
- Tubing, connectors, reservoir: $30–$60
- Timer/controller: $15–$30
- Misc. hardware (mounts, brackets, fasteners): $20–$40
Total estimated cost: $325–$650, depending on component quality and system size.
Tips for Sourcing Sustainable Materials
- Opt for recycled or upcycled materials where possible (e.g., food-grade barrels or repurposed containers).
- Check local hardware stores, hydroponics shops, or online marketplaces for deals.
- Choose solar panels and batteries from reputable brands with good warranties.
Essential Tools and Equipment
- Electric drill and hole saw (for pipe/tower holes)
- Wire strippers and crimpers (for solar wiring)
- Multimeter (for testing voltage and connections)
- Wrenches and screwdrivers
- Measuring tape and marker
- Protective gloves and eye protection
Step-by-Step Setup Tutorial
1. Constructing the Vertical Hydroponic Frame
- Cut and Prepare Pipes/Towers: Measure and cut your PVC or towers to the desired height (4–6 feet is ideal). Drill holes spaced 6–8 inches apart for net pots.
- Assemble the Frame: Use brackets or wooden supports to mount your vertical columns securely. Ensure stability—filled towers can be heavy.
- Install Reservoir: Place a food-grade container at the base to act as the nutrient reservoir. Position it for easy refilling.
2. Setting Up the Water Pump and Plumbing
- Install Submersible Pump: Place the pump in the reservoir. Attach tubing to deliver nutrient solution to the top of each column or tower.
- Connect Return Lines: Design the system so excess solution drains back into the reservoir, creating a closed loop.
- Test Flow Rate: Adjust the pump and tubing to ensure even distribution across all towers.
3. Installing the Solar Power System
- Mount Solar Panel: Place the panel on a south-facing roof, wall, or stand. Angle it to maximize sun exposure.
- Wire the System: Connect the solar panel to the charge controller, then to the battery. Use weatherproof connectors and follow manufacturer wiring diagrams.
- Connect Pump and Controller: Wire the pump and timer/controller to the battery output. Set your timer for periodic water cycles (e.g., 15 minutes every 2 hours during daylight).
- Test All Functions: Verify the pump runs smoothly, the battery charges, and all connections are secure.
4. Preparing the Growing Medium and Nutrients
- Fill Net Pots: Place seedlings or seeds in net pots with your chosen grow medium (clay pebbles, rockwool, etc.).
- Mix Nutrient Solution: Follow manufacturer instructions for hydroponic nutrients. Test and adjust pH to 5.5–6.5 using a digital meter.
- Load the System: Insert net pots into tower/pipes. Fill the reservoir with nutrient solution.
5. Launching and Monitoring the System
- Run Initial Test: Cycle the pump and check for leaks, blockages, or uneven flow.
- Monitor Water Levels: Top up the reservoir as needed, especially during hot, dry weather.
- Track Solar Performance: Ensure the battery maintains consistent charge; adjust panel angle seasonally if needed.
Maintenance Best Practices
Daily and Weekly Tasks
- Check Water and Nutrient Levels: Refill as needed; depleted nutrients can stunt growth.
- Monitor Pump Operation: Listen for unusual noises; clean the pump filter weekly.
- Inspect for Pests and Disease: Remove affected plants promptly; use organic controls if needed.
Monthly and Seasonal Maintenance
- Deep-Clean System: Every 4–6 weeks, flush pipes/towers and reservoir with a diluted hydrogen peroxide solution to prevent algae and biofilm buildup.
- Solar Panel Maintenance: Wipe panels with a damp cloth monthly to remove dust and debris; check mounting hardware for looseness.
- Battery Health: Inspect terminals for corrosion; monitor voltage with a multimeter. Replace batteries every 3–5 years depending on usage.
Troubleshooting Common Issues
- Pump Not Running: Check solar charge and battery voltage. Inspect wiring for loose connections.
- Plants Wilting or Yellowing: Test nutrient concentration and pH; adjust accordingly. Inspect for root rot.
- Uneven Growth: Ensure all sites receive adequate light and nutrient flow. Rotate plants if necessary.
Safety Checklist
- Use only food-safe, non-toxic plastics for water contact parts.
- Install a GFCI (ground fault circuit interrupter) if using AC-powered backup.
- Shield battery terminals and store batteries in a ventilated, weather-protected enclosure.
- Secure all wiring to prevent tripping hazards and moisture infiltration.
- Place the system away from children’s play areas and pets.
Case Study: Homeowner Success Story
Profile: Rachel, an apartment dweller in Phoenix, Arizona
Rachel constructed a 5-foot, 16-site vertical hydroponic tower on her sunlit balcony. Using a 100W monocrystalline solar panel and a 35Ah deep-cycle battery, she powers her water pump and a compact timer. By upcycling a used food-grade barrel as her reservoir and building her frame with reclaimed wood, Rachel kept her total project cost under $400. She grows lettuce, basil, and strawberries year-round. Her system provides enough greens for 3–4 meals per week, and maintenance takes less than 15 minutes a day. She reports a 30% reduction in her grocery spending on produce and enjoys reliable harvests even during summer heatwaves, thanks to the solar-powered setup.
Tips for Maximizing Sustainability and Yield
- Install a rainwater collection barrel to supplement the hydroponic reservoir.
- Rotate crops seasonally for continuous harvests (e.g., lettuce in winter, peppers in summer).
- Use companion planting to deter pests naturally—herbs like basil can repel aphids and attract pollinators.
- Set up a simple data logger to track sunlight hours, pump cycles, and water usage for optimization.
Conclusion: Reaping the Rewards of a Solar-Powered Vertical Garden
Building a DIY solar-powered hydroponic vertical garden is a practical, impactful step toward sustainable living. By harnessing sunlight to grow food efficiently in a compact space, you reduce your environmental footprint, lower grocery costs, and enjoy fresh, healthy produce year-round. While the initial setup requires thoughtful planning and investment, the returns—in food security, learning, and ecological stewardship—are substantial. With proper maintenance, your system will operate reliably for years, powered by clean, renewable energy. As you gain experience, you can expand your setup, experiment with new crops, or integrate smart automation for even greater yields. Ultimately, each vertical garden is more than just a source of food—it’s a living example of how modern technology can empower individuals to lead greener, more resilient lives. Start small, stay curious, and share your successes with your community to inspire a more sustainable future for all.


I see you mentioned that the system needs at least 6 hours of direct sunlight daily. If my space only gets about 4-5 hours, would a larger solar panel make up for this, or should I look at artificial lighting as well?
A larger solar panel can help by storing more energy during the available sunlight, which is useful if your system only gets 4-5 hours of direct sun. However, plants themselves still need sufficient light for healthy growth. If your space is shaded or indoors, adding artificial grow lights will ensure your plants get the minimum daily light they need for optimal results.
The article mentions protecting the setup from high winds and heavy rain. Do you have suggestions for affordable ways to shield or stabilize an outdoor vertical hydroponic garden without significantly blocking sunlight?
You can use clear polycarbonate panels or heavy-duty clear plastic sheets to create a simple windbreak without blocking much sunlight. Secure the base of your garden with concrete pavers or sandbags for stability. Lattice screens or mesh fencing can also help reduce wind while still allowing light through. Just make sure any covering is angled or has drainage to prevent water buildup during heavy rain.
Curious if you’ve run into any issues with the solar aspect during winter months, especially in northern states with shorter days. Do you recommend a backup power source, or are there tweaks to the setup that help keep things running smoothly through the season?
During winter in northern states, shorter days and less sunlight can make it tough for solar panels to provide enough power consistently. A small backup power source, like a battery bank or grid connection, is definitely helpful for uninterrupted operation. Some people also tilt their solar panels at a steeper angle in winter to capture more sun. Reducing the garden’s energy demands, such as using energy-efficient pumps and lights, can also help.