Introduction: Why Solar-Powered Composting is the Future of Sustainable Waste Management
Composting has long been a cornerstone of sustainable living, turning organic waste into nutrient-rich soil amendments for gardens and landscapes. Traditional home composting, while effective, often faces challenges like slow decomposition, unpleasant odors, and pest attraction—especially in cooler climates or shaded urban spaces. Enter the solar-powered composting system: an innovation that integrates renewable energy to optimize the composting process, accelerating decomposition, reducing smells, and enabling year-round operation. By harnessing solar power, homeowners can automate aeration, heating, and moisture management, significantly improving efficiency and ease of use. This comprehensive guide will walk you through the entire process of setting up a solar-powered composting system at home—from choosing the right components and electrical integration to daily operation and long-term maintenance. Whether you’re new to composting or seeking to upgrade your existing setup, read on to unlock the full potential of sustainable, energy-efficient organic waste management.
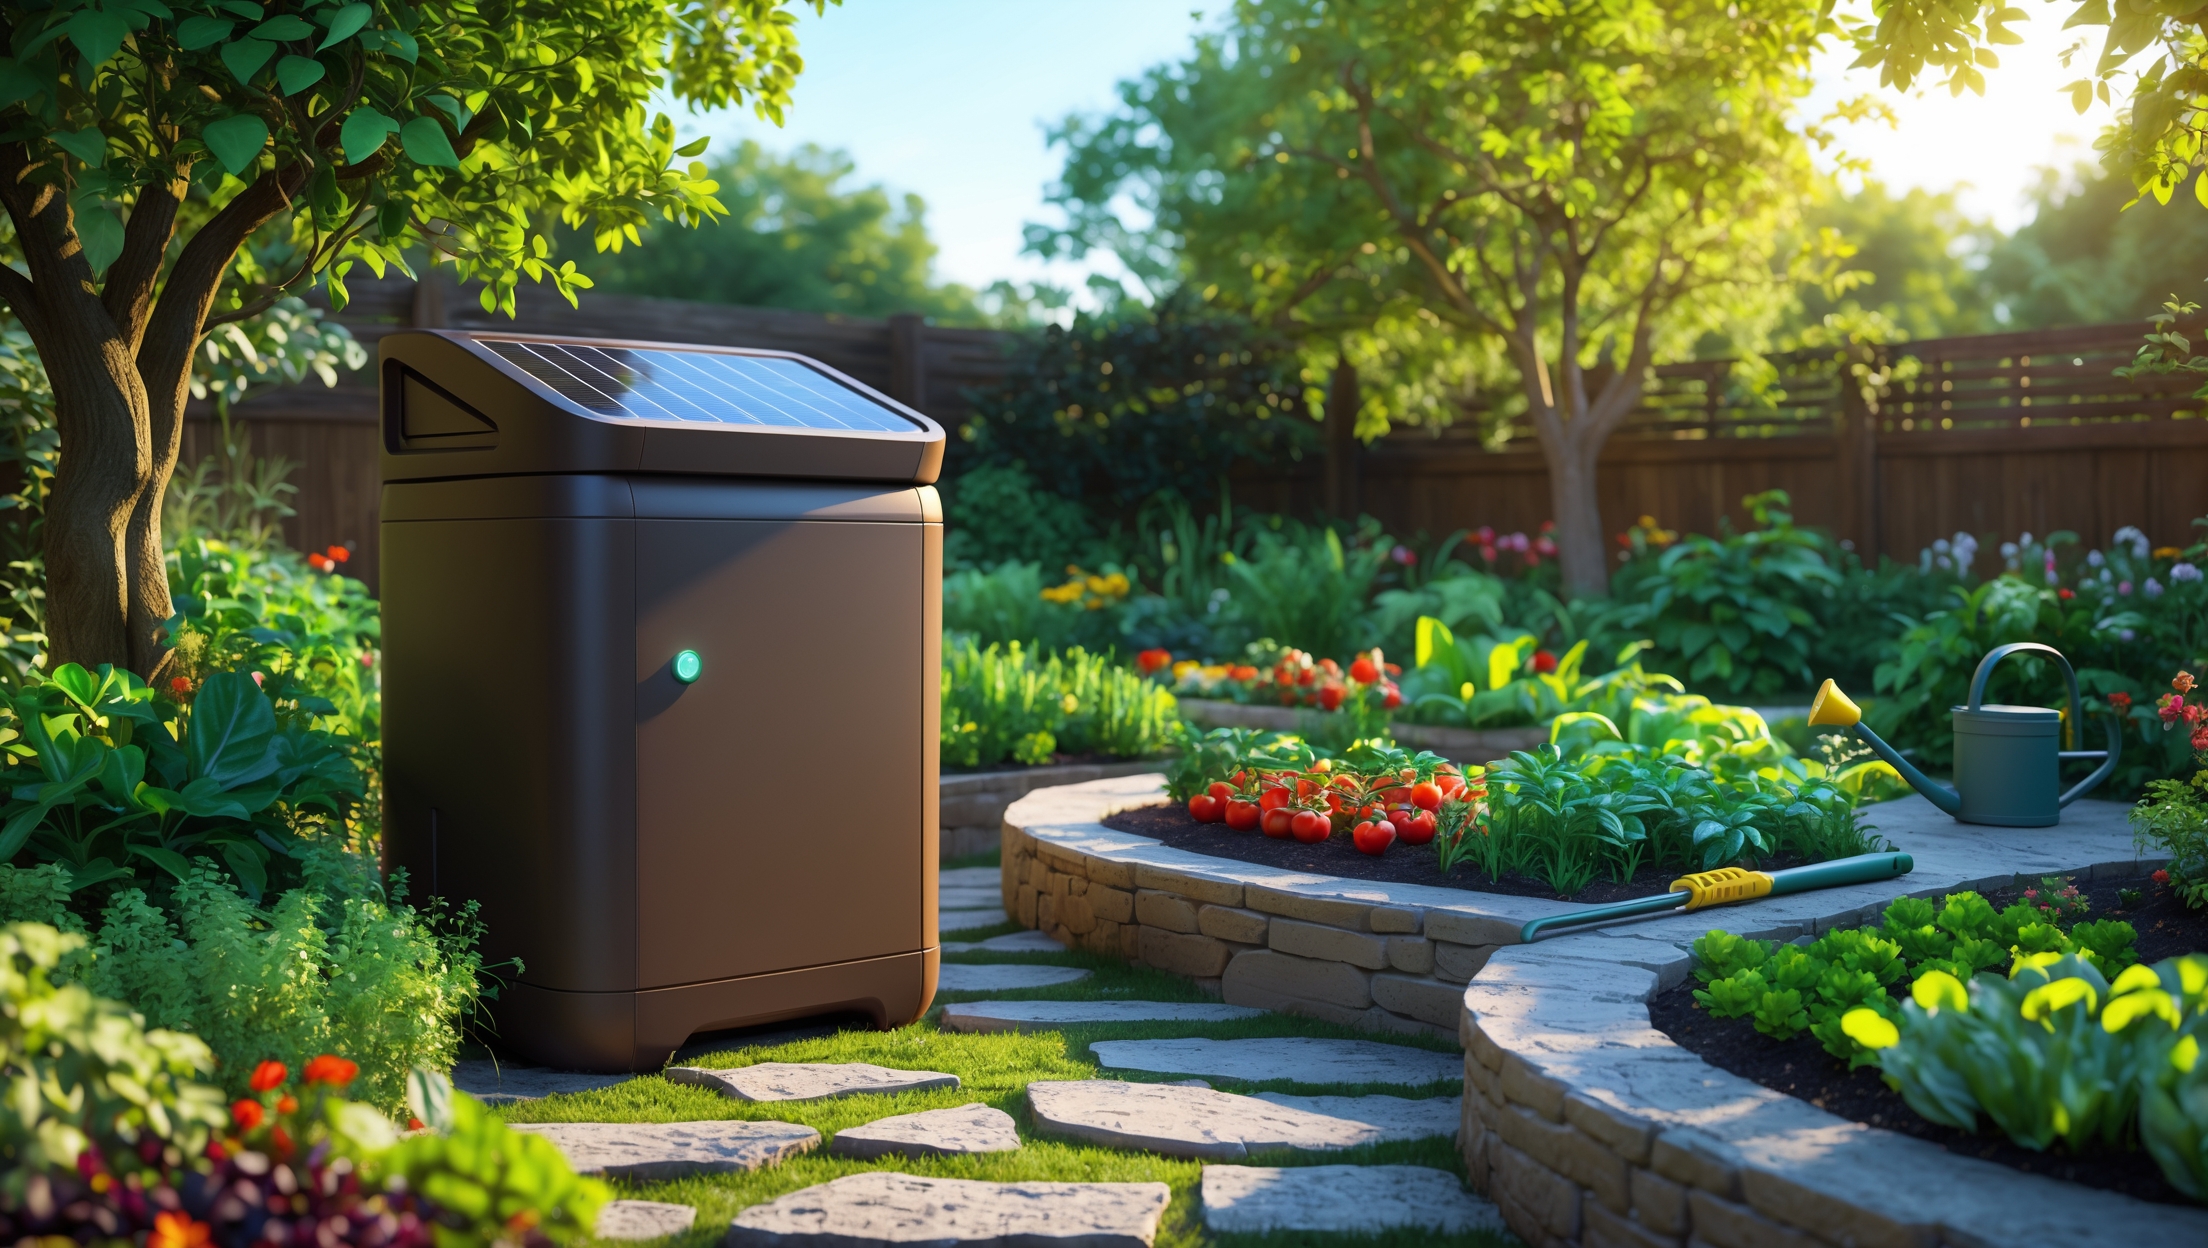
Understanding Solar-Powered Composting Systems
What is a Solar-Powered Composting System?
A solar-powered composting system combines a standard compost bin or tumbler with renewable energy technology—typically photovoltaic solar panels, battery storage, and electronic controls. Solar energy powers fans for aeration, heating elements for temperature regulation, and sometimes sensors for monitoring moisture or temperature. These enhancements address common composting pain points, making the process faster, cleaner, and more reliable.
Key Benefits
- Accelerated Decomposition: Solar-powered heating maintains optimal microbial activity, even in colder months.
- Odor and Pest Control: Automated aeration reduces anaerobic pockets and discourages pests.
- Energy Independence: Off-grid operation with minimal ongoing costs.
- User-Friendly: Less manual turning, easier monitoring, and reduced effort.
Planning Your Solar-Powered Composting Setup
Site Selection and Orientation
Choose a location that receives ample sunlight—ideally south-facing (in the Northern Hemisphere) or north-facing (in the Southern Hemisphere) to maximize solar panel output. Avoid placing the system under trees or in heavily shaded areas. Accessibility is also important; choose a spot that is easy to reach for adding waste and collecting finished compost.
System Size and Capacity
Evaluate your household’s organic waste output. For a typical family of four, a 100-200 liter (25-50 gallon) composter is adequate. Larger households or avid gardeners may want a bigger system or multiple bins. Remember, a larger mass retains heat better but requires more aeration and energy.
Compliance and Local Regulations
Most residential composting systems don’t require permits, but check with your municipality for regulations regarding compost bins, especially for solar panels or electrical connections. Some homeowner associations have specific rules about outdoor equipment or visible solar installations.
Equipment and Materials: What You’ll Need
- Composting Bin or Tumbler: Choose an insulated model for better thermal retention. Tumblers make turning easier; bins offer more capacity.
- Solar Panel: A 50-100 watt PV panel is sufficient for most home systems. Choose a weatherproof, high-efficiency panel.
- Charge Controller: Protects the battery from overcharging and regulates power flow.
- Battery: A deep-cycle 12V battery stores solar energy for nighttime or cloudy periods. Lithium iron phosphate (LiFePO4) is a safe, long-lasting option.
- Aeration Fan: A small, 12V DC inline fan to move air through the compost pile; select a model rated for continuous outdoor use.
- Heating Element (Optional): Low-wattage DC heating mats or cables can maintain optimal temperatures in cold climates.
- Temperature and Moisture Sensors (Optional): For advanced setups, sensors can automate fan or heater operation.
- Wiring & Mounting Hardware: UV-resistant cable, waterproof connectors, mounting brackets for panel and electronics.
Step-by-Step Setup Tutorial
1. Assembling the Composting Bin
Set up your composting bin or tumbler according to the manufacturer’s instructions. Choose a flat, well-drained area. For bins, ensure there is airflow at the base and sides—drill additional holes if necessary. For tumblers, check that the turning mechanism operates smoothly.
2. Installing the Solar Panel
- Mount the panel on a south-facing wall, roof, or dedicated pole, angled to match your latitude for year-round performance.
- Secure all brackets and ensure the panel is oriented to avoid shading from trees or structures, especially during winter.
- Use UV-resistant cable to connect the panel to the charge controller, running wiring through protective conduit if exposed.
3. Connecting the Charge Controller and Battery
- Mount the charge controller in a waterproof enclosure, close to the battery and composting system.
- Connect the solar panel leads to the input terminals on the charge controller.
- Attach the battery to the controller’s battery terminals, following polarity markings carefully.
- Check system voltage and ensure the charge controller’s indicator lights function properly.
4. Setting Up the Aeration Fan
- Install the DC inline fan in a vent at the base or side of the compost bin. Use flexible ducting if needed to direct airflow through the pile.
- Wire the fan to the charge controller’s load output, or use a separate timer or relay for scheduled operation.
- Secure all connections with waterproof heat-shrink tubing or connectors.
5. (Optional) Adding Heating and Sensors
- Lay heating mats or cables under or around the compost pile, ensuring even distribution and no direct contact with compost material.
- Wire the heating element to the load side of the charge controller, adding a thermostat or smart relay to prevent overheating.
- Install temperature and moisture sensors to monitor compost conditions. Link them to an automation controller if desired.
6. Initial System Test
- On a sunny day, check that the solar panel charges the battery and that the fan operates as intended.
- Test the heating element (if installed) and confirm temperature regulation.
- Verify that all wiring is secure, all enclosures are weatherproof, and there are no exposed connections.
Operational Tips for Maximum Efficiency
Balancing Carbon and Nitrogen
Maintain the ideal composting ratio—roughly 2:1 brown (carbon-rich) to green (nitrogen-rich) materials. Browns include dried leaves, cardboard, and wood chips; greens include kitchen scraps, coffee grounds, and grass clippings. This balance supports healthy microbial activity and reduces odor.
Moisture Management
Compost should feel like a wrung-out sponge. Too much moisture leads to anaerobic conditions and smells; too little slows decomposition. If your system includes a moisture sensor, automate fan or heater operation based on readings. Otherwise, check weekly and add water or dry browns as needed.
Temperature Monitoring
Active composting occurs between 55-65°C (130-150°F). Solar-powered heating ensures you can maintain this range even in cool weather. If temperatures regularly fall below 45°C (113°F), increase aeration or insulation, or adjust the heating schedule.
Aeration Schedule
- For most home systems, running the fan for 10-20 minutes every 2-3 hours is sufficient.
- In hot weather, increase frequency to prevent overheating.
- In winter, coordinate fan and heater cycles to maintain steady temperatures.
Troubleshooting and Common Issues
Odors and Anaerobic Conditions
If you notice rotten or sour smells, increase fan runtime and add more dry carbon materials. Check for compacted layers that block airflow and fluff the pile if needed.
Low Decomposition Rates
Slow breakdown often signals poor aeration, low moisture, or cold temperatures. Use your system’s sensors or manual checks to identify the cause, then adjust fan speed, heating, or add water as necessary.
Solar Power Shortfalls
- Monitor battery voltage; if it drops below 12V regularly, consider adding a larger panel or battery.
- Keep solar panels clean and free of debris or snow.
- Trim vegetation that may shade panels over the growing season.
Maintenance Best Practices
Monthly System Checks
- Inspect all wiring for wear or animal damage.
- Clean solar panels with water and a soft cloth to remove dust or pollen.
- Check battery terminals for corrosion and ensure enclosures remain watertight.
- Test sensors and verify fan and heater operation.
Compost Bin Upkeep
- Turn or aerate the pile manually every 2-4 weeks (even with powered aeration) to break up clumps.
- Harvest finished compost from the bottom or side door every 3-6 months.
- Clean out the bin annually to remove residue and prevent compaction.
Battery and Electronics Care
Batteries typically last 3-7 years. Check charge levels monthly and replace batteries at the first sign of capacity loss. Store batteries in insulated, weatherproof boxes if winter temperatures drop below freezing.
Integrating Your System with Other Green Technologies
Rainwater Harvesting
Pair your compost system with a rainwater collection barrel to provide moisture for the pile, further reducing your environmental footprint.
Solar Monitoring Apps
Some charge controllers support Bluetooth or Wi-Fi connectivity, allowing you to monitor solar and battery performance from your smartphone. This is particularly useful for troubleshooting and optimizing system operation remotely.
Smart Home Integration
Advanced users can connect compost system controls to home automation platforms (such as Home Assistant or SmartThings) for automated scheduling based on weather forecasts or energy production.
Cost Breakdown and Budgeting Considerations
- Compost Bin/Tumbler: $100–$300
- Solar Panel (50-100W): $70–$150
- Charge Controller: $20–$50
- Battery (12V, 50-100Ah): $80–$200
- Aeration Fan: $25–$60
- Heating Element (Optional): $30–$70
- Sensors and Automation (Optional): $40–$120
- Wiring & Hardware: $30–$60
Expect to invest $325–$700 for a fully featured system, with annual maintenance costs under $30 (primarily battery savings and occasional part replacement). DIY assembly can save on labor, but factor in your time and skill level for custom builds.
Conclusion: Empowering Sustainable Living with Solar Composting
Setting up a solar-powered home composting system is a forward-thinking investment in sustainable living, merging organic waste management with renewable energy for maximum environmental impact. By following this guide, you’re not only streamlining the composting process—accelerating decomposition, controlling odors, and minimizing manual labor—but also taking a significant step toward energy independence and circular resource use. With thoughtful planning, the right materials, and regular maintenance, your solar composting system can operate efficiently for years, dramatically reducing landfill contributions while enriching your garden. As renewable technologies become more accessible and affordable, integrating them into everyday routines like composting is a powerful way to model eco-conscious living, inspire your community, and contribute to a more resilient future. Whether you’re a sustainability enthusiast, an urban gardener, or someone seeking to make a real difference at home, solar-powered composting stands out as a practical, impactful solution. Start today and watch your organic waste—and your garden—thrive in harmony with the sun.


I’m concerned about pests in my area, so I’m curious whether the automated aeration system alone is enough to deter them, or should additional deterrents still be used with solar-powered compost bins?
The automated aeration system helps reduce pest attraction by keeping compost oxygenated and less smelly, but it might not fully prevent pests, especially in areas with high pest activity. It’s a good idea to use additional deterrents like secure, tight-fitting lids, pest-proof mesh, and making sure you only add appropriate food scraps. Combining these measures with the aeration system should give you the best pest control results.
I live in New England where winters can get pretty cold and cloudy. How effective is a solar-powered composting system in colder climates with less sunlight, and are there specific adjustments you’d recommend for those conditions?
Solar-powered composting can still work in colder, cloudier regions like New England, but you’ll need to make some adjustments. Insulate your compost bin well to retain heat, and consider sizing up your solar panel or adding a battery to store extra power for cloudy days. Turning the pile more frequently and using high-carbon materials can also help keep the process active even in winter.
The article mentions automated aeration and heating for better decomposition, but I’m curious about how difficult the electrical integration is for someone without much DIY experience. Are there plug-and-play kits available, or would I need to hire an electrician?
There are actually some plug-and-play composting kits available that handle aeration and heating, making setup much easier for beginners with little DIY experience. Many of these systems are designed for simple installation and just require plugging components together. However, if you’re building a fully custom setup or integrating it with a solar power system, you may need some basic wiring knowledge. In that case, consulting an electrician is a good idea to ensure safety and optimal performance.
What troubleshooting steps do you recommend if the automated aeration or heating suddenly stops working—does that usually indicate an issue with the solar power supply, or could it be a problem with the electronic controls?
If the automated aeration or heating stops working, start by checking the solar power supply—make sure the panels are clean, the battery is charged, and all connections are intact. If the power supply looks fine, inspect the electronic controls for loose wires, blown fuses, or reset switches. Issues can arise from either area, so checking both will help pinpoint the cause.
The article mentions sensors for monitoring moisture and temperature. What kind of sensors are best for home compost setups, and do you have any recommendations for affordable options?
For home compost setups, digital soil moisture sensors and simple temperature probes are both effective and affordable. Look for a stainless steel compost thermometer, which is durable and easy to read. For moisture, inexpensive capacitive soil moisture sensors work well and are widely available. If you want a combined solution, some wireless sensors can monitor both temperature and moisture and sync with a smartphone app, offering convenience for regular tracking.
How much hands-on time does a solar-powered composting system usually require compared to a regular backyard compost bin? I am trying to figure out if the automation really cuts down on weekly maintenance, since things are always busy at home.
A solar-powered composting system typically requires less hands-on time than a regular backyard compost bin. The automation helps maintain optimal temperature and aeration without daily intervention, so you might only need to check on things or add material once a week. In contrast, traditional bins often need frequent turning and monitoring. Overall, the solar system can cut weekly maintenance in half or more, making it much easier for busy schedules.
You mentioned sensors that monitor moisture and temperature—are those essential for a home system, or can you get by with just the solar-powered heating and aeration?
Sensors for moisture and temperature are helpful but not strictly essential for a basic home composting setup. With just solar-powered heating and regular aeration, you can still manage compost effectively by checking conditions manually—feel the compost for dampness and monitor for excessive heat or cold. However, sensors add convenience and consistency, especially if you want to automate or optimize the process.
You talked about using solar energy for year-round composting, even in cold climates. How well do these systems perform during cloudy winters, and do you need a backup power source for consistent operation?
Solar-powered composting systems can still function during cloudy winters, but their efficiency may decrease because less sunlight reaches the panels. In particularly cloudy or extended winter periods, the system might not generate enough power for consistent operation. Many users add a backup battery or a small generator to keep things running smoothly during low-sunlight days. This ensures the composting process continues uninterrupted, regardless of the weather.
I’m juggling work, parenting, and household chores, so I’m curious—does a solar-powered compost system really make the daily operation and maintenance much easier, or are there still hands-on tasks I should expect compared to traditional composting?
A solar-powered compost system can simplify some tasks, like aeration or temperature control, since these can be automated with solar-powered fans or sensors. However, you’ll still need to add food scraps, occasionally turn or check the compost, and monitor moisture levels. While maintenance is reduced compared to traditional methods, some hands-on involvement is still necessary to keep the system running smoothly.
How much should I expect to spend on the components for a basic solar-powered composting setup, including the solar panel, battery, and controls? Are there budget-friendly kits or DIY options you’d recommend?
For a basic solar-powered composting setup, expect to spend around $250 to $500. This covers a small solar panel, charge controller, a 12V battery, and basic wiring. There are budget-friendly DIY kits online, or you can piece together components from hardware stores and solar suppliers. If you’re handy, assembling your own system can save money and let you customize it to your needs.
I saw that sensors can monitor moisture and temperature in these systems. If something goes wrong, like the compost getting too dry or too cold, do these setups alert you automatically, or do you have to check manually?
Most basic home composting setups with sensors require manual checking, meaning you need to look at the sensor displays or app to see current moisture and temperature levels. However, some advanced systems can be set up to send automatic alerts to your phone or email if readings go outside your chosen range. For most DIY solar-powered systems, you’ll likely need to check manually unless you add smart monitoring features.
How much maintenance do the electronic components in a solar-powered composting system usually require, such as cleaning panels or checking connections, compared to standard compost bins?
Electronic components in a solar-powered composting system need some regular attention. Solar panels should be cleaned every few months or after heavy dust or pollen buildup to maintain efficiency. You should also check electrical connections for corrosion or loose wires a few times a year. In contrast, standard compost bins only need occasional turning and monitoring of compost conditions, with no electronics to maintain. The solar setup adds a bit more upkeep, but nothing too demanding.
The article mentions automated aeration and heating being powered by solar panels. Can you clarify which components are essential for beginners, and which upgrades are optional if I just want to get started without a huge upfront investment?
For beginners, the essential components are a compost bin, basic aeration (which can be manual, like turning the compost with a tool), and solar panels if you want to power any equipment. Automated aeration systems and heating elements are optional upgrades. If you prefer a simple setup, focus on the bin and manual aeration first; you can always add more automation later as your needs grow.
If my yard only gets partial sun during the day, will the automated aeration and heating still work reliably, or are there backup options you recommend? I’d love for this to operate year-round, but our home isn’t in full sun.
Partial sun can still support your system, but the automated aeration and heating may run less efficiently on cloudy days or during winter. To ensure reliable year-round operation, consider adding a backup power source like a small battery bank, or connect the system to your home’s electricity as a secondary option. This way, your composting setup stays consistent even with limited sunlight.
In the section on automated aeration, do you recommend a specific type of fan or ventilation system for a backyard setup in a suburban neighborhood? I want to avoid noise complaints and ensure it’s effective.
For a suburban backyard composting setup, a small, weatherproof inline duct fan with a brushless motor is a good choice. These fans are typically quiet—look for models rated under 40 decibels—and efficient. Pair it with a timer or solar-powered controller for optimal airflow and minimal disturbance to neighbors.
Could you elaborate on what kind of maintenance is involved with the solar panels and electronic components in a solar-powered composting system over time? I am concerned about potential upkeep or replacement costs for homeowners.
Solar panels typically require minimal maintenance—mainly periodic cleaning to keep them free of dust and debris, and occasional checks for damage or loose connections. For electronic components like charge controllers, batteries, and timers, regular inspections to ensure proper operation are helpful. Batteries may need replacement every 3–7 years, depending on type and usage. Overall, upkeep costs are usually low, but budgeting for battery replacement and occasional repairs is wise for long-term reliability.
I see that solar panels can automate aeration and heating, but how does the battery storage work for days with limited sun? Is there a recommended battery type or capacity for consistent composting performance?
Battery storage ensures your composting system keeps running on cloudy days or at night by storing excess solar energy generated during sunny periods. Deep-cycle batteries, like lithium-ion or AGM (Absorbent Glass Mat) types, are commonly recommended for their durability and ability to handle frequent charging and discharging. As for capacity, a 12V battery with 100–200 amp-hours is usually sufficient for small to medium setups, but it’s best to size your battery based on your system’s daily energy needs and average days without sunlight in your area.
When it comes to daily operation, how much maintenance does the electronic side of the system require compared to traditional composting? I’m new to both composting and working with solar equipment, so I’d love any tips for beginners.
The electronic side of a solar-powered composting system usually needs minimal daily maintenance. You’ll want to check that the solar panels are clean and clear of debris, and make sure the battery connections are secure. Compared to traditional composting, the main difference is just keeping an eye on the electronic components. For beginners, it’s helpful to inspect everything weekly, keep your manual handy, and don’t hesitate to ask questions if something seems off.
Could you provide more detail on how the automated aeration works? For example, is it constantly running off the solar panel, or does it use sensors to only activate when needed to save energy?
The automated aeration system in the guide is designed to be energy-efficient. It does not run constantly; instead, it uses moisture and temperature sensors to monitor the compost conditions. The aerator only activates when the sensors detect that oxygen levels are low or the pile is getting too hot, which helps conserve solar energy and keeps the composting process optimal.
With kids and pets around, are there any safety considerations when adding electronic controls and heating elements to a backyard compost bin? I’m interested in making sure everything is safe and reliable year-round.
When adding electronic controls and heating elements to your compost bin, it’s important to use weatherproof, outdoor-rated enclosures and to keep all wiring out of reach of children and pets. Ensure heating elements are safely shielded and cannot be touched directly. Consider using ground-fault circuit interrupters (GFCIs) for added electrical safety, and regularly check for wear and tear on all components to maintain year-round reliability.
Do you have any estimates on the overall operating costs versus savings for a typical residential solar-powered composting setup over its first year? I’m trying to budget for both the initial investment and any ongoing expenses.
For a typical residential solar-powered composting setup, the initial investment often ranges from $600 to $1,500, covering solar panels, a small battery, and a composting unit. Ongoing annual costs are usually minimal, maybe $20–$50 for maintenance and replacement parts. In terms of savings, you could reduce waste disposal fees by $50–$150 per year and, if you garden, save on fertilizer costs. Over the first year, most homeowners find that ongoing expenses are low, but the upfront cost is the largest part of your budget.
For someone completely new to both composting and solar panels, what would you recommend as a beginner-friendly setup in terms of components and cost? Are there any off-the-shelf packages you suggest starting with?
For beginners, a simple compost tumbler (for easy turning and pest control) combined with a small solar panel kit is a great start. Look for solar kits that include a panel, battery, and LED light or small fan, which can help aerate your compost. Many garden centers offer compost tumblers for $80–$150, and basic solar panel kits for under $200. Some retailers offer complete solar compost bin packages, but assembling your own is usually more affordable and customizable.
Do you have any information on the upfront cost difference between setting up a basic compost bin versus a fully solar-powered system with all the recommended features?
A basic compost bin can cost anywhere between $50 and $150, depending on size and material. In contrast, a fully solar-powered composting system, including solar panels, a compost tumbler, ventilation fans, and monitoring sensors, typically ranges from $600 to $1,500 or more. The added cost comes from the solar setup and advanced features, but these can improve efficiency and reduce manual maintenance.