Introduction: Clean Water Meets Clean Energy
In the quest for sustainable living, access to clean water and renewable energy are two crucial pillars. Combining these by installing a home solar-powered water purification system is an excellent way to reduce your ecological footprint, promote energy independence, and ensure a reliable supply of potable water in emergencies or off-grid settings. Whether you’re preparing for resilient living, seeking to cut utility bills, or simply motivated to minimize your environmental impact, this step-by-step guide will walk you through every stage of planning, assembling, and maintaining your own solar-powered water purification setup.
This guide is designed for homeowners and DIY enthusiasts with basic technical skills and a passion for sustainability. It covers everything from sizing your system and selecting the right purification method to sourcing components, wiring, plumbing, and ongoing maintenance. You’ll learn how to avoid common pitfalls, understand the costs involved, and ensure your system complies with local codes. By the end of this tutorial, you’ll be equipped with the knowledge and confidence to enjoy cleaner, greener water from your own backyard, no matter where you live.
Understanding Solar-Powered Water Purification
Why Combine Solar Power and Water Purification?
Traditional water purification systems often rely on grid electricity, fossil fuels, or labor-intensive manual methods. Solar-powered purification harnesses the sun’s free, renewable energy to produce clean water with minimal ongoing costs and environmental impact. This approach is especially valuable in remote, off-grid, or disaster-prone areas where reliable power and water supplies can be uncertain.
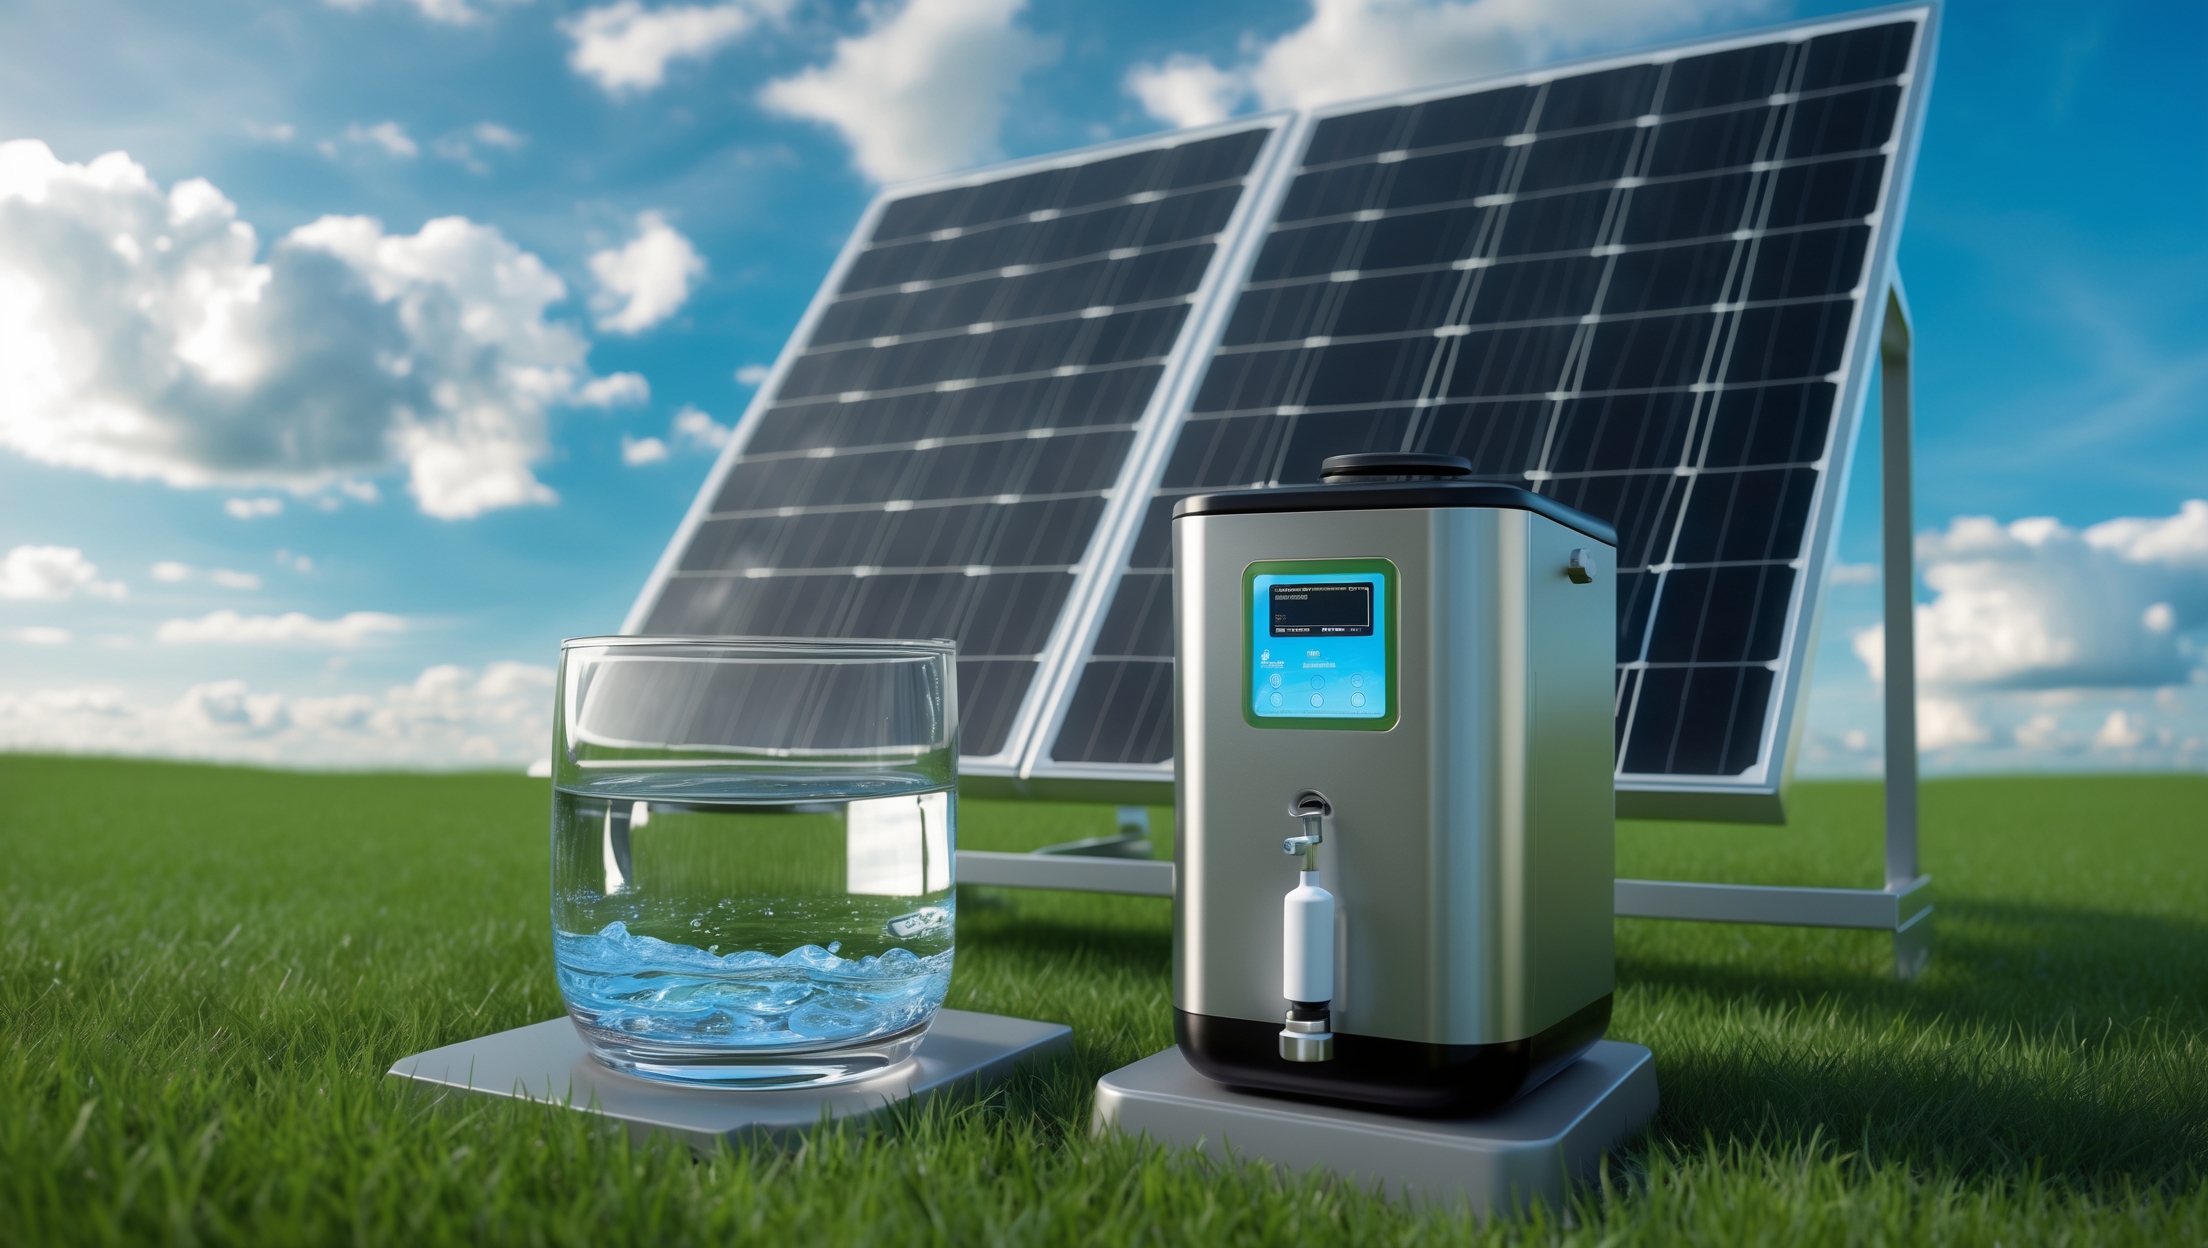
Basic System Components
- Solar Panels: Capture sunlight and convert it into electricity.
- Charge Controller: Regulates voltage from panels to batteries.
- Battery Bank: Stores solar energy for use when the sun isn’t shining (optional for direct systems).
- Inverter: Converts DC power from panels/batteries to AC if your purification system requires it.
- Water Pump: Moves water through the purification system. Solar DC pumps are highly efficient.
- Water Purification Unit: Removes contaminants. Common types include reverse osmosis (RO), ultraviolet (UV) purification, and ultrafiltration (UF).
- Pre-Filters: Remove sediment and large particles to extend the life of your main purifier.
- Piping and Storage Tanks: Safely route and store both raw and purified water.
Step 1: Assess Your Water Needs and Source
Calculate Daily Water Usage
Start by estimating how much purified water your household needs per day. For drinking and cooking, plan for 2–4 liters per person per day. If you intend to purify water for bathing, gardening, or other uses, increase this estimate accordingly.
Analyze Your Water Source
Test your source water (well, rainwater, surface water, or municipal supply) for contaminants. This will inform your choice of purification technology. Key contaminants include bacteria, viruses, heavy metals, pesticides, and sediments. Water testing kits or laboratory analysis are recommended for accuracy.
Step 2: Choose the Right Purification Technology
- Reverse Osmosis (RO): Removes most dissolved solids, heavy metals, bacteria, and viruses. Requires high pressure (and thus more power).
- Ultraviolet (UV) Purification: Kills bacteria and viruses but does not remove chemicals or particulates. Low energy consumption.
- Ultrafiltration (UF): Removes bacteria, protozoa, and some viruses; does not remove dissolved chemicals.
- Activated Carbon Filters: Removes chlorine, some pesticides, and organic chemicals; not effective against pathogens.
- Distillation: Highly effective but energy-intensive. Typically not recommended for solar setups unless very small scale.
Combine technologies for best results (e.g., pre-filter + RO + UV).
Step 3: Size Your Solar Power System
Calculate Power Requirements
Add up the wattage of your pump, purification unit, and any additional electronics. Multiply by average daily runtime to determine daily watt-hours needed.
- Example: DC pump (60W) + RO system (30W) + UV lamp (15W) = 105W
- If system runs 4 hours/day: 105W x 4 hours = 420 Wh/day
Determine Solar Array Size
- Divide daily watt-hours by average daily sun hours in your area (consult local solar maps).
- Add 25–30% buffer for cloudy days and system inefficiencies.
- Example: 420 Wh / 4.5 sun hours = 93W; with buffer, use 120–150W solar panel rating.
Battery Sizing (Optional but Recommended)
- Choose deep-cycle batteries (AGM, gel, or lithium) for reliability.
- Calculate battery capacity: (Daily Wh / battery voltage) x days of autonomy needed.
- Example: 420 Wh / 12V = 35 Ah; for 2 days’ autonomy, need 70 Ah total capacity.
Step 4: Sourcing Components
- Solar Panels: Monocrystalline or polycrystalline panels from reputable manufacturers. Look for 80–200W panels for typical home systems.
- Charge Controller: MPPT controllers are more efficient but costlier than PWM. Size appropriately for your panel output.
- Batteries: Compare cycle life, maintenance, and up-front cost. Lithium batteries have a higher initial cost but longer lifespan and lighter weight.
- Water Pump: Choose a DC pump rated for your flow rate and head (vertical lift). Submersible pumps are common for wells; surface pumps for rainwater or cisterns.
- Pipes, Fittings, Storage Tanks: Use food-grade materials. Sizing depends on your daily needs and available space.
- Purification System: Buy a modular or integrated unit, or assemble your own from certified filters and UV modules.
Step 5: System Layout and Site Preparation
Solar Panel Placement
- Install panels facing true south (in the Northern Hemisphere) or true north (in the Southern Hemisphere).
- Tilt angle should match your latitude for year-round performance.
- Panels should be free from shading between 9 a.m. and 3 p.m.
- Mount panels on a sturdy, wind-resistant frame, roof, or ground mount.
Piping and Water Tank Placement
- Place your raw water tank close to the water source and below the pump intake to prevent dry running.
- Purified water storage should be elevated if gravity-fed distribution is desired.
- Protect all piping from freezing and UV degradation (use insulated or buried pipes where necessary).
Step 6: Assembly and Installation
Electrical Wiring
- Use appropriately gauged, weatherproof wiring for outdoor runs.
- Install a fuse or circuit breaker between the solar panels and the charge controller.
- Connect the controller to the battery bank and then to the load (pump, purifier, etc.).
- If using an inverter, connect it to the battery output and then plug in AC devices.
Plumbing
- Install sediment pre-filter before the main purification unit.
- Route water through the pump, into the purification system, then into the clean water storage tank.
- Install shutoff valves and sample taps for maintenance and water testing.
- Use food-grade, pressure-rated tubing and fittings.
Purification Unit Setup
- Follow manufacturer instructions for filter/flushing cycles before first use.
- Double-check all seals and connections to prevent leaks or contamination.
- Install UV lamp in an easily accessible location for periodic cleaning/replacement.
Step 7: Testing and Commissioning
- Once assembled, run the system for several hours to flush out any manufacturing residues.
- Test the purified water for key contaminants to confirm effective operation.
- Check voltage, current, and battery charge levels under sunlight and load.
- Monitor for leaks, strange noises, or error signals from electronic components.
Maintenance Best Practices
Regular Inspections
- Check solar panels weekly for dust, dirt, or shading. Clean with soft water and a non-abrasive cloth as needed.
- Inspect wiring and connections for signs of corrosion, heat damage, or loose terminals monthly.
- Test water purity (TDS, bacteria, etc.) at least quarterly, or after heavy rain or drought.
- Flush pre-filters and replace as per manufacturer’s schedule (typically every 3–6 months).
- Replace UV bulbs annually, or as specified by the manufacturer.
- Monitor battery health and water levels (for flooded lead-acid batteries) monthly.
Troubleshooting
- Low water output: Check for clogged filters, low battery voltage, or pump failure.
- Poor water quality: Replace filters, check for UV lamp failure, retest source water for new contaminants.
- Solar/battery issues: Inspect for shading, dirty panels, or degraded batteries. Replace components as needed.
Compliance and Permits
Depending on your location and water source, you may need to secure permits or comply with local regulations concerning water treatment, electrical installations, and plumbing. Check with your local building department and water authority before starting your project. Using certified components and following proper installation practices helps ensure your system is safe and compliant.
Cost Breakdown and Budgeting
- Solar Panels: $100–$400
- Charge Controller: $30–$100
- Batteries: $150–$800 (depending on type and capacity)
- Water Pump: $50–$300
- Purification System: $100–$500
- Tanks, Piping, Fittings: $50–$300
- Miscellaneous (mounts, wiring, valves): $50–$200
- Total Typical Cost: $500–$2,500 (DIY installation)
Professional installation can add $500–$2,000 depending on complexity and local rates. Factor in regular filter and bulb replacements as ongoing costs.
Common Mistakes to Avoid
- Undersizing the solar array or battery bank, leading to unreliable operation.
- Ignoring water source testing—using the wrong purification tech for your contaminants.
- Skipping pre-filtration, which can quickly foul main filters and pumps.
- Improper wiring, resulting in energy loss or unsafe conditions.
- Poor panel placement (shading, wrong angle), reducing solar output.
- Neglecting regular maintenance, leading to system failure or unsafe water.
Safety Checklist
- Turn off all power sources before wiring or servicing components.
- Use waterproof and UV-resistant enclosures for all electrical connections.
- Install battery banks in well-ventilated areas away from living spaces.
- Label all valves, switches, and tanks for easy identification in emergencies.
- Keep a water testing kit on hand to regularly ensure quality.
- Wear gloves and safety glasses when handling filters, chemicals, or batteries.
Conclusion: Empowering Your Sustainable Future
Installing a solar-powered water purification system at home is one of the most impactful steps you can take toward sustainable living. It combines the best of green technology with the security of clean, safe water, and offers true energy independence. While the process involves thoughtful planning and careful assembly, the rewards—in terms of reduced utility bills, a lighter environmental footprint, and a more resilient household—are well worth the investment.
By following the practical steps in this guide, you can avoid common mistakes and ensure your system runs efficiently for years to come. Remember to size your system for your actual needs, choose technologies suited to your water source, and prioritize regular maintenance. Compliance with local regulations and best safety practices protects both your investment and your family’s well-being.
With rising concerns over water scarcity, energy prices, and climate change, now is the perfect time to take control of your essential resources. A home solar-powered water purification system is more than a DIY project—it’s a statement of self-reliance, stewardship, and hope for the future. Start your journey today, and enjoy the peace of mind that comes with knowing your water—and your energy—are as clean as your conscience.


When selecting a purification method for a solar-powered setup at home, are there specific types you recommend for areas with hard water, or is the choice mainly based on local water quality reports?
When dealing with hard water, it’s a good idea to consider purification systems that include reverse osmosis (RO) or ion exchange, as these can handle mineral content effectively. However, your final choice should factor in your local water quality report to address any specific contaminants. Combining an RO unit with pre-filters (for sediment) and post-filters (like activated carbon) works well for most hard water situations.
Could you clarify if this tutorial covers the installation of both mechanical and chemical purification methods, or is it primarily focused on one approach when integrating with solar power?
The tutorial mainly focuses on installing a mechanical purification system, such as filtration and sediment removal, integrated with solar power. It does briefly mention chemical purification options, but the step-by-step instructions are centered around mechanical methods. If you need details on chemical purification, you might want to supplement this guide with additional resources.
When sizing the system, how do I estimate the number of solar panels and battery capacity I’d need for a family of four? Is there a simple formula or chart you recommend using during the planning stage?
To estimate the number of solar panels and battery capacity, first calculate your family’s daily water usage and the purification system’s watt-hour (Wh) requirements per day. Divide the system’s daily Wh needs by your location’s average daily sunlight hours to estimate the solar panel wattage needed. For batteries, multiply the daily Wh by the number of backup days you want, then divide by your battery voltage. Many solar planning charts use these steps, but always add a safety margin for cloudy days and system losses.
You mentioned different purification methods—do some methods work better than others for businesses that get their water from a well rather than municipal supply? I’m concerned about specific contaminants.
Yes, some purification methods are more effective for well water than for municipal supplies. Well water often contains higher levels of minerals, bacteria, or even pesticides. Reverse osmosis and UV purification are both strong choices for businesses using well water, as they remove a broad range of contaminants. If you have specific concerns like heavy metals or bacteria, consider combining filtration methods to target those contaminants more effectively.
If the solar panels don’t generate enough power during cloudy days, does the system automatically switch to grid power or is manual intervention needed to keep water purification running?
Whether the system switches automatically to grid power depends on how it’s set up. Some solar-powered water purification systems include an integrated automatic transfer switch, which will seamlessly use grid power when solar output drops. Others require you to manually switch to grid power. Check your system’s documentation or installation settings to confirm which type you have.