Introduction: Why Seasonal Maintenance Matters for Solar Outdoor Lighting
Solar-powered outdoor lighting systems are one of the most practical and eco-friendly ways to illuminate gardens, pathways, driveways, and patios. Not only do they reduce your electricity bill and carbon footprint, but they also offer easy installation and remarkable design flexibility. However, to ensure you get the best performance and longevity from your investment, regular and seasonal maintenance is crucial. Unlike conventional lighting, solar fixtures rely on photovoltaic panels, batteries, and weather-exposed wiring, all of which can degrade or become less efficient over time if neglected.
Many homeowners install solar lighting with a “set it and forget it” mindset. While these systems are low-maintenance compared to their wired counterparts, they are not maintenance-free. Dirt, debris, snow, and even overgrown plants can block sunlight, reducing charging efficiency and light output. Batteries can lose capacity, connections can corrode, and fixtures can shift or become misaligned. Seasonal changes bring their own set of challenges—winter snow, autumn leaves, and summer pollen all impact performance differently. By following a thorough seasonal checklist, you can ensure your solar lights shine brightly, year after year, maximizing both their environmental and economic benefits.
Spring Checklist: Kickstart the Season with Optimal Lighting
1. Clean Solar Panels and Fixtures
After the long winter months, solar panels and fixtures are often coated with dust, pollen, or residue from melting snow. Gently clean each solar panel with a soft, damp cloth or sponge and mild soap. Avoid abrasive cleaners that could scratch the panel surface. Rinse with clean water and allow to dry thoroughly.
- Inspect for cracks or cloudiness on the panel covers and replace if necessary.
- Wipe down light lenses to ensure maximum light output.
2. Inspect for Winter Damage
Freezing temperatures and shifting ground can cause fixtures to tilt, wiring to become exposed, or stakes to loosen. Check every fixture’s position and stability. Firmly reseat any lights that have shifted or become loose. Inspect wiring for cracks or rodent damage and repair or replace as needed.
3. Trim Overgrown Vegetation
Spring growth can quickly shade your solar panels, reducing their charging capacity. Trim back bushes, tree branches, and other plants to ensure panels receive maximum sunlight throughout the day.
4. Check Battery Health
Rechargeable batteries may lose capacity after cold winters. Test each light by covering the solar panel and ensuring the light turns on. If lights are dim or don’t illuminate, test batteries and replace them with manufacturer-recommended types if necessary.
Summer Checklist: Peak Performance in the Sunniest Months
1. Monitor Light Output and Charging
Longer daylight hours mean your lights should be performing at their best. Observe light output after dark. If any lights are dim or have short runtimes, revisit panel cleaning and battery checks.
2. Prevent Overheating
High summer temperatures can affect battery performance and lifespan. Ensure fixtures are not placed in microclimates that get excessively hot, such as against south-facing brick walls or on dark mulch. Provide some airflow around each fixture.
3. Protect Against Pests
Summer is prime time for insects and small animals. Check for nests or burrows near wiring and panels. Secure wiring and consider using weatherproof conduit if burrowing animals are a recurring issue.
4. Reposition for Optimal Sunlight
The sun’s path shifts during summer. Check that all panels remain in direct sunlight for most of the day. Move or angle fixtures if necessary to avoid shading from trees or new garden structures.
Autumn Checklist: Prepare for Shorter Days and Falling Leaves
1. Clear Leaves and Debris Regularly
Fallen leaves and autumn debris can quickly blanket solar panels, blocking vital sunlight. Set a weekly reminder to gently brush off panels and fixtures. Use a soft hand broom or leaf blower on a low setting to avoid scratching the panels.
2. Inspect for Water Ingress
Autumn rains can test the water resistance of your fixtures. Check seals, gaskets, and panel housings for signs of moisture. Look for fogging on panel covers or corrosion on metal parts. Replace any worn or cracked gaskets immediately.
3. Check Battery Performance as Days Shorten
Shorter days mean reduced charging time. If your lights are not lasting through the night, it may be time to replace batteries or upgrade to higher-capacity models compatible with your fixtures.
4. Secure Fixtures Against Storms
Autumn winds and storms can topple poorly anchored lights. Ensure all stakes are firmly in the ground and use landscape anchors for larger fixtures. For wall-mounted lights, check mounting screws and brackets for tightness.
Winter Checklist: Defending Against the Elements
1. Remove Snow and Ice Promptly
Snow and ice can render solar panels useless if left uncleared. After each snowfall, gently brush snow off panels with a soft brush or broom. Never use metal tools, which can scratch the panels. Avoid using hot water, as rapid temperature changes can crack panel glass.
2. Monitor Daylight Hours and Adjust Settings
Some solar lights offer adjustable settings for light duration and brightness. In winter, consider reducing light duration to conserve battery power. Check manufacturer instructions for how to adjust these settings if your system allows.
3. Protect Batteries from Extreme Cold
If your region experiences prolonged sub-freezing temperatures, consider removing batteries from lights that are not needed for safety or access. Store batteries indoors and reinstall in spring. For critical lights, use cold-resistant battery types if available.
4. Inspect and Maintain Wiring
Freeze-thaw cycles can expose or damage underground wiring. After major cold snaps, inspect wiring for cracks or breaks. Use weatherproof heat-shrink tubing or waterproof connectors to repair any exposed sections.
Year-Round Best Practices
1. Log Maintenance Activities
Keep a simple log of maintenance tasks and any battery replacements. This will help you track battery lifespan and spot recurring issues.
2. Replace Batteries on a Schedule
Most solar light batteries last 1-3 years depending on type and local conditions. Replace all batteries at the same time for consistent performance, and recycle old batteries responsibly.
3. Upgrade Components as Needed
If you notice a decline in performance despite proper maintenance, consider upgrading to higher-efficiency solar panels, brighter LED bulbs, or longer-lasting batteries compatible with your fixtures. Technology improves quickly in this sector, and incremental upgrades can yield big performance gains.
4. Inspect for Obstructions Quarterly
At the start of each season, do a walk-around inspection to ensure no new obstructions—like garden installations, relocated potted plants, or growing shrubs—are casting shade on your solar panels.
Troubleshooting Common Problems
1. Lights Not Turning On
- Check that the solar panel is clean and exposed to direct sunlight.
- Test the battery and replace if necessary.
- Inspect wiring and connections for corrosion or disconnection.
- Ensure the internal light sensor is not blocked or dirty.
2. Dim or Flickering Lights
- Clean the solar panel and light lens.
- Replace aging batteries.
- Check for loose or corroded connections.
3. Intermittent Operation
- Look for intermittent shading on the panel during the day.
- Inspect for moisture infiltration in the fixture or battery compartment.
Pro Tips for Maximizing Efficiency
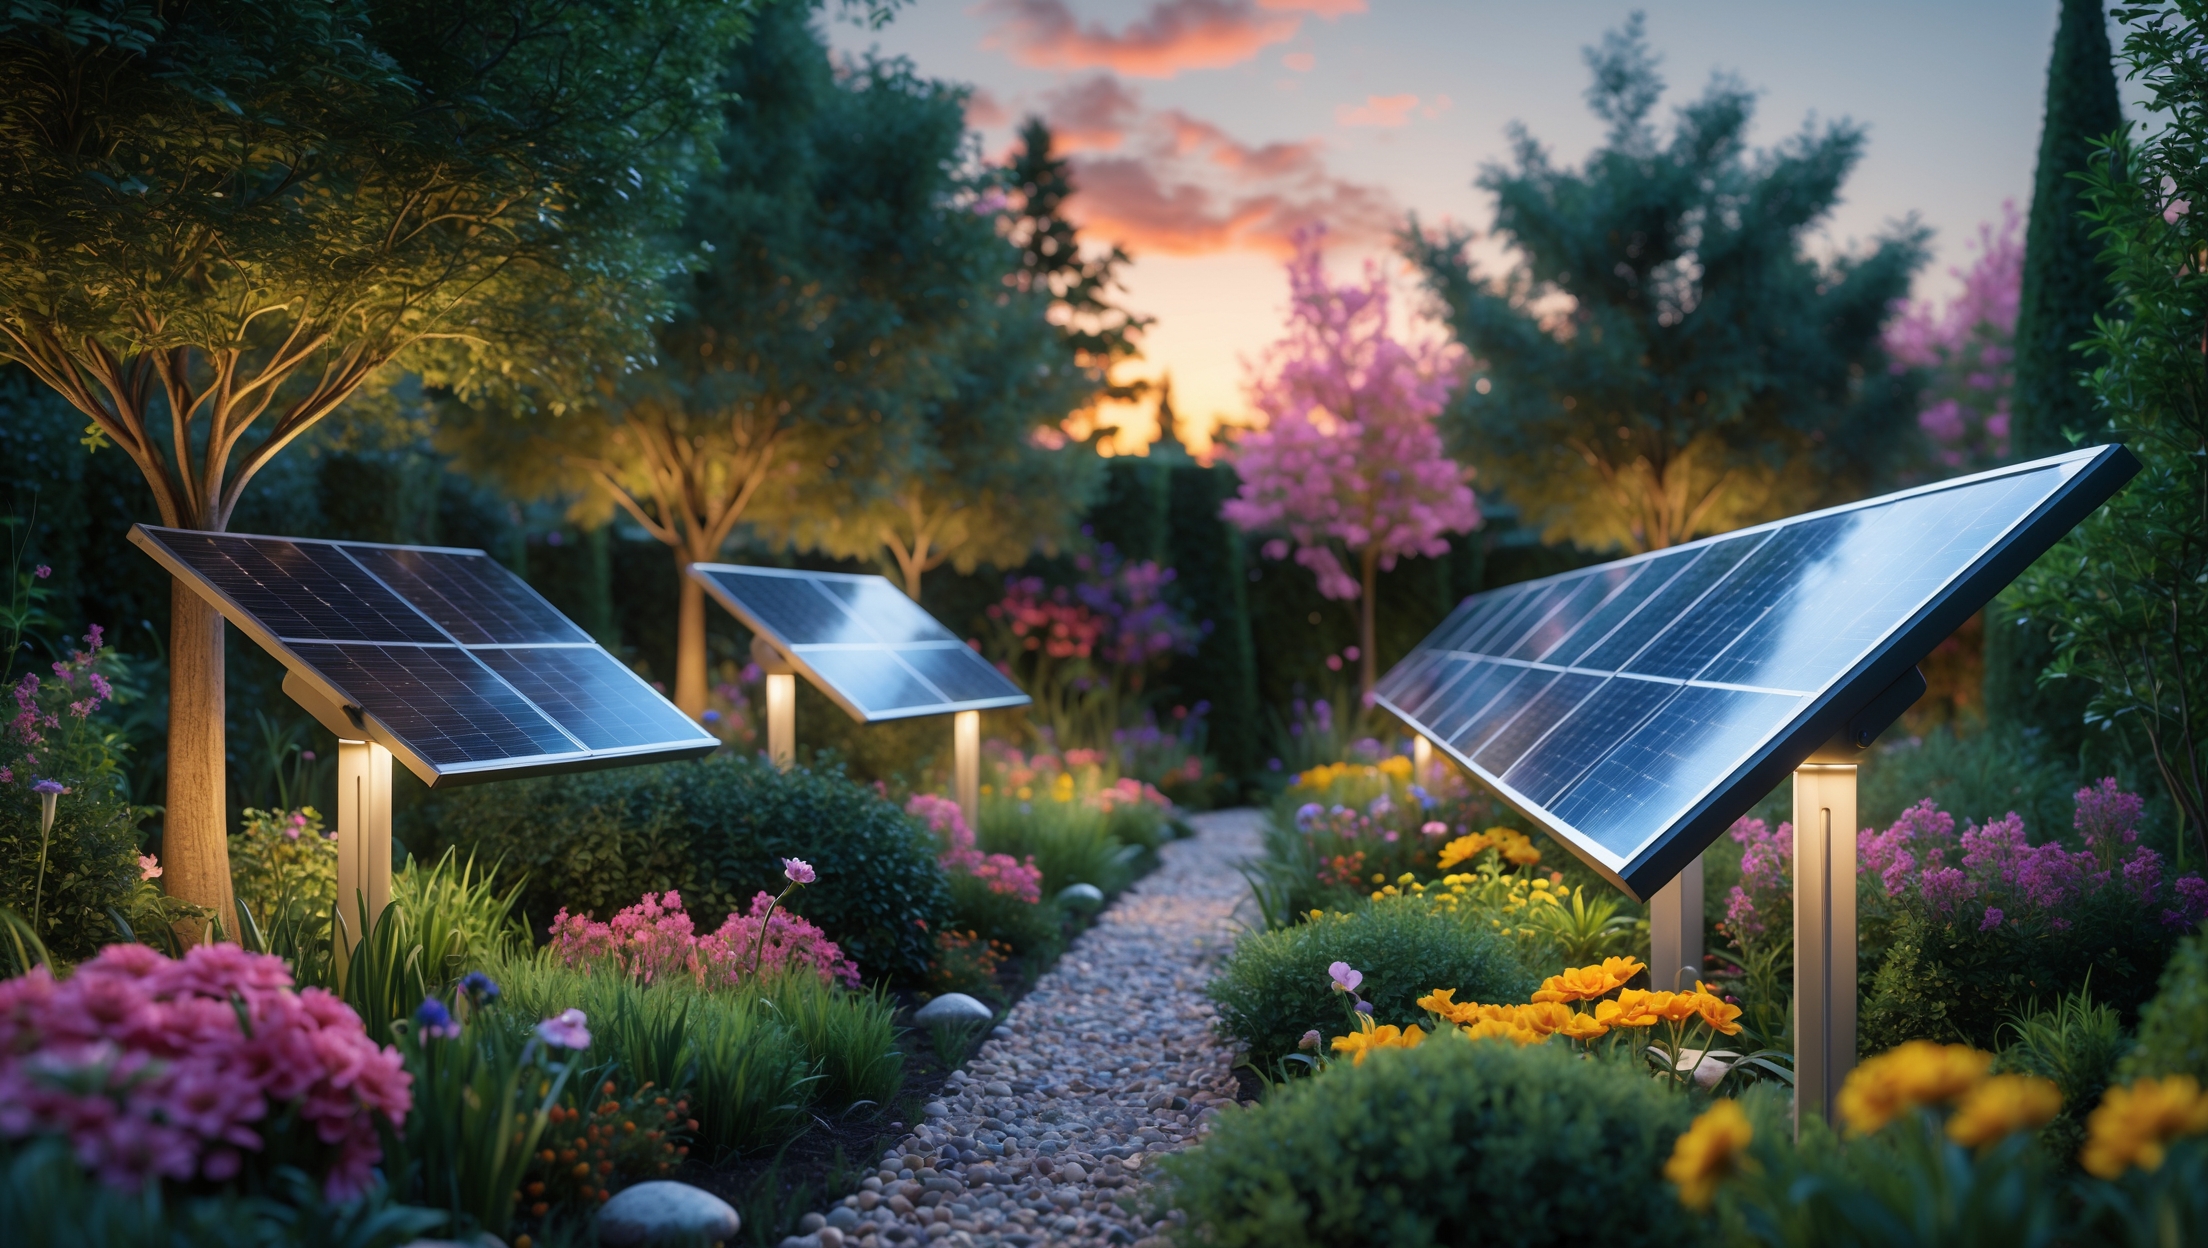
- Choose locations with at least 6-8 hours of direct sun per day for each panel.
- Install lights at a slight angle to promote rain runoff and reduce dust accumulation.
- Consider using anti-static cleaning sprays on panel surfaces to repel dust and pollen.
- For large properties, group lights in zones for easier maintenance and troubleshooting.
- Keep an extra set of charged batteries on hand for quick swaps during peak seasons.
Conclusion: Brighten Your Sustainable Living with Consistent Care
Solar-powered outdoor lighting is a smart investment that enhances your landscape, boosts security, and supports sustainable living. However, unlocking the full potential of your system requires more than simply installing it and walking away. Regular, seasonal maintenance ensures your lights operate efficiently, last longer, and provide consistent illumination year-round. By adopting the best practices and checklists outlined above, you’ll minimize the risk of unexpected outages, extend the life of your batteries and fixtures, and keep your property brilliantly lit with clean, renewable energy.
Remember, each season brings unique challenges and opportunities for optimization. Whether it’s brushing off winter snow, trimming summer foliage, clearing autumn leaves, or replacing spring batteries, attentive care pays off—both in cost savings and environmental impact. Make seasonal maintenance a routine part of your sustainable lifestyle, and your solar-powered outdoor lighting will reward you with years of reliable, eco-friendly performance. Brighten your nights, lighten your footprint, and enjoy the peace of mind that comes with a well-maintained, future-facing energy solution.