Introduction: Greening Your Landscape with Solar-Powered Water Features
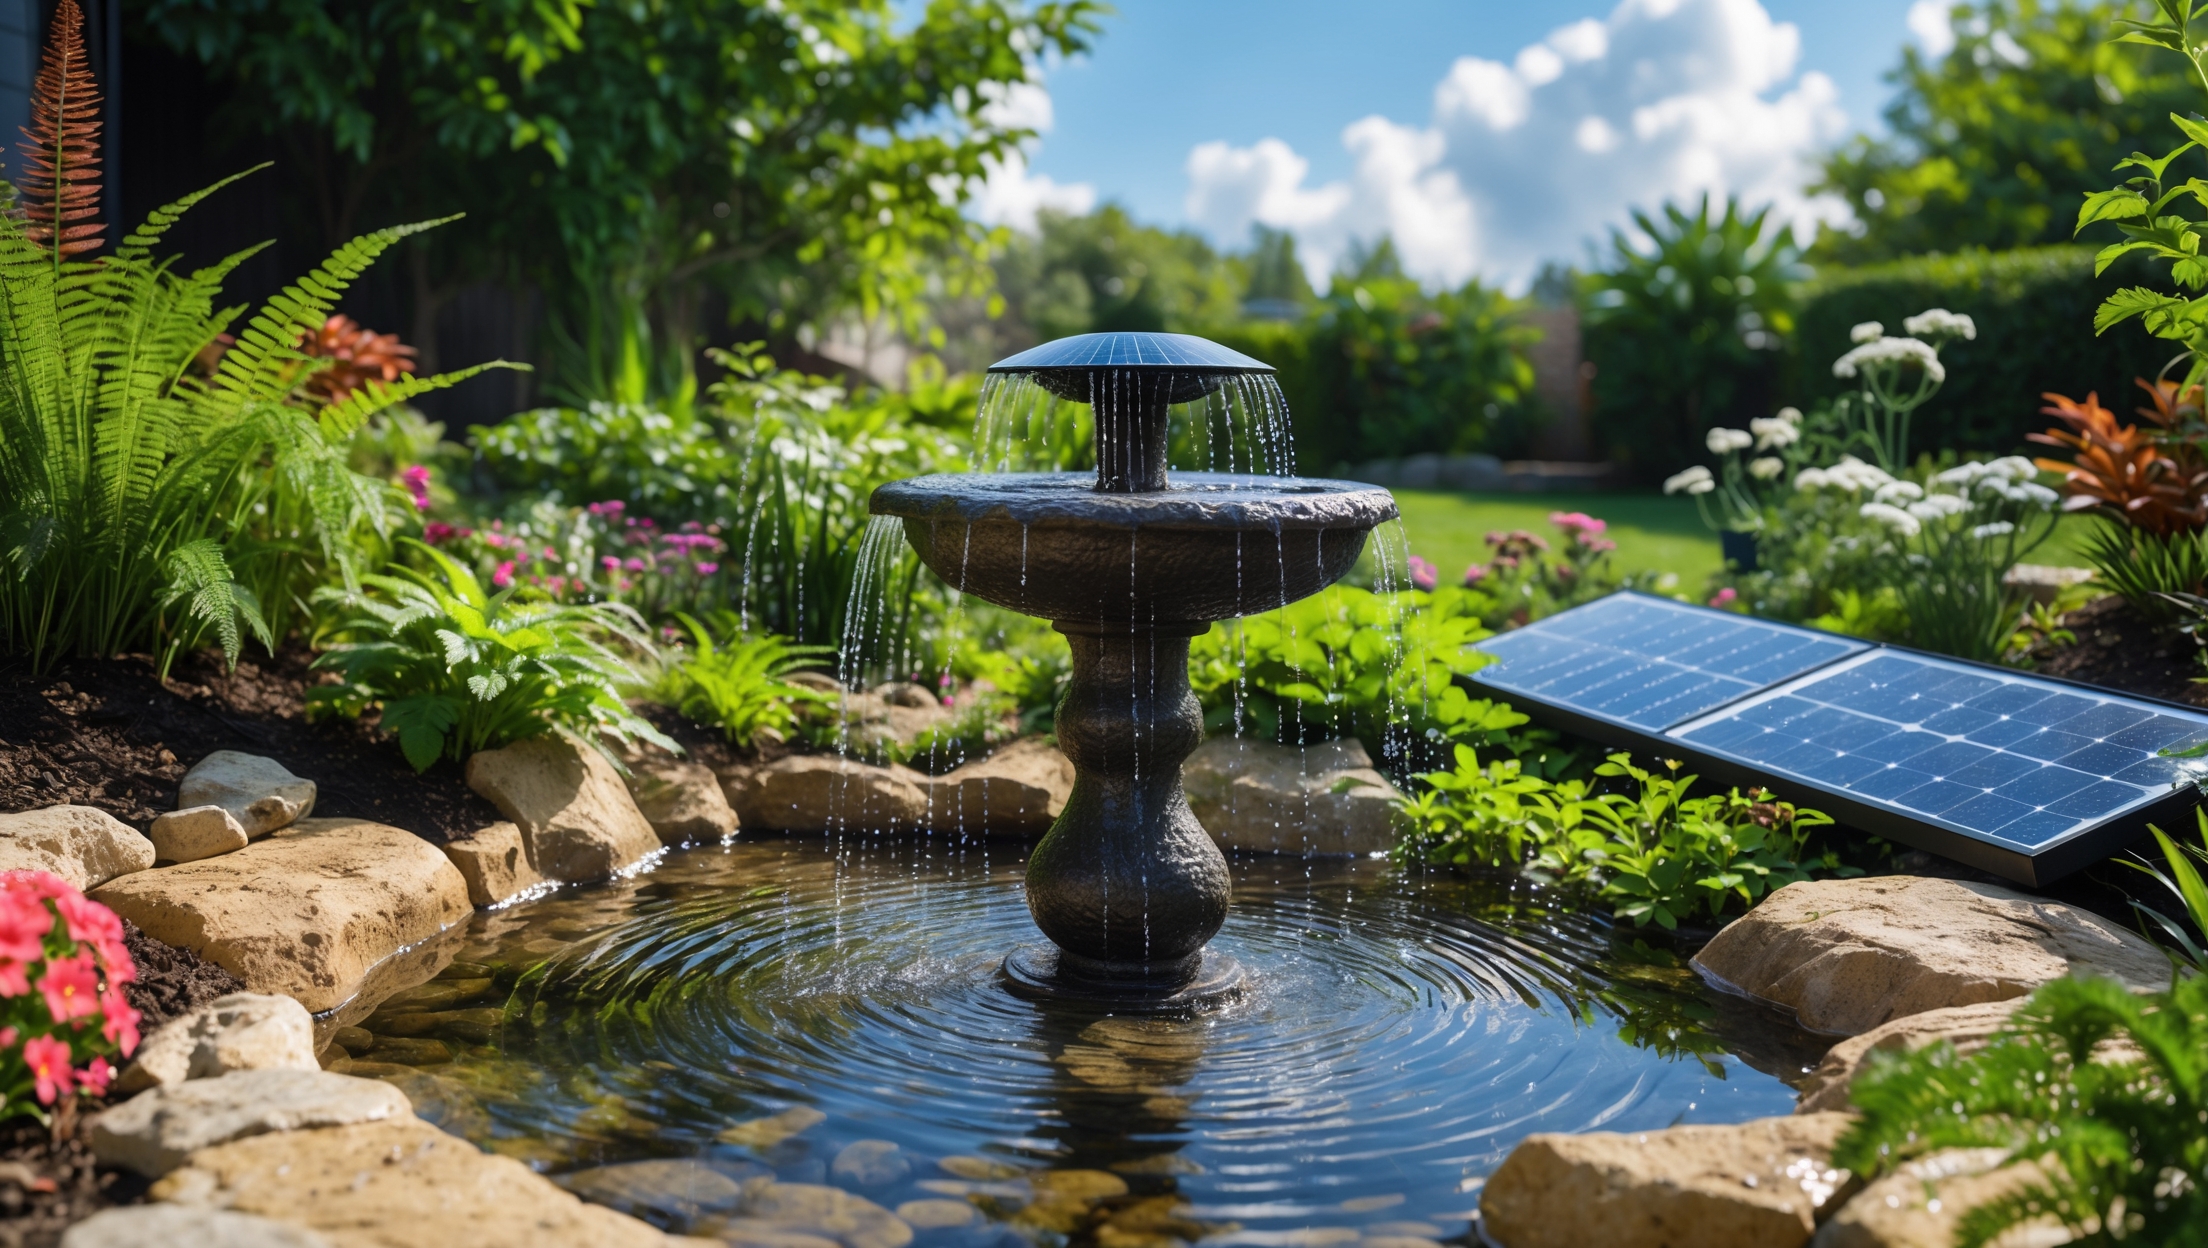
Integrating sustainable technologies into your outdoor spaces can dramatically enhance both the aesthetic and environmental value of your property. One often-overlooked but highly impactful application is the installation of a solar-powered water feature, such as a pond fountain or small stream. These eco-friendly additions not only bring tranquility and natural beauty to your landscape, but also promote biodiversity, reduce your carbon footprint, and conserve energy. Best of all, solar-powered water features are accessible for DIY enthusiasts and homeowners alike, requiring no connection to the grid and minimal ongoing costs. In this comprehensive guide, we’ll walk you through every step of planning, sourcing, installing, and maintaining a solar-powered water feature designed for optimal energy efficiency and minimal environmental impact. Whether you’re looking to create a serene backyard retreat or boost pollinator habitats, this tutorial will give you the knowledge and confidence to get started the right way.
Why Choose a Solar-Powered Water Feature?
Environmental Benefits
Traditional water features often rely on grid electricity, which may be generated from fossil fuels. In contrast, solar pumps and panels harness renewable energy, significantly reducing greenhouse gas emissions and supporting your sustainable lifestyle goals. Additionally, moving water discourages mosquito breeding and supports beneficial insects and birds.
Financial Advantages
Solar-powered systems eliminate the need for expensive trenching or wiring to connect to your home’s electrical supply. After the initial investment, operational costs are negligible, and many systems qualify for green rebates or incentives. Over time, you’ll save on both energy bills and maintenance compared to conventional setups.
Ease of Installation
Solar-powered water features are designed for straightforward, modular installation. With no need for electrical permits or complicated wiring, most homeowners can complete installation in a single weekend using basic tools.
Planning Your Solar-Powered Water Feature
Assessing Your Space
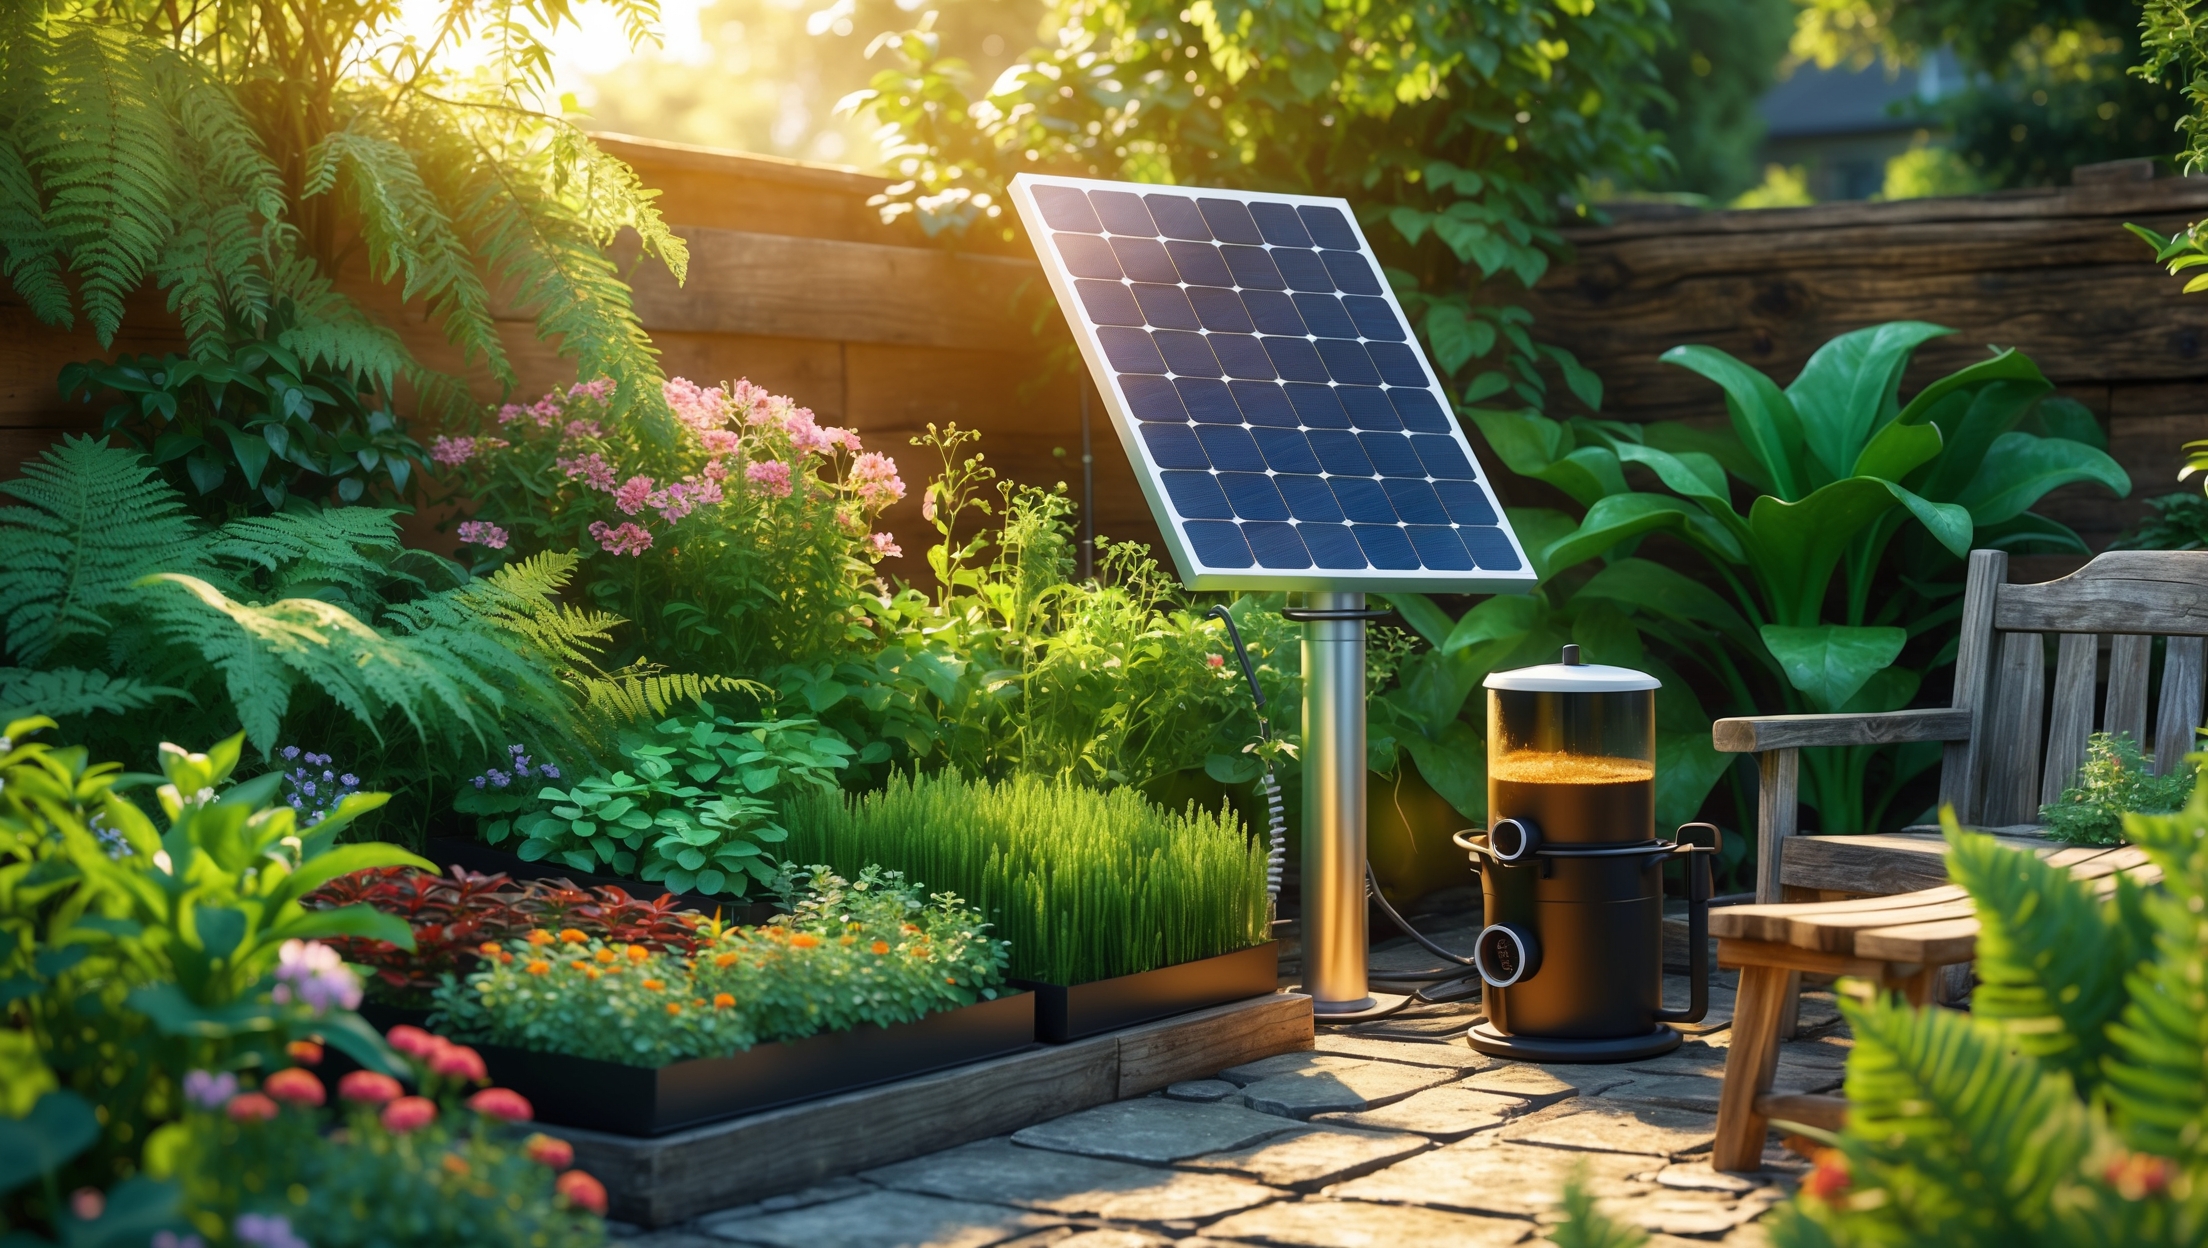
- Sun Exposure: Select a location that receives at least 6 hours of direct sunlight daily. Solar panels must be unobstructed by trees, buildings, or fences for optimal performance.
- Feature Type: Decide between a pond fountain, birdbath bubbler, cascading waterfall, or stream. Each has unique space and equipment requirements.
- Scale and Budget: Measure your available area and set a realistic budget. Small pre-formed ponds and compact solar fountains are more affordable and easier to install than larger custom watercourses.
Design Considerations
- Ecological Integration: Incorporate native aquatic plants and rocks to create a habitat for local wildlife.
- Safety: Ensure the feature is shallow enough to avoid hazards for children and pets, and select non-toxic, durable materials.
- Maintenance Access: Plan for easy access to pumps, panels, and filters for periodic cleaning and troubleshooting.
Tools & Equipment Guide
Essential Components
- Solar Pump Kit: Includes a solar panel, submersible pump, and often a battery backup. Look for weatherproof, reputable brands with adequate flow rates for your feature.
- Water Feature Basin: Pre-formed pond shells, rigid liners, or custom-dug basins lined with EPDM rubber sheeting.
- Fountain Heads or Waterfall Spouts: Choose attachments that match your desired water effect and flow rate.
- Tubing and Connectors: Food-grade, UV-resistant tubing sized to your pump’s output. Hose clamps and barbed fittings ensure leak-free connections.
- Solar Panel Mounting Hardware: Adjustable brackets or ground stakes to position the panel at the optimal angle.
- Filtration System: Optional but recommended for larger ponds, combining mechanical and biological filters.
Recommended Tools
- Shovel and spade (for excavation)
- Level and measuring tape
- Utility knife (for liner trimming)
- Rubber mallet (for seating liners or edging)
- Screwdriver and pliers (for pump and panel assembly)
- Waterproof sealant (for hose and liner joints)
Cost Breakdown and Budgeting
Initial Costs
- Solar Pump Kit: $80–$300, depending on flow rate (measured in gallons per hour, GPH) and whether a battery backup is included.
- Pond Liner/Shell: $40–$200, based on size and material.
- Fountain Head/Waterfall Spout: $20–$60.
- Tubing and Fittings: $15–$50.
- Stones, Gravel, and Aquatic Plants: $50–$150.
- Optional Filtration: $30–$120.
- Total Estimated DIY Cost: $250–$800 for most home installations.
Ongoing Costs
- Solar-powered pumps have negligible operating costs.
- Budget $20–$50 per year for filter media and minor replacement parts.
- Occasional plant replenishment or pond water treatments (ecologically safe options recommended).
Budget Optimization Tips
- Purchase complete solar pump kits rather than piecemeal components to ensure compatibility and save money.
- Reuse local stone and upcycle containers for unique water features on a budget.
- Check with local nurseries for discounted end-of-season aquatic plants.
Step-by-Step Installation Tutorial
1. Mark and Excavate the Basin
- Outline the desired shape of your pond or basin using string or landscape paint.
- Excavate to the recommended depth (12–24 inches for small garden ponds), ensuring the bottom is level and free of sharp debris.
- If installing a pre-formed shell, set it in place and backfill around the sides for stability.
- For liner installations, lay a layer of sand or old carpet to protect against punctures and drape the liner over the hole, smoothing out wrinkles as you fill with water.
2. Install the Solar Pump and Tubing
- Assemble the pump, tubing, and fountain head according to the manufacturer’s instructions.
- Position the pump at the deepest point of the pond or at the base of the fountain. Anchor with rocks if necessary.
- Route tubing to the desired outlet (fountain, waterfall, spout), securing with hose clamps or waterproof sealant as needed.
3. Mount the Solar Panel
- Select a location with full sun exposure, ideally facing south (in the northern hemisphere) at a 30–45° angle.
- Secure the panel using included stakes, brackets, or wall mounts. Make sure the panel is above typical snow or debris levels.
- Connect the panel to the pump using the provided waterproof cable. Test the connection before finalizing placement.
4. Add Stones, Gravel, and Plants
- Arrange stones and gravel to create natural-looking edges and ledges for plants or wildlife access.
- Plant native aquatic species such as water lilies, pickerelweed, or rushes to help filter the water and provide habitat.
- Allow water to settle for 24 hours before introducing fish or sensitive wildlife.
5. Final Checks and Adjustments
- Turn on the solar pump in full sun. Adjust the fountain head or waterfall for the desired flow and effect.
- Check for leaks around liner edges, tubing, and fittings. Address with waterproof sealant as needed.
- Test the battery backup (if included) to ensure nighttime or cloudy day operation.
Maintenance Best Practices
Routine Tasks
- Remove debris such as leaves or algae from the pond surface weekly to prevent clogs.
- Rinse pump intake screens and fountain heads monthly or as needed.
- Inspect tubing and connections for blockages or leaks, particularly after severe weather.
- Trim back overgrown aquatic plants to maintain water flow and visual appeal.
Seasonal Maintenance
- In autumn, install netting to catch falling leaves and reduce organic buildup.
- In regions with freezing winters, remove and store the pump indoors, drain vulnerable tubing, and protect delicate plants.
- Each spring, check all components for wear, replace filter media, and clean solar panels with a soft cloth and water.
Troubleshooting Common Issues
- Low Water Flow: Clear debris from pump intake and check solar panel for shading or dirt buildup.
- Pump Not Running: Verify connections, clean solar panel, and ensure adequate sunlight. Test battery backup if available.
- Algae Growth: Add native floating plants to provide shade, or use barley straw pellets for natural algae control.
Safety and Sustainability Checklist
- Use only low-voltage, waterproof-rated pumps and wiring.
- Position solar panels and equipment out of high-traffic or play areas.
- Avoid chemical pond treatments; opt for natural enzymes or barley straw.
- Ensure all liners and materials are non-toxic and wildlife-safe.
- Regularly inspect for exposed wires or damaged equipment, especially after storms.
Maximizing Ecological Impact
Attracting Wildlife
Solar-powered water features not only provide a soothing focal point, but also support local birds, pollinators, and amphibians. Incorporate shallow shelves for birds to bathe, and plant native species to attract beneficial insects. Avoid introducing non-native fish or plants that may disrupt local ecosystems.
Water Conservation Tips
- Top up water levels with harvested rainwater whenever possible.
- Minimize evaporation by choosing shaded locations or adding floating plants.
- Design overflow areas to divert excess water to garden beds during heavy rains.
Conclusion: Enjoying Sustainable Beauty for Years to Come
Installing a solar-powered water feature is a rewarding project that blends artistry, sustainability, and hands-on learning. By harnessing clean solar energy, you can enjoy the soothing sights and sounds of moving water without increasing your energy bills or environmental impact. Beyond aesthetics, your new feature will support local wildlife, encourage pollinators, and enhance biodiversity in your landscape. Maintenance is straightforward and affordable, ensuring that your investment pays dividends for years with minimal effort. Remember to use non-toxic materials, practice regular upkeep, and design with your local ecosystem in mind. As technology advances, future upgrades—such as smart solar controllers or integrated lighting—can further boost efficiency and enjoyment. Whether you’re a beginner or a seasoned eco-enthusiast, your solar-powered water feature is a living testament to the beauty and practicality of sustainable living. Take pride in creating a backyard oasis that’s as gentle on the planet as it is captivating to the senses.
When looking for solar-powered pumps and panels for a small backyard water feature, are there certain specs or brands you recommend to make sure it truly stays off-grid and low maintenance, as mentioned in the guide?
When choosing solar-powered pumps and panels, look for models with brushless motors for better longevity and less maintenance. A pump rated for at least 1.5–2 watts is typically enough for small features. Kits from brands like Sunnydaze, Solatec, and ECO-WORTHY are reliable and designed for off-grid use. Be sure the panel output matches your pump, and consider built-in battery backup if you want it to run during cloudy periods.
I’m wondering about the eligibility for green rebates or incentives mentioned in the article. As a small business looking to upgrade our office courtyard with a solar-powered water feature, are there specific programs or requirements we should look into before starting the installation?
Since you’re a small business, you may qualify for a mix of local, state, and federal incentives for solar installations, even for water features. Requirements often depend on the system size, local regulations, and whether the installation uses certified equipment. Before beginning, check with your local utility company and search your state’s energy office website for commercial solar rebates or grants. Some programs may require pre-approval or installation by certified professionals, so it’s best to confirm eligibility and guidelines in advance.