
Introduction: The Overlooked Key to Sustainable Illumination
Solar-powered outdoor lighting systems are among the most accessible and impactful green technologies for homeowners seeking to lower their carbon footprint and energy bills. From pathway lights to security spots, these systems harness the sun’s free energy to provide reliable illumination without the need for hardwiring or grid electricity. Yet, many homeowners underestimate the importance of ongoing maintenance, often leading to diminished performance, shortened lifespan, and avoidable expenses. The truth is, even the best solar lights require regular attention to operate at peak efficiency, especially as seasons change and environmental conditions fluctuate.
This comprehensive guide dives into the essential maintenance best practices for home solar-powered outdoor lighting systems. We’ll explore the factors that affect their performance, provide step-by-step instructions for routine and seasonal care, and offer expert troubleshooting tips to keep your investment shining bright year after year. Whether you’re a sustainability enthusiast or a newcomer to solar tech, these actionable strategies will help you maximize energy savings, reduce waste, and ensure your outdoor lighting remains a beacon of eco-friendly living.
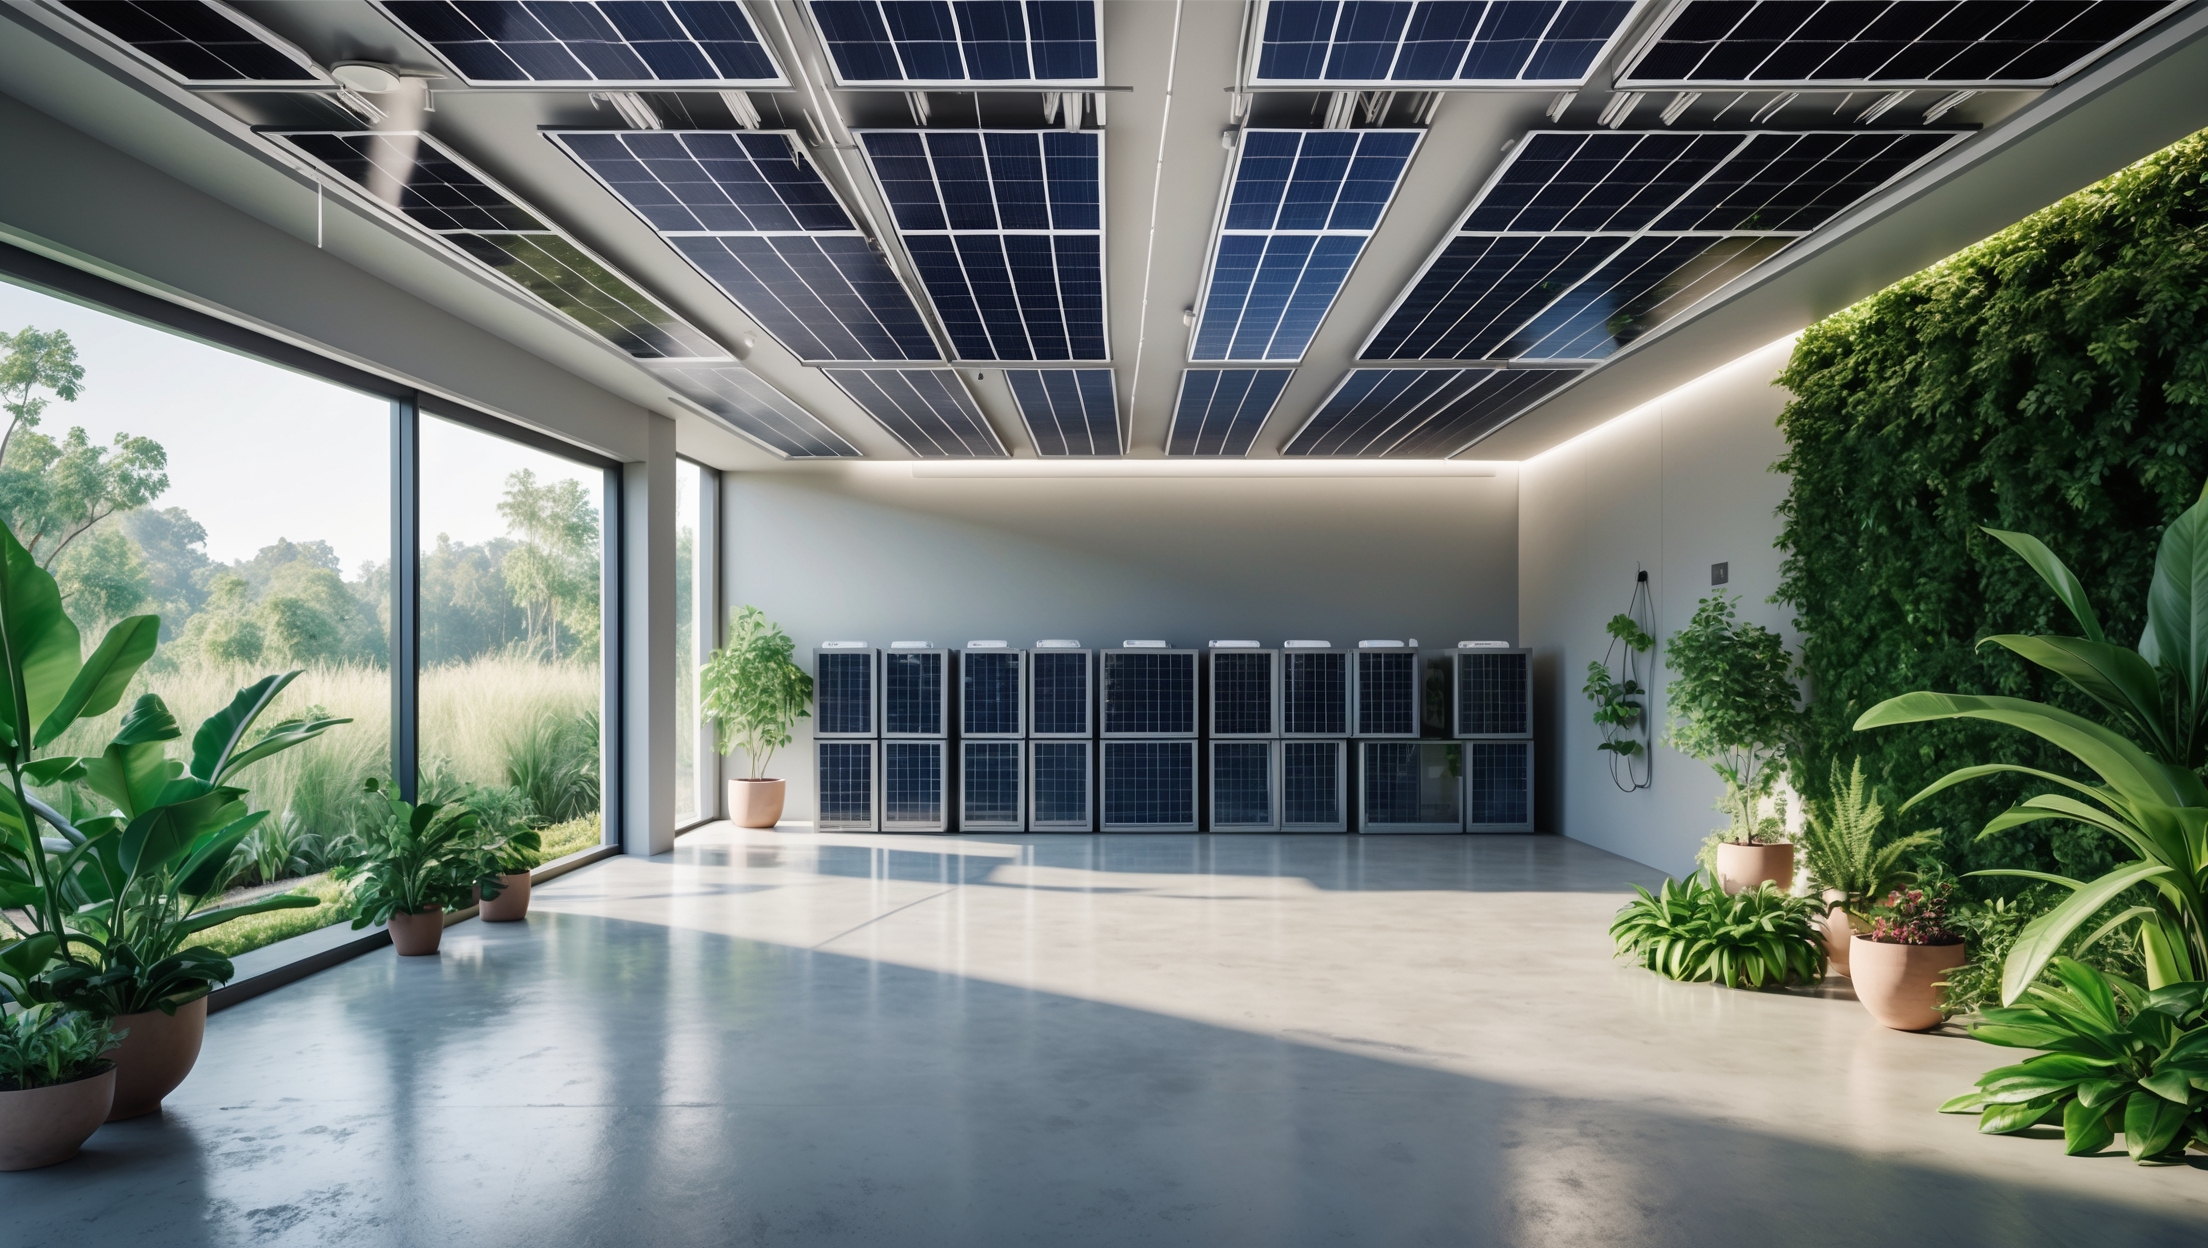
Understanding the Anatomy of Solar Outdoor Lighting
Key Components and Their Functions
- Solar Panel: Captures sunlight and converts it into electricity.
- Rechargeable Battery: Stores electrical energy for nighttime use.
- LED Light Fixture: Provides illumination using low-energy LEDs.
- Light Sensor/Photocell: Detects ambient light to automatically turn the fixture on or off.
- Controller Circuitry: Regulates charging and discharging cycles.
- Housing & Mounts: Protects internal components, often weather-resistant.
Understanding these elements is vital, as maintenance needs vary depending on component quality, exposure, and local conditions.
Routine Maintenance: Monthly and Quarterly Tasks
1. Cleaning Solar Panels
Dust, pollen, bird droppings, and debris can significantly reduce a solar panel’s ability to absorb sunlight. Aim to inspect and clean the panels every month or after storms. Use a soft cloth, lukewarm water, and mild detergent. Avoid abrasive cleaners or high-pressure water, which can scratch or damage the panel surface.
2. Inspecting Light Fixtures and Lenses
Check for dirt, spider webs, and insect nests around the LED fixture and lens. Clean gently to prevent light diffusion or overheating. Cracked or clouded lenses should be replaced to maintain brightness and efficiency.
3. Checking Battery Health
While most solar lights use maintenance-free batteries, periodic inspection is wise. Look for signs of corrosion, leakage, or swelling, especially after one year of use. Many rechargeable batteries last 1–3 years; keeping spares on hand is wise for quick replacement.
4. Inspecting Wiring and Connections
For systems with external wiring or larger fixtures, inspect for exposed wires, loose connections, or damage from animals. Tighten connectors and apply dielectric grease where possible to prevent corrosion.
5. Ensuring Proper Alignment and Mounting
Solar panels must face the sun unobstructed. Over time, plants may grow or panels may shift. Ensure that each unit is facing south (in the Northern Hemisphere), tilted at an optimal angle, and free from shading by branches or debris.
Seasonal Maintenance Checklist
Spring
- Deep clean all fixtures and panels after winter storms.
- Trim back any overgrown vegetation or branches that may cast shadows.
- Inspect for moisture ingress in housing after snow or rain.
- Test battery performance as longer days approach—replace if output is low.
Summer
- Check for heat-related battery swelling, especially in direct-sun installations.
- Clean panels more frequently if pollen count is high.
- Watch for insect activity inside fixtures; clean and seal as needed.
Autumn
- Remove fallen leaves from panels and fixtures weekly.
- Inspect housing seals for wear as rain increases.
- Test light sensors; shorter days may reveal sensitivity issues.
Winter
- Brush off snow and ice gently, as buildup blocks sunlight.
- Check for condensation inside housings and dry thoroughly.
- Consider tilting panels more vertically to shed snow and maximize low-angle sun exposure.
- For removable lights, consider storing non-essential units indoors during severe weather.
Advanced Tips for Maximizing Performance
Upgrading Batteries
Many solar lights ship with low-cost nickel-cadmium (NiCd) or nickel-metal hydride (NiMH) batteries. Upgrading to premium NiMH or lithium iron phosphate (LiFePO4) batteries can extend lifespan, increase runtime, and improve cold-weather performance. Always match voltage and capacity to the manufacturer’s recommendations.
Panel Repositioning and Tilt Adjustment
Adjust panel angles seasonally for optimal solar gain: steeper in winter, flatter in summer. For fixed units, aim for a year-round compromise angle (local latitude).
Light Sensor Calibration
Over time, photocells can become less sensitive. For models with adjustable sensors, recalibrate to ensure lights turn on at dusk and off at dawn. Replace faulty sensors if lights operate erratically.
Fixture Upgrades
Consider retrofitting older fixtures with modern, more efficient LEDs, or swapping cloudy lenses for new ones. This can dramatically boost brightness and reduce energy draw.
Troubleshooting Common Problems
Dim or Flickering Lights
- Check for Dirty Panels: Clean thoroughly.
- Inspect Batteries: Test and replace if voltage is low.
- Check Light Sensors: Ensure they’re clean and not shaded.
Lights Not Turning On
- Check Power Switch: Some models have a manual switch—verify it’s on.
- Test/Replace Battery: Swap with a known good battery to isolate the issue.
- Inspect Wiring: Look for loose or damaged connections.
- Check for Water Damage: Open housing and dry components if necessary.
Short Runtime
- Panel Obstruction: Remove shading from trees or debris.
- Old Batteries: Replace if over 2 years old or not holding charge.
- High Load: Reduce the number of LEDs or switch to higher efficiency models.
Extending the Lifespan of Your Solar Lighting System
Best Practices for Longevity
- Regular Cleaning: Clean panels and fixtures monthly; more often in dusty or pollen-heavy environments.
- Protect from Moisture: Ensure gaskets and seals are intact; apply silicone sealant if needed.
- Monitor Battery Lifecycles: Replace batteries proactively before complete failure.
- Store Temporarily Unused Units Indoors: Especially in harsh winters or during landscaping work.
- Use Quality Components: Invest in lights with reputable brands and replace parts with OEM or superior alternatives.
When to Replace vs. Repair
It’s often more sustainable—and economical—to repair minor issues such as lens clouding, sensor failure, or battery wear rather than replacing the entire fixture. However, if the housing is cracked or electronics are water-damaged, replacement may be necessary.
Eco-Friendly Disposal and Recycling
Solar lights contain batteries and electronics that shouldn’t be tossed in regular trash. Always recycle rechargeable batteries at certified collection centers. Many local e-waste programs accept entire fixtures. If possible, repurpose undamaged housings or LEDs for DIY projects to reduce waste even further.
Conclusion: Sustainable Lighting Starts with Smart Maintenance
Home solar-powered outdoor lighting systems offer an elegant blend of sustainability, energy efficiency, and convenience. However, their long-term success hinges on consistent, informed maintenance. By adopting the best practices outlined above—regular cleaning, battery care, seasonal adjustments, and prompt troubleshooting—you can dramatically extend the life and performance of your investment. This not only saves money and resources but also supports a greener, more resilient home environment.
Remember, sustainable living is not just about the technologies we choose, but about the habits we form. Maintaining your solar lighting system is a small but powerful act of environmental stewardship that yields benefits night after night. With a proactive approach, you’ll enjoy bright, reliable illumination for years while playing your part in building a cleaner, more sustainable future—one well-lit step at a time.


The article mentions environmental conditions impacting performance. What are some specific maintenance adjustments homeowners in colder, snow-prone regions should consider for their solar outdoor lights compared to those in milder climates?
Homeowners in colder, snow-prone regions should regularly clear snow and ice from solar panels to ensure maximum sunlight exposure. It’s also important to check for moisture buildup and ensure that battery enclosures are weatherproof. Additionally, use lights rated for lower temperatures, and periodically inspect wiring and connections for damage from freezing and thawing. These steps will help maintain optimal performance through harsh winters.
I noticed you mention the importance of seasonal care for solar lights. In colder US climates where snow covers the panels for weeks, what’s the best way to clean and maintain them without risking damage during winter months?
In colder climates, it’s best to gently brush off snow from solar panels using a soft broom or a non-abrasive brush to avoid scratching the surface. Avoid hot water or ice-melting chemicals, as these can cause cracking. Whenever possible, clear the snow after each storm to prevent buildup, and check that the lights and panels remain firmly attached despite freeze-thaw cycles.
The article touches on routine and seasonal care. Is there a certain time of year when it’s most important to do a thorough inspection or maintenance, especially in areas with harsh winters or lots of rain?
It’s especially important to perform a thorough inspection and maintenance of your solar-powered outdoor lighting just before and after harsh seasons, like winter or periods of heavy rain. Inspect in late autumn to prepare for winter, clearing debris and checking for damage, and again in early spring to assess any wear or issues caused by extreme weather. This helps keep your system running reliably year-round.
If my solar lights seem to be getting dimmer over time, which component is most likely the cause according to the guide—the battery, the panel, or something else? How do I pinpoint the exact issue?
Based on the article, a gradual dimming of your solar lights is most often caused by aging or degraded batteries. However, dirt buildup on the solar panel or faulty LEDs can also contribute. To pinpoint the issue, try cleaning the panel first. If that doesn’t help, test or replace the batteries. If the problem persists, the LEDs may be at fault.
You mention that maintenance needs can depend on component quality and local environmental conditions. Could you elaborate on how different climates, like humid versus arid regions, might affect the frequency or specific type of maintenance required for these solar systems?
Certainly! In humid climates, moisture can promote rust or corrosion on metal parts and connectors, so more frequent checks for corrosion and cleaning may be needed. In arid regions, dust can quickly accumulate on solar panels and block sunlight, so regular cleaning of the panels is important. Also, extreme heat in dry climates can wear out batteries faster, so periodic battery checks are advised. Tailoring your maintenance routine to your local conditions will help your system last longer.
If the rechargeable battery in my solar pathway lights starts losing power faster than usual, is it better to replace just the battery or should I consider upgrading the whole fixture? I’m curious how to tell when the battery is the main culprit.
If your solar pathway lights are fading faster, it’s usually the rechargeable battery that’s worn out, which is common after a couple of years. Try replacing just the battery first—this is cost-effective and often solves the problem. If the lights still perform poorly after a new battery, or if you notice corrosion or physical damage to the fixture, then consider upgrading the whole unit.