Introduction: Why Solar-Powered Smart Irrigation Matters
As sustainable living becomes an ever more urgent global priority, forward-thinking homeowners are searching for ways to reduce their environmental footprint without sacrificing the health and beauty of their gardens. One of the most impactful yet often overlooked strategies is the installation of a solar-powered smart irrigation system. Unlike conventional watering setups, these systems harness the sun’s free energy to power intelligent controllers that adapt watering schedules based on real-time soil conditions, weather forecasts, and plant needs. The result? Lush, thriving landscapes that use dramatically less water and energy. In this comprehensive guide, we’ll walk you through every step of setting up a home solar-powered smart irrigation system—from selecting the right equipment to fine-tuning your watering schedules for peak efficiency. Whether you’re a sustainability enthusiast, a tech-savvy gardener, or simply looking to reduce your utility bills, this detailed tutorial will help you achieve a greener yard while treading lightly on the planet.
Understanding Solar-Powered Smart Irrigation Systems
What Is a Solar-Powered Smart Irrigation System?
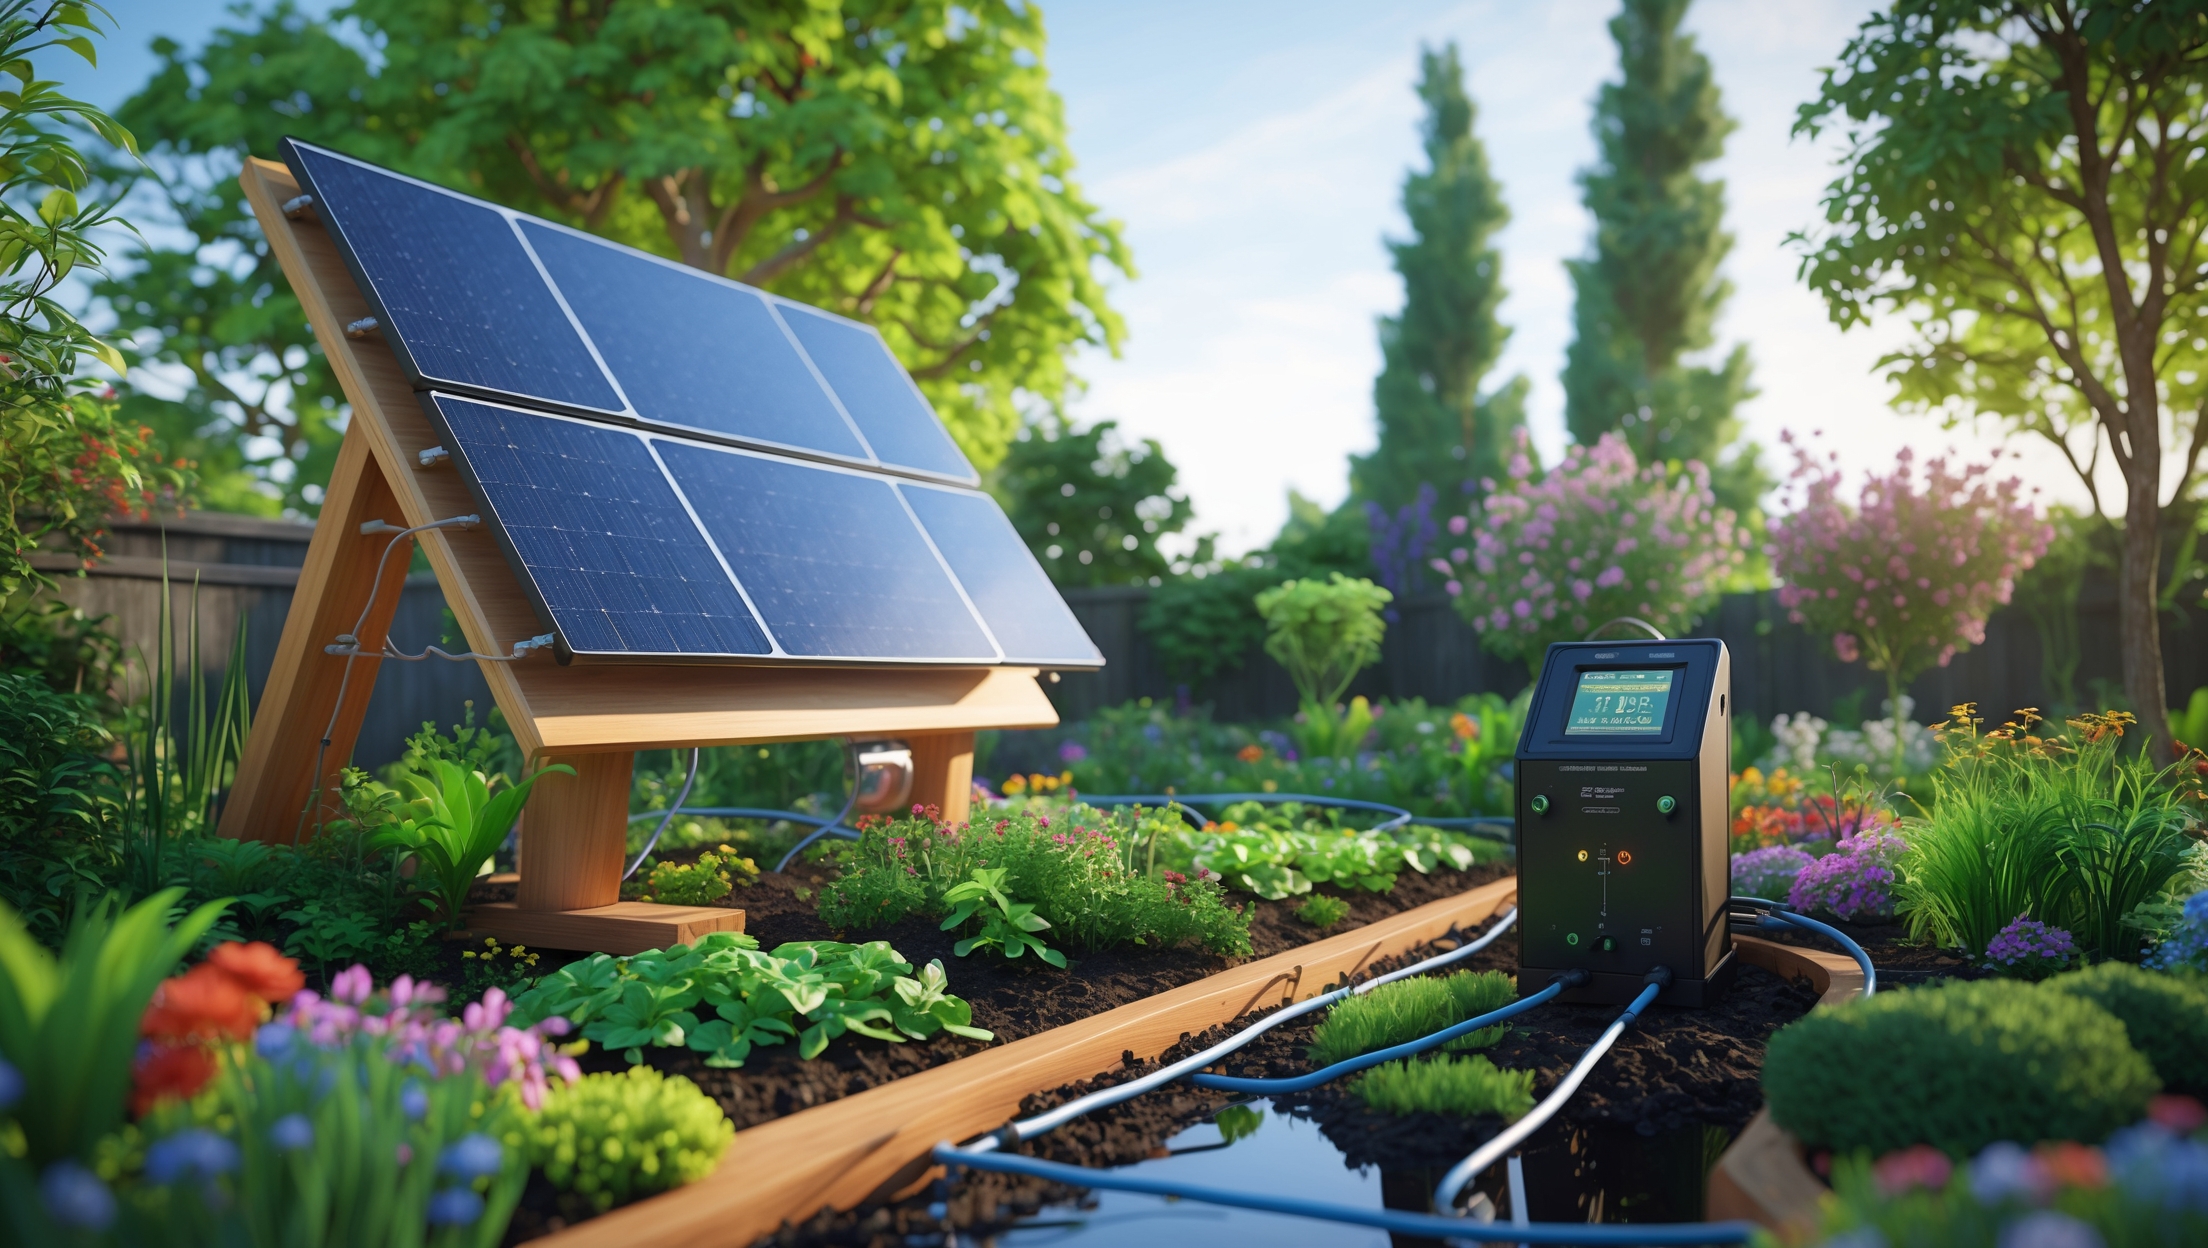
A solar-powered smart irrigation system combines three main technologies: solar photovoltaic panels to generate electricity, a controller equipped with smart features (such as Wi-Fi connectivity, weather-based scheduling, and soil moisture sensing), and an irrigation delivery mechanism (drip lines, sprinkler heads, or soaker hoses). The system automatically adjusts watering based on data from sensors and weather services, optimizing water usage and reducing waste. All components run on renewable solar energy, freeing you from reliance on grid electricity and lowering operational costs.
Key Benefits
- Water Conservation: Precision watering reduces overwatering and runoff.
- Energy Savings: Solar power eliminates the need for external electricity.
- Cost Efficiency: Lower utility bills and potential rebates or incentives.
- Remote Monitoring: Many controllers offer smartphone integration for real-time adjustments and alerts.
- Plant Health: Soil moisture sensors prevent under- or over-watering, promoting root development.
Planning Your System: Assessing Your Garden’s Needs
Step 1: Evaluate Your Landscape
Begin by mapping your garden and identifying distinct irrigation zones. Consider:
- Plant Types: Group together plants with similar water requirements.
- Sun Exposure: Shadier areas need less water than sun-drenched spots.
- Soil Type: Sandy soils drain quickly, while clay retains moisture longer.
- Water Pressure: Make a note of available water pressure if tying into an existing system.
Step 2: Determine Water Source
Decide whether you’ll connect your system to municipal water, a rainwater harvesting tank, or a well. Solar-powered pumps may be needed for non-pressurized sources.
Step 3: Solar Assessment
Identify a sunny location for your solar panel(s). Panels should receive at least 5–6 hours of direct sunlight daily for optimal system reliability. Use a solar pathfinder or smartphone app to check for shading from trees and buildings throughout the day.
Essential Tools and Equipment
Core Components
- Solar Panel: 10–30W panel, depending on your controller and pump requirements.
- Charge Controller: Prevents battery overcharging and regulates voltage.
- Deep-Cycle Battery (Optional): Stores excess solar energy for nighttime or cloudy days.
- Smart Irrigation Controller: Preferably with Wi-Fi, weather integration, and multiple zone support.
- Soil Moisture Sensors: Wireless sensors for each major irrigation zone.
- Solenoid Valves: Electrically operated valves to control water flow to each zone.
- Irrigation Lines: Drip tubing, soaker hoses, or sprinkler piping as appropriate.
- Fittings and Connectors: Tees, elbows, end caps, and couplers for customizing your layout.
- Optional Solar Pump: Required if drawing from a non-pressurized source.
Tools Needed
- Shovel or trenching tool
- Pipe cutter or sharp scissors (for drip lines)
- Screwdrivers and pliers
- Cordless drill (for mounting hardware)
- Wire strippers (for electrical connections)
- Multimeter (for checking voltage and continuity)
Step-by-Step Installation Guide
Step 1: Install the Solar Panel
Mount the solar panel on a south-facing wall, post, or roof section with maximum sun exposure. Use sturdy mounting brackets and ensure the tilt angle matches your latitude for year-round efficiency. Run weatherproof cables from the panel to your charge controller and battery location.
Step 2: Set Up the Battery and Charge Controller
If your system uses a battery, install it in a protective, ventilated enclosure near the controller. Connect the solar panel to the charge controller, then to the battery, following the manufacturer’s polarity instructions. Use appropriately gauged wires to handle the expected current. Secure all electrical connections with waterproof connectors or junction boxes.
Step 3: Mount the Smart Controller
Install your smart irrigation controller in a weatherproof box near both the battery/solar setup and the main water supply. Most models require a 12V DC input, which matches the output from your solar-battery circuit. Connect the controller’s power leads; check for indicator lights to confirm operation.
Step 4: Laying Out Irrigation Lines
- Mark the path for drip tubing or soaker hoses in each zone. Avoid sharp bends and keep lines as straight as possible for even water distribution.
- Dig shallow trenches (2–4 inches deep) to bury lines, protecting them from damage and UV degradation.
- Connect lines to solenoid valves for each zone, using Teflon tape on threaded fittings to prevent leaks.
- Install end caps and flush lines thoroughly with water before finalizing connections.
Step 5: Integrate Soil Moisture Sensors
Place a soil moisture sensor in each irrigation zone, positioning the probe at root depth and away from direct water emitters. Follow manufacturer pairing instructions to link sensors wirelessly to your smart controller. Calibrate the sensors if needed, setting moisture thresholds that match your plant types.
Step 6: Connect to Water Source
If using a pressurized water source, connect the main line to the controller’s inlet port. For rainwater tanks or wells, install a solar-powered pump between the tank and the controller, ensuring the pump’s flow rate matches your irrigation needs. Test for leaks and secure all hose clamps.
Step 7: Program the Controller
- Download the controller’s app (if Wi-Fi enabled) and link to your home network.
- Assign names and schedules to each irrigation zone.
- Enable weather-based adjustments using the controller’s integration with online forecasts.
- Set soil moisture thresholds to trigger or skip watering cycles automatically.
Fine-Tuning for Maximum Efficiency
Zone Optimization
Review your system’s initial performance over the first two weeks. Adjust emitter flow rates, add or move emitters for even coverage, and tweak moisture sensor settings based on observed plant health. Consider splitting large or diverse zones into smaller subzones for greater precision.
Seasonal Adjustments
- Update watering schedules and thresholds as the seasons change to reflect temperature, rainfall, and plant growth cycles.
- Use the controller’s historical data and analytics to identify opportunities for further water savings.
Maintenance and Troubleshooting
Routine Maintenance Tasks
- Clean solar panels every 2–3 months to remove dust and debris.
- Inspect battery terminals for corrosion and recharge/replace batteries as needed.
- Check irrigation lines for leaks, clogs, or damage after each season.
- Test soil moisture sensors for accuracy and recalibrate annually.
- Update controller firmware to benefit from the latest features and bug fixes.
Common Issues and Solutions
- No Power: Check solar panel orientation, clean the surface, and test battery voltage.
- Inconsistent Watering: Inspect for clogged emitters, faulty solenoid valves, or misconfigured sensors.
- Wi-Fi Connection Drops: Move the controller closer to your router or install a Wi-Fi extender.
- Low Water Pressure: Ensure pump is sized correctly and lines are free of obstructions.
Budgeting and Cost Breakdown
A solar-powered smart irrigation system is a significant but worthwhile investment. Here is a typical cost breakdown for a mid-sized residential garden (4 zones):
- Solar Panel & Mounting Kit: $80–$150
- Charge Controller & Battery: $100–$200
- Smart Irrigation Controller: $120–$250
- Soil Moisture Sensors (4): $25–$40 each
- Solenoid Valves (4): $25–$35 each
- Irrigation Tubing & Fittings: $100–$200
- Solar Pump (if needed): $80–$200
- Miscellaneous (enclosures, connectors): $50–$100
Total estimated cost: $600–$1,200 depending on equipment choices and whether you DIY installation or hire a professional.
Opportunities for Savings
- Check for local rebates on smart controllers and water-saving devices.
- Group purchases of tubing and fittings can lower per-unit costs.
- DIY installation saves labor fees; however, factor in your skill level and available time.
Permits, Compliance, and Safety Considerations
Most municipalities do not require permits for residential irrigation systems below a certain flow rate. However, always check local codes regarding:
- Backflow prevention devices (to protect potable water supplies).
- Rainwater harvesting regulations if connecting to non-municipal sources.
- Electrical safety standards for outdoor wiring and solar installations.
Install ground-fault circuit interrupters (GFCIs) where required, and use only outdoor-rated enclosures for all electrical components.
Conclusion: The Path to Greener Gardens and a Sustainable Future
Embracing a solar-powered smart irrigation system is one of the most effective steps a homeowner can take toward genuine sustainability. By marrying clean, renewable energy with intelligent water management, you’re not just reducing bills—you’re actively conserving vital resources and setting a powerful example for your community. The initial investment pays dividends in water savings, plant health, and peace of mind, as the system adapts seamlessly to weather, soil, and seasonal needs. For those passionate about sustainable living, this technology transforms your garden into a living testament to modern ecological stewardship.
Beyond the practical benefits, installing and maintaining a solar-powered smart irrigation system deepens your connection to your landscape. You’ll become attuned to the rhythms of your garden, the nuances of local weather, and the subtle indicators of plant vitality. Each data-driven adjustment brings you closer to a harmonious balance between human needs and the natural world. Whether you’re cultivating a vibrant vegetable patch, a pollinator-friendly oasis, or a low-maintenance native garden, your system will reward you with lush growth and the satisfaction of genuine environmental responsibility.
Start planning your solar-powered smart irrigation project today, and join the vanguard of homeowners making a tangible difference—one drop and one watt at a time.


How difficult is it to retrofit an existing traditional irrigation system with solar-powered smart controls, especially in older homes that might have older wiring or plumbing?
Retrofitting a traditional irrigation system with solar-powered smart controls is usually quite manageable, even in older homes. Most smart controllers are designed to work with standard irrigation valves, so wiring typically isn’t a major issue. The solar power aspect involves installing a solar panel and battery, which are usually wireless and self-contained. However, if your plumbing is very outdated or damaged, some adjustments might be needed to ensure reliable operation.
Once the system is installed and running, how much ongoing maintenance does it typically need, especially for the solar parts and sensors?
Ongoing maintenance for the solar-powered smart irrigation system is usually minimal. For the solar components, just keep the panels clean and make sure they’re free from debris or shade to maintain efficiency. Sensors may need occasional cleaning and recalibration to stay accurate. It’s also good to check wiring and connections every few months to catch any wear or corrosion. Overall, a quick monthly inspection is often enough to keep things running smoothly.
I’m interested in reducing my water bills, but I’m on a tight budget. Are there affordable starter kits or recommended brands you’d suggest for a basic home setup without too many extras?
You can definitely start small with solar-powered smart irrigation. Brands like RainPoint and Orbit offer budget-friendly starter kits that include a timer and basic drip system, which helps keep costs down. Look for kits with expandable systems, so you can add features later if needed. Choosing manual moisture sensors instead of app-controlled ones can also help save money.
What kind of maintenance is typically required for the solar panels and smart sensors over time, especially in regions with harsh winters or lots of debris?
Solar panels should be cleaned regularly, especially in areas with lots of dust, leaves, or snow—just use water and a soft cloth to remove debris. In harsh winters, clear snow from panels to maintain efficiency. For smart sensors, check batteries, inspect for water damage, and wipe any dirt off the sensors. It’s also good to test the system each season to ensure everything works smoothly.
Once everything is installed, how much ongoing maintenance is usually needed for the solar panels and smart controllers? I want to make sure I budget enough time for upkeep.
After installation, maintenance is generally low. For solar panels, expect to clean them every few months to remove dust and debris—this ensures they operate efficiently. Smart controllers mostly need software updates and occasional checks to confirm sensors and connections are working. You might spend an hour or two every few months, plus brief checks after storms or heavy use. Overall, the time commitment is minimal.