Introduction: Why the Right Tools Matter for DIY Solar Water Filtration
As more homeowners embrace sustainable living, solar-powered water filtration systems are quickly gaining popularity. These systems offer an eco-friendly solution to purifying rainwater, well water, or even municipal supplies, reducing dependence on energy-intensive grid options and costly bottled water. However, building an effective home solar-powered water filtration system requires more than just enthusiasm and a few spare parts. The tools and equipment you choose will directly impact the efficiency, safety, and longevity of your installation.
Many DIYers underestimate the importance of using the right gear, only to run into frustrating setbacks such as leaks, electrical faults, or system underperformance. This guide provides a comprehensive breakdown of every essential tool and piece of equipment you’ll need to confidently assemble, test, and maintain a solar-powered water filtration setup at home. Whether you’re purifying rainwater for gardening, creating emergency backup filtration, or aiming for partial water independence, the right toolkit ensures a smoother build, better results, and a safer experience for your household.
Core Components of a Solar-Powered Water Filtration System
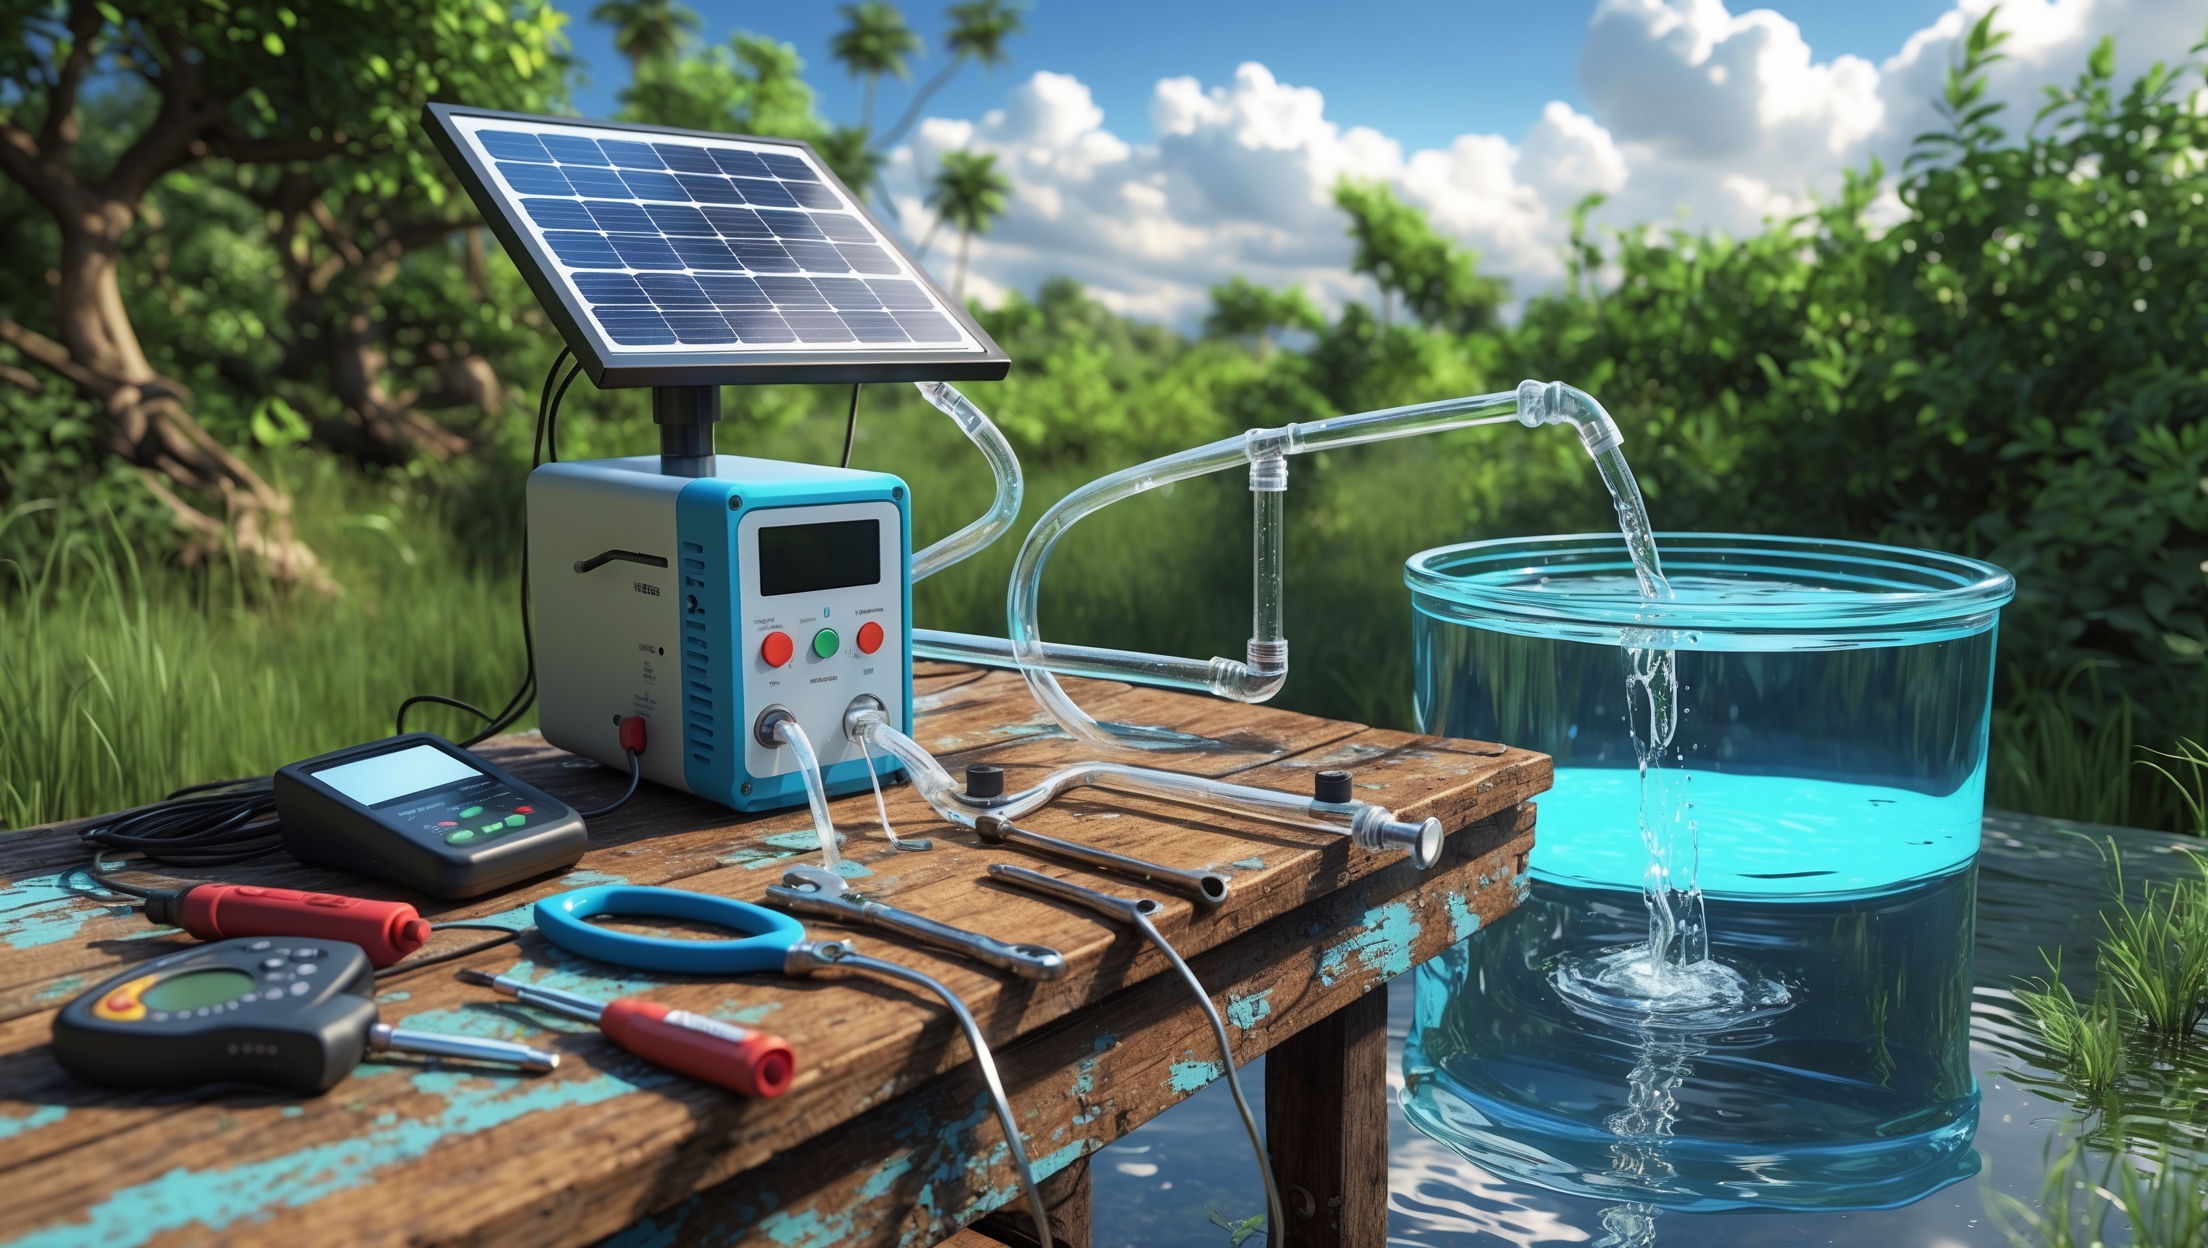
Before assembling your toolkit, it’s crucial to understand the main parts of a solar-powered water filtration system. This context ensures you select tools tailored to your specific setup.
- Solar Panel(s): Convert sunlight into electricity to power the filtration components.
- Charge Controller: Regulates energy flow from the solar panel to the battery, preventing overcharge or deep discharge.
- Battery Storage: Stores electricity for nighttime or cloudy-day operation.
- Water Pump: Moves water through the filtration stages.
- Pre-filters: Remove large debris and sediments.
- Filtration Stages: May include activated carbon, ceramic, UV, or reverse osmosis filters.
- Piping and Fittings: Direct water flow and connect components.
- Control Panel: Houses switches, fuses, and monitoring devices.
Your toolkit needs to address electrical wiring, plumbing, system monitoring, and maintenance tasks for these components.
Essential Hand Tools for Plumbing and Assembly
Pipe Cutters and Tubing Tools
Water filtration systems often require cutting and fitting PVC, PEX, or flexible tubing. Invest in a high-quality pipe cutter suitable for your chosen material. For PEX, a specific PEX tubing cutter ensures clean, square cuts. For PVC, a ratcheting PVC cutter minimizes hand fatigue and provides precision.
- Adjustable pipe wrenches for tightening and loosening fittings
- Deburring tool to smooth rough pipe edges after cutting
- PTFE thread seal tape for leak-proof threaded connections
- Hose clamp pliers for securing or releasing hose clamps
Drills and Hole Saws
Installing pipe runs through walls, tanks, or filter housings often requires drilling. A cordless power drill with a range of drill bits and hole saws (sized for your tubing and fittings) is invaluable. Choose rust-resistant bits for working near water.
Measuring and Marking Equipment
- Measuring tape (at least 5 meters/16 feet)
- Permanent marker or grease pencil for labeling pipes and alignment marks
- Spirit level to ensure filter housings and panels are mounted squarely
Must-Have Electrical Tools for Safe Solar Integration
Wire Strippers and Crimpers
Safe electrical connections are non-negotiable. Get a high-quality wire stripper compatible with the gauge of your solar and pump wiring. Pair it with a ratcheting crimping tool and a selection of insulated crimp connectors or ferrules for secure, long-lasting terminations.
Multimeter
An accurate multimeter is essential for safely troubleshooting voltage, current, and continuity in your solar circuits and battery system. Look for a model with auto-ranging and clear digital readout.
Cable Cutters and Soldering Equipment
- Insulated cable cutters for clean, safe wire cuts
- Heat shrink tubing and a heat gun for weatherproofing connections
- Soldering iron (if your build requires soldered terminals or PCB repairs)
Mounting and Fastening Tools
- Assorted screwdrivers (Phillips, flathead, and Torx)
- Socket set for panel and bracket installation
- Cable ties and mounting clips for neat, organized wiring
Specialized Equipment for Filtration System Setup
Water Quality Testing Kits
Testing is vital before and after system installation. At minimum, purchase test strips or digital meters for:
- pH
- Turbidity (cloudiness)
- Chlorine
- Total dissolved solids (TDS)
- Coliform bacteria (for potable water systems)
Digital meters are more accurate and reusable, making them a worthwhile investment for ongoing maintenance.
Pressure Gauges and Flow Meters
Inline pressure gauges and flow meters help you monitor the system’s performance and detect blockages or leaks. Install them before and after filter stages for real-time diagnostics.
UV Lamp Tester (If Using UV Disinfection)
If your system includes a UV disinfection stage, a UV lamp tester ensures the bulb is generating effective germicidal light. Some lamps have built-in indicators, but a dedicated tester is more reliable.
Safety Gear: Don’t Skip Protection
Personal safety should never be an afterthought. Always have the following on hand:
- Insulated gloves for electrical work
- Protective eyewear when cutting pipes or drilling
- Respirator mask if working with adhesives or solvents
- Work apron or coveralls to protect against chemical splashes
Keep a first aid kit and fire extinguisher accessible in your work area.
Choosing Quality Tools: What to Look For
With so many options on the market, choosing reliable, safe, and long-lasting tools is essential for both project success and personal safety. Here’s what to consider:
- Material Quality: Stainless steel or hardened tool steel resists corrosion and wear.
- Ergonomics: Comfortable, non-slip grips reduce fatigue and risk of injury.
- Brand Reputation: Established brands often offer warranties and better customer support.
- Tool Certification: Look for electrical tools certified to national safety standards (e.g., UL, CE).
Invest in durability, especially for tools you’ll use for future maintenance.
Recommended Toolkits and Starter Packs
If you’re new to DIY solar and plumbing, consider purchasing a pre-assembled toolkit. Many reputable retailers offer starter packs tailored for solar panel installation, plumbing, or electrical work. Compare what’s included to avoid duplicates and ensure all essentials are covered. Look for:
- Solar installation kits with wire strippers, crimpers, MC4 connectors, and multimeter
- Plumbing toolkits with pipe cutters, wrenches, sealant, and deburring tools
- Water quality test kits with digital meters and multiple reagents
Some kits even include instructional guides or online tutorials—helpful for first-timers.
Advanced Tools for Enhanced Performance and Monitoring
Smart Water Sensors
Internet-connected water quality sensors can alert you to changes in TDS, flow rate, or leaks via smartphone notifications. While optional, they add peace of mind and save time on manual checks.
Remote Solar Performance Monitors
Dedicated solar monitoring modules track your panel’s output, battery state, and system faults. Some models support Bluetooth or Wi-Fi connectivity for remote access and data logging.
Infrared Thermometer
Quickly check the temperature of water lines, battery casings, and electrical connections to ensure safe operation and detect overheating before it becomes a hazard.
Maintenance Tools for Longevity and Reliability
Once your system is up and running, routine maintenance ensures years of trouble-free service. Keep these on hand for upkeep:
- Filter wrench for easy cartridge replacement
- Replacement O-rings and seals
- Silicone grease for lubricating O-rings and threads
- Small brush or pipe cleaner for scrubbing housings
- Drain pan or bucket for catching water during filter changes
Regularly inspect connections, monitor system pressures, and test water quality to catch issues early.
Where to Source Quality Tools and Equipment
Buy from reputable hardware stores, specialty solar suppliers, or certified online retailers. Avoid cheap, unbranded imports that may not meet safety standards. For water filtration components (pumps, filters, housings), stick to brands with NSF/ANSI or equivalent certifications for drinking water safety. Solar and electrical tools should bear relevant national safety marks (UL, CE, TUV).
When shopping online, read customer reviews and check return policies. For specialty items like water quality meters or solar monitoring devices, consult product comparison guides or ask in online sustainability forums for recommendations.
Building Your Personal DIY Solar Water Filtration Toolkit: Step-by-Step
Step 1: List Your System Components
Draw up a schematic of your planned system, including all panels, batteries, pumps, filters, and piping. Note the materials and connection types.
Step 2: Match Tools to Tasks
For each component, identify the required installation and maintenance steps—cutting, joining, wiring, mounting, testing—and list the tools needed for each.
Step 3: Gather and Organize
Assemble your tools in a dedicated toolbox or organizer. Label drawers or bins for plumbing, electrical, and testing gear. Keep safety equipment easily accessible.
Step 4: Prepare for Future Maintenance
Stock up on commonly replaced parts (filters, O-rings, fuses), and keep a maintenance logbook with test results and service dates.
Tips for First-Time DIYers
- Start small—consider a rain barrel filter or garden irrigation purifier before tackling whole-home systems.
- Double-check all measurements before cutting or drilling.
- Label wires, pipes, and filter stages to avoid confusion during setup and maintenance.
- Never mix electrical and plumbing workspaces—set up safe, separate zones for each.
- Consult manufacturer manuals and online tutorials for component-specific installation advice.
Conclusion: Investing in the Right Tools Pays Off
Building a DIY home solar-powered water filtration system is a rewarding step toward sustainable living. However, success hinges on more than just assembling the right parts—it depends on the tools and equipment you use at every stage. The right pipe cutter prevents leaks; a reliable multimeter ensures safe electrical connections; a quality water testing kit keeps your water safe to use. Skimping on your toolkit can result in frustration, frequent repairs, or even safety hazards, while investing in durable, purpose-built tools makes the process smoother, faster, and far more reliable.
As you plan your project, remember that many of these tools will serve you well for years of maintenance, future upgrades, and other sustainable DIY projects. With the proper gear, you can confidently build, troubleshoot, and maintain a solar-powered water filtration system tailored to your household’s needs. The investment in quality tools is an investment in your family’s health, your home’s resilience, and the planet’s future. Happy building!


If I want to set up a solar-powered water filtration system mainly for gardening purposes, which type of filtration stages do you recommend from the ones listed, and are there trade-offs between using UV versus activated carbon filters?
For gardening, a basic sediment filter followed by an activated carbon filter works well to remove dirt and chemical residues, which helps protect plants. UV filtration is usually more important for drinking water, as it targets pathogens. If your main concern is clean water for plants rather than safe drinking water, activated carbon is typically sufficient, though it won’t kill bacteria like UV does. Using both adds cost and complexity, so consider your specific water quality needs.
Could you elaborate on what types of tools are necessary for safely installing and wiring the solar panels to the charge controller, especially for those of us with limited electrical experience?
For safe installation and wiring of solar panels to a charge controller, you’ll need insulated screwdrivers, wire strippers, a digital multimeter to check voltage and polarity, and crimping tools for secure connections. Safety gloves and safety glasses are also important. If you’re new to electrical work, pre-terminated wires and quick-connect adapters can help simplify the process and reduce risks. Always double-check wiring diagrams and, when in doubt, consult a qualified electrician.