
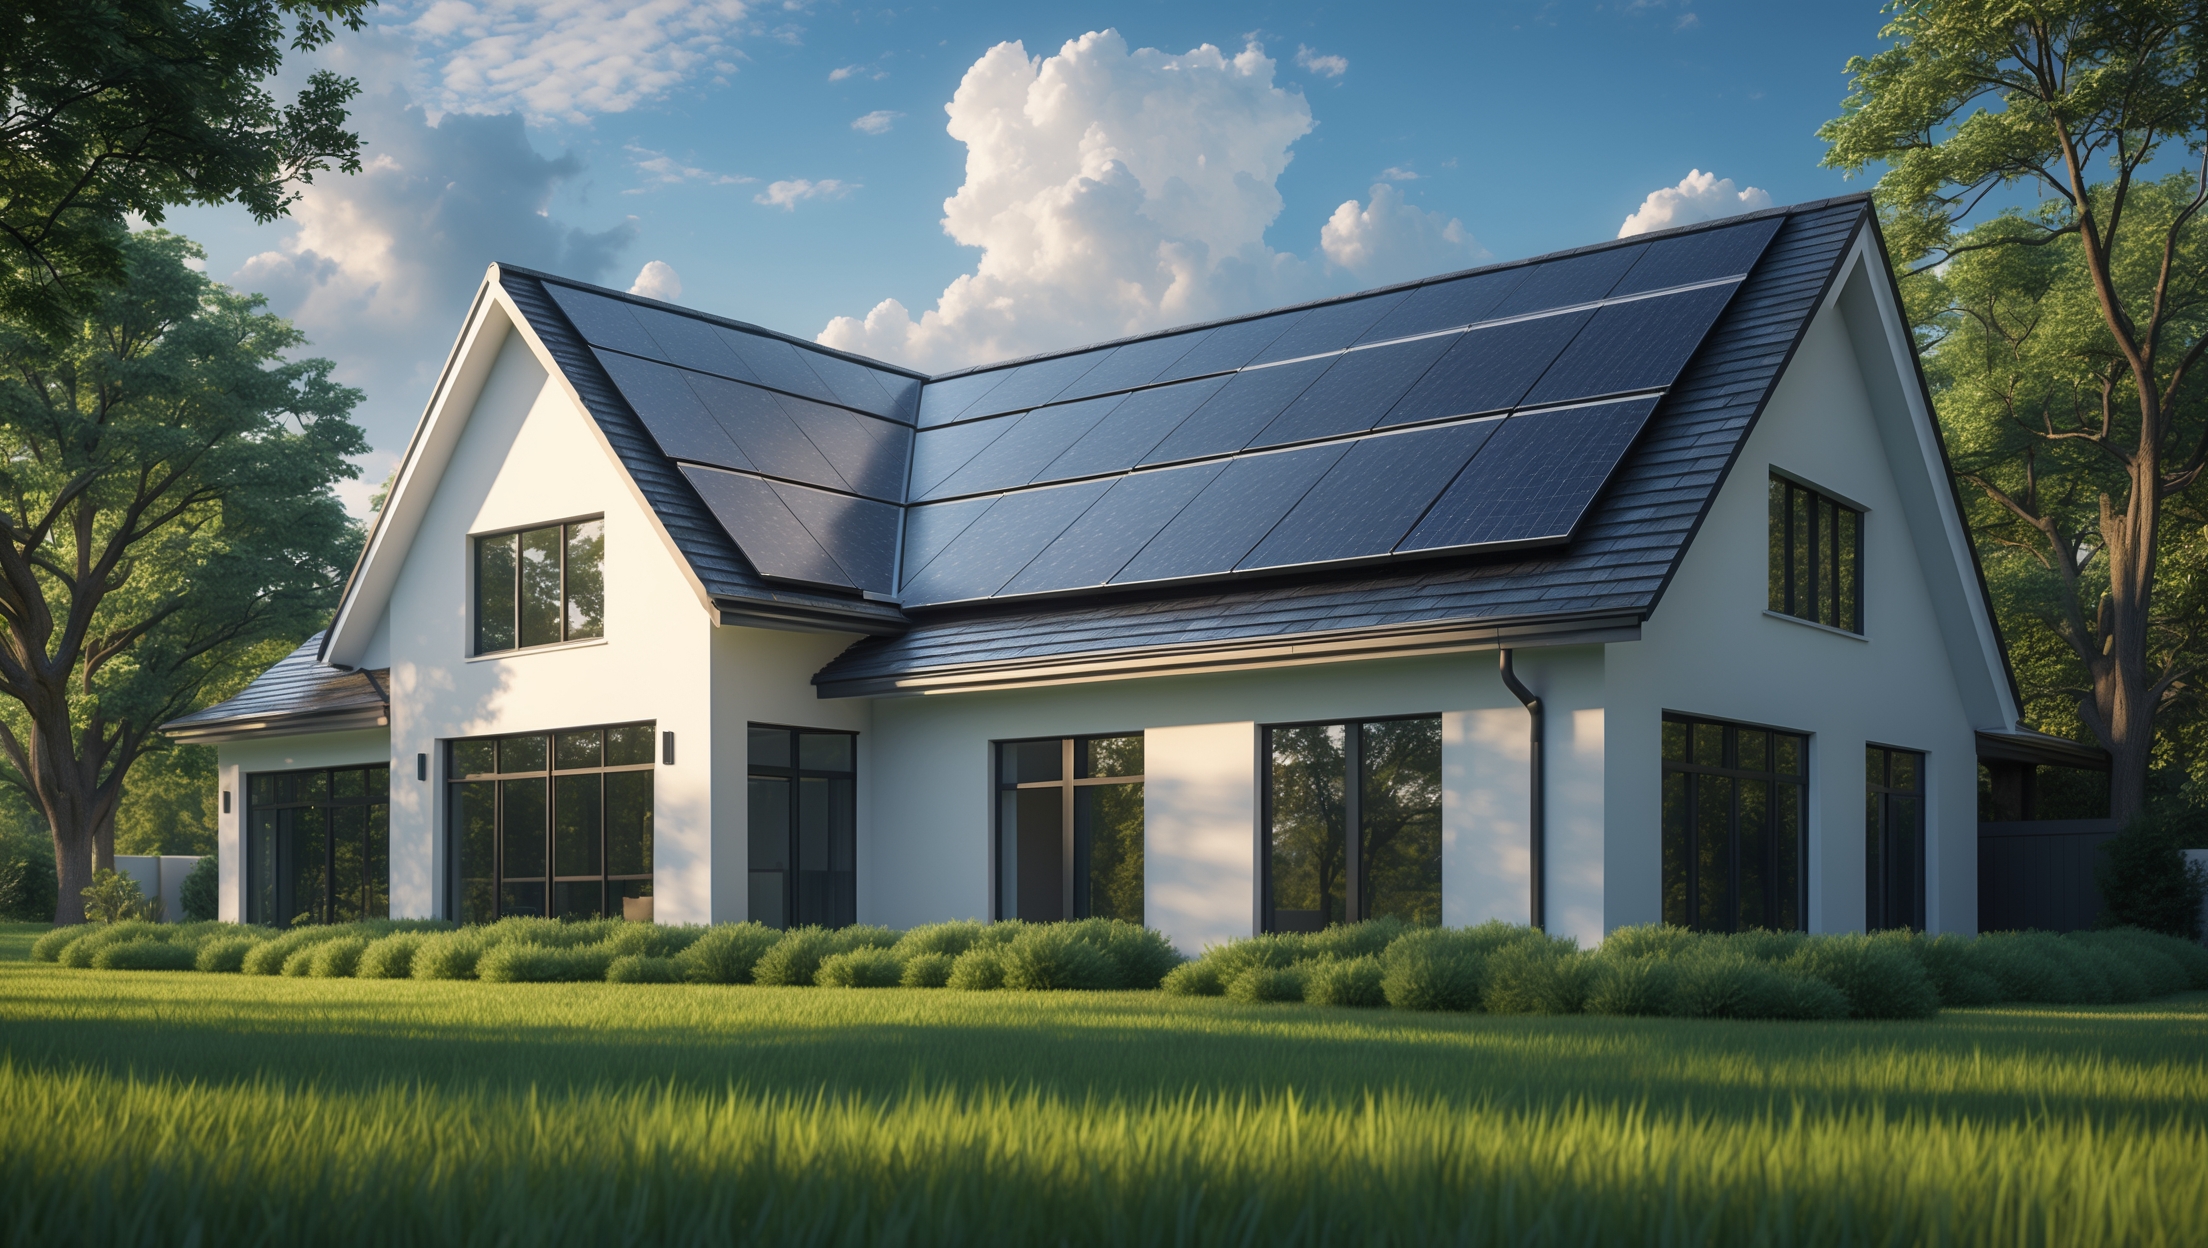
Introduction: Why Solar-Powered Cold Frames Are Revolutionizing Sustainable Gardening
Imagine harvesting crisp lettuce, fragrant herbs, and leafy greens from your garden—even in the depths of winter or during early spring chills. Solar-powered cold frames are unlocking this possibility for eco-conscious home gardeners who want to extend their growing season in an environmentally friendly way. These compact, insulated mini-greenhouses harness free solar energy to stabilize temperatures, protect plants from frost, and accelerate growth—all while keeping your carbon footprint low and energy bills negligible.
Unlike traditional cold frames, which rely solely on passive solar heat and insulation, a solar-powered cold frame uses photovoltaic panels and simple electronics to actively regulate internal conditions. This might include powering small fans for air circulation, heat mats to boost root warmth, or even automated ventilation systems to prevent overheating on sunny days. The result? Healthier, more productive plants and a truly resilient garden setup that aligns with your sustainable living goals.
But building one of these systems isn’t as straightforward as slapping a solar panel onto a box. The right tools, materials, and equipment make all the difference in efficiency, durability, and plant health. This guide will walk you through every essential item you’ll need—along with pro tips on selection, safe installation, and maximizing your investment. Whether you’re a seasoned gardener or a DIY enthusiast just starting out, you’ll find actionable advice to help you successfully construct and maintain a solar-powered cold frame for year-round abundance.
Understanding the Solar-Powered Cold Frame: Core Components and Benefits
What Is a Solar-Powered Cold Frame?
A cold frame is a low, transparent-roofed structure placed close to the ground, designed to protect plants from harsh weather while allowing sunlight in. By adding solar technology—typically a small photovoltaic (PV) panel, a battery, and optional heating or ventilation elements—you convert this classic design into a climate-smart, self-sustaining growing chamber. Solar power enables active temperature and humidity management, resulting in better plant survival and higher yields during extreme weather swings.
Key Benefits
- Season Extension: Grow crops earlier in spring and later into fall (or even winter) by keeping temperatures stable.
- Energy Efficiency: Solar panels supply clean, renewable power for heating, cooling, or automating venting, eliminating grid dependence.
- Plant Health: Consistent warmth and humidity reduce transplant shock, disease risk, and stunted growth.
- Low Operating Costs: After the initial investment, ongoing costs are minimal compared to electric heating solutions.
Essential Tools for Building a Solar-Powered Cold Frame
Having the right tools on hand streamlines your build, enhances safety, and ensures a professional finish. Here’s a breakdown of the must-haves, with tips on choosing quality options for each category.
Measuring and Marking Tools
- Tape measure: At least 25 feet for marking lumber and site layout.
- Speed square: For accurate right angles and layout lines.
- Pencil or chalk line: For marking cuts, hole centers, and alignment points.
Cutting Tools
- Circular saw: Ideal for straight cuts in framing lumber and sheet materials.
- Handsaw or jigsaw: Useful for detailed cuts or notches, especially in tight spots.
- Utility knife: For trimming insulation and scoring polycarbonate sheets.
Drilling and Fastening Tools
- Cordless drill/driver: Essential for driving screws, drilling pilot holes, and installing hardware.
- Bit set: Includes wood, metal, and masonry bits for all materials you’ll encounter.
- Hammer: For tapping in nails or adjusting framing components.
- Screwdrivers (flathead and Phillips): For assembling electronics or making adjustments.
Assembly and Finishing Tools
- Clamps: Hold pieces in place for accurate assembly and gluing.
- Level: Ensures that your frame sits square and true, crucial for water runoff and structural integrity.
- Paintbrush or roller: For applying protective sealant or paint.
- Caulking gun: For weatherproofing seams and joints.
Safety Equipment
- Safety glasses: Protect eyes from flying debris while cutting or drilling.
- Work gloves: Shield hands from splinters, sharp edges, and rough materials.
- Hearing protection: Use while operating power tools.
- Dust mask: Especially important when cutting treated wood or polycarbonate panels.
Materials and Equipment: Selecting the Best for Durability and Performance
Choosing the right materials is critical for creating a cold frame that’s both effective and long-lasting—especially when integrating solar technology. Here’s what you’ll need and what to look for in each category.
Frame Materials
- Rot-resistant lumber (cedar, redwood, or pressure-treated pine): Ensures the structure withstands moisture and temperature fluctuations.
- Galvanized screws or weatherproof fasteners: Prevents rust and extends the life of your build.
Glazing/Panels
- Polycarbonate panels (twin-wall or triple-wall): Excellent insulation, lightweight, and UV resistant—better than single-pane glass for most climates.
- Hinges and handles: Durable hardware to open/close the lid for access and ventilation.
Insulation and Sealing
- Rigid foam board or straw bales: For extra insulation around the sides, especially in northern climates.
- Weatherstripping and exterior-grade caulk: Seal gaps and minimize heat loss.
Solar Power System Components
- Solar panel (20–50W for most cold frames): Sufficient to power fans, small heaters, or actuators.
- Charge controller: Prevents battery overcharge/discharge, extending battery life.
- Deep-cycle 12V battery (AGM or LiFePO4): Stores solar energy for nighttime or cloudy periods.
- Wiring and waterproof connectors: For reliable, safe electrical connections.
- Weatherproof junction box: Protects electronics from moisture and dirt.
Climate Control Accessories (Optional but Recommended)
- Low-wattage heating mat: Placed under trays to maintain root warmth on freezing nights.
- 12V inline fan: Improves air circulation, reducing fungal issues and promoting even temperature.
- Automatic vent opener (solar or wax cylinder type): Regulates air flow without manual intervention.
- Thermometer/hygrometer: Monitors internal conditions at a glance.
Shopping Tips: How to Source Quality Materials Sustainably
Opt for FSC-certified wood or reclaimed lumber to minimize environmental impact. Local suppliers often carry offcuts or surplus polycarbonate at a discount. When purchasing solar panels, choose reputable brands with robust warranties and look for used or surplus options on local classifieds to save money. For batteries, AGM types are maintenance-free and safer for outdoor use, but LiFePO4 offers longer lifespan and better cold-weather performance if your budget allows.
Step-by-Step Equipment Setup: Building Your Solar-Powered Cold Frame
1. Site Selection and Preparation
- Choose a south-facing location with maximum sun exposure, away from shade cast by trees or buildings.
- Clear the site, level the ground, and consider laying a gravel base for drainage and stability.
2. Constructing the Frame
- Cut lumber to size, using your tape measure and saw for precision.
- Assemble the rectangular base and side walls, using galvanized screws for strength.
- Build the sloped lid frame (higher at the back, lower at the front) to maximize sun capture and shed rain/snow.
- Attach glazing panels securely with weatherproof screws and washers to prevent leaks.
- Hinge the lid to the back wall and fit handles for easy access.
3. Insulation and Sealing
- Install rigid foam or straw bales around the interior if needed for extra insulation.
- Apply weatherstripping along contact edges and caulk all seams.
4. Installing the Solar Power System
- Mount the solar panel on the lid or a nearby pole, angled toward true south for maximum efficiency.
- Run wiring through a conduit to a waterproof junction box mounted outside the cold frame.
- Connect the charge controller and battery inside the junction box, following manufacturer wiring diagrams.
- Install your fan, heating mat, or vent opener, connecting them to the battery via appropriate fuses or relays for safety.
- Test the system to ensure all devices operate correctly, both in daylight and after sunset (using stored battery power).
5. Adding Monitoring and Automation
- Place the thermometer/hygrometer inside the frame at plant level for accurate readings.
- Adjust vent opener sensitivity and fan timer as needed for your local climate.
Maintenance Tools and Best Practices
Regular maintenance ensures your solar-powered cold frame remains efficient and productive for years. Here’s what to keep handy and how to use it:
- Soft brush or microfiber cloth: Clean polycarbonate panels monthly for maximum light transmission.
- Multimeter: Test solar panel output, battery voltage, and troubleshoot electrical issues.
- Silicone lubricant: Apply to hinges and moving parts to prevent rust and sticking.
- Spare fuses and connectors: Quick replacements for electrical faults.
- Hand trowel and pruners: For routine plant care within the frame.
Check battery terminals for corrosion twice a year, and inspect all wiring for signs of wear or damage before each growing season. Remove organic debris from inside the frame to minimize mold and pests. Replace weatherstripping as needed if you notice drafts or heat loss.
Expert Tips for Optimizing Your Solar-Powered Cold Frame
- Size Matters: A frame roughly 2×6 feet is manageable for most home gardeners and maximizes heat retention.
- Double-Check Seals: Even tiny gaps can cause significant heat loss; use a smoke pencil or incense stick to spot leaks.
- Battery Placement: Mount batteries inside a weather-sealed box, but avoid direct contact with moist soil to extend lifespan.
- Modular Design: Consider building in sections for easier transport and seasonal storage.
- Crop Rotation: Alternate plant types each season to reduce disease and boost soil health.
Frequently Asked Questions (FAQ)
How much does it cost to build a solar-powered cold frame?
Depending on size, materials, and whether you opt for advanced automation, expect to spend $200–$600. The main costs are polycarbonate panels and the solar power kit. Sourcing reclaimed materials or surplus solar components can reduce expenses.
How long will a solar battery last?
AGM batteries typically last 3–5 years with proper care, while LiFePO4 batteries can exceed 7 years if not deeply discharged. Regularly check charge controller settings to avoid over-discharge.
Can I retrofit an existing cold frame with solar?
Yes! Many gardeners add solar panels, vent openers, or small fans to traditional cold frames. Just ensure all electronics are weatherproof and securely mounted.
Conclusion: Growing Year-Round, the Sustainable Way
A solar-powered cold frame is more than a clever DIY project—it’s a gateway to resilient, sustainable, and deeply satisfying gardening. By investing in the right tools and equipment, you create a microclimate that nurtures your plants through the coldest nights and the earliest spring thaws. The initial effort pays off every time you harvest fresh greens in midwinter or see your seedlings thrive while others wait for warmer weather.
Remember, the key to long-term success is thoughtful planning and material selection. Quality glazing, robust weather-sealing, and a reliable solar power setup will keep your cold frame performing at its best for years. Regular maintenance—cleaning panels, checking batteries, and inspecting seals—takes just minutes each season but pays dividends in plant health and productivity.
Most importantly, your solar-powered cold frame is a living example of how technology and nature can work together for a greener future. Each tomato, lettuce, or herb you grow out of season is a testament to your commitment to sustainability and self-sufficiency. So gather your tools, source your materials, and start building—the year-round garden of your dreams is just a weekend away!


For someone who is just starting out, how complicated is it to wire the solar panels and set up automated ventilation in a DIY cold frame? Are there specific safety tips beginners should be aware of during installation?
Wiring solar panels and setting up automated ventilation for a cold frame is manageable for beginners, especially if you use pre-made kits. Basic wiring involves connecting the panel to a charge controller, battery, and ventilation fan—clear instructions are usually included. Safety tips: always disconnect power before working, avoid water contact with electrical parts, and double-check connections to prevent shorts. Taking your time and following diagrams carefully will help ensure a safe installation.
If I already have a basic cold frame, what would be the first step to retrofit it with solar-powered features? Are there any specific tools or materials from your guide that are non-negotiable for a safe and effective upgrade?
To retrofit your existing cold frame, the first step is to install a small solar panel and battery system to power any added features like ventilation fans or heating mats. From the guide, non-negotiable materials include a reliable solar panel, charge controller, deep-cycle battery, and weatherproof wiring. Essential tools would be a drill, wire strippers, and a multimeter to ensure safe and accurate connections throughout the setup.
How difficult is it to install automated ventilation as described in the article? I’m imagining issues like the vent not opening on a cloudy but warm day or electronics getting wet. Are there common troubleshooting tips for these kinds of problems?
Installing automated ventilation for a solar-powered cold frame is manageable for most DIYers, but some challenges can come up. Vent openers that use temperature-sensitive wax are reliable and don’t need electricity, so they work even on cloudy days if it’s warm. For electronic systems, waterproofing connections and housing is important. If vents don’t open, check for blocked mechanisms, low battery power, or faulty sensors. Regularly clean and test moving parts to avoid sticking or jamming.
I’m interested in building a solar-powered cold frame, but I’m not sure how to size the photovoltaic panel for variable winter sunlight. Could you offer guidance on calculating the right solar panel setup based on my region or average light conditions?
To size your solar panel, first estimate the total daily energy your cold frame will need (in watt-hours), including any fans or heaters. Then, check your region’s average winter sunlight hours—this is often called ‘peak sun hours.’ Divide your daily energy requirement by the peak sun hours to get the panel size in watts. For example, if you need 100Wh per day and get 3 sun hours, you’d need at least a 35W panel (100Wh ÷ 3h ≈ 33W). It’s wise to add 20-30% extra capacity for cloudy days.
You mentioned that installing fans and heat mats in the cold frame requires more than just attaching a solar panel. Can you explain what kind of wiring or controllers are necessary, and if someone with basic DIY skills would be able to handle that part safely?
To add fans and heat mats to your solar-powered cold frame, you’ll need a solar charge controller to manage power from the panel and prevent overcharging. You’ll also need appropriate wiring, connectors, and possibly a small battery to store energy for use at night. Basic wiring skills and careful attention to safety (like proper insulation and correct voltage matching) make this project manageable for most DIYers. Double-check all connections and follow safety guidelines to handle the work confidently.