
Introduction: Harnessing the Sun for Cleaner Rainwater
As water scarcity and sustainability become pressing concerns, homeowners everywhere are looking for creative ways to reduce their environmental footprint. One of the most practical and impactful solutions is harvesting rainwater for garden irrigation and household use. But to make rainwater safe and reliable, effective filtration is essential. By combining a rain barrel system with solar power, you can create an off-grid, low-maintenance filtration setup that empowers you to use clean water while minimizing your reliance on municipal supplies.
This comprehensive guide will walk you through the precise tools, equipment, and materials required to build a DIY solar-powered rain barrel filtration system. We’ll break down each component—from the right type of barrel and solar panels to the best filtration methods and plumbing hardware—so you can confidently assemble a system that suits your property, climate, and water needs. Whether you’re a gardening enthusiast, a sustainability advocate, or a beginner exploring eco-friendly projects, this guide provides the practical, detailed information you need to succeed.
Section 1: Understanding Solar-Powered Rain Barrel Filtration Systems
1.1. Why Filter Rainwater?
Rainwater collected from rooftops can contain debris, dust, pollen, bird droppings, and even chemical runoff from roofing materials. While rainwater is generally cleaner than surface water, filtration is critical for:
- Protecting plants from contaminants during irrigation
- Reducing clogging and maintenance in drip or soaker systems
- Ensuring water is safe for non-potable household uses
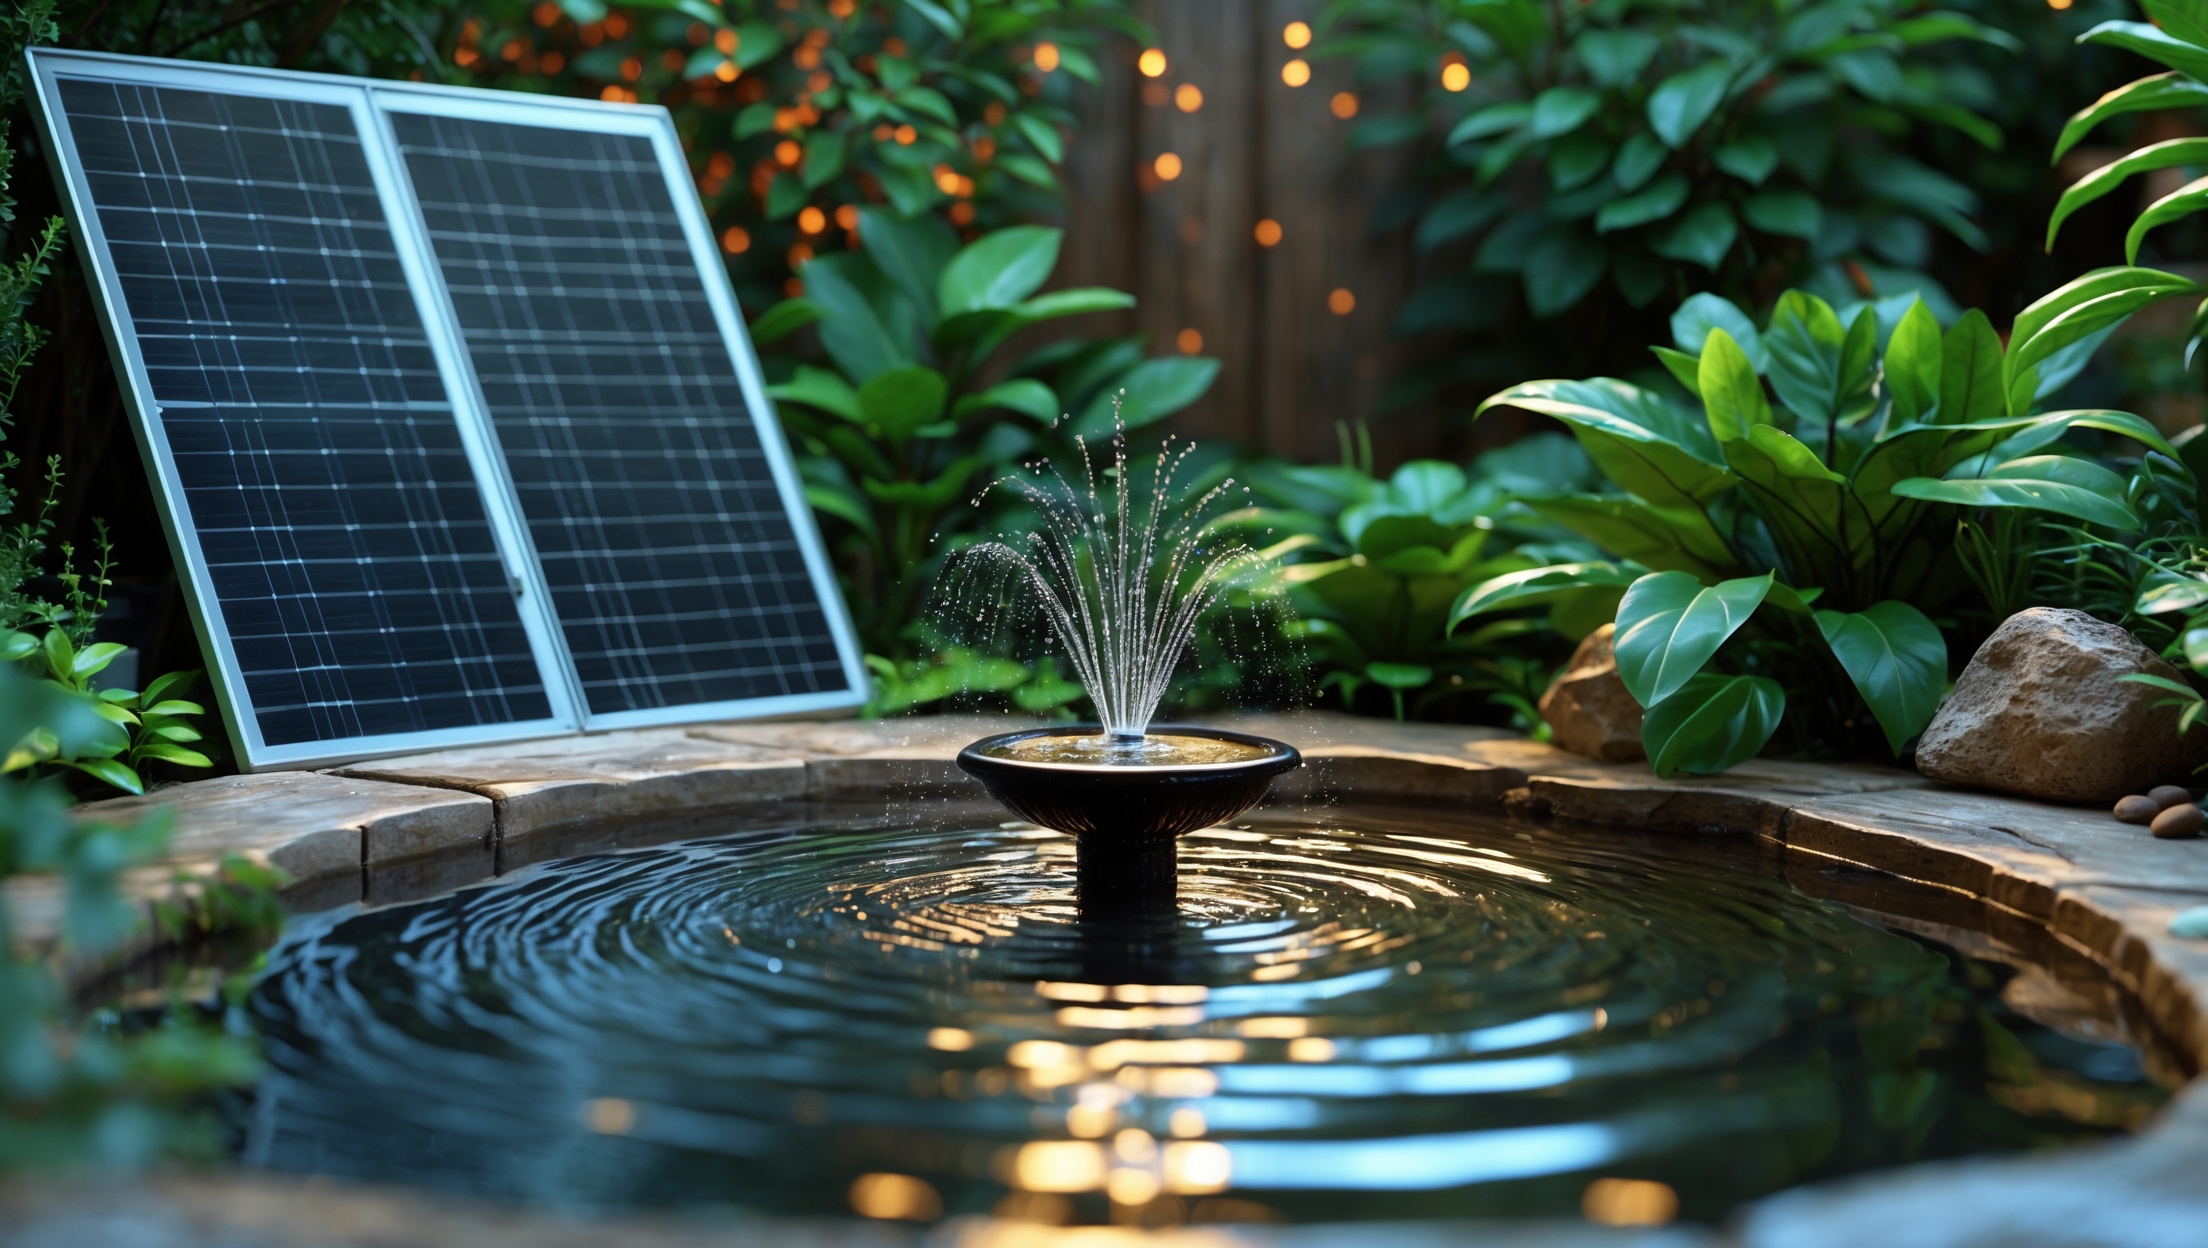
1.2. The Solar Advantage
Solar-powered filtration systems use a small photovoltaic (PV) panel to run pumps and filtration units independently from the grid. This approach offers:
- Zero ongoing energy costs
- Silent, automatic operation
- Reliable performance even during power outages
Section 2: Core Components of a Solar-Powered Rain Barrel Filtration System
2.1. Rain Barrel Selection
Choose a food-grade plastic or UV-resistant polyethylene barrel, typically 50–100 gallons in capacity. Look for features such as:
- Sealable, removable lid for cleaning
- Pre-cut inlet and outlet holes for hoses
- Integrated overflow protection
2.2. Filtration Unit Types
Effective filtration combines two or more stages:
- Pre-Filter: Removes leaves, twigs, and large debris before water enters the barrel (e.g., mesh screen or leaf diverter at the downspout).
- Primary Filter: Installed inside or after the barrel, removes sediment, fine particles, and some pathogens; options include cartridge, sand, or activated carbon filters.
- Optional UV Sterilizer: Solar-powered UV light can provide an extra layer of disinfection for non-potable uses.
2.3. Solar Power System
Key elements include:
- Photovoltaic Panel: 10–30W panel is usually sufficient for small pumps and UV lights.
- Charge Controller: Prevents battery overcharging, extends battery life.
- Deep Cycle Battery: 12V, sealed lead-acid or lithium iron phosphate (LiFePO4) preferred for outdoor use.
- Wiring & Mounting Hardware: Weatherproof connectors and brackets for panel and battery installation.
2.4. Pump Selection
Choose a 12V DC submersible pump (3–5 L/min flow rate), compatible with your chosen solar panel and battery. Consider a brushless, low-maintenance model designed for continuous use.
2.5. Plumbing and Valves
- Food-grade hoses or PVC piping (½–1 inch diameter)
- Ball valves for flow control and easy maintenance
- Quick-connect fittings for modular assembly
- Backflow preventer to stop reverse contamination
2.6. Miscellaneous Supplies
- Silicone sealant (aquarium grade) for leak-proof joints
- Pipe clamps and mounting brackets
- Weatherproof enclosure for electronics
- Optional: Water level indicator, overflow tubing, and mosquito-proof mesh
Section 3: Tools Required for Assembly
3.1. Essential Hand Tools
- Drill with drill bits and hole saw (for barrel and pipe openings)
- Adjustable wrench and pliers
- Phillips and flathead screwdrivers
- Utility knife
- Measuring tape and permanent marker
3.2. Electrical Tools
- Wire stripper and crimper
- Multimeter for testing voltage and continuity
- Heat shrink tubing and electrical tape
3.3. Safety Gear
- Protective gloves (chemical-resistant)
- Safety goggles
- Dust mask (for cutting or drilling plastic)
Section 4: Sourcing and Selecting Equipment for Durability and Performance
4.1. Buying vs. Repurposing
While new, purpose-built rain barrel kits offer convenience and warranties, repurposed food-grade barrels (such as those used for syrups or olives) can be cost-effective and eco-friendly. Avoid barrels that have contained chemicals or oils.
4.2. Filtration Media Quality
- Look for filters with NSF/ANSI certification for drinking water safety if you intend to use water for household cleaning or pet care.
- Choose replaceable cartridge designs for easy maintenance.
- For sand or gravel filters, use washed, graded media to prevent compaction and channeling.
4.3. Solar Panel and Battery Sizing
- Calculate total watt-hours needed (pump watts × daily runtime hours + UV unit if used).
- Select a solar panel with 20–30% more capacity than your calculated need to account for cloudy days and seasonal variation.
- Match battery capacity in amp-hours (Ah) to your daily load, aiming for 2–3 days of autonomy.
4.4. Pump Selection Tips
- Check maximum head height (distance pump can lift water) against your barrel’s height and garden elevation.
- Opt for pumps with thermal overload protection and IP68 waterproof rating for longevity.
Section 5: Assembly Workflow – Step by Step
5.1. Preparing the Barrel
- Clean the barrel thoroughly with a diluted bleach solution, then rinse well.
- Drill inlet and outlet holes as per your system design (top for inlet, bottom side for outlet, side near top for overflow).
- Install mesh screen at the inlet to block debris and mosquitoes.
5.2. Installing the Filtration System
- Mount pre-filter (leaf diverter) on the downspout above the barrel.
- Attach primary filter to the outlet inside the barrel or just after the outlet spigot.
- For multi-stage filters: sequence as pre-filter → sediment filter → carbon filter → optional UV sterilizer (post-pump).
5.3. Setting Up the Solar Power System
- Mount solar panel facing true south (northern hemisphere) or true north (southern hemisphere), angled to match local latitude.
- Install charge controller and battery in a weatherproof enclosure near the barrel.
- Connect pump and any UV sterilizer to the load terminals of the charge controller, using appropriate fuses.
- Test system voltage and confirm all connections are waterproofed with heat shrink or sealant.
5.4. Plumbing Connections
- Connect outlet hose from pump to garden irrigation system or storage container.
- Install ball valves and quick-connects for maintenance and winterization.
- Secure all hoses and pipes with clamps to prevent leaks.
5.5. Testing and Commissioning
- Fill the barrel and check for leaks at all joints.
- Power up the solar system and observe pump operation; ensure filters are correctly oriented for flow direction.
- Flush the system for several minutes before first use to remove any residues from new filters and hoses.
Section 6: Maintenance Tools and Troubleshooting Gear
6.1. Maintenance Tasks and Tools
- Filter wrench for cartridge replacement
- Spare filter cartridges, sand, or activated carbon as required
- Small brush for cleaning inlet screens
- Digital voltmeter for checking solar and battery health
- Silicone lubricant for valve seals
6.2. Troubleshooting Checklist
- If the pump fails to start, check battery voltage and solar panel output with a multimeter
- If flow rate drops, check for clogged filters or blocked intake screens
- Look for leaks at all joints after heavy storms or freeze-thaw cycles
Section 7: Tips for Upgrades and Expansion
- Add a second barrel for greater storage—plumbed in series or parallel
- Install a rain gauge and wireless water level monitor for smarter water management
- Integrate the system with drip irrigation timers powered by the same solar setup
- Upgrade to smart solar charge controllers with Bluetooth for remote monitoring
Conclusion: Empowering Sustainable Water Use at Home
Building a DIY solar-powered rain barrel filtration system is a practical, rewarding project that directly contributes to sustainable living. By carefully selecting the right tools and equipment—from a robust rain barrel and high-efficiency solar panel to reliable filters and plumbing hardware—you can create a system that delivers clean, safe water for your garden or household needs, even off-grid. This investment not only reduces your water bills and reliance on municipal sources but also helps preserve local freshwater supplies and supports healthier plants through chemical-free irrigation.
Remember, the longevity and effectiveness of your system depend on the quality of your components and your commitment to regular maintenance. Choose certified filters, weatherproof electronics, and durable, food-safe materials. Keep essential tools on hand for quick repairs and upgrades, and monitor your system’s performance throughout the seasons. With each drop of harvested and filtered rainwater, you’re taking an actionable step toward a greener future.
Whether you expand your setup to include smart controls or keep it simple and manual, your DIY solar-powered rain barrel filtration system serves as a model for resourcefulness and ecological stewardship in your community. Embrace the learning process, share your experience with others, and enjoy the peace of mind that comes with sustainable, solar-driven water management.

I’m interested in setting up a solar-powered rain barrel system, but I live in a region that doesn’t get a lot of direct sunlight year-round. How well do these small PV panels work in cloudy climates, and would I need a backup power source for consistent filtration?
Small solar panels can still generate some power on cloudy days, but their output drops significantly compared to sunny conditions. In consistently overcast regions, your filtration system may operate intermittently or at reduced efficiency. For reliable daily filtration, it’s a good idea to add a backup power source, such as a battery bank or a connection to the grid. You might also consider using a larger panel to compensate for lower sunlight, but a backup ensures your system keeps working when solar isn’t enough.
Has anyone tried integrating a pre-filter to catch larger debris before it reaches the main filtration system? I’m curious if that makes maintenance easier or if it’s not really necessary for most setups.
Yes, many DIY rain barrel setups include a pre-filter like a mesh screen, gutter guard, or leaf diverter to catch leaves and larger debris before water enters the main filtration system. This step does help reduce how often you need to clean or replace the main filter, making overall maintenance easier. It’s especially useful if your roof collects a lot of debris.
For someone just starting out with rainwater harvesting, what’s a realistic budget range to set aside for all the tools and equipment mentioned in your guide?
For beginners, you can expect to spend roughly $150 to $300 for all the basic tools and equipment to build a solar-powered rain barrel filtration system, as described in the guide. This estimate covers the rain barrel, solar panel, filter materials, piping, connectors, and basic tools. Prices can vary by location and quality, so starting with mid-range components is a good balance between cost and reliability.
What kind of maintenance is usually involved after installing a solar-powered rain barrel filtration system? Specifically, are there filters or parts that need to be cleaned or replaced on a regular basis to keep things working smoothly?
After installing a solar-powered rain barrel filtration system, regular maintenance is important to keep it running well. You’ll typically need to clean or replace the primary filter every few months, depending on water quality and usage. Check the solar panel for debris and wipe it down as needed to ensure efficient charging. Inspect hoses and connections for leaks or clogs, and clear any debris from the barrel itself. Keeping up with these simple tasks will help your system work efficiently for the long term.
I’m wondering about filtration methods you recommend for water that will be used mainly for vegetable gardens. Are there filters that can handle debris and potential chemicals from roofing materials effectively?
For vegetable gardens, it’s important to use a combination of filtration techniques. Start with a mesh or screen filter to remove large debris. Next, consider a carbon or activated charcoal filter, which can help reduce certain chemicals that may leach from roofing materials. Always use food-safe, garden-approved filter materials, and periodically check and replace filters for best results.
If the filtered rainwater is intended for non-potable household uses, like laundry or toilet flushing, does the guide recommend any extra steps or equipment to ensure safety and reliability?
The guide suggests that for non-potable uses like laundry or toilet flushing, the basic filtration system described is generally sufficient, but it does highlight the importance of regularly cleaning and maintaining filters to prevent clogs and bacterial buildup. Although advanced purification isn’t required for these uses, the guide recommends adding a mesh pre-filter and occasionally flushing the system to maintain reliability and safe operation.