
Introduction: The Overlooked Safety Essentials of Solar Attic Fan Installation
Solar attic fans are a practical upgrade for eco-conscious homeowners. They reduce attic heat buildup, lower air-conditioning loads, and extend roof life—all while running on free solar energy. But while the benefits are clear, one crucial aspect often gets overlooked: installation safety. Many DIYers and even some professionals underestimate the risks associated with mounting a solar attic fan, from electrical hazards to roof damage and weatherproofing mistakes. A single misstep can lead to leaks, voided warranties, or worse—injury. This comprehensive safety checklist is designed to guide you through every stage of installation, ensuring you protect your home, your wallet, and yourself. Whether you’re an ambitious DIYer or hiring a contractor, following these steps will help you avoid common pitfalls and maximize the lifespan and performance of your solar attic fan.
Pre-Installation: Planning for Safety and Success
1. Assess the Roof Structure and Condition
Before you even purchase a solar attic fan, thoroughly inspect your roof. Look for:
- Shingle Health: Are there cracked, curling, or missing shingles in the area where you plan to install?
- Roof Age: If the roof is due for replacement within 5 years, consider postponing installation.
- Decking Stability: Walk the roof to check for soft spots or sagging, indicating rot or water damage.
Tip: Never install a solar attic fan on a compromised roof. Address any repairs first to prevent leaks and structural failures.
2. Gather Personal Protective Equipment (PPE)
- Non-slip roofing shoes or boots
- Safety harness and lifeline (anchored to a secure point)
- Work gloves and eye protection
- Hard hat (especially for pitched or high roofs)
- Long pants and long sleeves (for sun and scratch protection)
Note: Do not attempt installation alone. Always have a partner for safety and tool support.
3. Check Local Building Codes and HOA Rules
Solar attic fans may require permits or specific placements. Double-check:
- Local building code requirements for roof penetrations
- HOA or neighborhood covenants regarding visible solar devices
- Electrical code for any wiring or integration with existing attic fans
Obtain all necessary approvals before proceeding. Failure to comply can lead to fines or forced removal.
4. Weather Watch: Schedule Wisely
Pick a clear, dry day with mild wind. Avoid:
- Rain or snow (slippery surfaces, risk of water intrusion)
- High winds (hazardous for ladder and roof work)
- Extreme heat (increases risk of heat stroke and shingle damage)
Safety Checklist During Installation
1. Ladder Safety
- Use a sturdy, appropriately sized extension ladder rated for your weight plus tools.
- Set the ladder on level, solid ground. Secure the base and, if possible, tie off the top.
- Maintain three points of contact when climbing.
- Never overreach—move the ladder as needed.
2. Electrical Precautions
Even though solar attic fans are low-voltage, mishandling can cause shocks or component damage:
- Handle solar panels with care. Avoid contact with terminals when exposed to sunlight.
- If wiring into existing attic fans, shut off power at the breaker before connecting or disconnecting wires.
- Use insulated tools when handling any electrical components.
- Double-check polarity before making final connections.
3. Roof Work: Fall Prevention & Site Safety
- Wear your safety harness at all times on roofs with a pitch greater than 4:12.
- Keep your work area clear of loose tools and debris.
- Lay out drop cloths to catch falling screws, nails, or tools.
- Never work on wet or icy surfaces.
- Keep children and pets away from the work area.
4. Marking and Cutting the Roof Opening
- Double-check measurements before cutting. An oversized hole is difficult to correct.
- Use a circular saw or reciprocating saw with a depth set just past shingle thickness.
- Wear goggles and a dust mask to avoid inhaling wood or asphalt particles.
- Clear away all debris before placing the flashing.
5. Flashing and Weatherproofing
Improper sealing is the #1 cause of post-installation leaks. Ensure:
- Flashing is installed under the upper shingles and over the lower ones.
- All nail holes are sealed with high-quality roofing sealant.
- No gaps between the flashing and the roof deck.
- Shingles are pressed down firmly over the flashing.
6. Securing the Solar Attic Fan
- Use manufacturer-supplied fasteners or corrosion-resistant screws.
- Do not overtighten, which can warp the flashing and create leaks.
- Check that the fan is level and firmly seated.
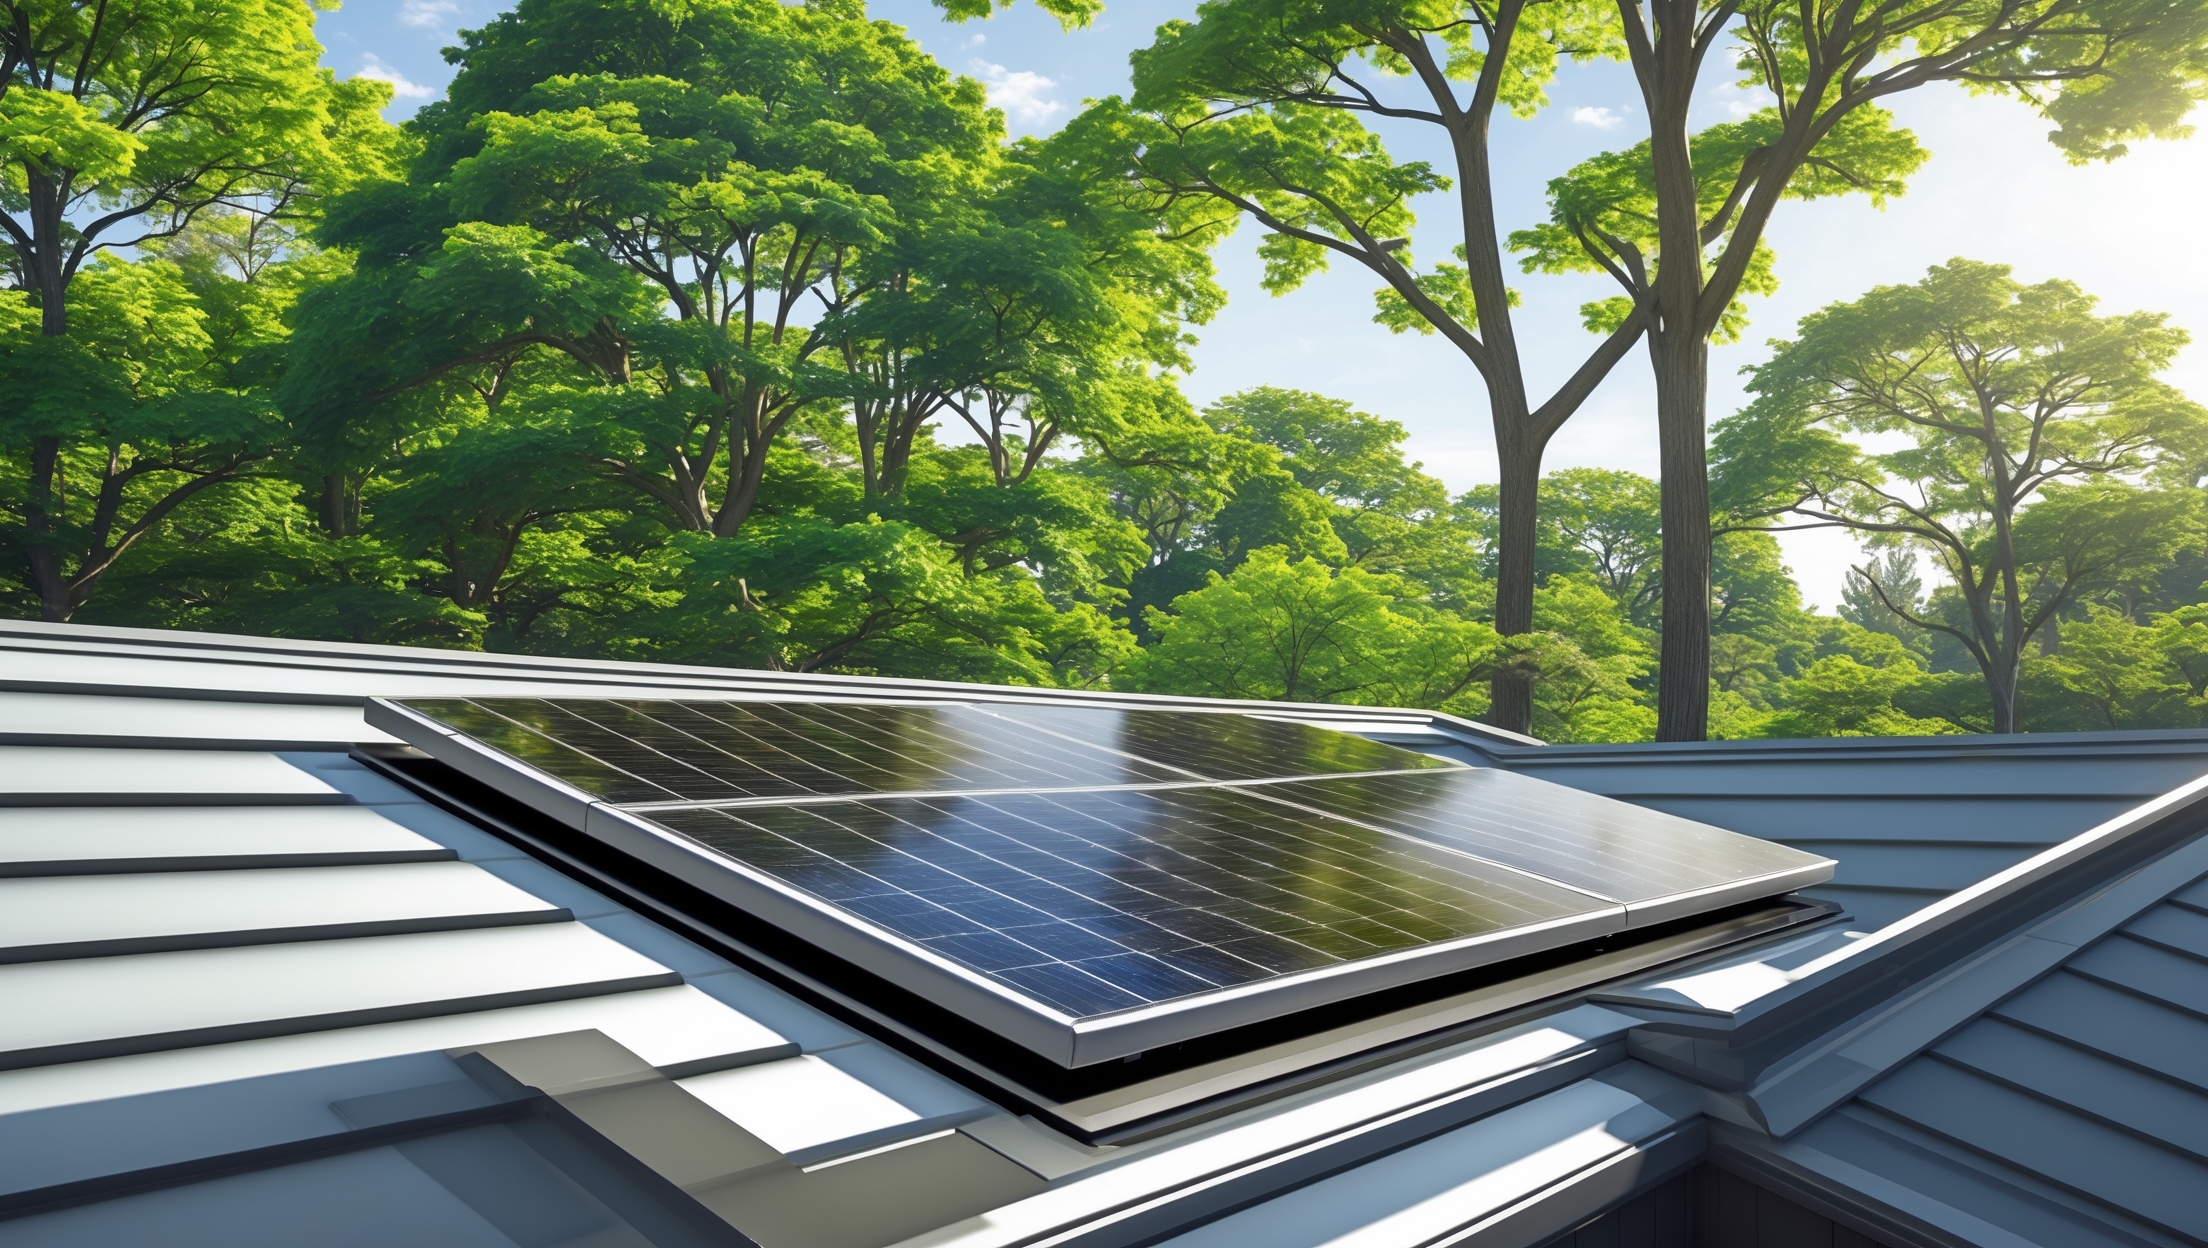
7. Solar Panel Positioning
- Ensure the panel is angled for maximum sun exposure (typically south-facing in the northern hemisphere).
- Secure all brackets and cables to prevent wind uplift or abrasion.
- Route wires away from sharp edges and seal any penetrations with UV-resistant caulk.
Post-Installation: Final Checks and Ongoing Safety
1. Leak Testing
- Simulate heavy rain by spraying water over the installation area for 10 minutes.
- Check the attic for any signs of water entry around the new fan.
- If leaks are found, dry the area and reseal immediately.
2. Electrical Functionality
- Verify the fan operates when the sun hits the panel.
- Check for quiet, smooth operation—no grinding or rattling.
- Inspect all wiring connections for security and weatherproofing.
3. Roof Integrity
- Ensure all shingles are flat and undamaged after installation.
- Look for stray nails or screws that may have missed flashing or sheathing.
- Confirm attic insulation remains dry and undisturbed.
4. Clean-Up and Tool Check
- Remove all tools, packaging, and fasteners from the roof and yard.
- Safely store ladders and PPE for future maintenance.
- Dispose of debris in accordance with local codes.
5. Establish a Maintenance Schedule
- Inspect the fan and flashing twice a year (spring and fall) for debris, corrosion, or animal nests.
- Clean the solar panel surface with a soft cloth and water when dusty.
- Check operation after major storms or high winds.
Pro Tips: Maximizing Safety and System Longevity
- Photograph each installation stage; this helps with warranties and future troubleshooting.
- Keep the installation manual and warranty paperwork in a safe, accessible place.
- If in doubt, consult a licensed roofer or electrician—especially for complex roof types or electrical tie-ins.
- Consider a professional inspection if your attic has unusual ventilation needs or if you notice moisture issues post-installation.
Conclusion: Safe Installations Yield Lasting Benefits
Adding a solar attic fan to your home is a smart move for energy savings, comfort, and sustainability. But those benefits are only fully realized when the installation is done safely and correctly. Skipping steps or cutting corners can result in leaks, electrical issues, or even injury—quickly erasing any gains from your investment. By following this thorough safety checklist, you’ll ensure not just the optimal performance of your solar attic fan, but also the protection of your roof and family. Remember, safety is not a one-time task but an ongoing commitment. Regular inspections and prompt attention to minor issues can prevent major headaches down the road. Most importantly, don’t hesitate to call in professionals for any part of the process that feels beyond your skill or comfort level. Sustainable living is about making choices that are smart for you and the planet—and that always starts with safety first. With careful planning and vigilant maintenance, your solar attic fan will provide years of reliable, worry-free service, keeping your home cooler and greener every season.

If my roof decking has a couple of slightly soft spots but no obvious water damage, would it still be okay to proceed with installation after patching, or do I need to replace those sections completely before considering a solar attic fan?
If your roof decking has soft spots, even without visible water damage, it’s important to address them properly before installing a solar attic fan. If patching fully restores strength and stability, you may proceed, but if the area feels spongy or gives under pressure, replacing those sections is safer. This prevents future leaks and ensures your fan is mounted securely.