
Introduction: Why Home Biochar Production Matters
As sustainable living gains momentum, homeowners are increasingly exploring innovative ways to close the loop between waste reduction, renewable energy, and regenerative gardening. One promising practice at this intersection is home biochar production: the process of pyrolyzing organic matter to create a stable form of carbon that, when added to soil, enhances fertility, water retention, and microbial life. Not only does biochar improve your garden, but it also sequesters carbon, helping combat climate change directly from your backyard.
Setting up a home biochar kiln may sound complex, but with the right tools, materials, and know-how, even beginners can safely and efficiently transform yard waste into a valuable soil amendment. This guide provides a comprehensive look at the essential equipment, selection criteria, sourcing tips, and step-by-step setup of a home-scale biochar kiln. Whether you’re an eco-minded gardener, a permaculture enthusiast, or simply curious about future energy solutions, this post will equip you to start producing biochar and make your gardening more sustainable than ever.
Understanding Biochar: The Basics
What Is Biochar?
Biochar is a highly porous, charcoal-like substance produced by heating organic material (such as wood chips, crop residues, or yard waste) in a low-oxygen environment—a process known as pyrolysis. Unlike regular ash or burnt wood, biochar is stable and can persist in soil for centuries, locking away carbon and providing lasting benefits to plant life and soil structure.
Benefits of Biochar in Sustainable Living
- Soil Enhancement: Improves soil structure, water retention, and nutrient holding capacity.
- Carbon Sequestration: Permanently locks up carbon, reducing greenhouse gases.
- Waste Reduction: Provides a use for prunings, garden waste, and some food scraps.
- Supports Soil Microbes: Offers habitat for beneficial microorganisms.
Choosing the Right Biochar Kiln Design for Home Use
Overview of Common Kiln Types
- TLUD (Top-Lit UpDraft) Kiln: Efficient, low-emission, ideal for small-scale use.
- Kon-Tiki Pit Kiln: Cone-shaped, open-air, easy to build but harder to control emissions.
- Retort Kiln: Sealed chamber, higher yields, more complex construction.
Factors to Consider
- Batch Size: How much biochar you want to make at once.
- Emission Control: Ability to minimize smoke and pollutants.
- Material Availability: Access to suitable metal drums, bricks, or fire-safe containers.
- Safety: Stability, heat containment, and ease of monitoring.
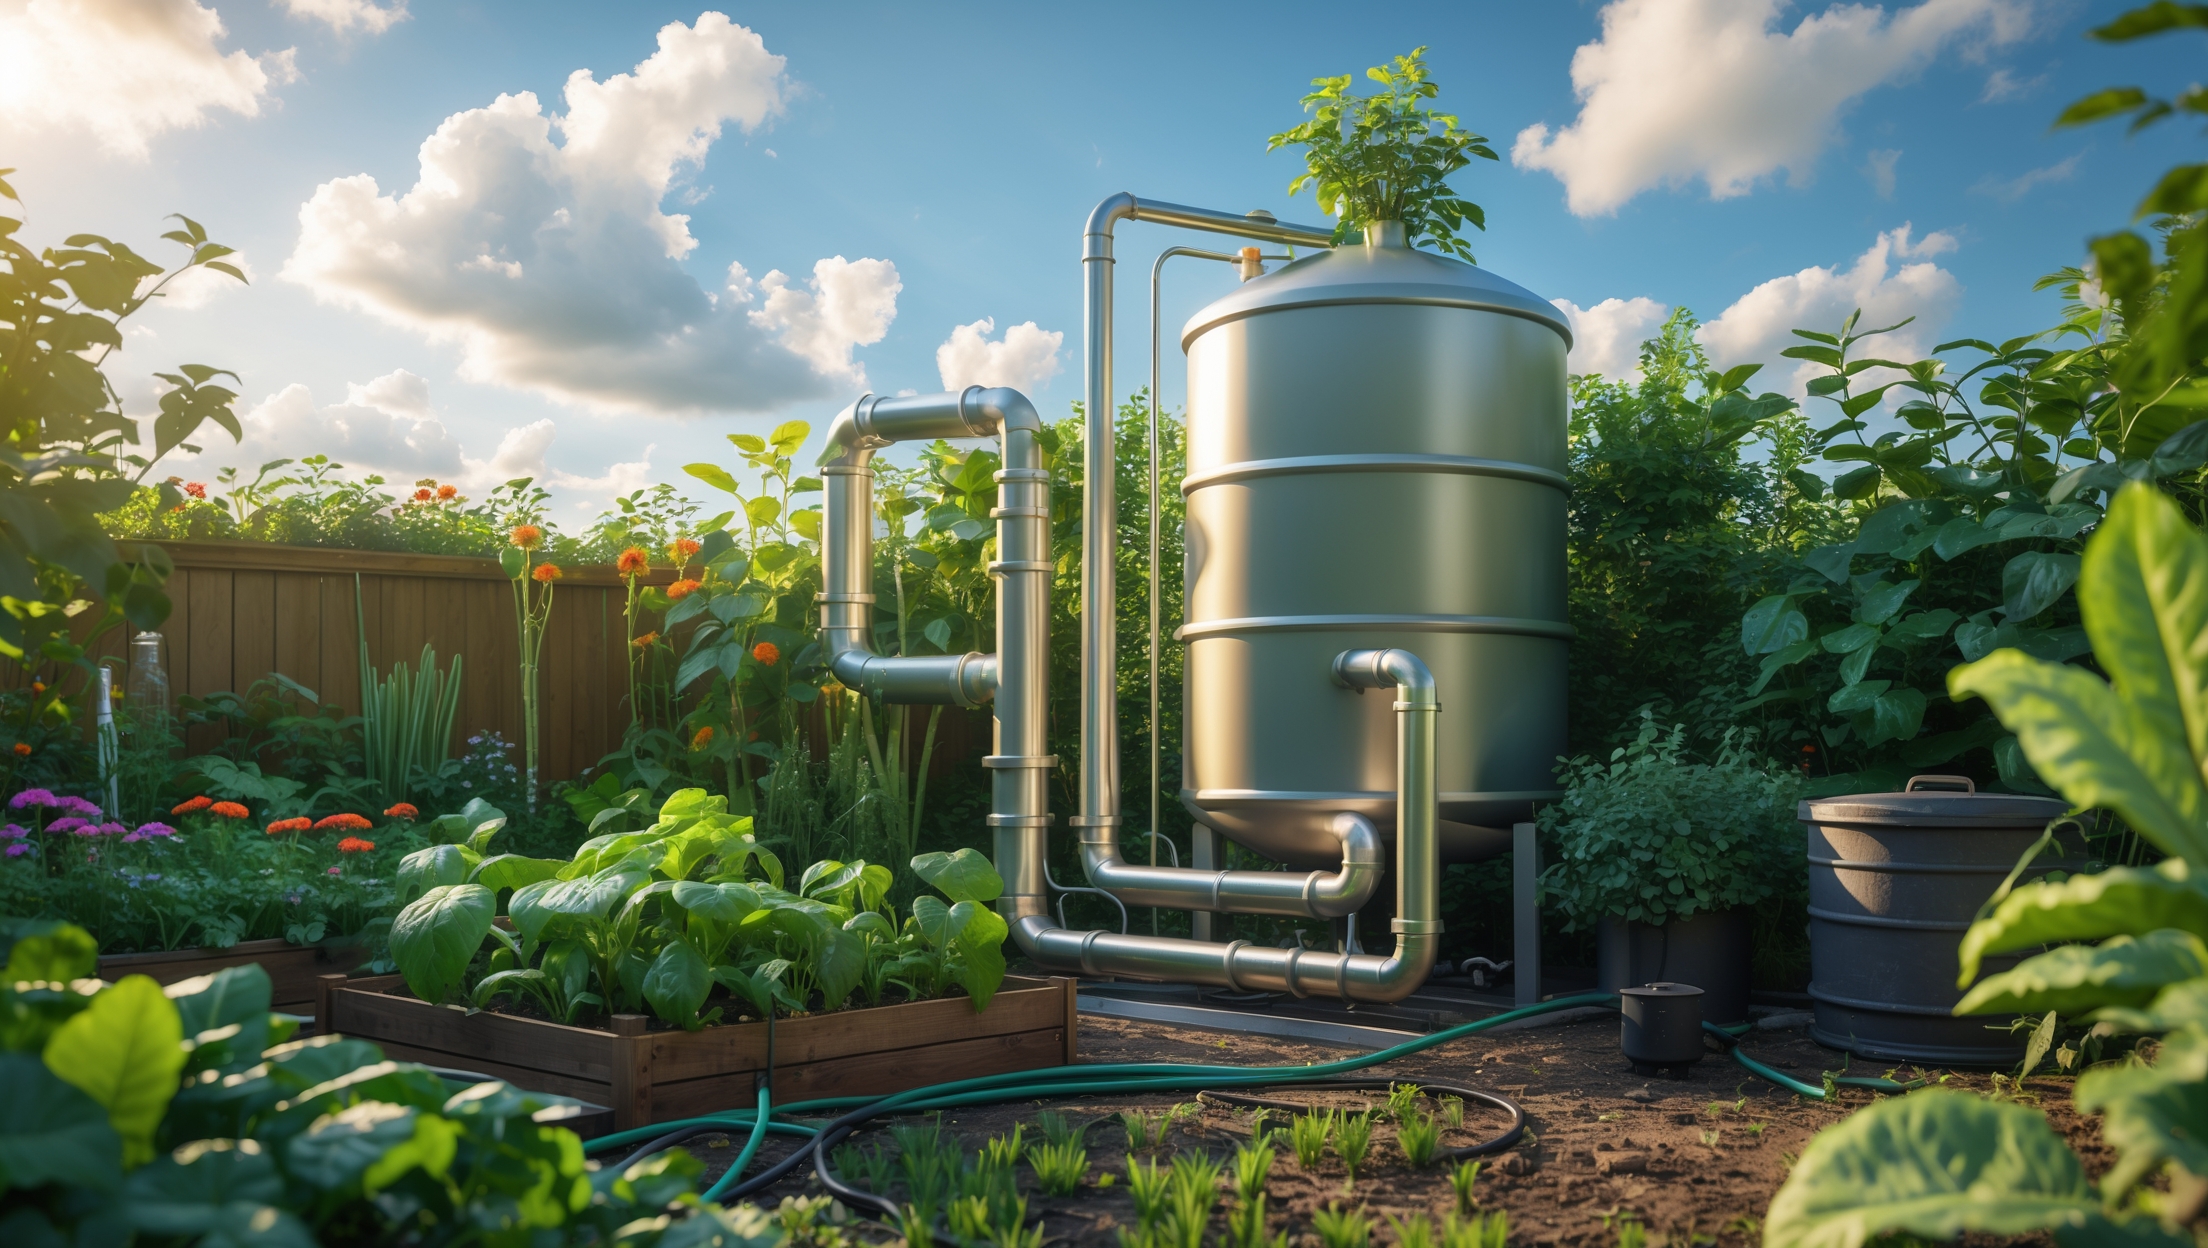
Recommended Starter: 55-Gallon Drum TLUD Kiln
For most homeowners, a 55-gallon drum TLUD kiln strikes the right balance between simplicity, safety, and efficiency. This design uses a metal drum to restrict oxygen, facilitating clean pyrolysis and manageable batch sizes. It’s also straightforward to build with common tools.
Essential Tools and Equipment for Building a Home Biochar Kiln
Core Equipment Checklist
- 55-Gallon Steel Drum: Food-grade, with removable lid. Avoid drums with toxic residues.
- Angle Grinder or Drill with Hole Saw: For cutting air vents and access holes.
- Heavy-Duty Metal Snips or Saw: To cut openings as needed.
- High-Temperature Paint (optional): To prevent rust and extend kiln life.
- Metal Handles and Hinges: For safe handling of the lid and access doors.
- Fire Bricks or Pavers: For stable kiln placement and fire safety.
- Welding Equipment (optional): For added structural stability.
Supporting Tools and Safety Gear
- Work Gloves: Heat resistant, for safe handling of hot surfaces.
- Safety Goggles: Protect eyes when cutting or drilling metal.
- Long Sleeves & Cotton Clothing: Fire-safe attire for operation.
- Fire Extinguisher: Class ABC, always on hand.
- Shovel and Metal Rake: For managing material and stirring biochar.
- Sturdy Wheelbarrow: To transport feedstock and finished biochar.
- Infrared Thermometer (optional): For monitoring kiln temperature.
Material Sourcing Tips
- Check local classifieds or recycling centers for used drums.
- Hardware stores carry suitable tools and fire bricks.
- Choose hardwood prunings, untreated lumber scraps, or nut shells as feedstock.
Step-by-Step Setup: Building and Operating Your Biochar Kiln
Step 1: Preparing the Drum
- Thoroughly clean the drum with soap and water. Remove any coatings or residues.
- Use an angle grinder or hole saw to cut 6–8 evenly spaced air holes (2–3 inches diameter) around the base for airflow.
- Cut a central hole in the lid (optional for TLUD), or attach a short chimney pipe for improved draft.
- Install handles and hinges for safe access if needed.
- Paint the outside with high-temperature paint for durability (optional).
Step 2: Setting Up the Kiln Site
- Choose a level, non-flammable surface, ideally on bare earth or gravel away from buildings and trees.
- Arrange fire bricks or pavers to create a stable base for the drum.
- Keep fire extinguisher and water source nearby.
Step 3: Loading the Kiln
- Chop feedstock into uniform pieces (2–4 inches thick) for even pyrolysis.
- Fill the drum loosely, leaving air gaps for good airflow.
- Do not overload; overpacking restricts air and leads to incomplete combustion.
Step 4: Lighting and Managing the Burn
- Top-light the kiln: Ignite a small layer of dry kindling at the top.
- The fire front will gradually move downward, pyrolyzing the material below and releasing gases that burn above—this minimizes smoke.
- Monitor closely; use the infrared thermometer to keep the kiln between 400–700°C (750–1300°F) for optimal biochar.
- Add small amounts of feedstock if needed, but avoid opening the lid too often.
Step 5: Quenching and Harvesting Biochar
- When material is fully charred (black, with little to no smoke), carefully tip out the hot biochar into a metal wheelbarrow or on bare ground.
- Immediately quench with water to stop combustion and prevent ash formation.
- Stir to ensure all embers are extinguished.
Step 6: Post-Processing and Application
- Crush the cooled biochar to ½-inch or smaller pieces for best soil integration.
- “Charge” the biochar by mixing with compost, manure, or diluted liquid fertilizer before adding to soil—this prevents nutrient drawdown.
- Apply at a rate of 5–10% by volume to garden beds, tree basins, or compost piles.
Maintenance and Safety Best Practices
Regular Maintenance Tasks
- Inspect the drum and lid for rust, corrosion, or warping before each use.
- Clean ash residue from air holes and chimney after every batch.
- Repaint or repair as needed to prolong equipment life.
Safety Checklist
- Always wear heat-resistant gloves and eye protection.
- Work in clear, open areas and avoid windy days.
- Never leave the kiln unattended while in operation.
- Have fire extinguishing tools ready at all times.
- Let the kiln cool completely before handling or storing.
Environmental Considerations
- Use only untreated, chemical-free biomass to avoid toxic emissions.
- Monitor local regulations regarding outdoor burning and emissions.
- Consider adding a simple afterburner or chimney filter if smoke is a concern in your area.
Budgeting for a Home Biochar Kiln Project
Estimated Costs
- Used 55-gallon drum: $20–$60
- Angle grinder/hole saw (if not owned): $30–$80
- Fire bricks/pavers: $20–$40
- Safety gear: $25–$50
- Miscellaneous (handles, paint, hardware): $15–$40
Total estimated budget: $90–$270 (less if you already own tools or can source materials for free).
Cost-Saving Tips
- Borrow or rent tools if possible.
- Partner with neighbors for group builds and material sharing.
- Repurpose on-site materials for kiln base and feedstock.
Common Mistakes to Avoid
- Using painted or treated wood: Releases toxins and contaminates biochar.
- Overfilling the kiln: Restricts airflow, produces incomplete char and excess smoke.
- Poor site selection: Creates fire hazards or annoys neighbors with smoke.
- Skipping the “charging” step: Uncharged biochar can temporarily reduce soil nutrients.
- Neglecting safety equipment: Increases risk of burns or uncontrolled fire.
Conclusion: Integrating Biochar into Your Sustainable Lifestyle
Home biochar production is more than a gardening hack—it’s a tangible, hands-on way to participate in climate action while enhancing your landscape. With a modest investment in equipment and a bit of preparation, you can transform waste biomass into a powerful resource for soil health, water management, and carbon reduction. The tools and techniques outlined in this guide are designed to make the process accessible, safe, and rewarding for homeowners at any skill level.
As you integrate biochar into your soil-building routine, you’ll notice improved plant vigor, less need for irrigation, and healthier microbial life. You’ll also join a global community of regenerative practitioners, each doing their part to draw down atmospheric carbon and build more resilient food systems. Remember to experiment with different feedstocks, kiln designs, and application rates to find what works best for your environment. Home biochar kilns are a gateway to even deeper engagement with sustainable living and future energy solutions—take the first step, and let your garden (and the planet) reap the rewards.


I’m new to biochar and a bit confused about what kind of yard waste is best to use in the kiln. Are there certain types of wood or plant materials that work better or produce higher quality biochar?
For making quality biochar, it’s best to use dry, untreated hardwoods like oak, maple, or fruit tree branches, as they produce stable, high-carbon biochar. Softwoods and yard trimmings like leaves or grass can be used, but they often yield less dense biochar and may produce more ash. Always avoid materials that have been painted, treated, or contain plastics.
I noticed you mentioned that biochar can help improve soil water retention and support microbes. Can you share how long it usually takes to see noticeable results in the garden after applying homemade biochar?
You can typically start noticing improvements in soil water retention and increased microbial activity within a few weeks to a few months after applying homemade biochar, especially if it’s been charged with compost or nutrients before use. Results can vary depending on your soil type and biochar preparation, but most gardeners see benefits during the first growing season.
Could you explain more about the low-oxygen environment required for pyrolysis? I’m wondering how to make sure I’m setting up the kiln properly so I don’t just end up with regular ash or burnt wood.
To achieve pyrolysis and make biochar instead of ash, it’s essential to limit the amount of oxygen during the burn. This means your kiln should allow heat to drive off gases from the wood, but not let much air in. Use a kiln design that has tight-fitting lids or small air inlets near the base. Once the wood starts burning, partially seal the kiln to restrict airflow and monitor for limited smoke—too much air leads to full combustion and ash.
When you say biochar can be made from yard waste, are there types of organic materials that work better than others for producing high-quality biochar for garden use? Should I avoid certain prunings or scraps?
You can make biochar from a wide range of yard waste, but hardwood branches and clean, dry prunings generally create higher-quality biochar with better structure for soil improvement. Avoid materials treated with chemicals, diseased plants, or heavily resinous woods like pine, which can leave unwanted residues. Also, steer clear of weeds with mature seeds to prevent spreading them in your garden.