Introduction: Why Seasonal Maintenance Matters for Solar Pool Heating
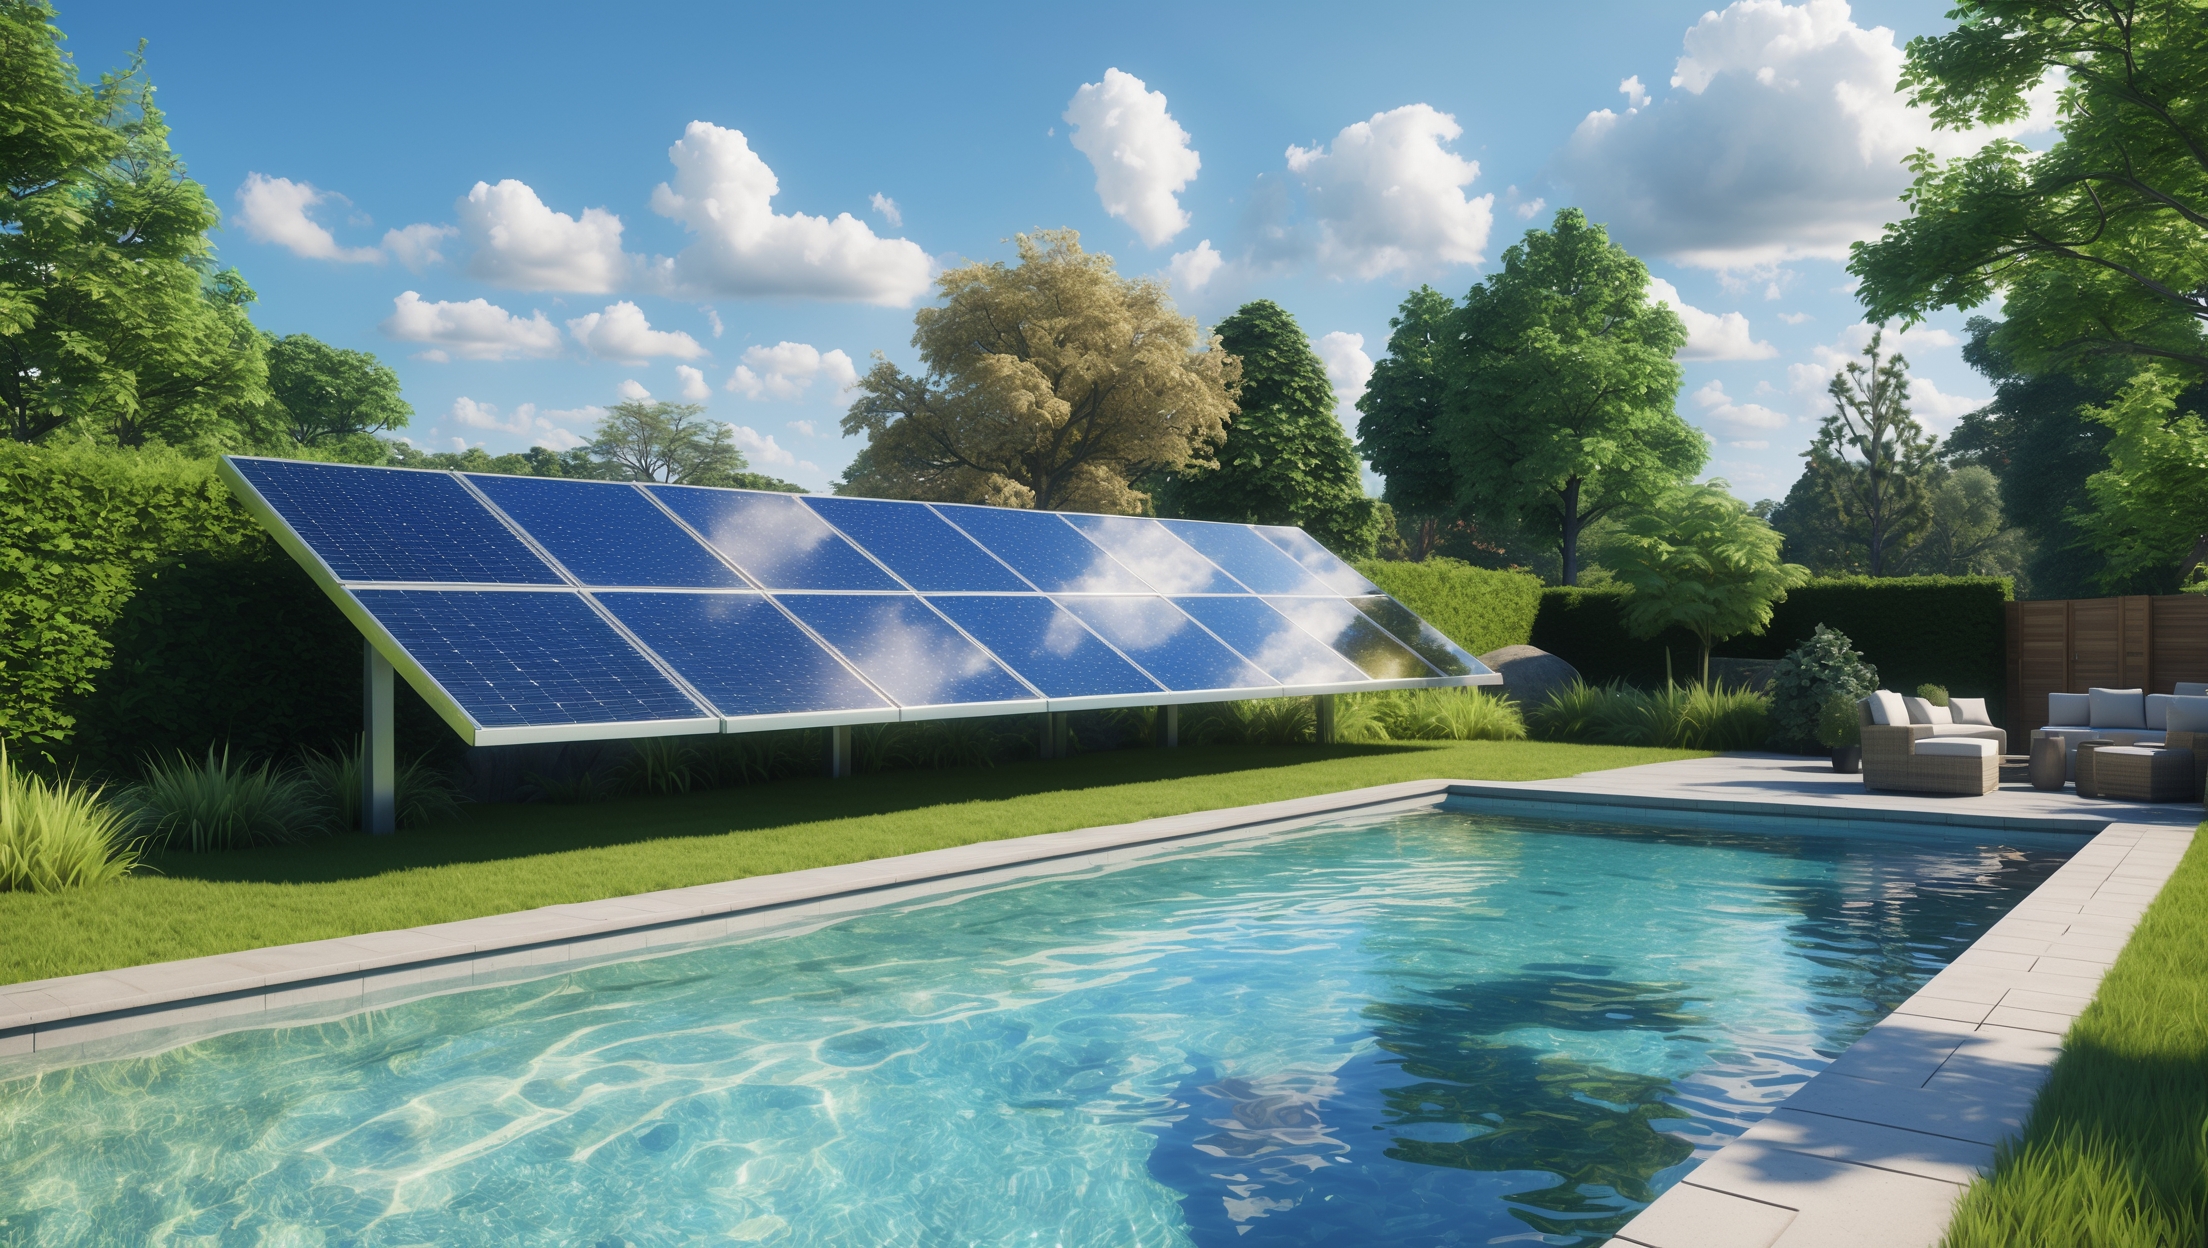
Residential solar pool heating systems are a cornerstone of sustainable outdoor living, offering an energy-efficient way to extend your swim season while minimizing environmental impact and utility costs. While these systems are renowned for their reliability and low operating costs, they are still subject to seasonal changes, weather extremes, and wear from constant exposure to the elements. Without regular, season-specific maintenance, even the best solar pool heating setup can lose efficiency, develop leaks, or suffer premature component failure. A well-structured seasonal checklist not only preserves optimal performance but also extends the system’s lifespan, ensures water quality, and protects your investment. This comprehensive guide walks you through detailed, practical steps for maintaining your solar pool heating system throughout the year, with emphasis on safety, efficiency, and long-term savings. Whether you’re a new solar pool owner or an experienced eco-home enthusiast, these expert tips will empower you to maximize both comfort and sustainability.
Spring: Preparing for the Swimming Season
1. Inspect Solar Collectors and Mounting Hardware
As temperatures rise and swimming season approaches, begin with a thorough inspection of your solar collectors:
- Check for visible debris such as leaves, twigs, or bird droppings. These reduce solar absorption. Gently remove debris using a soft brush or garden hose.
- Look for cracks, discoloration, or cloudiness in the collector glazing. Damaged panels should be repaired or replaced promptly to maintain efficiency.
- Examine mounting brackets, rails, and fasteners for corrosion, rust, or looseness. Tighten hardware and replace any compromised components to withstand spring storms and summer winds.
2. Clean and Flush the System
- Rinse collectors with clean, non-abrasive water. Avoid high pressure which may damage seals or connections.
- If your system includes a bypass valve, close it temporarily and flush the lines to remove sediment or algae buildup. This prevents clogs and ensures even flow.
3. Check for Leaks and Seal Integrity
- Inspect all plumbing for drips or pooling water around joints and manifolds. Pay special attention to flexible hoses, O-rings, and isolation valves.
- Repair minor leaks using appropriate sealants. Persistent leaks may require professional assessment.
4. Test Controller and Sensors
- Power up the system and verify that the differential temperature controller is operational and set to manufacturer recommendations.
- Check that temperature sensors on both the pool and collector accurately register current temperatures. Replace faulty sensors as needed.
5. Inspect and Clean Pool Filter
- Clean or backwash the pool filter before activating solar heating. Dirty filters restrict flow, reducing heating performance and increasing pump energy use.
6. Evaluate Pump Performance
- Listen for unusual noises or vibrations from the circulation pump. Lubricate bearings if applicable, and clear any obstructions from the pump basket.
- Ensure the pump timer aligns with daylight hours to maximize solar gain.
Summer: Peak Performance and Ongoing Care
1. Monitor System Operation Weekly
- Observe system startup each morning. Confirm water is circulating through collectors and returning to the pool at a higher temperature.
- Check for air bubbles in the return jets—a sign of possible leaks or suction side issues.
2. Clean Collectors Monthly
- Dust, pollen, and tree sap accumulate quickly in summer. Gently rinse collectors at least once a month to maintain absorption rates.
- Avoid using chemical cleaners that may degrade collector surfaces.
3. Manage Pool Chemistry
- Solar heating can accelerate chlorine loss; check and adjust chemical levels weekly.
- Maintain pH and calcium hardness within recommended ranges to prevent scale buildup in collectors and piping.
4. Inspect for Overheating Risks
- In hot climates, excessive collector temperatures can damage system components. Ensure automatic bypasses or manual valves are functioning to divert flow on excessively hot days.
- Consider installing a collector cooling feature (e.g., nighttime circulation) if pool temperatures consistently exceed comfort levels.
5. Watch for Wildlife Intrusion
- Check for signs of birds nesting near collectors or rodents chewing on wiring and insulation. Install wildlife deterrents if necessary.
Autumn: Preparing for Cooler Weather
1. Remove and Prevent Debris
- Clean off fallen leaves and organic matter from collectors and roof areas. Clogged panels reduce efficiency and may foster mold growth.
- Install mesh screens or gutter guards if leaf fall is heavy in your area.
2. Inspect and Protect Plumbing
- Check all above-ground piping for signs of wear, UV damage, or joint fatigue, as these are more likely to leak during temperature fluctuations.
- If your region experiences early frost, begin planning for winterization. Insulate exposed pipes with UV-resistant foam sleeves.
3. Evaluate System Shutdown Needs
- Decide if you will continue operating your solar pool heater into the fall. If pool use drops off, plan for an orderly shutdown (see winter section).
- Consult your system manual for manufacturer-specific shutdown protocols.
4. Review Controller Settings
- Adjust timers and temperature differentials to account for shorter days and cooler nights, optimizing heat capture during available sunlight.
Winter: Protecting Your System from the Elements
1. Winterize Collectors and Piping (Freeze-Prone Climates)
- Drain all water from collectors, manifolds, and above-ground pipes to prevent freeze damage. Use compressed air to clear residual water if recommended.
- Open isolation valves and remove drain plugs as specified by your manufacturer.
- If your system uses antifreeze, test fluid concentration and top up as needed. Replace antifreeze every three years or per manufacturer guidance.
2. Protect Controllers and Sensors
- Cover or insulate outdoor temperature sensors to prevent ice damage.
- Check electrical connections for corrosion. Apply dielectric grease where needed.
3. Secure Collectors against Winter Storms
- Tighten mounting brackets and verify all collectors are securely fastened to withstand wind, snow, and ice loads.
- Remove snow buildup promptly with a soft broom if safe to do so. Avoid sharp tools that could damage collector surfaces.
4. Off-Season Storage of Components
- Store removable hoses, fittings, and isolation valves indoors if possible to prevent cracking and UV degradation.
- Label and organize components for easy reassembly in spring.
Annual Deep-Dive: Once-a-Year Tasks for Peak Efficiency
1. Professional Inspection and Servicing
- Schedule a certified solar pool heating technician to perform a comprehensive system check, especially if your setup is complex or approaching warranty expiration.
- Technicians can pressure-test plumbing, calibrate controllers, and identify early signs of collector delamination or internal scaling.
2. Plumbing System Descaling
- If you live in a hard water area, flush collectors and pipes with a mild descaling solution to remove mineral buildup. Follow all safety and environmental precautions.
3. System Performance Audit
- Compare current heat-up rates, pool temperature profiles, and energy savings to previous years. Significant drops may indicate hidden leaks or efficiency issues.
- Record metrics such as daily collector output, pump run time, and pool temperature for future troubleshooting.
Safety Reminders Throughout the Year
- Always shut off circuit breakers and close supply valves before servicing any part of the system.
- Use appropriate ladders and fall protection when accessing roof-mounted collectors.
- Wear gloves and eye protection when working with pool chemicals or antifreeze.
- Consult your system’s manual for specific safety instructions and recommended maintenance intervals.
Troubleshooting: Common Seasonal Problems and Solutions
1. Low Pool Temperature Despite Sunny Days
- Check for clogged collectors, incorrect valve settings, or pump malfunction.
- Ensure the differential controller is calling for heat during daylight hours.
2. Water Leaks or Damp Spots
- Inspect all fittings and pipe joints for slow leaks, especially after winter freeze/thaw cycles.
- Replace cracked pipes or compromised O-rings immediately.
3. Air in the System
- Air bubbles or gurgling noises may indicate suction leaks or insufficient system priming after spring startup.
- Re-prime the pump and tighten all hose clamps and unions.
4. Controller or Sensor Failures
- If the system won’t activate, check for loose wires, blown fuses, or dead batteries in wireless sensors.
- Replace faulty sensors promptly to avoid overheating or wasted energy.
Conclusion: Sustaining Savings and Comfort All Year
Adopting a seasonal maintenance routine for your residential solar pool heating system is more than a matter of efficiency—it’s a commitment to lasting performance, sustainability, and year-round swimming enjoyment. By methodically addressing the unique challenges presented by each season, you not only prevent costly repairs and premature equipment failure but also ensure that your investment continues to deliver both economic and environmental dividends. Proper care extends the life of collectors, keeps plumbing leak-free, maintains water quality, and maximizes energy savings. Just as importantly, it upholds the core values of sustainable living: resource conservation, reduced emissions, and a harmonious relationship between your home and the planet. Whether you handle maintenance yourself or enlist professional help for annual inspections, a proactive approach will keep your solar pool heating system—and your swimming season—in peak condition for years to come. Start implementing these seasonal strategies today, and enjoy the peace of mind that comes with sustainable, hassle-free pool heating.


When inspecting the solar collectors for cloudiness or discoloration as mentioned, is there an easy way for a homeowner to tell if the glazing is actually affecting performance, or should you always call a pro to check?
You can do a basic check yourself by looking for obvious cloudiness, yellowing, or cracks in the collector glazing—these can block sunlight and reduce efficiency. If you notice these issues or a sudden drop in pool water temperature despite sunny weather, it’s a good sign the glazing may be affecting performance. For minor concerns, monitor your system’s output, but for significant discoloration or uncertainty, it’s best to consult a professional for a thorough assessment.
Could you expand on what kind of non-abrasive water to use for rinsing collectors? Is regular tap water usually safe, or should I be concerned about local water hardness or potential build-up on the panels over time?
Regular tap water is typically safe for rinsing solar collectors, as long as it’s not excessively hard or mineral-rich. In areas with hard water, repeated use can lead to mineral deposits forming on the panels over time. If you know your water is hard, consider using softened or distilled water for the final rinse, or dry the panels with a soft cloth afterward to minimize buildup.
How much should I budget on average each season for the recommended maintenance, including replacing parts like seals or brackets if issues are found during the spring inspection?
For most residential solar pool heating systems, you can expect to budget roughly $100 to $200 each season for routine maintenance, which covers inspections, cleaning, and minor adjustments. If parts like seals or mounting brackets need replacing, costs may rise to $250–$400 depending on the part and labor. Planning for around $250 per season should cover typical maintenance and minor part replacements.
Could you give an approximate timeframe or estimate how long the spring season maintenance tasks should take for someone new to solar pool heating? I want to make sure I budget enough time to do everything safely.
For someone new to solar pool heating, expect the spring maintenance tasks to take about 2 to 4 hours. This includes inspecting panels, cleaning surfaces, checking for leaks, testing valves, and confirming the system operates correctly. Take your time with each step, especially if you need to consult the manual or watch instructional videos. If you find any issues that require repairs, you may need to budget a bit more time.
I see the checklist recommends tightening any loose mounting hardware in spring. Do you have advice for preventing corrosion in coastal areas where salt air seems to wear out metal parts faster?
In coastal areas, corrosion from salt air is a common issue for metal mounting hardware. To help prevent it, use stainless steel or other corrosion-resistant materials for any replacement parts. Applying a protective anti-corrosion spray or sealant to metal surfaces can also add a helpful barrier. Regularly rinse the hardware with fresh water to remove salt buildup, and inspect more frequently for early signs of rust.