Introduction: Why Smart Greywater Irrigation Matters
Water conservation is at the heart of sustainable living, and one of the most effective ways to reduce household water waste is by redirecting used water—known as greywater—to nourish your garden. With growing concerns about drought and water scarcity, many eco-conscious homeowners are taking the leap to install smart greywater irrigation systems. These systems not only recycle water from showers, washing machines, and sinks (excluding kitchen and toilet sources), but also optimize garden irrigation with sensors and programmable controls, dramatically reducing potable water use. If you’re looking to boost your garden’s resilience while minimizing your environmental footprint, setting up a smart greywater irrigation system is a forward-thinking solution.
However, this isn’t just a matter of routing a hose from your laundry to the backyard. Effective greywater irrigation requires careful planning, the right equipment, an understanding of local regulations, and ongoing maintenance to ensure safety and plant health. In this in-depth guide, we’ll walk you through every stage of the process—from assessing your home’s greywater potential to installing smart controls and maintaining your system for years of sustainable harvests. Whether you’re a seasoned DIYer or new to sustainable home upgrades, you’ll find actionable steps and expert advice to confidently install a smart greywater irrigation system tailored to your garden’s needs.
Understanding Greywater: What Qualifies and Why It’s Safe
What Is Greywater?
Greywater refers to gently used household water from sources such as showers, bathtubs, bathroom sinks, and washing machines. It does not include water from toilets (blackwater) or kitchen sinks (due to grease and pathogens). The relatively low levels of contaminants in greywater make it suitable for subsurface irrigation when managed correctly.
Benefits of Greywater Reuse
- Reduces potable water use for outdoor irrigation, lowering water bills and easing demand on municipal supplies.
- Less strain on septic systems, prolonging their lifespan.
- Recycles nutrients present in used water, giving plants an extra boost.
- Mitigates stormwater runoff, reducing erosion and pollution.
Safety Considerations
- Never use greywater on edible plant parts (e.g., root vegetables, lettuce).
- Apply only below the soil surface to prevent human contact and minimize pathogen risk.
- Use biodegradable, plant-friendly soaps and detergents in greywater sources.
Planning Your Smart Greywater Irrigation System
Assessing Greywater Sources and Volume
Begin by auditing your home’s greywater sources. Estimate daily output from showers, bathroom sinks, and laundry. For example, a typical shower produces 10-15 gallons per use, and a front-loading washing machine uses 15-20 gallons per load. Calculate the average volume available for irrigation to determine system size and capacity.
Mapping Your Garden’s Irrigation Needs
Identify which garden zones will benefit most from greywater. Prioritize non-edible landscape plants, ornamental shrubs, trees, and flower beds. Sketch your yard, marking distances from greywater sources to target irrigation areas. This will help you plan pipe runs and system layout efficiently.
Local Regulations and Compliance
Greywater reuse is regulated in many regions. Check with your local building department for permits, setbacks, and backflow prevention requirements. Some areas allow simple laundry-to-landscape systems without a permit, while others have stricter codes for plumbing alterations. Document all regulations you must follow before purchasing equipment or starting installation.
Choosing the Right Equipment and Smart Controls
Core System Components
- Greywater diverter valve: Allows switching flow between the sewer/septic and the irrigation system.
- Filtration unit: Removes lint, hair, and debris to prevent clogs.
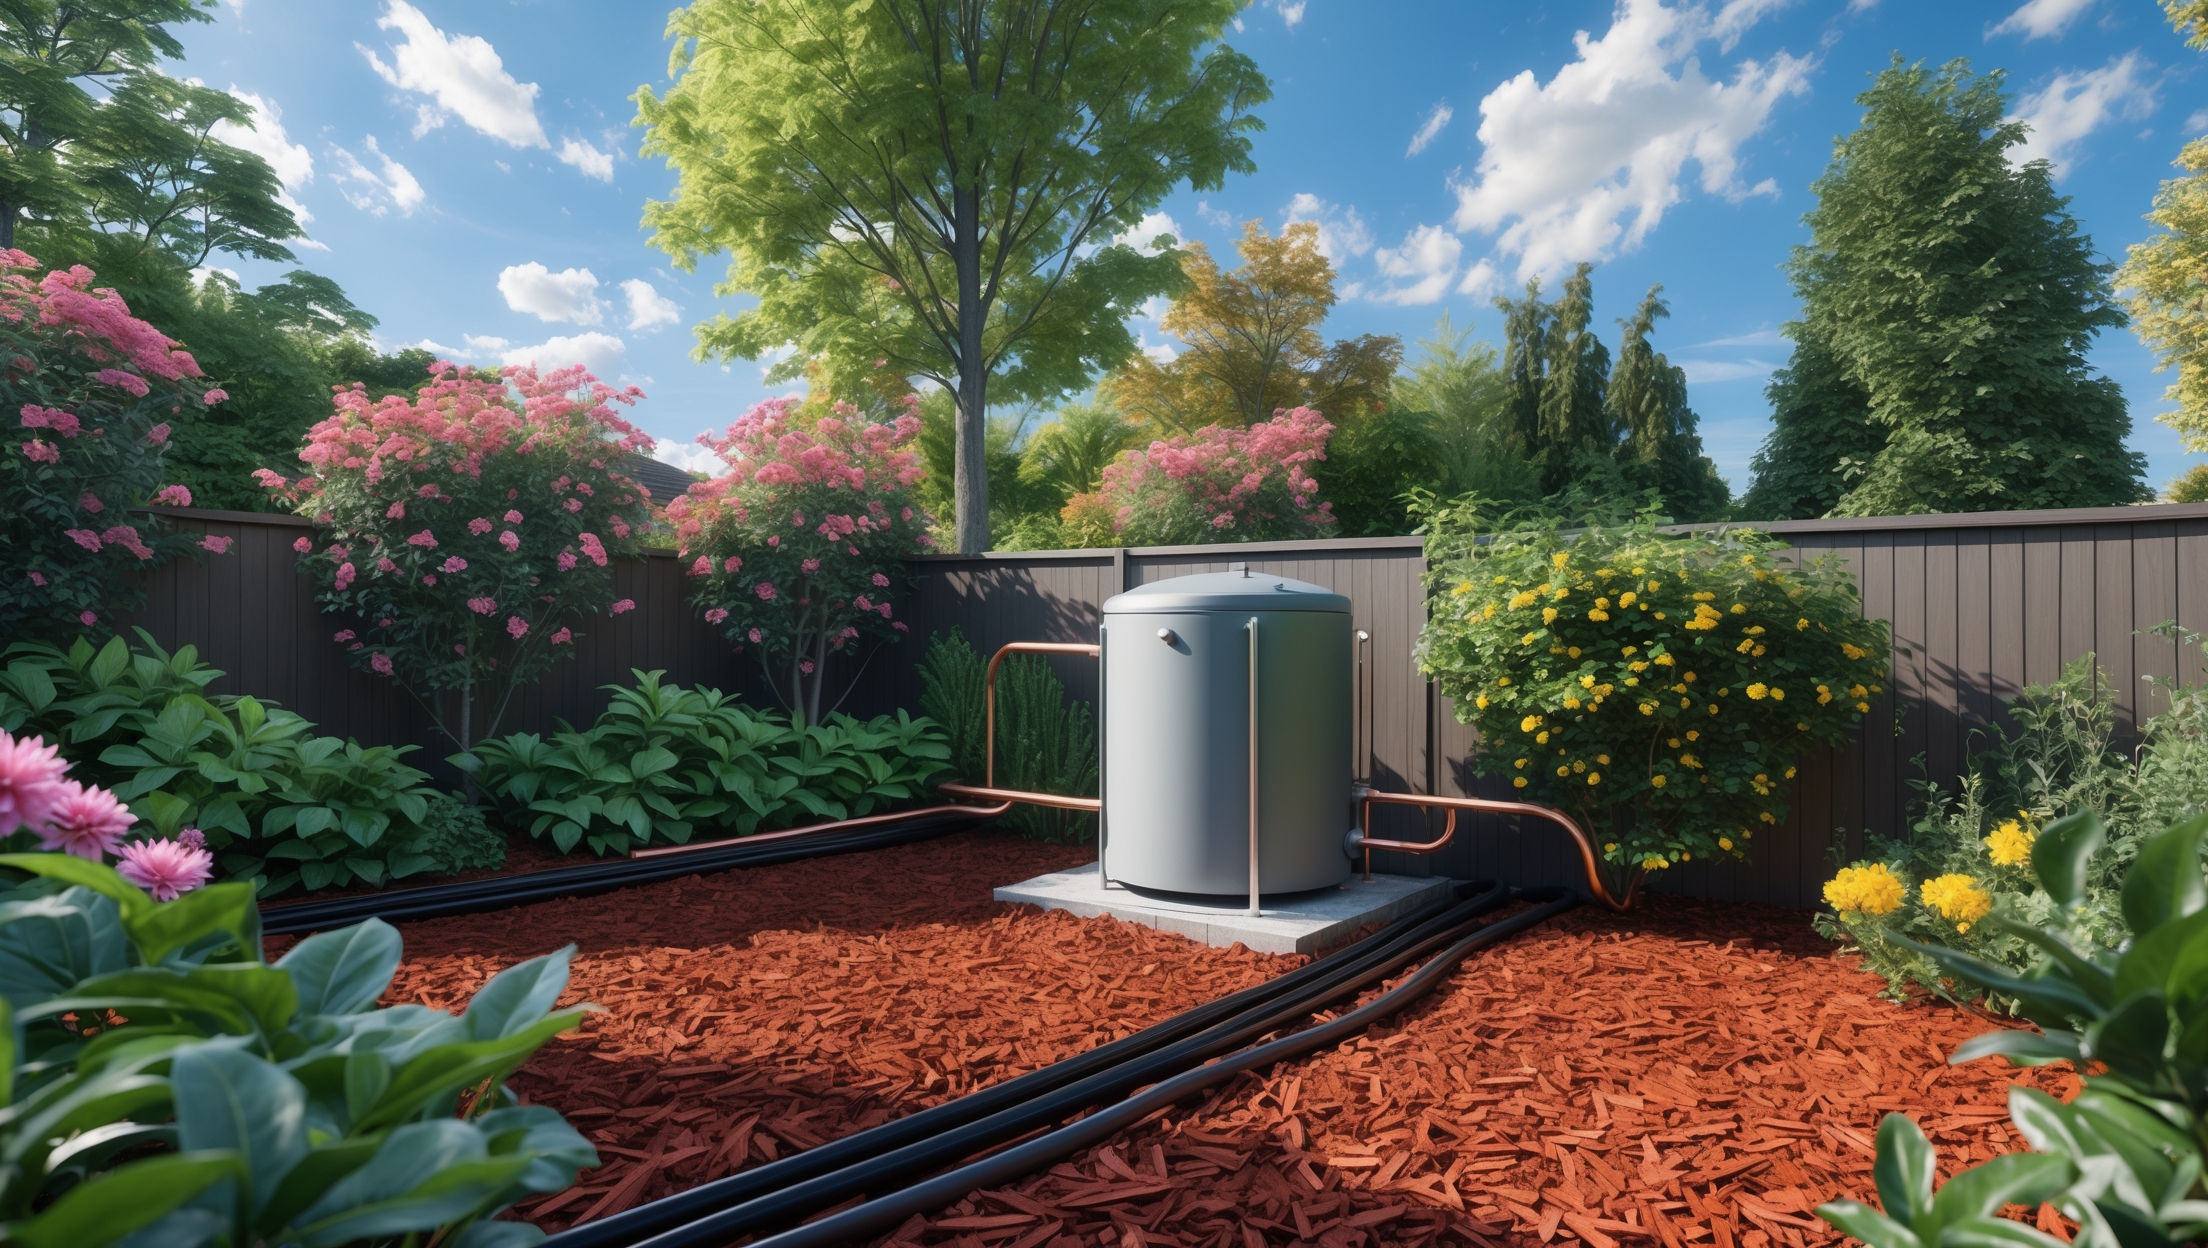
- Holding/reservoir tank (optional): Temporarily stores greywater if immediate irrigation isn’t possible. Must be drained within 24 hours to avoid odors and bacteria.
- PVC or HDPE piping: For transporting greywater underground.
- Subsurface drip irrigation lines: Delivers water directly to plant root zones without surface pooling.
- Backflow prevention device: Ensures greywater does not contaminate potable supply.
Smart Controls and Automation
- Soil moisture sensors: Monitor root-zone moisture and trigger irrigation only when needed, preventing overwatering.
- Programmable irrigation controller: Integrates with sensors to automate watering schedules based on soil data and weather conditions.
- Flow meters: Track greywater usage and system performance for maintenance and optimization.
- App connectivity: Many modern controllers offer WiFi/Bluetooth for remote monitoring and adjustments via smartphone apps.
Step-by-Step Installation Guide
Step 1: Gather Tools and Materials
- Adjustable wrenches and pipe cutters
- Shovel and trenching tools
- PVC/HDPE piping and connectors
- Greywater diverter valve and filter
- Drip irrigation tubing and emitters
- Moisture sensors and smart controller
- Backflow preventer
- Pipe insulation (if climate requires)
- Waterproof electrical connectors (for sensors/controllers)
- Teflon tape, pipe primer, and cement
- Protective gloves and goggles
Step 2: Install Greywater Diverter Valve
Locate the plumbing run for your chosen greywater source (e.g., shower or washing machine). Shut off water supply and cut the drain pipe at an accessible section. Install the diverter valve, ensuring a tight, leak-free fit. Use Teflon tape and pipe cement as needed. The diverter should allow you to direct water to either the sewer/septic or to your irrigation system—a crucial function for system maintenance, winterizing, or when using harsh cleaning agents.
Step 3: Connect Filtration Unit
Immediately downstream of the diverter, add your filtration unit. This should be accessible for regular maintenance and cleaning. Secure the filter housing and connect outlet piping to the irrigation line or holding tank, depending on your layout.
Step 4: Lay Underground Piping
Mark the path from the greywater source to the garden area. Dig a trench at least 6-8 inches deep (deeper if frost is a concern). Lay PVC or HDPE piping, sloping gently away from the house to facilitate gravity flow. Avoid sharp bends to reduce clog risk. Secure all connections with appropriate fittings and check for leaks before backfilling the trench.
Step 5: Install Subsurface Drip Irrigation
At the garden, transition from main pipe to drip irrigation lines. Bury drip tubing 2-4 inches below the soil surface, spaced according to plant layout. Attach emitters at root zones of shrubs and trees. Cap line ends and flush the system before final backfill to remove debris.
Step 6: Integrate Smart Sensors and Controller
Install soil moisture sensors at representative points in the irrigation area, following manufacturer guidelines for depth and placement. Connect sensors and flow meters to the programmable controller. Mount the controller in a weather-protected location with power access. Sync the system with your home WiFi or Bluetooth for remote access if available.
Step 7: Test and Calibrate the System
Turn on the diverter valve and initiate a test cycle. Observe all connections for leaks. Check that the filtration unit is catching debris and that water is evenly distributed through the drip lines. Monitor sensor readings and adjust irrigation schedules as needed via the controller interface or app.
Maintenance Best Practices
Regular System Checks
- Inspect diverter valve and filtration unit monthly for blockages or buildup.
- Flush drip lines quarterly to prevent mineral or soap residue accumulation.
- Replace filters as recommended by manufacturer.
- Test soil moisture sensors seasonally for calibration drift.
- Review controller logs and flow meter data to spot anomalies.
Seasonal and Safety Considerations
- Winterize aboveground components where freezing is a risk: drain lines, insulate exposed pipes, and switch diverter to sewer during prolonged freezes.
- Periodically review your detergent and soap choices to ensure they remain plant-safe and biodegradable.
- Keep a maintenance log for inspections, filter changes, and system adjustments.
Optimizing Greywater Use: Pro Tips and Troubleshooting
Maximizing Efficiency
- Time irrigation for early morning or late evening to reduce evaporation.
- Use mulch over irrigation lines to conserve soil moisture and shield emitters.
- Group plants with similar water needs within each irrigation zone.
Common Issues and Solutions
- Clogged Emitters: Clean or replace emitters regularly; pre-filter greywater effectively.
- Uneven Watering: Check for leaks, kinks, or breaks in drip lines; recalibrate sensors.
- Foul Odors: Ensure greywater is not stored for more than 24 hours; flush system after using strong cleaners.
- Low Flow: Inspect for blockages in filter or lines; confirm gravity flow is adequate, or consider a booster pump if necessary.
Legal and Environmental Considerations
Always comply with local plumbing codes, setback requirements, and health department guidelines. Some municipalities restrict greywater use to certain seasons or require specific signage. Avoid using greywater on lawns accessible to children or pets, and never allow runoff to reach neighboring properties or waterways. By following these rules, you help ensure community health and support the broader acceptance of sustainable water reuse.
Conclusion: Sustainable Gardens, Smarter Water Use
Installing a smart greywater irrigation system is a practical and impactful way to conserve water, reduce your environmental footprint, and nurture a thriving garden. By recycling household water with the aid of modern sensors and programmable controllers, you ensure every drop is used wisely—directly at the roots of your landscape, where it matters most. This project does require thoughtful planning, an upfront investment in robust equipment, and a commitment to regular maintenance, but the long-term benefits are clear: lower water bills, increased resilience to drought, and the satisfaction of closing the resource loop in your own backyard.
As you implement and refine your greywater system, remember that every sustainable choice you make—however small—contributes to a larger shift towards responsible resource stewardship. Your efforts not only support your garden’s health, but also set a powerful example for neighbors and your broader community. With the right approach, a smart greywater irrigation system can become a cornerstone of your sustainable living journey, combining environmental benefits with cutting-edge technology for a greener, more resilient future.


Is there a big difference in plant health or garden yield when using traditional irrigation versus a smart greywater system? Would some types of plants respond better than others to greywater irrigation?
Switching from traditional irrigation to a smart greywater system can make a noticeable difference, especially in water conservation and garden sustainability. Most ornamental plants and many fruit trees do well with greywater, as long as the water is free of harsh chemicals. Some sensitive plants, like root vegetables and leafy greens, may respond less favorably, so it’s best to use greywater on non-edible plants or woody shrubs for optimal health and yield.
After setting up a system like this, how much ongoing maintenance should I expect? Are there signs I should look for that something isn’t working right or that the garden isn’t benefiting?
Once your greywater irrigation system is set up, routine maintenance should be minimal but regular. Check filters and screens every month to clear out debris, and inspect pipes for clogs or leaks. Watch for signs like slow water flow, unpleasant odors, or soggy spots in the garden, which can signal problems. If plants start to look unhealthy or water isn’t reaching all areas, those are good indicators to troubleshoot the system.
When it comes to retrofitting an existing home with a smart greywater setup, are there particular challenges I should expect compared to installing one in a new build? I’m especially interested in knowing whether older plumbing poses complications.
Retrofitting a smart greywater system into an existing home can be more challenging than installing one during new construction. Older plumbing may not have the ideal pipe layout for collecting greywater from showers, sinks, or laundry, and pipes could be less accessible behind walls or floors. You might also encounter outdated or incompatible materials. A plumber may need to make modifications, add diverter valves, or update certain sections to ensure safe and efficient greywater flow. Assessing your existing plumbing beforehand can help you plan for these potential adjustments.
Could you clarify how local regulations might affect installation? I’m in California and want to avoid any compliance issues before I invest in equipment for a smart greywater irrigation system.
Local regulations in California can significantly impact your greywater system installation. The state allows certain types of greywater systems, but there are specific rules on permitted sources (like laundry or showers), system size, and safe dispersal methods. You may need a permit, especially for systems more advanced than simple laundry-to-landscape setups. It’s best to check with your city or county building department for detailed requirements before purchasing equipment to ensure your system will be compliant.
I noticed you mention that greywater shouldn’t come from kitchen sinks due to grease and pathogens. If my washing machine sometimes has food stains on clothes, does that water still count as safe greywater for irrigation? Should I be careful about what kind of soap or detergent I use too?
Washing machine water is generally considered safe greywater for irrigation, even if clothes have food stains, as long as solids are filtered out before use. However, you should avoid using greywater if washing heavily soiled items, such as diapers or oily rags. It’s also important to choose detergents that are biodegradable and free of phosphates, bleach, and boron, since these chemicals can harm your plants and soil.
How much time should I set aside for the initial installation if I’m handy but new to sustainable irrigation projects, and are there any steps that typically trip up first-timers?
If you’re handy but new to this kind of project, plan for about 6 to 8 hours for the initial installation, ideally spread over a weekend. First-timers often run into challenges with planning the pipe layout and making watertight connections, so take extra time measuring and sealing fittings. Double-check local regulations for greywater use before you start, as that can affect your setup.
You mention that greywater from kitchen sinks shouldn’t be used due to grease and pathogens. Is there any safe way to treat or pre-filter kitchen sink water to make it usable for irrigation, or is that generally too risky?
Treating kitchen sink greywater for garden irrigation is difficult because it often contains food scraps, grease, and higher levels of pathogens. Advanced filtration and disinfection systems—like grease traps combined with biological and UV treatment—can make it safer, but these setups add complexity, cost, and still may not fully eliminate health risks. For most households, it’s safer and simpler to use water from bathroom sinks, showers, and washing machines instead.