Introduction: Why Choose a Solar-Powered Greenhouse?
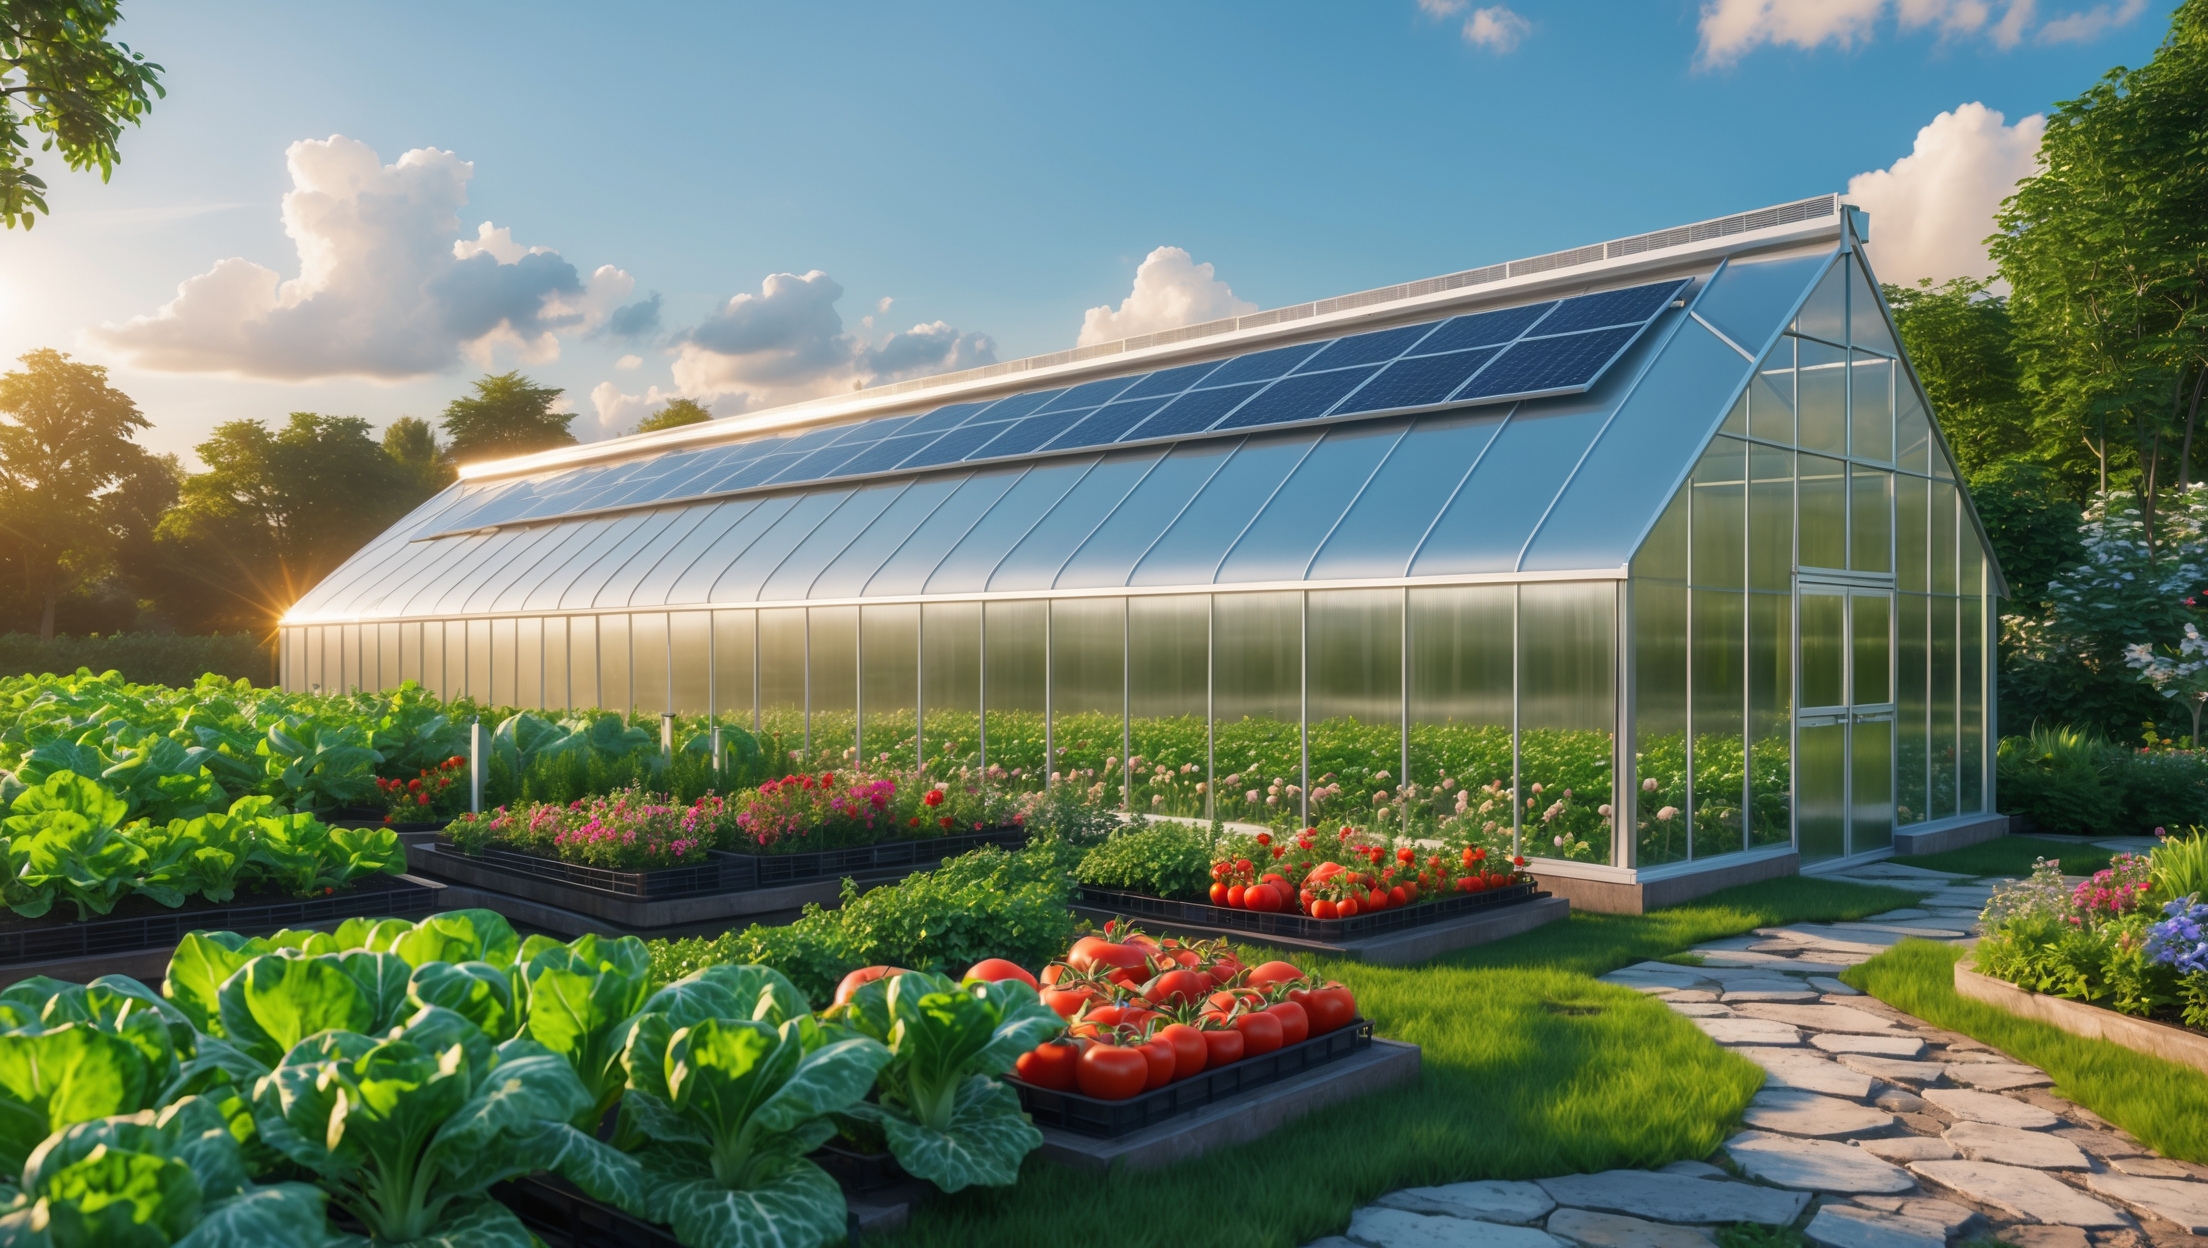
The drive for sustainable living has fueled a surge of interest in self-sufficient food production and renewable energy. Among the most promising solutions is the solar-powered greenhouse—a fusion of traditional food cultivation with cutting-edge green technology. Unlike standard greenhouses, which often rely on fossil-fuel-based electricity for heating, lighting, and ventilation, a solar-powered greenhouse harnesses the sun’s abundant energy to power these functions. This not only reduces your carbon footprint but also provides resilience against rising energy costs and grid outages.
This comprehensive guide walks you through the entire process of setting up a solar-powered greenhouse—covering everything from initial planning and system design to budgeting, equipment selection, installation, and long-term operation. Whether you’re an urban gardener with limited space or a homesteader seeking year-round harvests, you’ll find practical, actionable steps for every stage. By the end, you’ll not only understand the technical aspects but also gain the confidence to create a thriving, energy-efficient growing space that supplies fresh produce throughout the seasons.
Assessing Your Site and Setting Realistic Goals
Evaluating Sunlight and Space
The success of any solar-powered greenhouse hinges on optimal site selection. Begin by observing your property throughout the day and across seasons. Solar panels require unobstructed access to sunlight, ideally facing due south (in the Northern Hemisphere) for maximum efficiency. Use a solar pathfinder or smartphone apps to map out shade patterns from trees, buildings, or other obstructions. The greenhouse itself should be sited on level ground with good drainage and protection from prevailing winds.
- Minimum sunlight: At least 6-8 hours of direct sun daily, year-round.
- Space requirements: Factor in not just the greenhouse footprint but also room for solar panels (if not roof-mounted), access paths, water supply, and storage.
Defining Your Growing Objectives
Determine what you want to grow and when. Are you aiming for winter salad greens, spring seedlings, or tropical fruits? Your crop choices and desired yield will dictate the greenhouse size, thermal requirements, and solar system capacity.
- Basic year-round greens: Modest heating, basic ventilation, and simple lighting.
- Fruit production or tropical plants: Greater energy demands for heat, humidity, and supplemental lighting.
Designing an Energy-Efficient Greenhouse
Choosing the Right Greenhouse Structure
There are several greenhouse designs, each with unique energy profiles:
- Lean-to: Attached to an existing building, shares a heated wall, reduces energy loss.
- Freestanding: Greater flexibility in placement but more exposed to the elements.
- Geodesic dome: Highly efficient at distributing heat and light, withstands strong winds.
Frame materials (aluminum, galvanized steel, or wood) and glazing (polycarbonate, glass, or polyethylene) affect insulation and light transmission. Double- or triple-wall polycarbonate offers excellent insulation with good light diffusion, ideal for energy savings.
Passive Solar Design Principles
Before adding photovoltaic (PV) panels, design your greenhouse to maximize passive solar gain:
- Orient the long axis east-west for optimal winter sun exposure.
- Include thermal mass (e.g., water barrels, stone floors) to store heat during the day and release it at night.
- Insulate north-facing walls and use high-transmission glazing on the south side.
- Plan for natural ventilation via roof vents, side vents, and operable windows for summer cooling.
Solar Power System: Sizing, Components, and Setup
Calculating Power Needs
List every electrical device you plan to run in the greenhouse, including:
- Fans and vent openers
- LED grow lights
- Heating mats or small resistance heaters
- Automated irrigation pumps
- Environmental monitors (temperature, humidity, CO2)
For each, note the wattage and estimated daily runtime. Multiply to obtain daily watt-hours, sum the totals, and add a 20% buffer for inefficiencies and cloudy days. This gives your daily energy demand.
Choosing and Placing Solar Panels
With your energy requirement calculated, select PV panels accordingly. For most home greenhouses, a 1–3 kW system suffices, but tropical or commercial-scale growing may need more.
- Rooftop mounting: Saves space, reduces wiring costs.
- Ground mounting: Offers adjustable tilt for seasonal optimization, easier maintenance.
Ensure panels are angled for your latitude (typically 30–45°) and avoid shading, even partial, which can drastically reduce output.
Other Solar System Components
- Charge controller: Regulates voltage and current from panels to batteries, preventing overcharging.
- Battery bank: Deep-cycle lithium or AGM batteries store energy for nighttime and cloudy periods. Size for at least 2–3 days of autonomy.
- Inverter: Converts DC from panels/batteries to AC for standard greenhouse equipment. Pure sine wave inverters are optimal for sensitive electronics.
- Monitoring system: Tracks production, consumption, and battery health. Many modern systems offer smartphone integration for remote monitoring.
Budgeting and Cost Breakdown
Initial Investment
Here’s a sample cost breakdown for a small (10×16 ft) solar-powered greenhouse:
- Greenhouse kit (frame + glazing): $2,000–$4,000
- Solar panels (1.5 kW): $2,500–$3,500
- Batteries (5–10 kWh): $1,000–$2,500
- Inverter and charge controller: $500–$1,200
- Wiring, mounting hardware, miscellaneous: $800–$1,200
- LED grow lights, fans, automation: $600–$1,000
Total estimated budget: $7,400–$13,400
DIY construction and careful sourcing of used equipment can reduce costs by 20–40%. Don’t forget to check for local, state, or federal solar incentives and rebates, which can offset up to 30% of the system cost.
Ongoing Expenses
- Battery replacement: Every 7–15 years depending on type.
- General maintenance: Occasional cleaning, ventilation tuning, replacement of bulbs or fans.
- Seeds, soil amendments, water: Varies by crop and scale.
Compared to grid-powered greenhouses, operational expenses are significantly lower, especially if you design for efficiency and maximize passive solar features.
Step-by-Step Setup: From Foundation to First Harvest
1. Preparing the Site
- Clear and level the area; ensure access to water and pathways for equipment.
- Lay a gravel base for drainage or pour a concrete slab if required by your design.
2. Assembling the Greenhouse Structure
- Follow manufacturer instructions for frame assembly and glazing installation.
- Install insulation and thermal mass elements (water barrels, stone, etc.).
- Seal all gaps to prevent heat loss and pest entry.
3. Installing the Solar Power System
- Mount solar panels on the roof or on ground racks at the optimal angle.
- Connect panels to the charge controller, then to the battery bank in a weatherproof enclosure.
- Wire the inverter for AC loads and install safety disconnects and breakers as per electrical codes.
- Test the system thoroughly before connecting greenhouse devices.
4. Setting Up Greenhouse Systems
- Install LED grow lights, fans, and automated vent openers.
- Set up drip irrigation or hydroponic systems if desired.
- Calibrate environmental monitors and link to your control system.
Many modern greenhouse controllers can automate ventilation, heating, lighting, and irrigation based on real-time sensor data. Configure settings for different seasons and crops.
5. Planting and Initial Operation
- Start with hardy, fast-growing crops to test environmental controls.
- Track temperature, humidity, and light levels daily, making adjustments as needed.
- Continue refining your system for energy efficiency and plant health.
Maintenance and Troubleshooting
Solar Panel and Battery Care
- Clean solar panels every few months or after major storms to maximize output.
- Check battery bank connections for corrosion and monitor charge cycles.
- Keep electronics dry, shaded, and well-ventilated.
Greenhouse System Upkeep
- Inspect glazing and seals for cracks or leaks, especially after extreme weather.
- Test fans, vents, and irrigation systems weekly.
- Replace filters and check for pest ingress regularly.
Keep a maintenance log to track issues and preventative tasks. Early intervention is key to preventing major failures or crop losses.
Future-Proofing and Advanced Upgrades
Expanding Your System
- Add more solar panels or batteries as your growing needs increase.
- Integrate rainwater harvesting for irrigation.
- Install geothermal loops for supplemental heating and cooling.
Smart Automation
- Adopt IoT-based controllers for remote monitoring and control.
- Use AI or scheduling algorithms to optimize energy use and plant growth cycles.
These upgrades can further reduce labor, boost yields, and enhance resilience against changing climate and energy conditions.
Conclusion: Growing Food—and the Future—with Solar Power
Setting up a solar-powered greenhouse is a transformative step toward sustainable living. By combining renewable energy with controlled-environment agriculture, you gain independence from volatile energy prices and seasonal food shortages. The up-front investment pays dividends in lower utility bills, abundant fresh produce, and the satisfaction of shrinking your ecological footprint.
Success depends on careful planning: match your greenhouse design to your climate and growing goals, size your solar system for real-world energy needs, and invest in quality equipment that will serve you for years. Ongoing maintenance is relatively straightforward and, with smart controls, your workload can be minimized even as you maximize yields. As you gain experience, you can expand your system, integrate additional technologies, and even share your surplus with neighbors or local markets.
In a world facing environmental and economic uncertainty, a solar-powered greenhouse is more than a garden—it’s a resilient, regenerative solution that empowers individuals and communities. With the steps outlined in this guide, you’re well-equipped to cultivate your own year-round oasis and contribute to a greener, more sustainable future.


When evaluating my backyard for the best spot, how do I accurately check for shade across different seasons? I know you mentioned solar pathfinders and apps, but is there a simple method for a beginner, or is the tech really necessary?
You don’t have to use special tools right away. A simple method is to observe and jot down where sunlight falls in your yard at several times during the day—morning, noon, and afternoon—over a few weeks, especially as the seasons start to change. Pay attention to shadows from trees, buildings, and fences. This hands-on approach can give you a good baseline before investing in apps or gadgets.
What are the main challenges you have seen with drainage when placing a greenhouse on level ground, and do you have any tips for improving drainage if the site is less than ideal?
One common challenge on level ground is water pooling around or under the greenhouse, which can lead to root rot and structural issues. To improve drainage, consider installing a gravel or sand base beneath the greenhouse, using raised beds, or adding perimeter drains or French drains. Slightly sloping the ground away from the structure also helps direct water runoff. These steps can greatly reduce water buildup on less-than-ideal sites.
You mention needing 6-8 hours of direct sun for the solar panels, but what if my yard only gets about 5 hours in winter due to some nearby trees? Is that a dealbreaker or are there ways to compensate?
Having just 5 hours of direct sun isn’t necessarily a dealbreaker, but your solar panels will generate less power in winter. You can compensate by installing extra panels to increase your system’s capacity, using high-efficiency panels, or adding batteries to store excess energy generated on sunnier days. Trimming or pruning nearby trees to improve sunlight exposure can also help if that’s an option.
When factoring in the room for solar panels, should I prioritize installing them on the greenhouse roof or on a separate ground mount nearby? What are the pros and cons of each for maximizing efficiency and maintenance?
Placing solar panels on the greenhouse roof saves space and can simplify wiring, but it may create shading that reduces plant light and panel efficiency, especially if the roof is not oriented ideally. Ground-mounted panels allow you to optimize the angle and orientation for maximum sun exposure, making them easier to clean and maintain. However, they require extra land and cabling. If you have the space, ground mounts usually offer better efficiency and easier maintenance, while roof mounts work well when space is limited.
Do you have tips on dealing with long stretches of cloudy weather? I’m worried that in the winter months, my area sometimes doesn’t get 6-8 hours of direct sun. Are there backup options you recommend that still keep things sustainable?
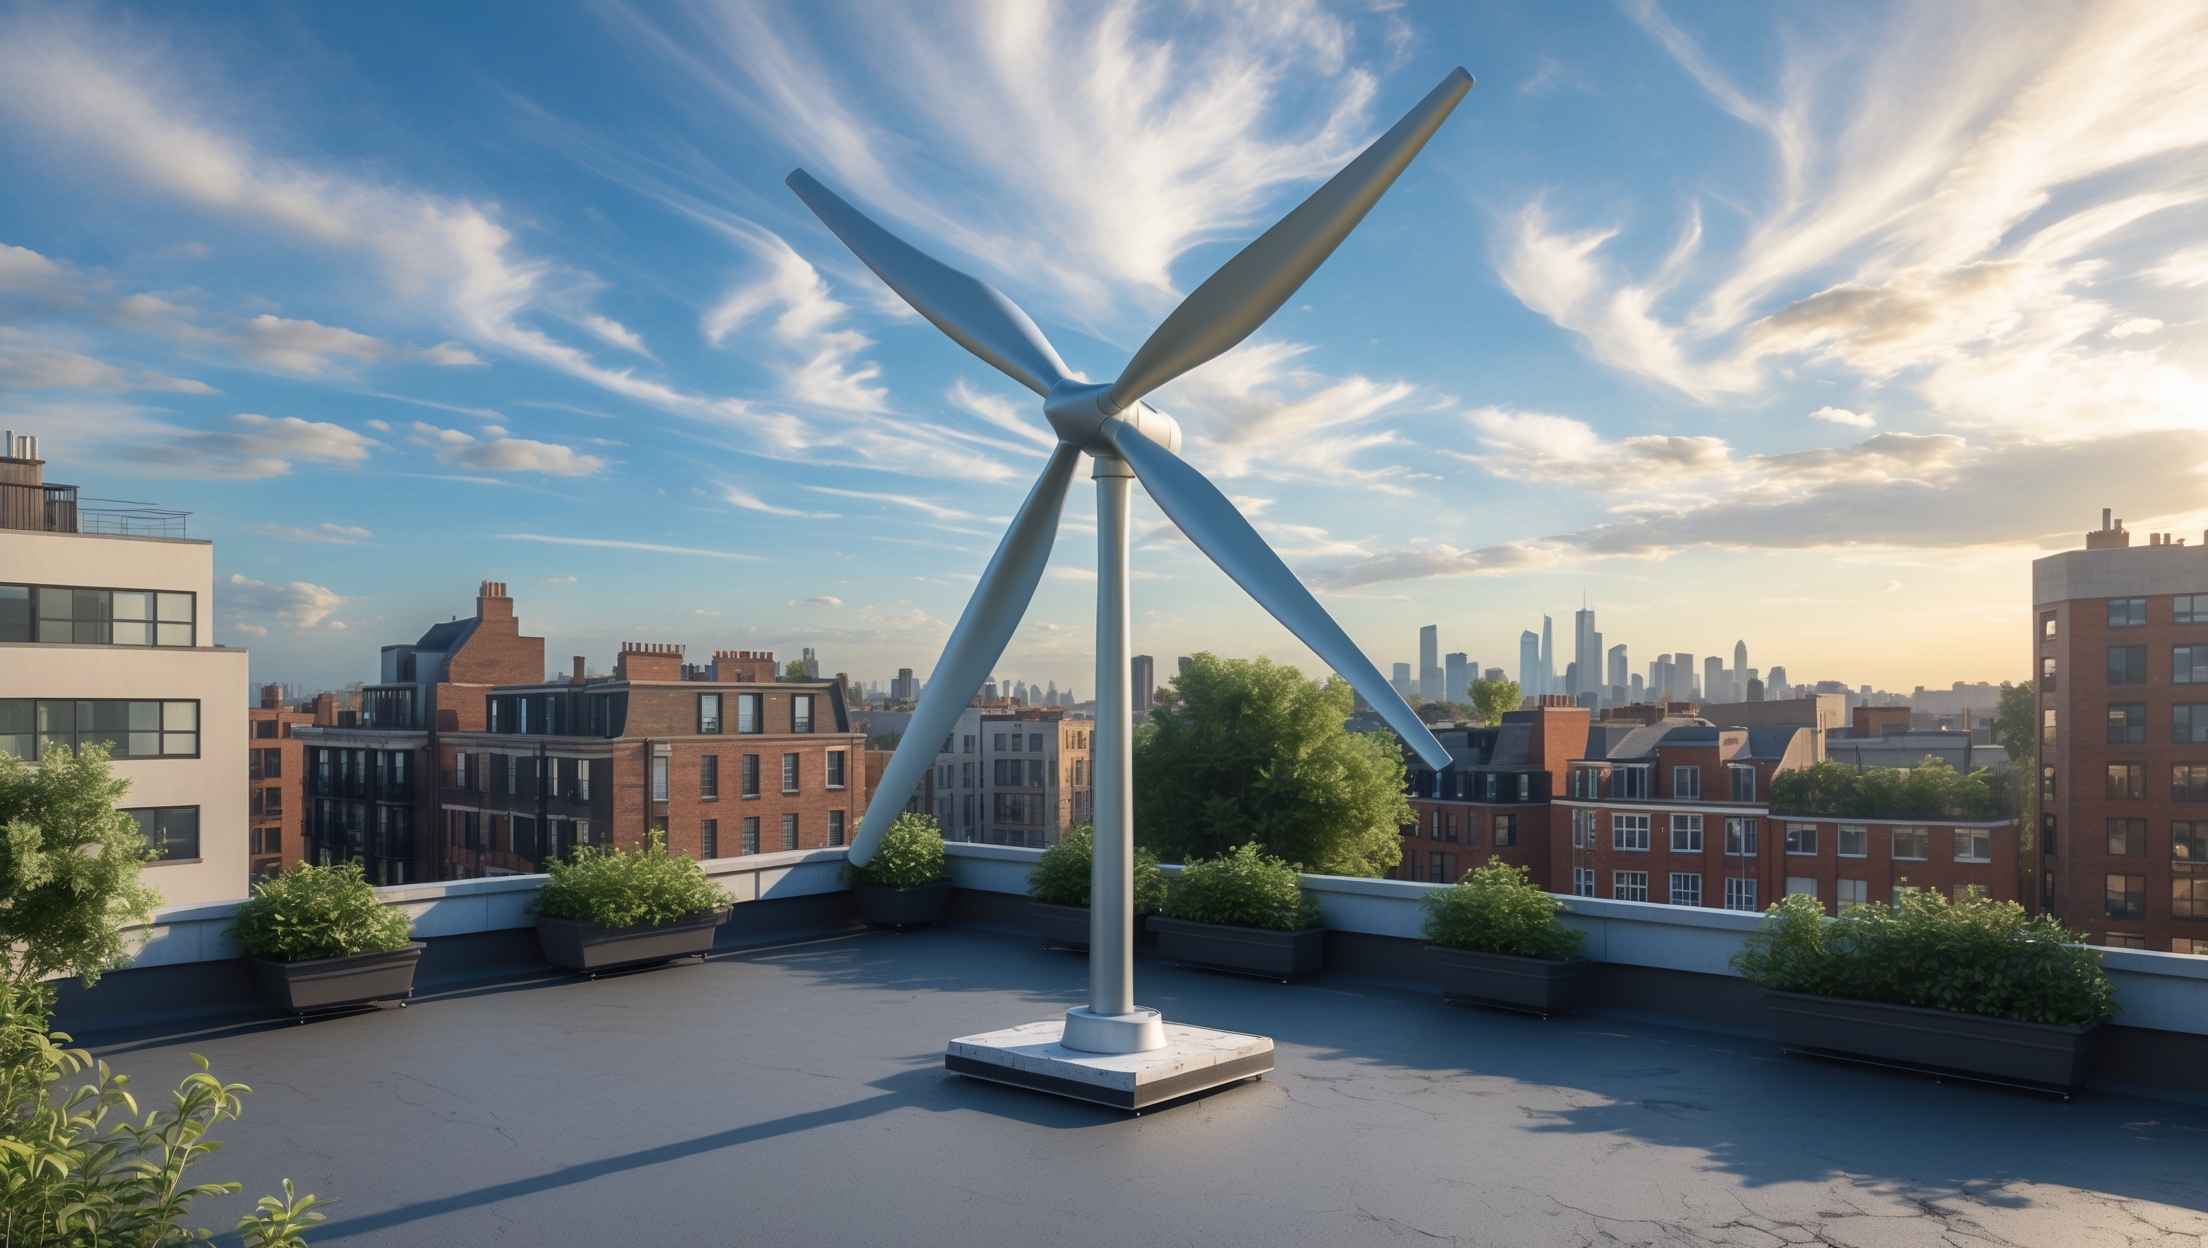
Long stretches of cloudy weather can be a challenge for solar-powered greenhouses. To stay sustainable, consider adding a battery storage system to store excess solar energy when the sun is out. Another option is a backup power source like a small wind turbine or a generator that runs on biofuel. Improving insulation and using thermal mass, such as water barrels or stone, can also help retain heat during darker days, reducing your overall energy needs.
After finishing the installation, what kind of ongoing maintenance is usually required for both the solar and greenhouse systems to keep things running efficiently through all seasons?
After installation, regular maintenance is important for both systems. For solar panels, clean them every few months to remove dust and debris, and check wiring and connections for damage. For the greenhouse, monitor and repair any wear on seals, vents, and glazing, and ensure heating, cooling, and irrigation systems are functioning properly. Inspect everything seasonally and after severe weather to keep your setup efficient year-round.
Could you elaborate on how to estimate the total energy requirements for heating, lighting, and ventilation before selecting solar panels? I want to ensure I size the system accurately for year-round operation, but I’m not sure where to find usage numbers for each component.
To estimate total energy needs, start by listing all devices—heaters, lights, fans—with their wattage ratings (often found on product labels or manuals). Multiply each device’s wattage by the hours used daily to get daily watt-hours. Sum these for total daily usage, then adjust for seasonal changes. For more accurate values, manufacturers’ datasheets or energy meters can help. Once you know your daily needs, factor in local sunlight hours and system losses to size your solar setup.