Introduction: Why Solar-Powered Smart Irrigation Is the Future of Sustainable Lawns
Managing a beautiful lawn while conserving water and energy has become a top priority for eco-conscious homeowners. As climate change intensifies and water resources become scarcer, traditional irrigation methods are increasingly unsustainable. Enter solar-powered smart irrigation systems—a game-changer for anyone seeking to maintain lush, healthy lawns without sacrificing environmental responsibility. By harnessing solar energy, these systems operate independently from the grid, reducing utility costs and carbon footprints. Smart controllers and sensors ensure your lawn receives precisely the water it needs, based on real-time weather data and soil moisture levels. This approach not only conserves water but also prevents overwatering and runoff, protecting local ecosystems. In this comprehensive guide, we’ll walk you through planning, budgeting, step-by-step setup, and ongoing maintenance for a solar-powered smart irrigation system tailored to residential lawns. Whether you’re a sustainability enthusiast or simply want to cut utility bills, you’ll find practical advice for every stage of the project, along with troubleshooting tips and insights for optimizing performance. Let’s transform your lawn care routine into a future-proof, eco-friendly operation.
Understanding Solar-Powered Smart Irrigation Systems
Key Components Explained
A solar-powered smart irrigation system integrates three core technologies:
- Solar Power Supply: Photovoltaic panels collect solar energy, storing it in batteries to power the irrigation controller and valves.
- Smart Controller: This device automates watering schedules based on programmable settings, weather forecasts, and sensor data (e.g., soil moisture, rainfall).
- Efficient Delivery Network: Drip lines, sprinkler heads, and valves distribute water precisely where and when it’s needed, minimizing waste.
How Smart Irrigation Differs from Traditional Systems
Unlike timer-based irrigation systems, smart irrigation leverages data from weather services and on-site sensors to adapt watering schedules dynamically. This ensures optimal soil moisture while preventing overwatering, even during unexpected rain events or droughts.
Environmental and Financial Benefits
- Reduces water usage by 30–50% compared to conventional systems
- Lowers electricity consumption by operating off-grid
- Decreases utility bills and carbon footprint
- Improves plant health and minimizes fertilizer runoff
Planning Your Solar-Powered Smart Irrigation System
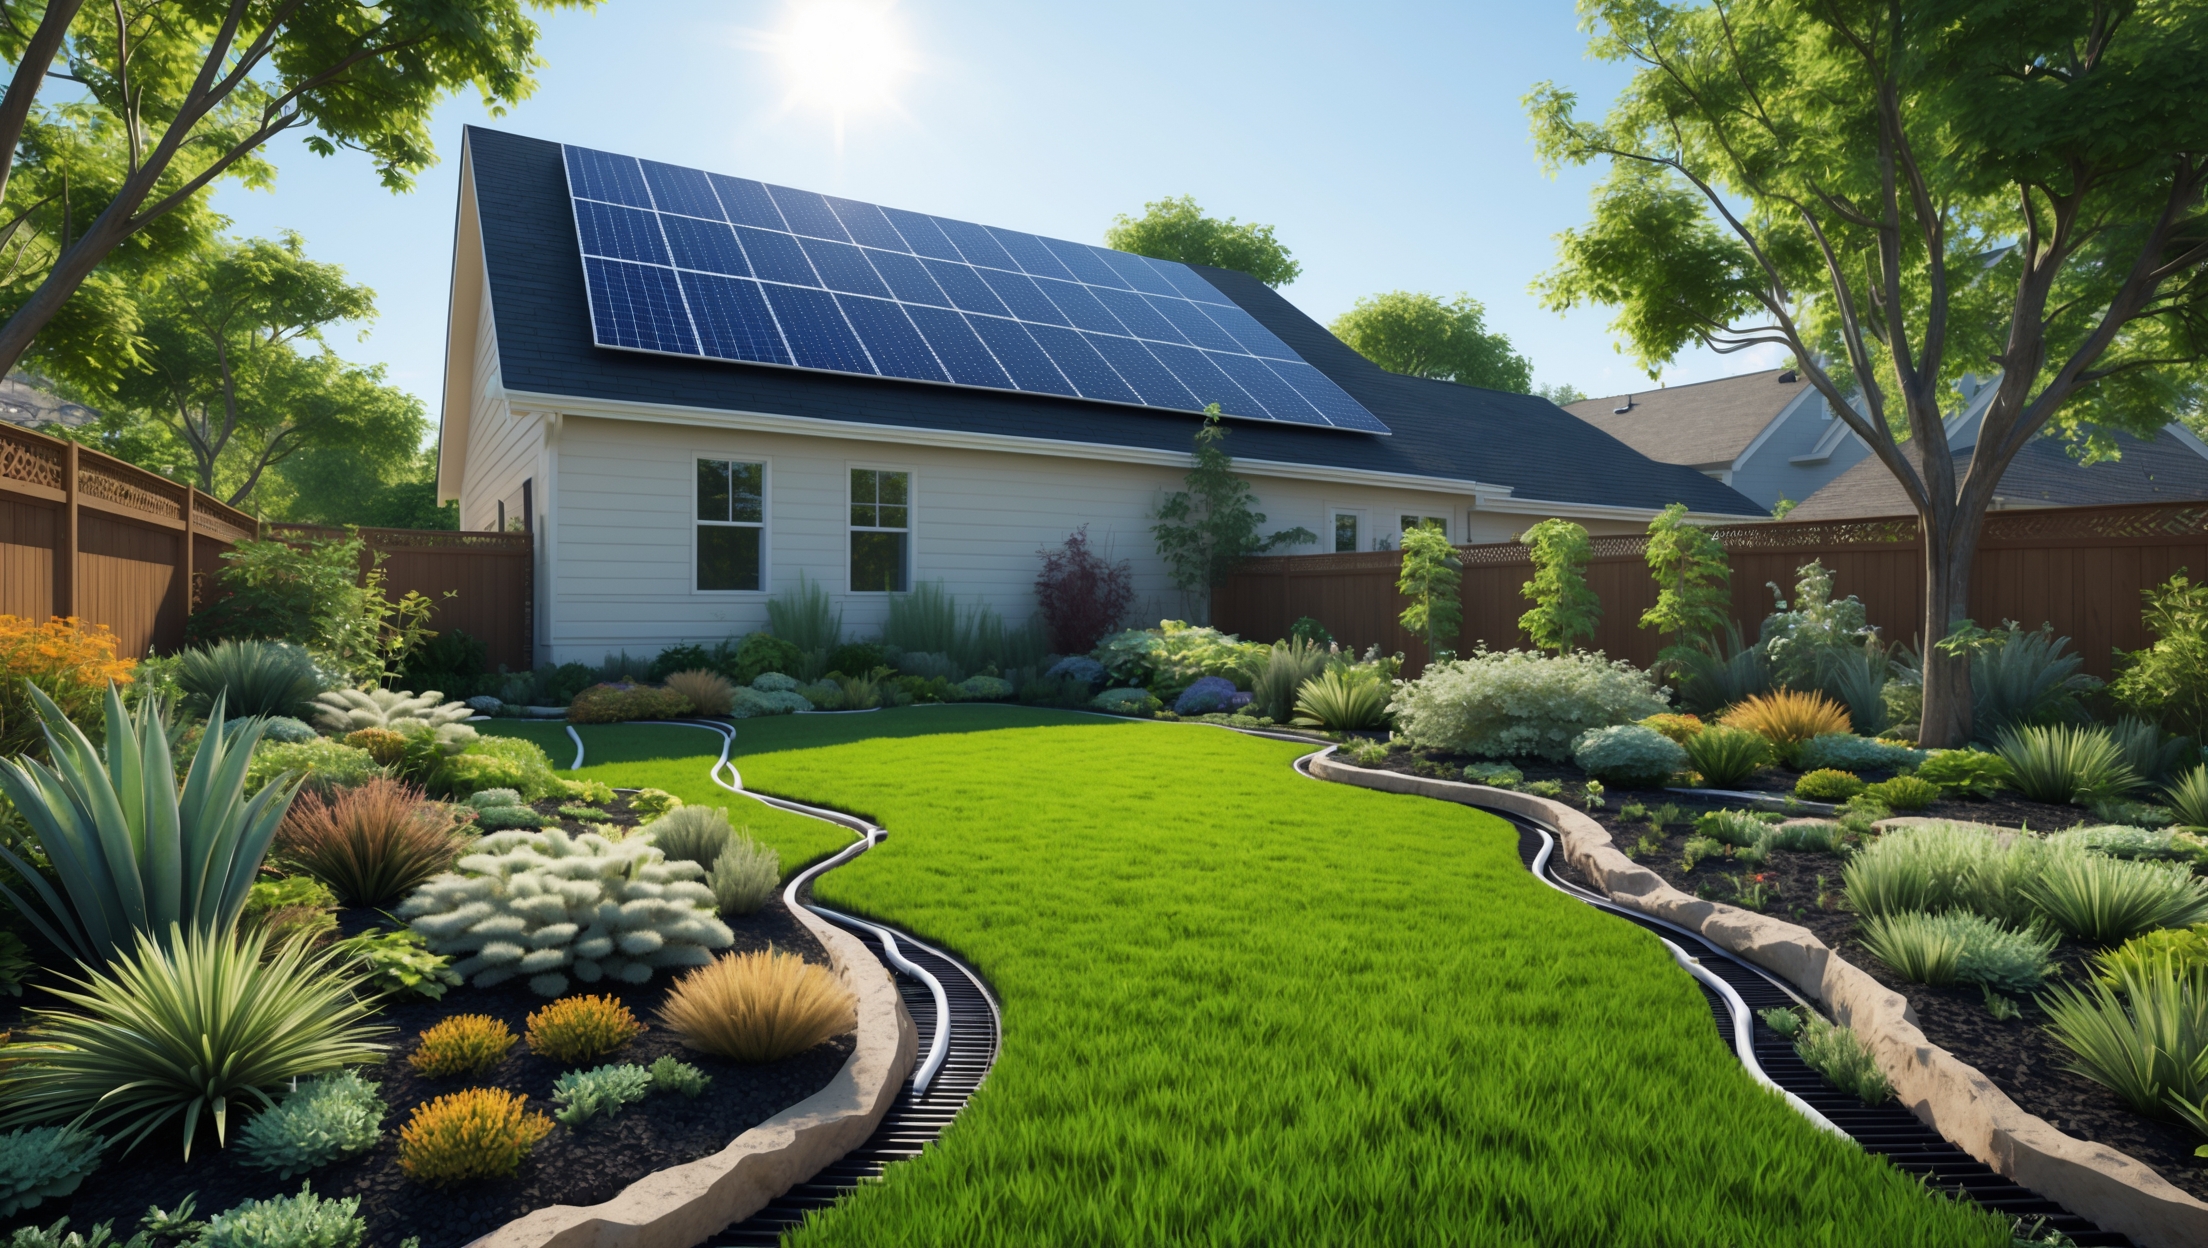
Site Assessment
Begin by evaluating your lawn’s size, shape, and sun exposure. Identify distinct irrigation zones based on grass type, plantings, and microclimates (e.g., sunny vs. shaded areas). Assess existing water supply lines and drainage patterns to ensure compatibility with new components.
Choosing the Right System Scale
Determine whether you need a full-yard system or targeted zones (e.g., front lawn, vegetable beds). Smaller yards may require just one solar panel and controller, while larger landscapes might benefit from multiple zones and higher-capacity batteries.
Solar Siting Considerations
Install solar panels in a location that receives at least 6 hours of direct sunlight year-round. Avoid shaded areas caused by trees, fences, or structures. South-facing exposure is optimal in the Northern Hemisphere.
Water Source Compatibility
Ensure your system can connect to the municipal water supply, a rainwater harvesting system, or both. Check for adequate pressure and consider adding a filter to protect valves and emitters from debris.
Cost Breakdown and Budgeting
Major Cost Categories
- Solar Panel and Battery Kit: $150–$400 (depends on wattage and battery size)
- Smart Controller: $100–$300 (Wi-Fi/Bluetooth enabled, weather integration)
- Valves, Drip Lines, Sprinkler Heads: $100–$350 (cost varies by coverage area and system type)
- Soil Moisture and Rain Sensors: $40–$120
- Miscellaneous Hardware (mounts, wiring, connectors): $50–$150
- Optional Professional Installation: $400–$1,000 (DIY is feasible for most homeowners)
Sample Budget for a 2,000 sq. ft. Lawn
- Solar kit (50W panel + 12V battery): $250
- Smart controller (4-zone): $180
- Valves, drip tubing, emitters: $200
- Sensors: $75
- Hardware/mounts: $80
- Total (DIY install): $785
Expect higher costs for larger lawns or more complex zoning. Factor in optional upgrades like app-based controllers or integration with existing smart home systems.
Step-by-Step Setup Tutorial
Step 1: Gather Tools & Materials
- Screwdrivers and pliers
- Wire strippers/cutters
- Drill and mounting hardware
- Trenching tool or garden spade
- Tubing cutter
- Waterproof electrical connectors
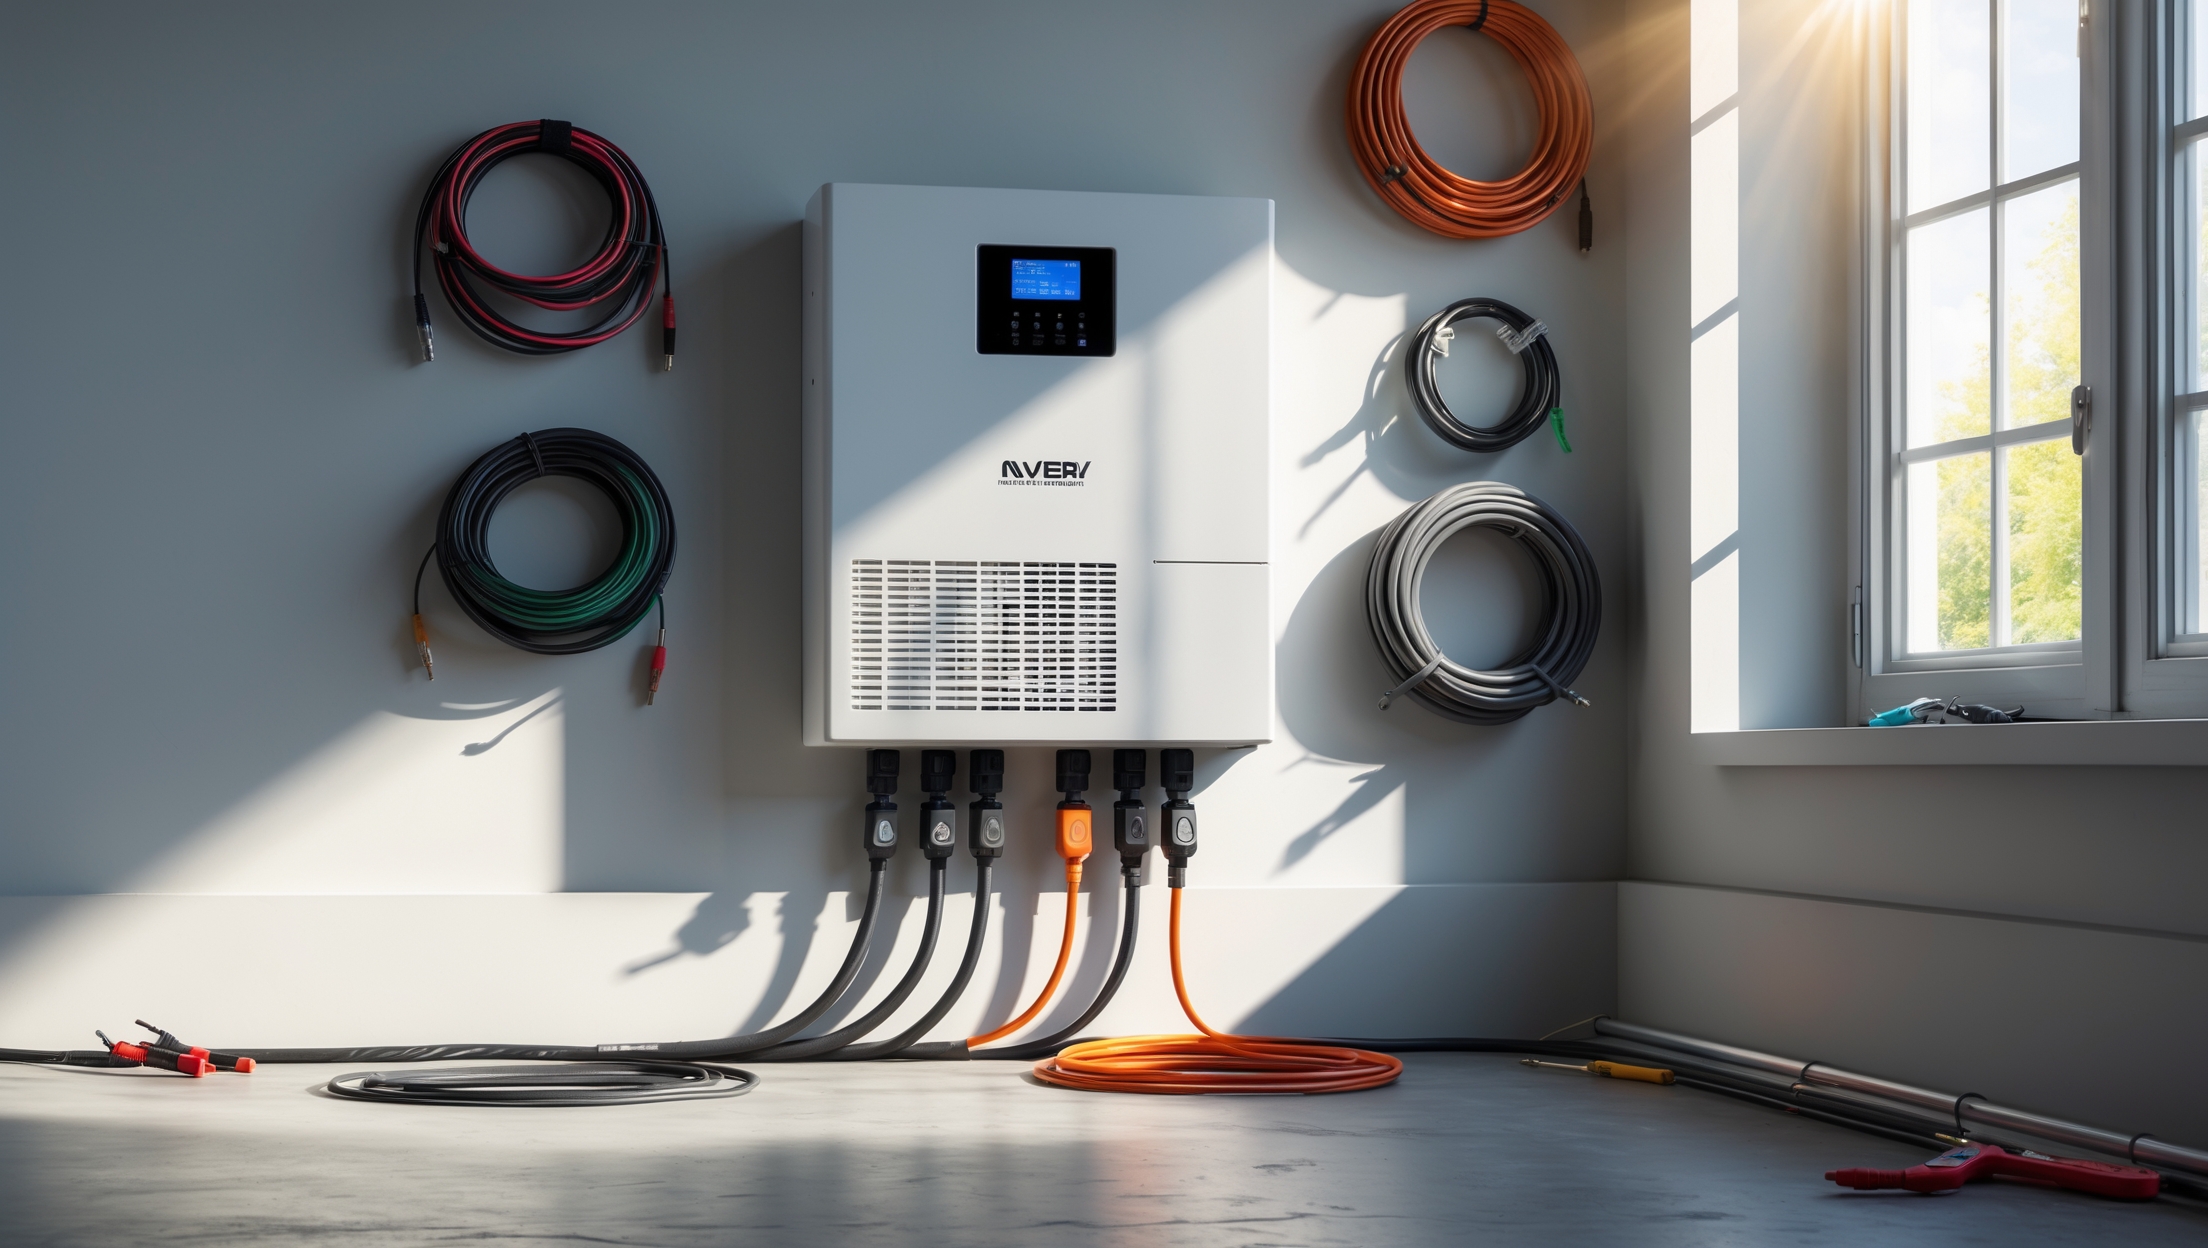
Step 2: Install the Solar Panel and Battery
- Mount the solar panel in a sunny, unobstructed location using the provided bracket.
- Connect the panel to the charge controller and battery according to the manufacturer’s instructions.
- Use waterproof connectors and enclosures to protect wiring.
Step 3: Set Up the Smart Controller
- Mount the controller near the battery, sheltered from direct rain and excessive heat.
- Connect the controller to the battery’s power output.
- Configure Wi-Fi or Bluetooth connectivity if using an app-based controller.
- Input basic settings (date, time, watering zones).
Step 4: Lay Out Drip Lines and Sprinklers
- Map out irrigation zones based on your earlier site assessment.
- Lay drip tubing along garden beds and turf edges. For lawns, use pop-up or rotary sprinklers for even coverage.
- Connect tubing to valves controlled by the smart controller.
- Bury tubing 2–3 inches below the surface to protect from sunlight and damage.
Step 5: Install Soil Moisture and Rain Sensors
- Place soil moisture sensors 2–4 inches deep in representative locations for each zone.
- Install rain sensors in an open area where they can detect precipitation accurately.
- Wire sensors to the smart controller following the labeled ports.
Step 6: Connect Water Supply and Test System
- Attach irrigation system to your main water source or rainwater tank.
- Check all connections for leaks.
- Power on the smart controller and manual-test each zone for proper coverage and valve operation.
Step 7: Program and Fine-Tune Settings
- Set watering schedules based on grass and plant needs, soil type, and local climate.
- Enable weather-based adjustments and soil moisture triggers in the controller app.
- Monitor performance for the first two weeks and fine-tune durations or start times as needed.
Maintenance Best Practices
Regular Checks
- Inspect solar panels monthly for dust, debris, or shading. Clean with a soft cloth and water.
- Check battery terminals for corrosion and ensure secure connections.
Seasonal Adjustments
- Adjust watering schedules seasonally to account for rainfall and temperature changes.
- Flush drip lines and filters at the start and end of the growing season to prevent clogging.
Troubleshooting Common Issues
- Low Battery: Ensure solar panel is unobstructed and clean; replace battery as needed (typically every 3–5 years).
- Uneven Watering: Check for clogged emitters or pinched tubing. Replace or clean components as necessary.
- Sensor Malfunction: Test sensors by simulating wet/dry soil and rainfall. Replace faulty units promptly.
Optimizing Your System for Maximum Efficiency
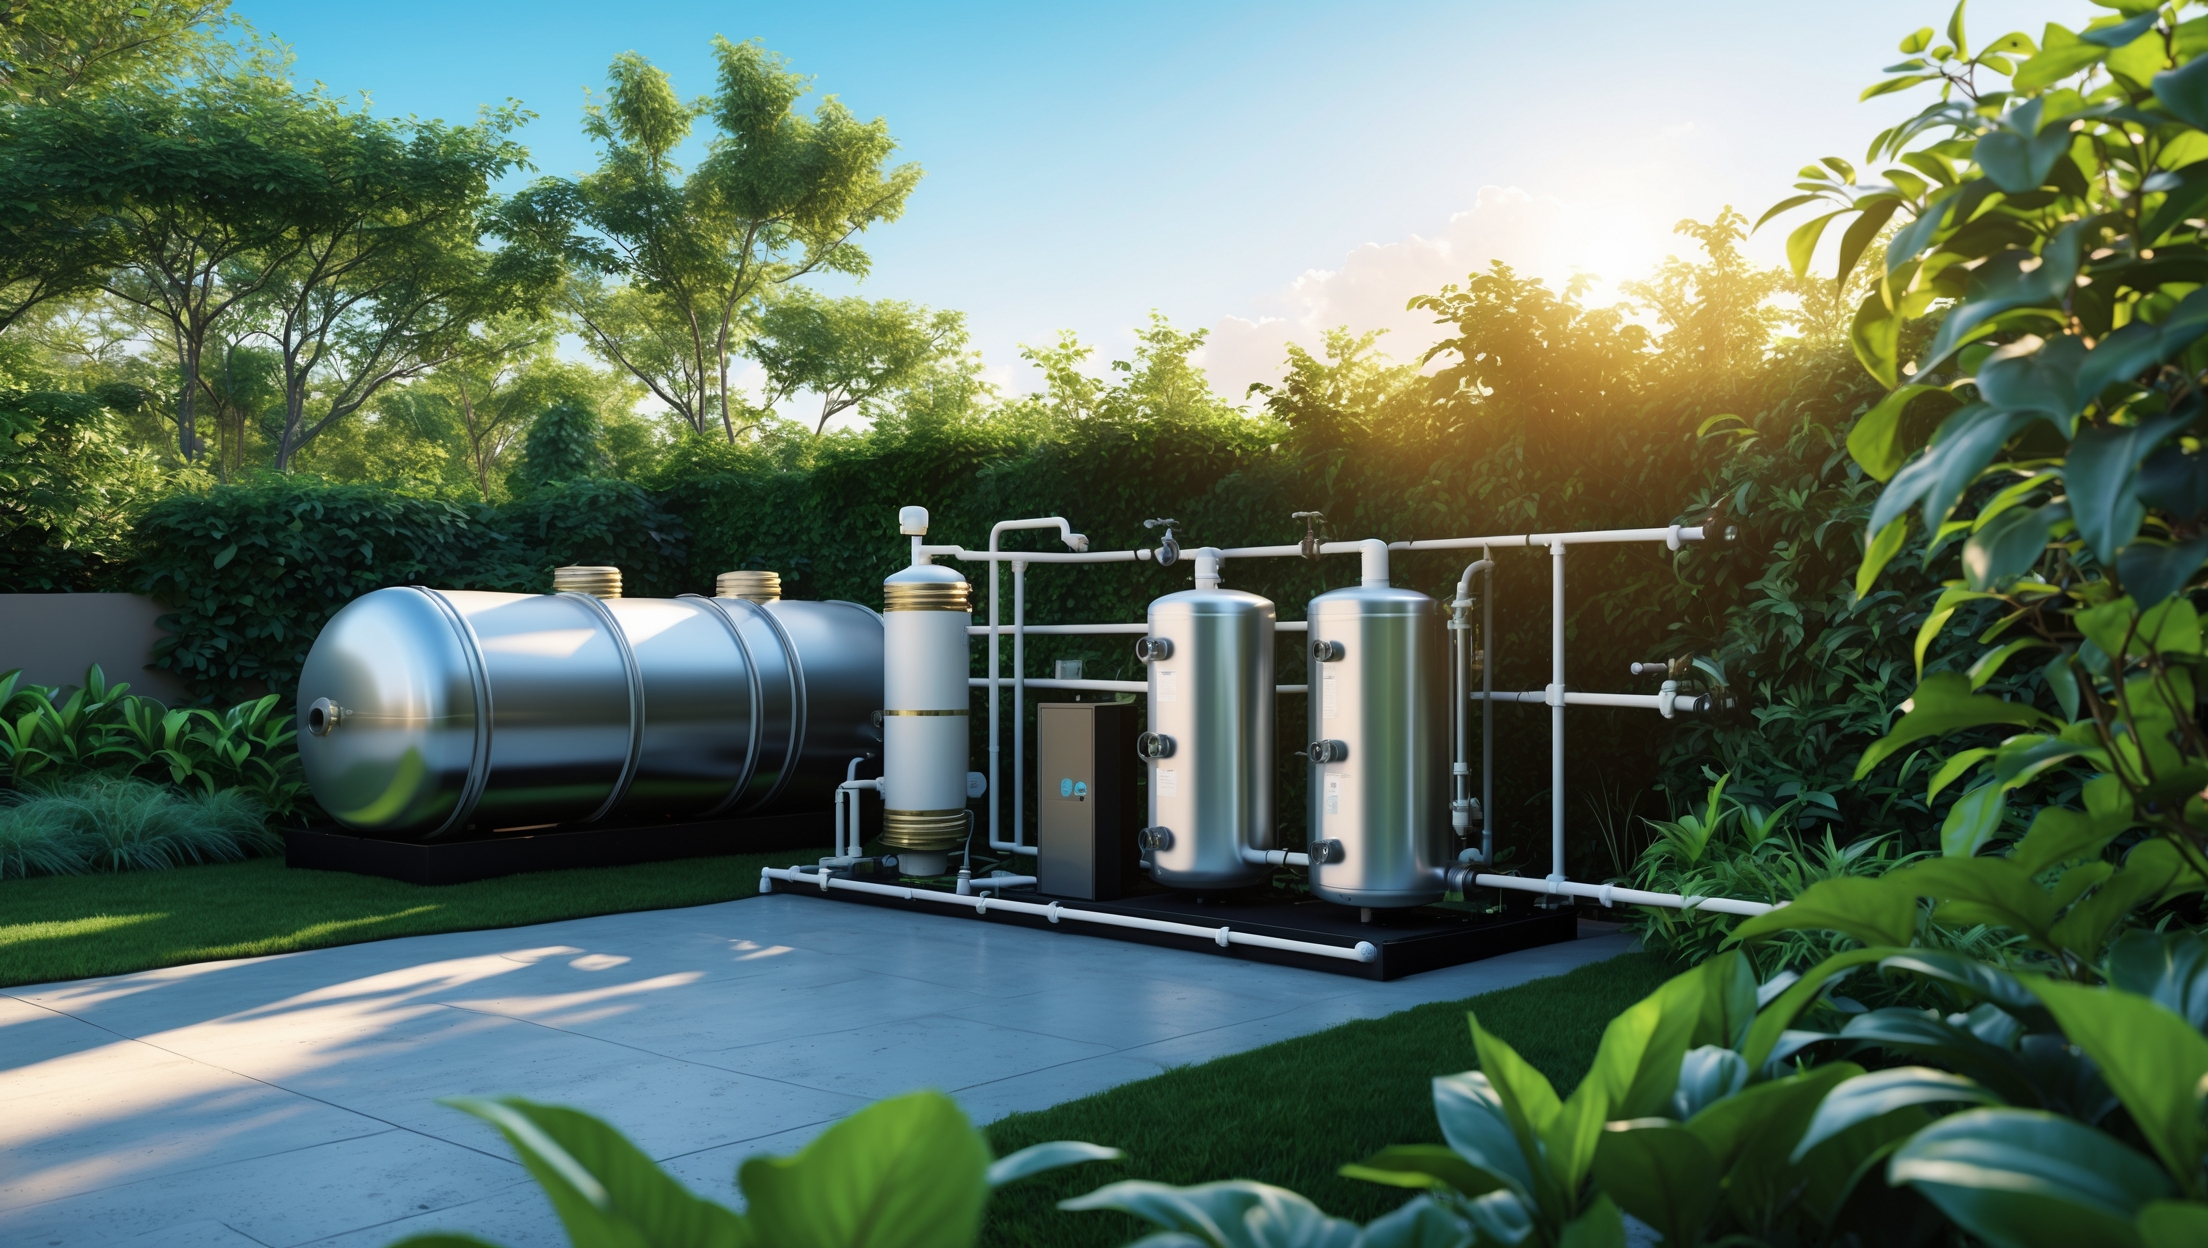
Integrating with Rainwater Harvesting
For the ultimate in sustainable irrigation, pair your smart system with a rainwater catchment tank. Use a pre-filter and booster pump (solar-powered if possible) to supplement municipal water and further reduce your environmental impact.
Smart Home Integration
- Connect your controller to smart home platforms like Google Home or Amazon Alexa for voice control and automated routines.
- Set up notifications for maintenance reminders and leak detection.
Native and Drought-Tolerant Landscaping
Reduce water demand by transitioning lawn areas to native grasses and drought-resistant plantings. Smart irrigation is most effective when paired with appropriate landscaping choices.
Frequently Asked Questions
- Can I retrofit my existing irrigation system? Yes, most smart controllers and solar kits are compatible with standard valves and sprinkler networks.
- How reliable is solar power for irrigation? With proper sizing and battery storage, solar-powered systems operate reliably through most weather conditions. Extended cloudy periods may require occasional battery charging from an alternative source.
- Is a permit required? In most residential areas, no permit is needed for low-voltage solar irrigation. Check local regulations if connecting to a municipal water line or altering plumbing.
Conclusion: Transforming Lawn Care for a Sustainable Future
Integrating a solar-powered smart irrigation system is a practical, forward-thinking investment for any homeowner committed to sustainable living. By harnessing renewable energy and intelligent automation, you’ll not only conserve precious water resources but also enjoy a healthier, more resilient lawn. The initial planning and setup require careful attention to site conditions, component selection, and proper installation. However, the long-term benefits—lower utility bills, reduced environmental impact, and less time spent on manual watering—far outweigh the upfront effort. Regular maintenance is straightforward, with most tasks easily handled by DIY enthusiasts. Upgrading your irrigation system also presents an opportunity to rethink your landscaping, prioritizing native species and efficient water use. As technology continues to advance, smart irrigation systems will become even more accessible and powerful, offering integration with smart homes, weather services, and sustainability metrics. Ultimately, making the switch to solar-powered, data-driven irrigation isn’t just about greener lawns—it’s about contributing to a greener planet, one yard at a time. Start planning your system today, and enjoy the rewards of eco-friendly lawn care for years to come.

Could you explain a bit more about how the sensors work with the smart controller? For example, how often do they check soil moisture and adjust watering schedules, and is this all automatic or do I need to program it regularly?
The sensors in a solar-powered smart irrigation system continuously monitor soil moisture levels and send real-time data to the smart controller. Most systems automatically check moisture at set intervals—typically every 15 to 30 minutes—though some allow you to adjust this frequency. The controller then uses this data to adjust the watering schedule automatically. You only need to program basic preferences at setup; day-to-day adjustments are handled by the system itself.
I’m curious how complicated the step-by-step installation really is for someone who doesn’t have much experience with solar panels. Does your guide break down any electrical wiring or is it mostly plug-and-play for the average homeowner?
The guide is designed with beginners in mind, so most steps use straightforward, plug-and-play components. It gives clear instructions for basic wiring, like connecting solar panels to the controller and battery. No advanced electrical skills are needed, but it does walk you through simple connections safely, so someone without much experience should feel comfortable following along.
Can you share more about how the solar panels and battery are sized for a typical residential lawn in the US? I want to make sure I’m not underestimating the solar capacity needed to keep the system running, especially during cloudy weeks.
For a typical residential lawn in the US, the solar panel is usually sized based on the daily energy use of the irrigation controller and pump, plus some extra capacity for cloudy periods. Most home systems use a 20–50 watt solar panel paired with a 12V battery rated at 7–18 amp hours. This combination generally allows the system to run for 3–5 days without sun, but you can choose a larger battery for extra backup. Always check the specific power needs of your equipment to fine-tune your setup.
I’m interested in the integration process between solar panels and the smart controller. Do you have recommendations on battery size or type for storing enough solar power to run the system reliably during stretches of cloudy weather or at night?
For reliable operation during cloudy days or at night, it’s best to use deep-cycle batteries, such as AGM or lithium iron phosphate (LiFePO4), since they’re designed for repeated charging and discharging. To size the battery, first estimate your system’s daily energy use in watt-hours, then multiply by at least three to five days of autonomy. For example, if your system uses 50 watt-hours per day, aim for a battery with at least 150–250 watt-hours of usable capacity.
If I want to retrofit an existing traditional irrigation system with these smart and solar features, are there specific steps or components I should prioritize, or is it generally easier to start from scratch?
Retrofitting your existing irrigation system is definitely possible and often more cost-effective than starting from scratch. Focus first on installing a solar panel and a compatible smart controller that can automate watering based on weather and soil conditions. You may also need valve actuators or adapters to make your current valves compatible with smart controls. Prioritize checking compatibility between your existing setup and the new smart components for a smoother upgrade.
I’d love to learn more about budgeting for this project. Could you provide a ballpark estimate for the upfront costs versus potential savings on utility bills in the first year after installation?
For most solar-powered smart irrigation systems, upfront costs can range from $800 to $2,500, depending on the size of your lawn and the features you choose. In terms of savings, many homeowners see a reduction of 30–50% in water bills, which could translate to $100–$400 saved in the first year. Over time, these savings help offset the initial investment.
For ongoing maintenance, what should I be checking or replacing regularly to keep the whole system running smoothly? I’m not super tech-savvy and want to avoid any surprises during the hottest months.
To keep your solar-powered smart irrigation system running well, check the solar panels regularly for dust or debris and clean them gently if needed. Inspect the irrigation lines for leaks or blockages, and make sure the sprinkler heads aren’t clogged. Replace the system’s filter as recommended, and check the battery’s performance each season—replace it if you notice weaker operation. Testing the sensors and controller every few months will help prevent surprises during peak summer heat.