Introduction
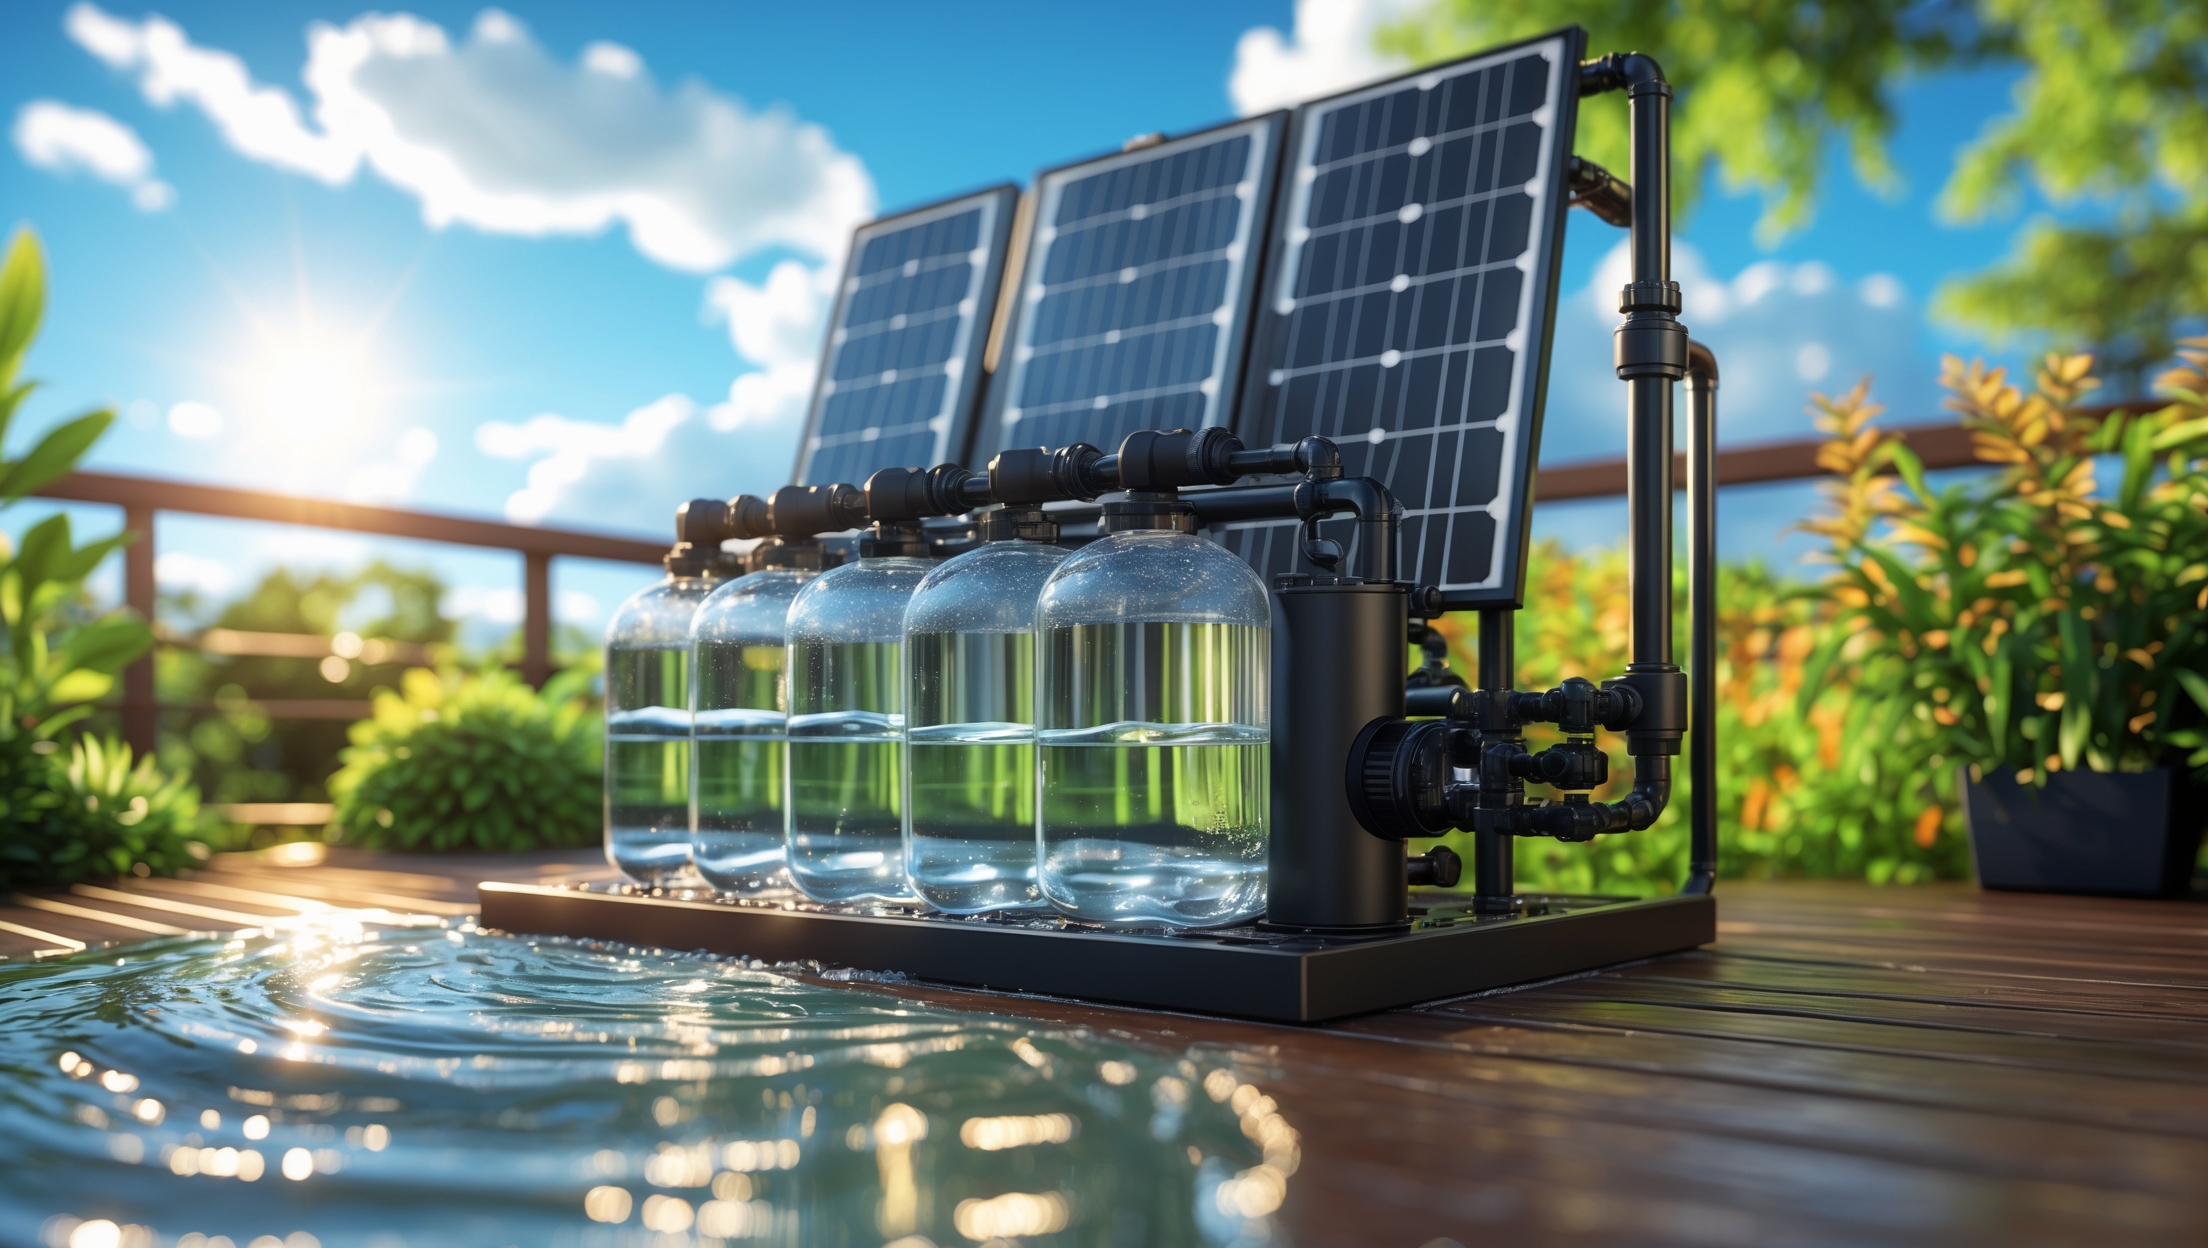
Clean, safe drinking water is a cornerstone of sustainable living, and home-based solar water purification systems are gaining popularity as an eco-friendly solution. These systems harness renewable solar energy to remove contaminants and pathogens from water, providing a reliable supply without relying on fossil fuels or municipal infrastructure. However, to ensure ongoing efficiency and water safety, regular maintenance is crucial. Neglecting upkeep can lead to reduced purification performance, component failures, or even unsafe water. Fortunately, most solar water purification systems are designed for ease of maintenance, making it accessible for homeowners willing to dedicate a bit of time and attention. In this comprehensive guide, we’ll cover the essential maintenance best practices for various types of solar water purification systems, including solar distillation, solar-powered reverse osmosis, and solar UV disinfection units. Whether you’re new to solar water purification or looking to optimize your current setup, these expert tips will help you maximize system lifespan, ensure water purity, and protect your investment in green technology.
Understanding Your Solar Water Purification System
Types of Home Solar Water Purification Systems
- Solar Distillation: Uses solar energy to evaporate and condense water, leaving contaminants behind.
- Solar-Powered Reverse Osmosis (RO): Utilizes solar panels to power pumps that force water through semi-permeable membranes, filtering out impurities.
- Solar UV Disinfection: Employs solar energy to power UV lamps that deactivate pathogens in water.
Each system has unique maintenance needs, but all benefit from routine checks and some common best practices.
Key Components Requiring Maintenance
- Solar panels and wiring
- Pumps and filters (in RO systems)
- Distillation trays and condensation surfaces
- UV lamps and quartz sleeves (in UV units)
- Water storage tanks and distribution plumbing
Routine Inspection and Cleaning
Establishing a Maintenance Schedule
Consistency is vital for optimal performance. Most manufacturers recommend a monthly visual inspection and quarterly deep cleaning. Create a calendar or set reminders to stay on track. Document all maintenance activities for warranty and troubleshooting purposes.
Solar Panel Care
- Inspection: Each month, check panels for dirt, bird droppings, leaves, or shading from new vegetation. Obstructions can significantly reduce power output.
- Cleaning: Use a soft brush or sponge and clean water (no harsh chemicals) to gently remove debris. Clean in the early morning or late evening to prevent thermal shock.
- Wiring: Inspect cables and connectors for corrosion, fraying, or loose connections. Address issues immediately to prevent power loss or fire hazards.
Water Pathways and Storage
- Pipes and Hoses: Look for leaks, blockages, or signs of scaling. Flush lines with clean water quarterly to prevent buildup of minerals or biofilms.
- Storage Tanks: Drain and rinse tanks every 3–6 months to remove sediment. Use a brush with a long handle if needed, and sanitize with food-safe hydrogen peroxide if algae or odor is present.
System-Specific Maintenance Best Practices
Solar Distillation Systems
- Cleaning Distillation Trays: Mineral scale can form where water evaporates. Soak trays in a 1:1 vinegar-water solution, then scrub gently and rinse thoroughly.
- Condensation Surfaces: Wipe glass or plastic surfaces with a lint-free cloth to prevent water spots that can reduce efficiency.
- Checking Seals: Inspect gaskets and seals around the enclosure for cracks or wear. Replace as needed to prevent vapor loss and contamination.
Solar-Powered Reverse Osmosis (RO) Systems
- Membrane Flushing: Most RO systems feature an automatic or manual flush. Perform a flush twice monthly to remove accumulated contaminants from the membrane surface.
- Filter Replacement: Pre-filters (sediment and carbon) typically need replacement every 6–12 months, depending on water quality and usage. Mark replacement dates on a calendar.
- Pressure Monitoring: Check the system’s pressure gauge monthly. A drop in pressure may indicate a clogged filter or leak; a spike may signal a blocked membrane.
- Pump Maintenance: Listen for unusual noises or vibrations from the pump. Lubricate bearings (if specified by the manufacturer) and replace worn components promptly.
Solar UV Disinfection Systems
- UV Lamp Replacement: UV lamps lose effectiveness over time. Replace annually, even if the lamp still lights up. Follow the manufacturer’s guidelines for your specific model.
- Cleaning Quartz Sleeves: Remove and clean the quartz sleeve surrounding the lamp every 3–6 months. Use a soft cloth and isopropyl alcohol to remove scale or film. Handle with gloves to avoid fingerprints.
- Sensor Calibration: If your system includes a UV intensity sensor, clean and calibrate it during each maintenance cycle to ensure accurate monitoring.
Water Quality Testing and Monitoring
Regular Water Testing
Test purified water monthly for microbial contamination (coliform bacteria), total dissolved solids (TDS), and residual chemicals. Use home water test kits or send samples to a certified lab for comprehensive analysis. Record results to track trends and catch issues early.
Monitoring System Performance
- Flow Rate: Measure output flow rates monthly. A decrease can signal clogged filters or scaling.
- Electrical Output: If equipped, check the charge controller or inverter display for solar input and battery status. Unusual readings may indicate panel or wiring issues.
- Alarm Systems: Ensure any system alarms (low UV, high TDS, low pressure) are functional. Test alarm triggers during routine maintenance.
Preventive Maintenance Tips
- Environmental Protection: Shield exposed components from harsh weather and debris with covers or enclosures. Ensure adequate ventilation for electrical equipment.
- Rodent and Insect Control: Inspect for signs of animal intrusion. Seal entry points and use non-toxic deterrents to prevent damage to wiring and plumbing.
- Component Upgrades: Stay informed about new filters, membranes, or monitoring tools compatible with your system. Upgrades can improve efficiency and safety.
- Manufacturer Support: Register your system and maintain a relationship with the supplier for firmware updates, recalls, or expert troubleshooting advice.
Troubleshooting Common Issues
Cloudy or Foul-Tasting Water
- Check and replace filters or membranes.
- Clean and sanitize storage tanks.
- Test water for contamination and, if necessary, service the purification unit.
Reduced Water Output
- Inspect for clogged filters, scaled pipes, or pump problems.
- Flush the system and replace any worn or blocked components.
Electrical or Mechanical Failures
- Check for blown fuses, tripped breakers, or loose connections.
- Test battery voltage if the system uses battery backup.
- Consult the manufacturer for persistent issues.
Seasonal Adjustments and Long-Term Care
Winterizing Your System
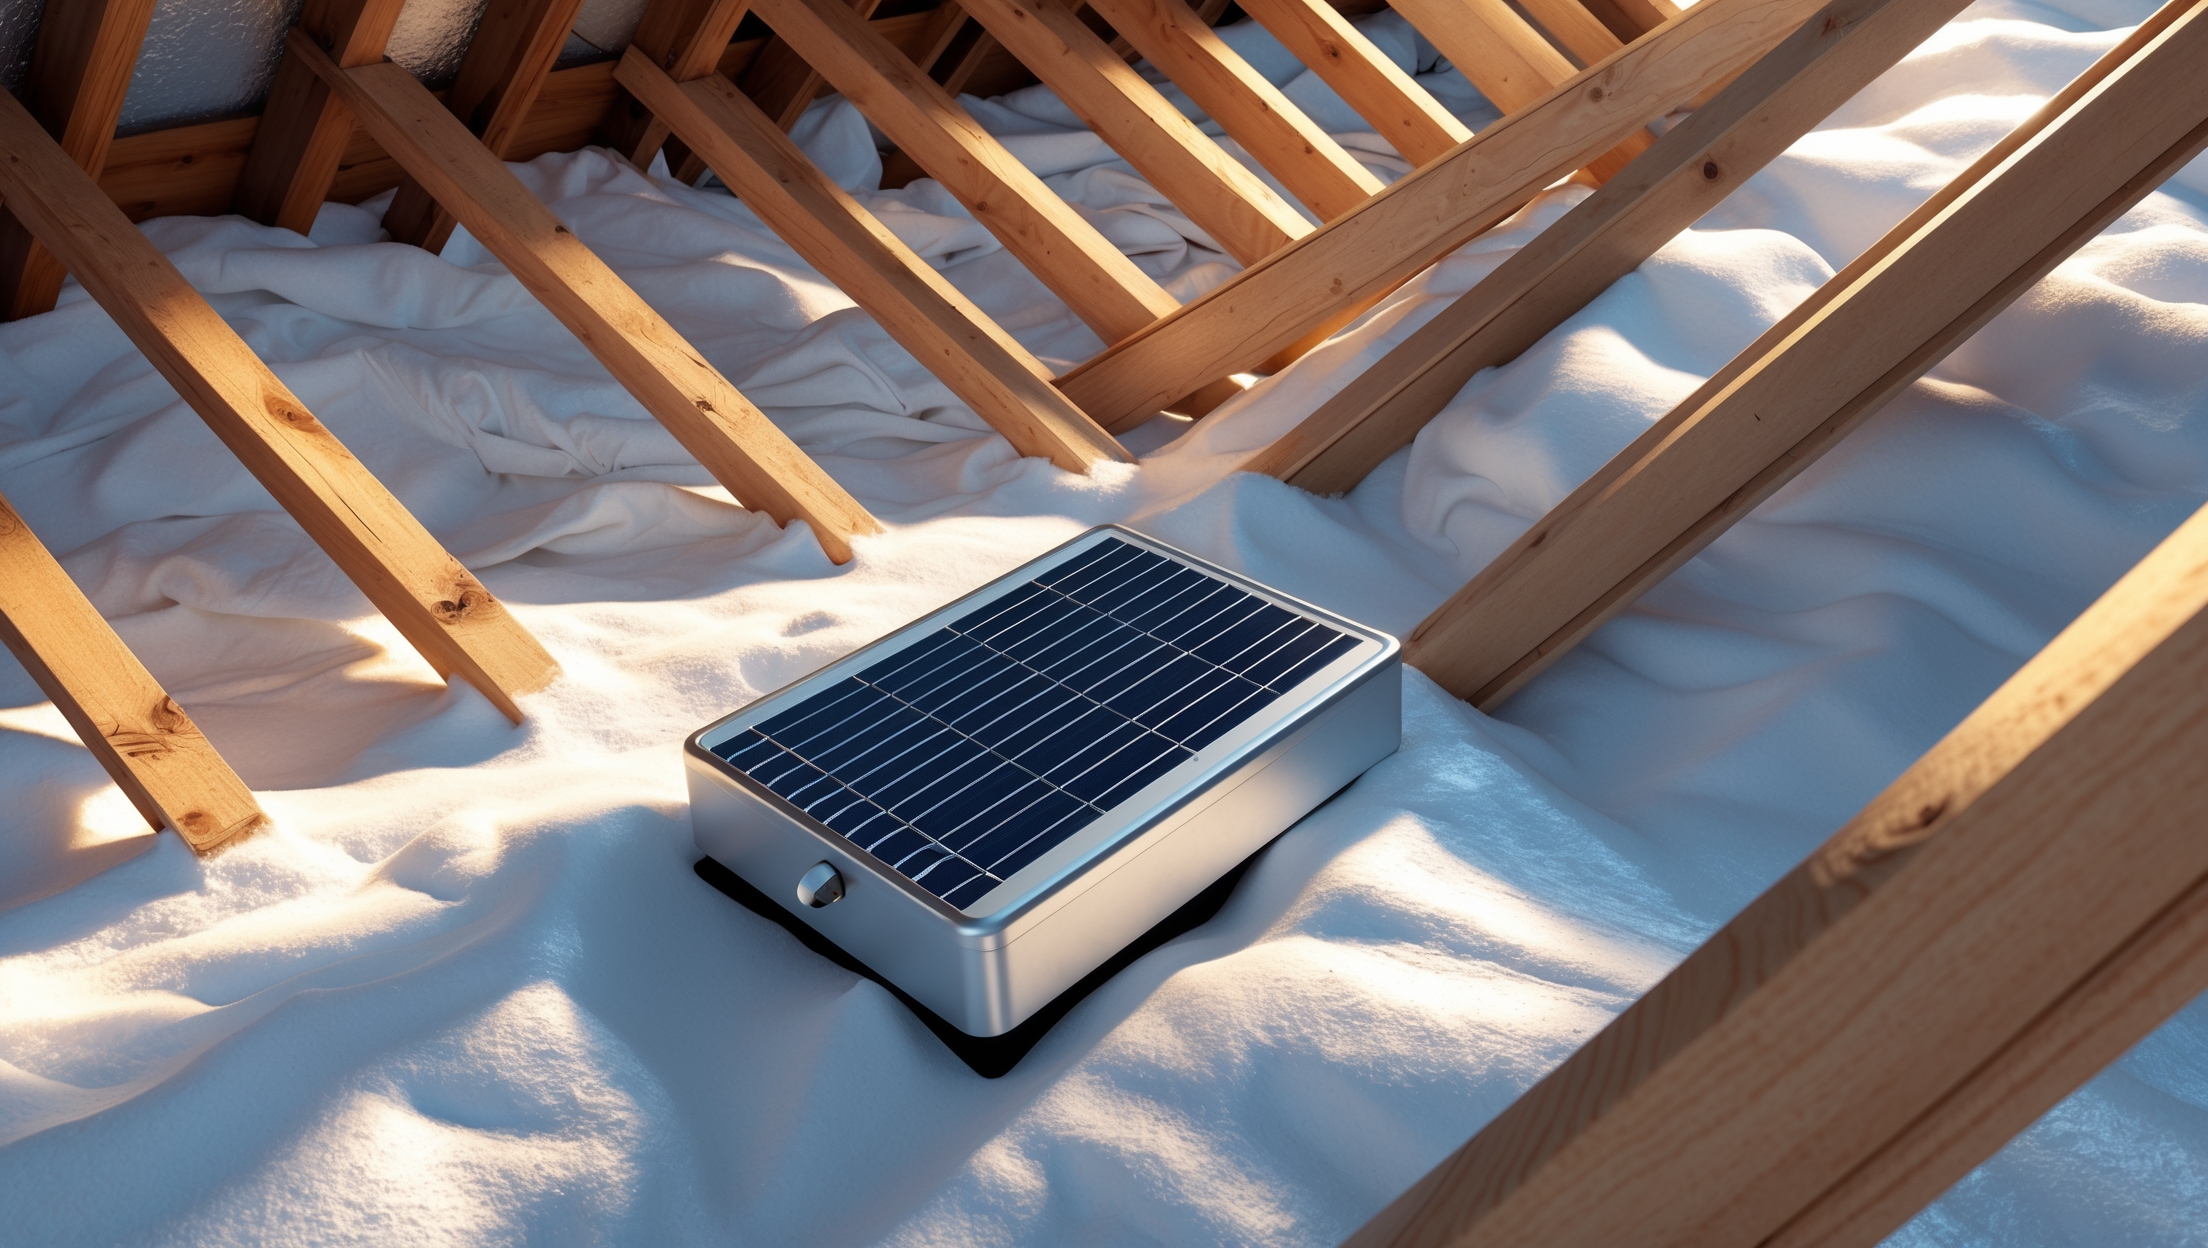
- Insulate pipes and storage tanks to prevent freezing.
- If not in use, drain water from the system and store removable components indoors.
- Keep solar panels clear of snow for maximum sun exposure.
Summer Optimization
- Increase maintenance frequency if dust and pollen levels are high.
- Monitor for algae growth in storage tanks due to warmer temperatures and sunlight exposure.
Documenting and Improving Your Maintenance Routine
Maintenance Log
Keep a dedicated notebook or digital log for all maintenance activities, including cleaning dates, filter replacements, test results, and any repairs. This record helps with troubleshooting, warranty claims, and resale value.
Continuous Improvement
- Review maintenance outcomes and adjust schedules to suit your specific water quality and usage.
- Join online forums or local green technology groups to share experiences and learn new tips from other users.
Conclusion
Maintaining a home-based solar water purification system isn’t daunting, but it is essential for ensuring a consistent supply of clean, safe water. By following the best practices outlined in this guide—such as regular inspection, cleaning, component replacement, water testing, and seasonal adjustments—you’ll extend the lifespan of your system, preserve efficiency, and uphold the health and safety of your household. Remember, proactive maintenance prevents costly breakdowns, protects your green investment, and supports your commitment to sustainable living. As solar water purification technology advances, staying informed and diligent will help you get the most from your system and inspire others in your community to pursue renewable, self-sufficient solutions. Embrace these maintenance habits, and enjoy the peace of mind that comes from knowing your water is as clean and sustainable as your lifestyle.


Could you provide more detail on how often the UV lamps and quartz sleeves in solar UV disinfection units should be inspected or replaced for optimal performance?
UV lamps in solar water purification systems should typically be inspected every 6 months and replaced every 12 months, even if they still appear to be working, because their effectiveness decreases over time. Quartz sleeves should be checked for scaling or cloudiness during each inspection and cleaned as needed—usually every 3 to 6 months. Replace quartz sleeves if cleaning does not restore their clarity.