Introduction
As temperatures rise and energy costs climb, homeowners are seeking effective, sustainable solutions to keep their homes comfortable without breaking the bank or harming the environment. One of the most overlooked yet impactful upgrades is a solar-powered attic ventilation system. By harnessing the sun’s energy, these systems help expel hot air from your attic, reducing the burden on your air conditioning and lowering indoor temperatures. This not only saves money but also extends the life of your roof and improves overall home energy efficiency. Whether you’re a DIY enthusiast or a homeowner looking to make thoughtful green upgrades, this comprehensive, step-by-step guide will walk you through planning, selecting, and installing a solar attic ventilation system. You’ll learn exactly how the technology works, what tools you’ll need, how to avoid common pitfalls, and how to ensure your installation delivers maximum benefit for years to come. Ready to make your attic—and your home—cooler, greener, and more cost-effective? Let’s dive in.
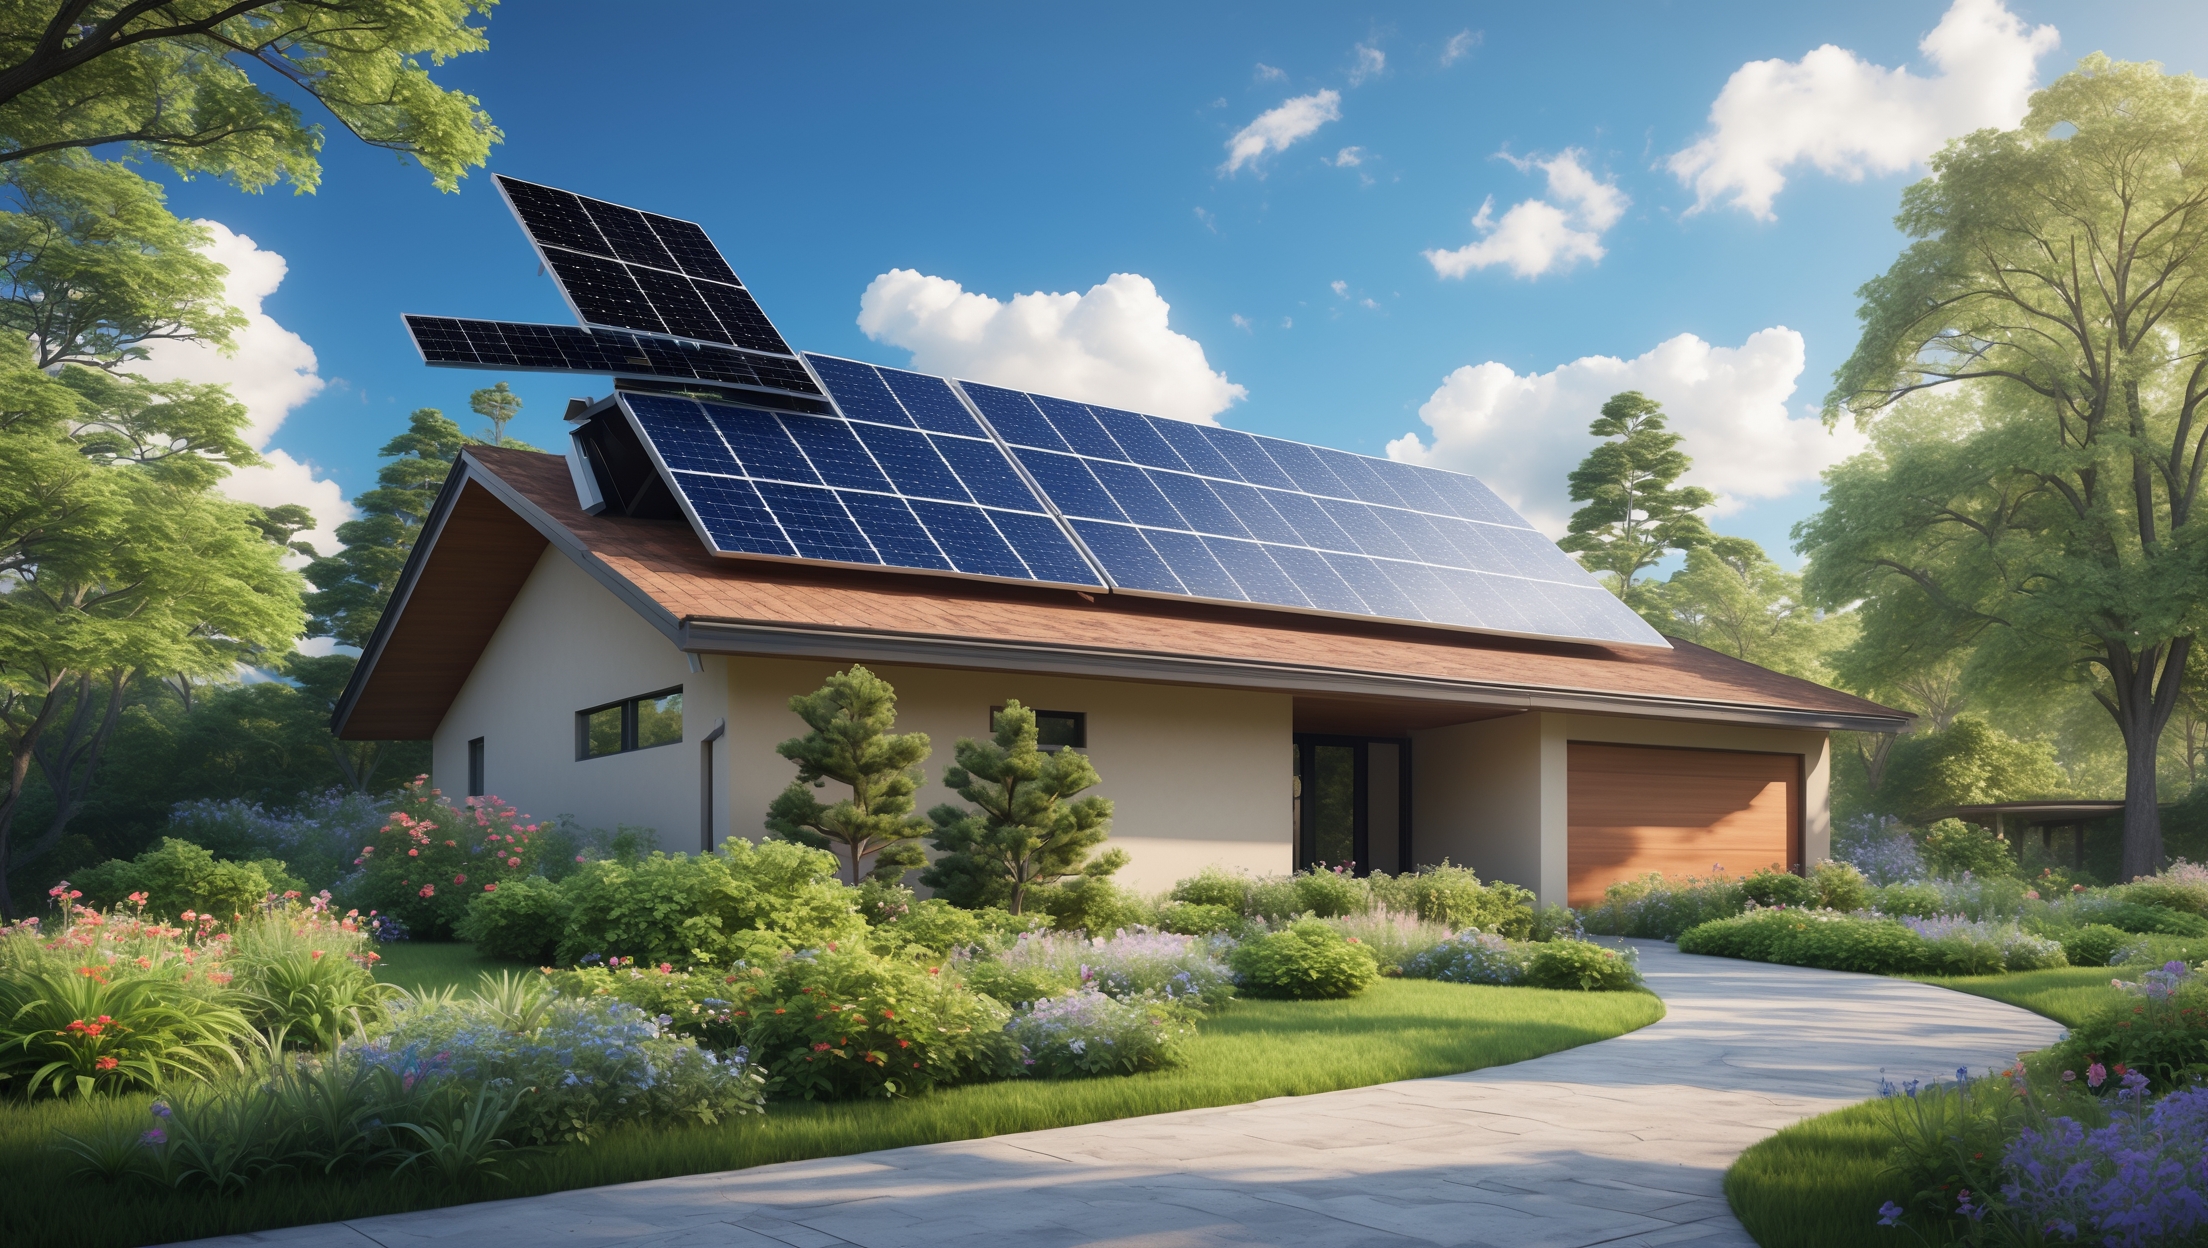
How Solar-Powered Attic Ventilation Works
The Science Behind Attic Heat
During hot weather, attics can reach temperatures above 150°F (65°C), turning your home into a heat trap. This heat radiates downward, making your HVAC system work harder and increasing energy consumption. Traditional electric attic fans help but add to your power bill. Solar-powered attic fans offer a smart alternative, using photovoltaic panels to power a fan that continually expels hot air as long as the sun shines.
Benefits for Sustainable Living
- Energy Savings: Reduce air conditioning costs by up to 30% during peak months.
- Prolongs Roof Life: Prevents heat and moisture buildup that can cause shingle damage and mold.
- Zero Operating Cost: Runs entirely on solar power with no additional electricity usage.
- Low Maintenance: Minimal moving parts and no wiring into your home’s electrical system.
- Eco-Friendly: Reduces your home’s carbon footprint and reliance on fossil fuels.
Planning Your Solar Attic Ventilation System
Assessing Your Attic’s Needs
Before purchasing a system, evaluate your attic size, roof type, and local climate:
- Attic Square Footage: Most manufacturers recommend 1 CFM (cubic foot per minute) of ventilation per square foot. Measure your attic’s length and width to calculate the area.
- Roof Pitch & Material: Steeper roofs trap more heat. Asphalt shingles, metal, and tile roofs all have unique installation requirements.
- Sun Exposure: Ensure you have an unshaded roof section facing south (in the Northern Hemisphere) or north (in the Southern Hemisphere) for optimal solar panel performance.
Choosing the Right Solar Attic Fan
- Solar Panel Wattage: Common sizes range from 15W to 40W. Larger attics or extreme climates may require higher wattage.
- Fan CFM Rating: Match the fan’s output to your attic’s size for effective ventilation.
- Adjustable vs. Fixed Panels: Adjustable panels allow you to tilt for maximum sun exposure.
- Integrated vs. Remote Panels: Remote panels offer more flexible placement if your ideal fan location lacks direct sunlight.
- Thermostat and Humidistat Controls: Some models include built-in controls for automatic operation based on temperature or humidity.
Budgeting and Cost Breakdown
Expect to pay $200–$600 for a high-quality solar attic fan, depending on size and features. Additional costs may include installation tools, mounting hardware, and optional accessories like thermostats or insect screens. Professional installation, if preferred, typically adds $150–$400.
Tools and Materials Checklist
- Solar attic fan kit (with mounting hardware and installation instructions)
- Measuring tape
- Drill and driver bits
- Jigsaw or reciprocating saw
- Utility knife
- Roofing sealant or caulk (solar fan rated)
- Flashing (included with most kits)
- Screwdriver set
- Roofing nails and hammer
- Ladder (roof access)
- Safety harness and non-slip shoes
- Pencil or chalk for marking
- Protective gloves and eyewear
- Optional: Thermostat/humidistat, insect screen
Step-by-Step Installation Guide
1. Safety First: Preparing for Installation
- Check weather conditions; choose a dry, mild day.
- Use a sturdy ladder on level ground and always wear a safety harness.
- Inform someone of your work schedule for added safety.
2. Selecting the Fan Location
Mark a spot high on the roof, near the attic’s peak, but away from hips, valleys, or obstructions. Optimal placement ensures maximum hot air extraction and sun exposure for the panel.
3. Marking and Cutting the Opening
- From inside the attic, locate the center point between rafters for mounting.
- Drill a pilot hole upward through the roof.
- On the roof, use the supplied template or measure a circle/rectangle for the fan base.
- Cut the marked opening with a jigsaw, taking care to avoid rafters and wiring.
4. Installing the Flashing
- Gently lift surrounding shingles and slide the flashing under, centering it over the opening.
- Apply roofing sealant under the flashing and nail it down as per manufacturer instructions.
- Seal any exposed nail heads and edges to prevent leaks.
5. Mounting the Fan Assembly
- Position the fan over the flashing and secure with screws.
- Use supplied gasket or additional sealant to ensure a weather-tight fit.
- Re-secure any displaced shingles over the flashing edge for a seamless appearance.
6. Installing the Solar Panel
- If integrated, the panel is already attached to the fan housing. Adjust its tilt for optimal sun exposure.
- If remote, mount the panel in a sunny spot using provided brackets, and run the connecting wire back to the fan unit, securing it neatly under shingles or along the roofline.
7. Wiring and Controls
- Connect the solar panel cable to the fan as directed. Most systems are plug-and-play, requiring no electrical expertise.
- Install optional thermostat/humidistat controls in the attic if desired, following the manufacturer’s guide.
- Test the system: On a sunny day, the fan should begin spinning as soon as the panel receives sunlight.
8. Sealing and Final Inspection
- Inspect all seams, screws, and edges for proper sealing to prevent water intrusion.
- Clean up debris from the roof and attic space.
- Check attic ventilation and confirm airflow with the fan running.
Common Pitfalls and How to Avoid Them
- Improper Sizing: Undersized fans won’t adequately ventilate your attic. Always calculate required CFM before purchase.
- Poor Placement: Shaded or low roof locations reduce solar output and fan efficiency.
- Inadequate Sealing: Unsealed flashing can cause leaks and roof damage. Use quality roofing sealant and follow up after heavy rain.
- Neglecting Intake Vents: For proper airflow, ensure your attic has functioning soffit or gable vents as intake points.
- Ignoring Safety: Roof work is hazardous. Always use safety equipment and never rush the job.
Maintenance Best Practices
- Inspect fan blades and solar panels twice a year for debris and dirt. Clean gently with a soft brush and water as needed.
- Check for obstructions around the fan and intake vents to maintain airflow.
- Reapply sealant to flashing every 2–3 years, or after extreme weather events.
- Test the fan’s operation at the start of each cooling season.
- Monitor attic temperature and humidity with a simple sensor to ensure system performance.
Maximizing System Efficiency
Improving Attic Insulation
Pairing your solar-powered ventilation with upgraded attic insulation further reduces heat transfer, leading to even greater energy savings.
Optimizing Solar Panel Position
Re-adjust the solar panel seasonally to match the sun’s angle, especially if you live in a region with significant seasonal variation.
Integrating Smart Controls
Consider adding a smart thermostat or remote monitoring system for real-time performance updates and automatic adjustments.
Frequently Asked Questions
Will a solar attic fan work on cloudy days?
While performance is reduced, modern panels generate enough power for the fan to operate at partial speed in indirect sunlight. For consistently cloudy climates, choose a higher-wattage panel.
Can I install more than one fan?
Yes, large or complex attics may benefit from multiple units. Ensure you have adequate intake vents to support the increased airflow.
Do I need a permit?
Many regions do not require permits for solar attic fans, but always check local building codes before starting your project.
Conclusion
Installing a solar-powered attic ventilation system is one of the most practical and rewarding green upgrades you can make for your home. Not only does it tackle the persistent problem of attic heat build-up, but it does so without increasing your energy bill or carbon footprint. By following this step-by-step tutorial, you can confidently select the right system, complete the installation safely, and ensure years of reliable, eco-friendly operation. Remember to size your fan appropriately, place your solar panel for maximum sun exposure, and take the time to seal and maintain the installation for long-term performance. With modest upfront investment and minimal ongoing maintenance, your solar attic fan will pay dividends in comfort, savings, and sustainability. As you reap the benefits—lower cooling bills, longer roof life, and a smaller environmental impact—you’ll be one step closer to a truly sustainable, energy-smart home. The journey to green living is made of small, smart choices. Make your attic one of them, and inspire neighbors and friends to follow your lead.