Introduction: Why Integrate Battery Storage with Your Existing Solar PV?
Solar photovoltaic (PV) panels have become a cornerstone of sustainable living, allowing homeowners to harness clean energy and reduce reliance on the grid. But as energy needs evolve, so does the desire for greater energy independence, resilience, and efficiency. Integrating a solar battery storage system with your existing PV array is a transformative upgrade. It enables you to store surplus energy for use during peak demand, outages, or at night—maximizing self-consumption and possibly lowering utility bills even further.
This detailed tutorial is designed for homeowners who already have a grid-tied solar PV system and want to add battery storage. We’ll guide you through every stage, from evaluating your current setup to selecting compatible equipment, installation best practices, and commissioning your new energy storage system. Whether you’re motivated by energy security, sustainability, or saving money, this step-by-step guide will help you make informed decisions and smoothly transition to a smarter, more flexible home energy solution.
Understanding Your Existing Solar PV System
Key Components to Identify
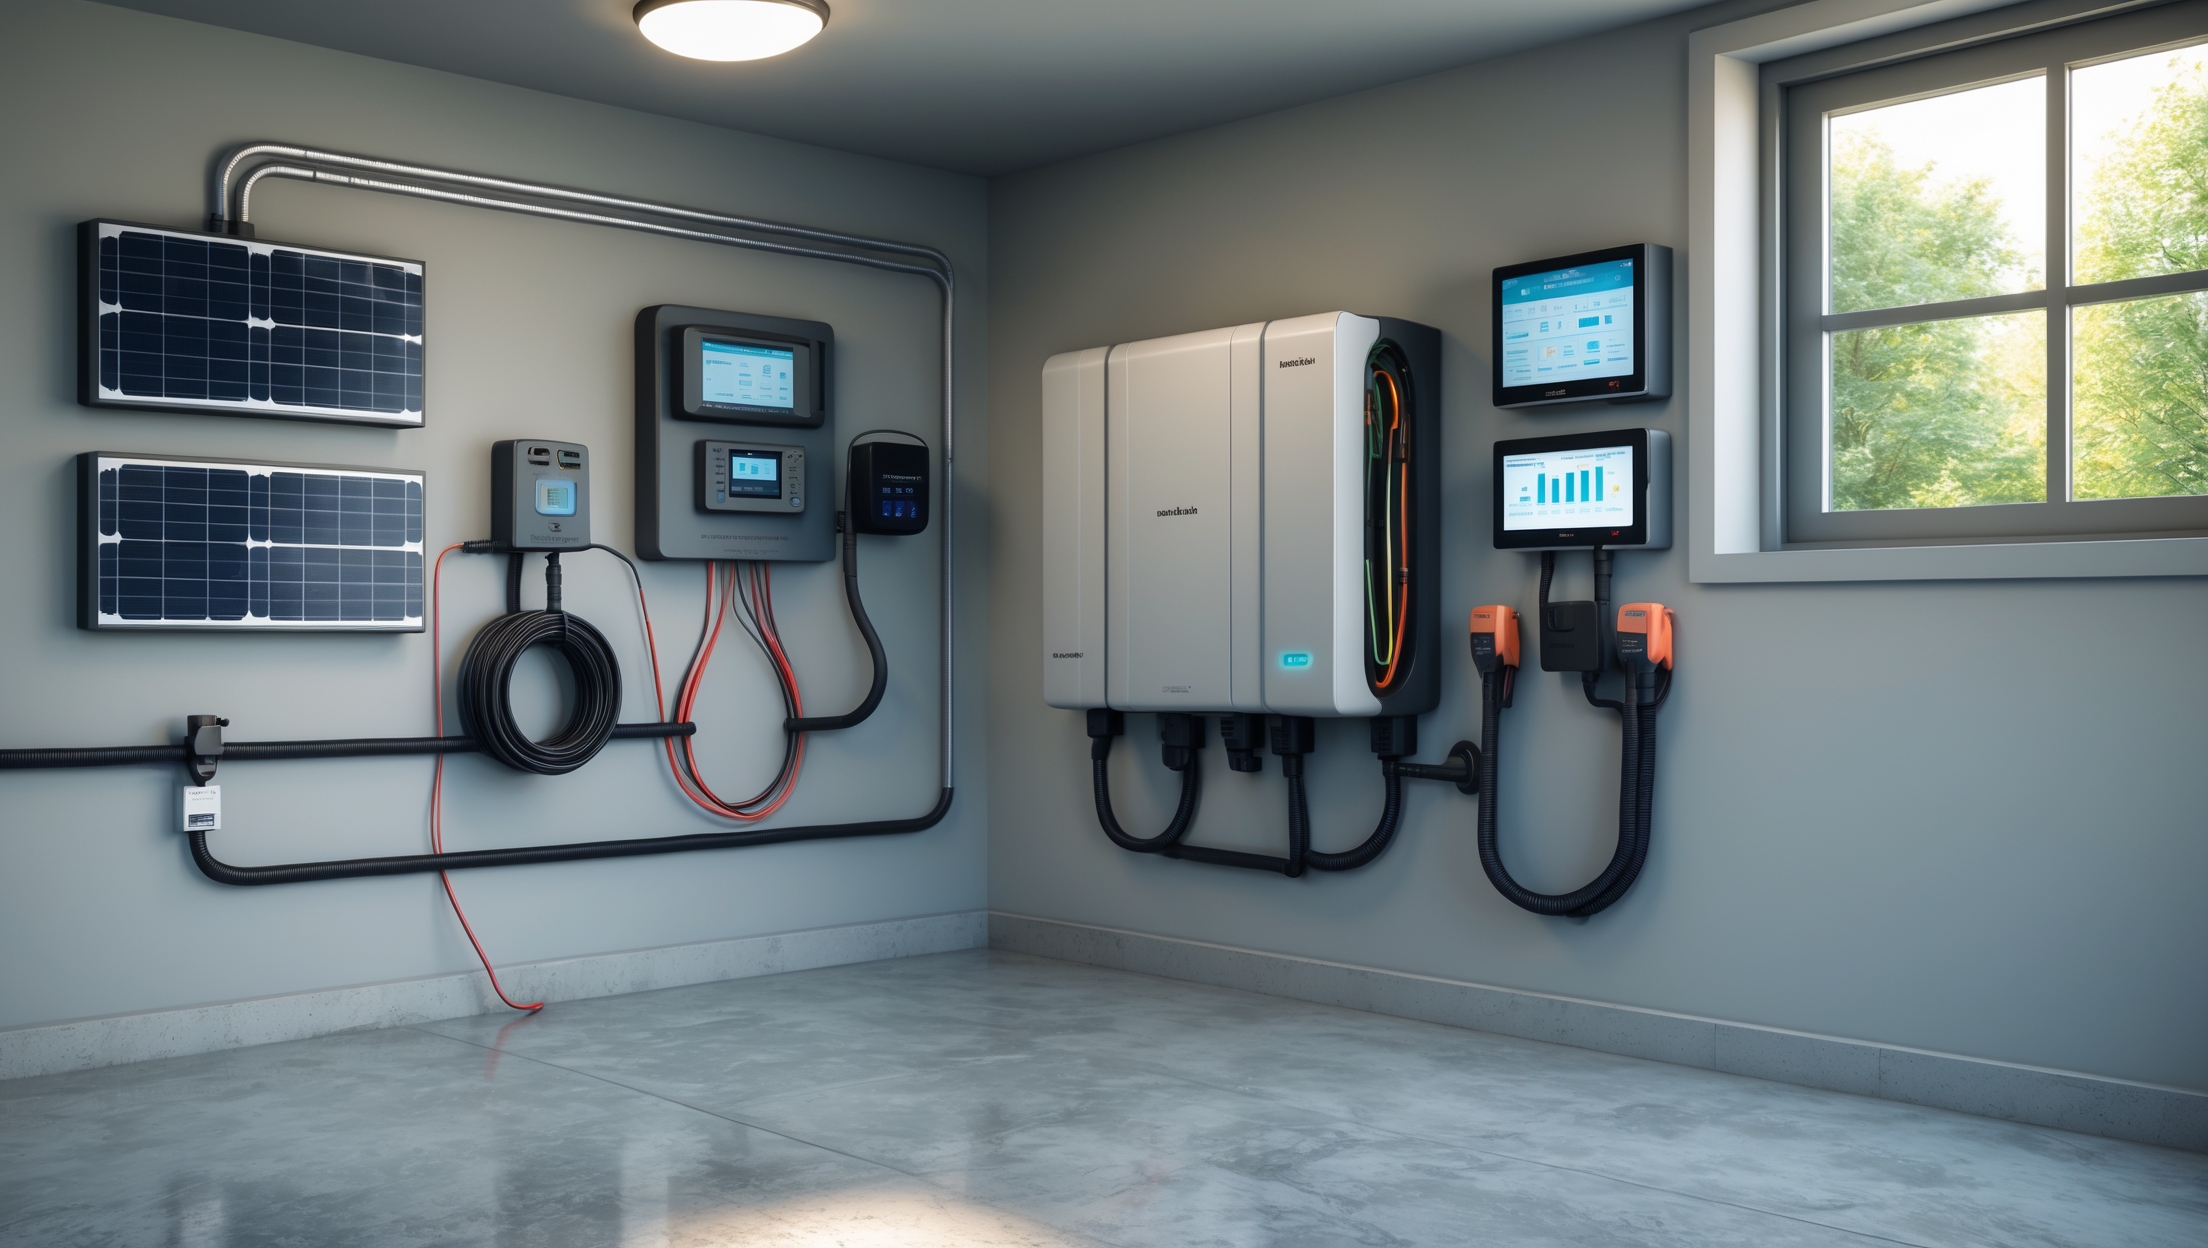
- Solar Panels: The array on your roof or property generating DC electricity.
- Inverter: Converts DC from panels to AC for home use.
- Electrical Panel: Distributes power throughout your home.
- Utility Meter: Tracks energy import/export to the grid.
Before integrating battery storage, you must understand the type and configuration of your current system. Is your inverter battery-ready? Is your system AC-coupled or DC-coupled? These details affect your battery options and installation process.
System Compatibility Assessment
- Check Inverter Type: Only some inverters support batteries directly. Note the make, model, and whether it’s hybrid or standard.
- Determine Coupling Method: AC-coupled systems add batteries on the AC side, while DC-coupled systems integrate batteries on the DC side. Each has pros and cons for retrofit scenarios.
- Review Electrical Capacity: Ensure your main panel has space and capacity for additional loads.
- Inspect for Physical Space: Battery units require secure, well-ventilated installation space—garage, utility room, or exterior-rated enclosure.
Planning: Choosing the Right Battery Storage Solution
Types of Home Solar Batteries
- Lithium-Ion: Most popular for residential use; compact, high efficiency, long lifecycle.
- Lead-Acid: Cheaper upfront but larger, heavier, and require maintenance.
- Flow Batteries: Emerging technology; excellent for large capacities but less common for homes.
Sizing Your Battery
- Assess Your Energy Usage: Review historic utility bills and solar generation data to calculate typical daily consumption and peak needs.
- Decide on Backup Duration: Are you preparing for outages or aiming for maximum self-consumption? This affects how large your battery bank should be.
- Consult Manufacturer Tools: Many battery providers offer online calculators to assist with sizing based on your unique data.
Compatibility Checklist
- Is your inverter battery-ready or will you need a new/hybrid inverter?
- Does your battery system support your local grid’s requirements (frequency, voltage, certifications)?
- Is the chosen battery chemistry suitable for your climate (temperature tolerances)?
Permits, Compliance, and Safety Preparations
Permitting Requirements
Battery installations almost always require a permit from your local authority having jurisdiction (AHJ). Prepare the following:
- Site plan showing battery location
- Electrical schematics and load calculations
- Product specification sheets (batteries, inverters, disconnects)
Consult with your city or county building department before starting. Some utilities also require notification or approval—especially for grid-tied systems.
National Electric Code (NEC) and Fire Safety
- Ensure all equipment is UL-listed or equivalent.
- Follow NEC Article 706 (Energy Storage Systems) for wiring, labeling, and disconnects.
- Maintain proper clearances and never install batteries in living spaces unless specifically rated.
- Some regions require fire department access or notification; check local rules.
Insurance Considerations
Adding a battery system may affect your homeowner’s insurance. Notify your insurer and provide updated schematics and permits to ensure continued coverage.
Essential Tools & Equipment
- Battery bank and compatible inverter (if upgrading)
- UL-listed battery disconnect switch
- Appropriate cabling (battery, inverter, and AC interconnection)
- Circuit breakers and fuses as per manufacturer and code
- Conduit and cable management supplies
- Basic hand tools: wire strippers, crimpers, torque wrench, voltage tester, drill
- Personal protective equipment (PPE): insulated gloves, safety glasses, work boots
- Optional: battery monitoring system or smart home integration hardware
Always verify all equipment is compatible and rated for your specific application.
Step-by-Step Installation Process
1. Pre-Installation Checklist
- Obtain all necessary permits and utility approvals
- Review manufacturer installation manuals
- Confirm delivery of all required components
- Clear installation area and ensure adequate ventilation
- Turn off power at the main breaker before any work begins
2. Mounting and Placing the Battery
Follow manufacturer guidelines for location (temperature, humidity, clearance).
- Use supplied brackets or stands for wall or floor mounting
- Ensure battery is level and secured to prevent movement
- Maintain access to disconnects and monitoring ports
3. Electrical Interconnection
- DC-Coupled Retrofit: Connect battery to the PV inverter’s DC input, potentially replacing or upgrading the inverter to a hybrid model.
- AC-Coupled Retrofit: Connect battery inverter to the home’s main AC panel, typically through a dedicated breaker. This is common for existing PV arrays with non-hybrid inverters.
In both cases, confirm wiring gauge and breaker sizing per manufacturer and code. Route cables neatly in conduit, securing all connections with proper torque.
4. Installing Disconnects and Safety Devices
- Install a visible, lockable disconnect switch accessible to emergency responders
- Label all new equipment per NEC and local requirements
- Install surge protection and fuses as recommended
5. Integrating Monitoring and Controls
- Connect battery management system (BMS) to monitoring interface
- Set up Wi-Fi or Ethernet for remote monitoring
- Configure system preferences—backup mode, time-of-use programming, or self-consumption priorities
Test all connections and confirm communication between the inverter, battery, and monitoring platform.
6. System Commissioning and Testing
- Restore power and follow manufacturer’s commissioning steps
- Observe system boot-up, check for error codes or warnings
- Test backup function by simulating a grid outage (if supported)
- Verify charging/discharging cycles and data reporting
Document all test results and retain for future troubleshooting or warranty claims.
Post-Installation Best Practices
Routine Maintenance
- Visually inspect batteries and wiring quarterly for signs of corrosion, damage, or overheating
- Update firmware for inverter and BMS as released
- Clean vents and enclosures to ensure proper cooling
- Backup system data and settings periodically
Troubleshooting Common Issues
- BMS Errors: Refer to manuals for specific codes; check connections and communication wiring.
- Reduced Capacity: Review cycle counts and depth of discharge; battery replacement may be needed after 8–12 years.
- Monitoring Gaps: Reboot communication modules or update software.
Warranty Compliance
Maintain a record of all maintenance, software updates, and inspections. Adhering to manufacturer-recommended service intervals preserves your battery warranty and ensures optimal performance.
Optimizing Battery Storage for Maximum Value
Time-of-Use and Rate Arbitrage
Many utilities offer time-of-use (TOU) rates—charging more for electricity during peak hours. Program your battery to discharge during these periods and recharge off-peak to save money.
Backup Power and Critical Loads
- Identify essential circuits (refrigeration, lighting, communication) and connect them to your battery’s backup subpanel.
- Test regularly to ensure the system performs as expected in outages.
Smart Home Integration
- Integrate your battery system with smart thermostats, EV chargers, and home automation for advanced energy management.
- Utilize utility incentive programs for demand response or grid services where available.
Conclusion: The Path to Resilient, Sustainable Home Energy
Integrating battery storage with your existing home solar PV system is more than a technical upgrade—it’s a commitment to energy independence, sustainability, and resilience. As extreme weather events, grid outages, and rising energy costs become more common, having onsite energy storage becomes a strategic asset for any homeowner. The process requires careful planning, coordination with local authorities, and a thorough understanding of your home’s energy profile. By following the step-by-step approach outlined above, you can confidently add battery storage to your solar array, optimize your energy use, and future-proof your home against uncertainties.
Remember, every home and solar setup is unique. Consult with licensed electricians and reputable solar professionals if you’re unsure about any aspect of the installation. Investing in quality equipment, adhering to safety codes, and staying proactive with maintenance will ensure your new energy storage system delivers reliable performance for years to come. Ultimately, this integration will not only reduce your carbon footprint but also provide peace of mind and control over your energy destiny—hallmarks of a truly sustainable lifestyle.


Could you elaborate on how the installation process might differ for homes with AC-coupled systems compared to DC-coupled ones? I’m concerned about potential additional costs or complexity.
For AC-coupled systems, the battery is connected on the AC side, usually requiring an additional inverter and integration with your home’s existing wiring, which can increase installation complexity and cost. DC-coupled systems connect batteries directly to the solar array before the inverter, often allowing for simpler wiring and higher efficiency, but they may require a compatible charge controller or inverter upgrade. The choice can affect both hardware costs and labor time, so it’s wise to get quotes for both setups.
If my current inverter isn’t battery-ready and I need to upgrade it, does your guide recommend any brands or features I should look for to keep integration as simple and cost-effective as possible?
The guide suggests focusing on inverters that specifically support battery integration, often labeled as ‘hybrid’ inverters. While it doesn’t recommend particular brands, it highlights looking for features such as compatibility with major battery types, user-friendly monitoring apps, and flexible system sizing. Choosing an inverter from well-known manufacturers with good support and warranties can also help keep both installation and future maintenance straightforward and budget-friendly.
I’m trying to figure out if my existing inverter is considered ‘battery-ready’ or not. The article suggests checking the make and model, but what specific features or markings should I look for to know if my inverter will support battery storage directly?
To determine if your inverter is ‘battery-ready,’ check for terms like ‘hybrid inverter,’ ‘storage-ready,’ or ‘DC-coupled’ on its label or in the manual. Look for dedicated battery terminals or ports and references to battery management or charging settings in the menu. If the documentation mentions compatibility with specific battery brands or models, that’s another good sign. If you’re unsure, the inverter’s datasheet or manufacturer support can confirm its capabilities.